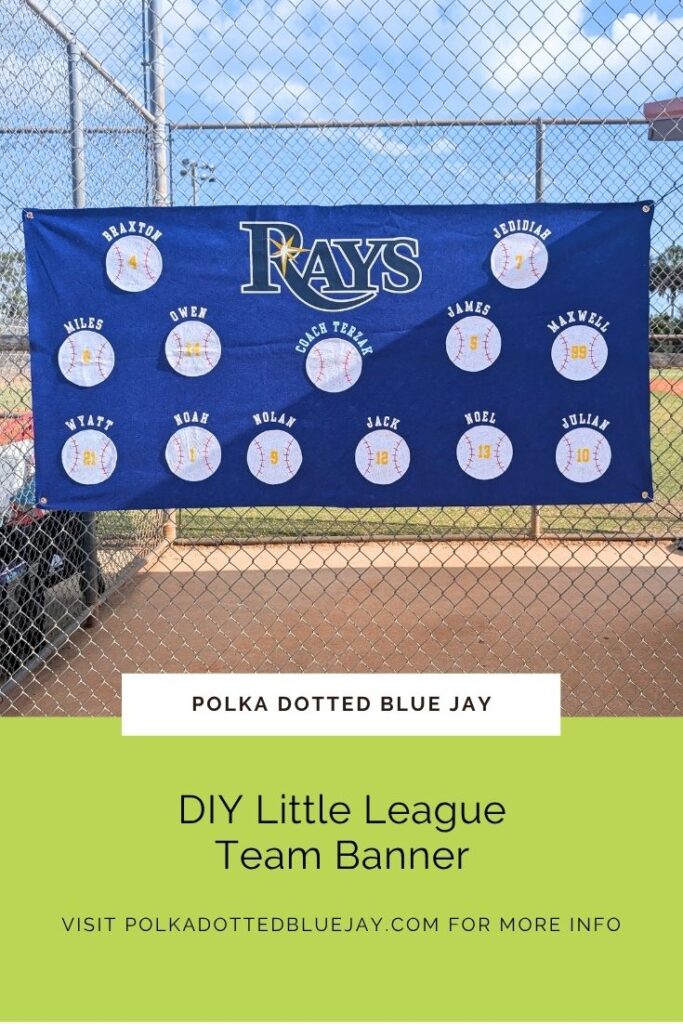

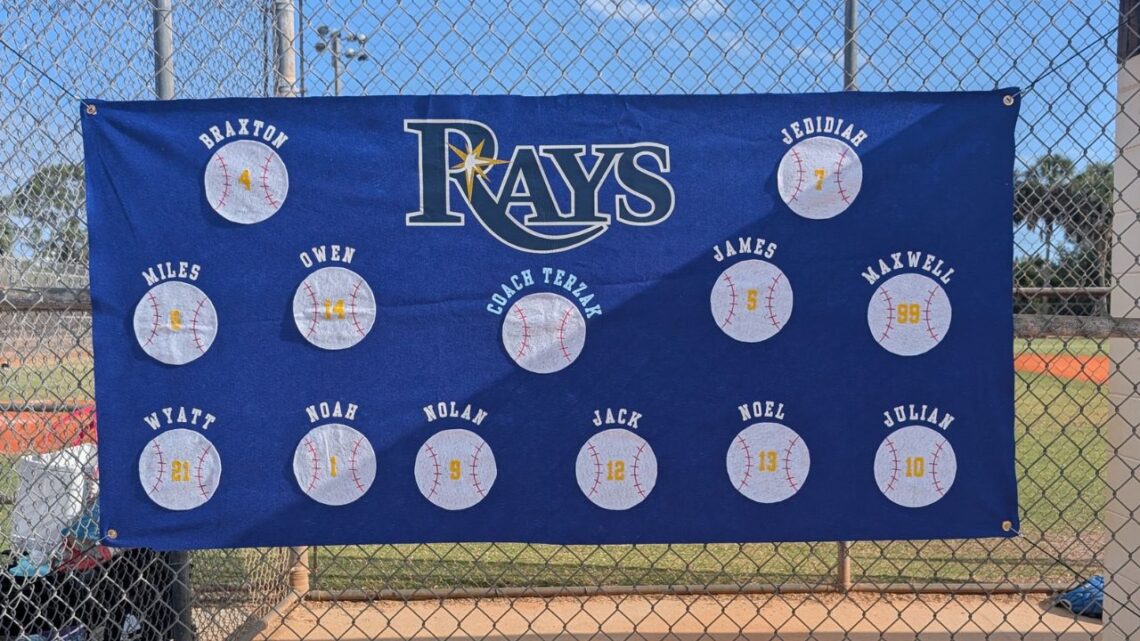
Little League Team Banner For The Dugout (DIY Tutorial)
| This post may contain affiliate links, which means I may receive a small commission, at no cost to you, if you make a purchase through a link. |
Every Little League team needs a DIY Baseball Team Banner, am I right? When I was a little girl there was a team mom who made the most beautiful felt banners for our local kid sports teams: soccer, baseball, cheer… she made them all. My favorite was one she made where she used yarn to create a doll-like head with matching hair for each soccer player.
Fast foward to today and my son is playing little league baseball … and I am determined to live my best 90’s team mom life and make a DIY baseball team banner for his team.
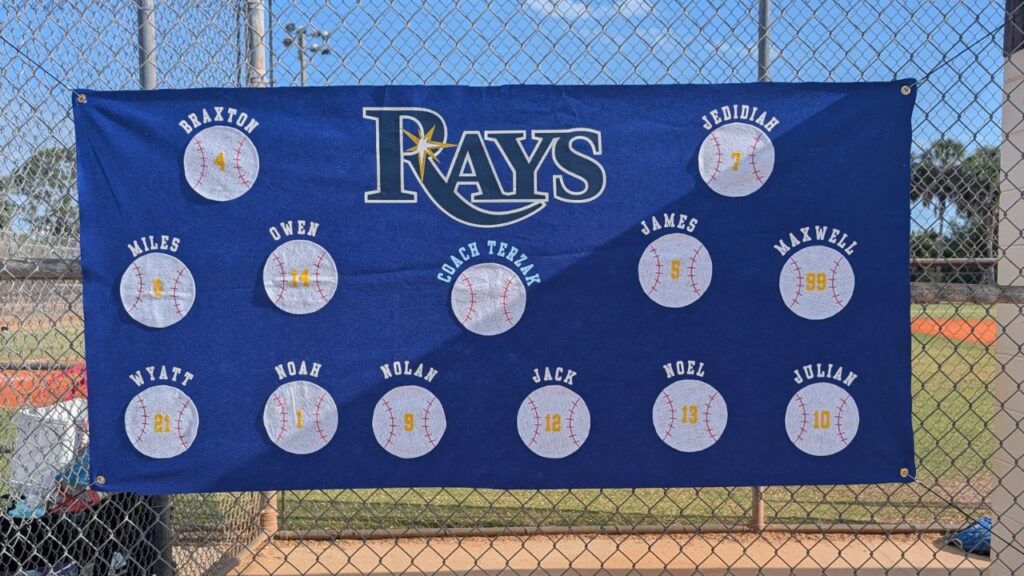
Instead of ordering a custom banner online, I decided to make one from scratch using felt, heat transfer vinyl, and my Silhouette Cameo machine. It took about three hours of work and quite a few layers, but the finished baseball team banner was absolutely worth it. Watching the boys find their names and numbers on the banner made all the effort worthwhile.
If you’re looking for a fun baseball mom DIY project, here’s exactly how I made our Little League baseball banner.
Estimated Time: 2-3 Hours
Skill Level: Intermediate
Supplies Needed:
- Silhouette CAMEO®
- Silhouette Cutting Mat
- Silhouette Studio – I recommend getting the Business Edition for SVG files
- Heat Transfer Vinyl
- Silhouette Software
- Bowl or Circle template (for baseballs)
- MLB SVG – read below to find how to locate your team’s logo for personal use
- Heat Press
- Fabric glue
- 2 yards felt for background – I asked the fabrics associate to cut it as straight as possible so I wouldn’t have to hem the edges… you can if you’re able to sew!
- 1 yard white felt for baseballs
- Baseball SVG (includes baseball stitches, name placeholder, and number) – get the template from the free cut file library!
How To Locate the MLB Team SVG for Your Baseball Banner:
Every Major League Baseball team has a high res SVG on their Wikipedia page.
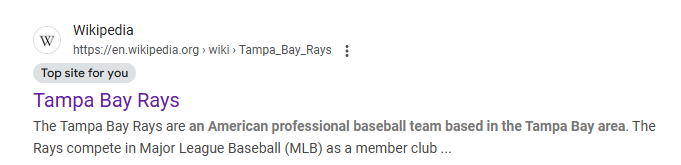
Search your team name (it helps to put the city before the team name) and locate the team Wikipedia page. It will look like the screenshot below:
Click on the link to open the Wikipedia page
Select the logo you would like to use and click on it.
In the next window, click the “more details” box at the bottom of the page
A new window will open and it will be the information for the logo you have selected. Click on where it says “original file” – I have highlighted it yellow below.
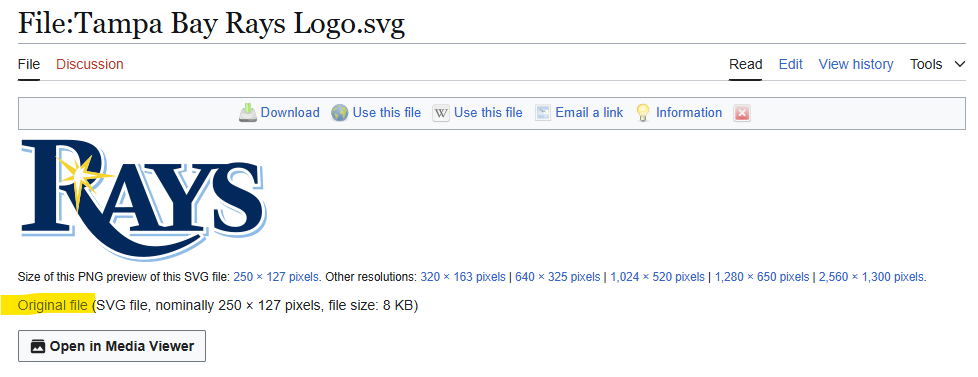
Right click on the logo, select “save as”, name your file, verify it is an SVG, and save to your computer.
Step 1: Create Your Team Logo for Your Felt Banner:
Open Silhouette Studio®.
Select the Page Setup Window and adjust your cutting mat size to 12×12 (or the size mat you are using – I used my 12×24).
Open your team logo SVG you saved in the steps above (you will need Silhouette Studio Business Edition to be able to use and edit SVG files)
Resize your logo to your desired size for your Little League DIY Baseball Team Banner.
Mirror the design (if you’re using Heat Transfer Vinyl).
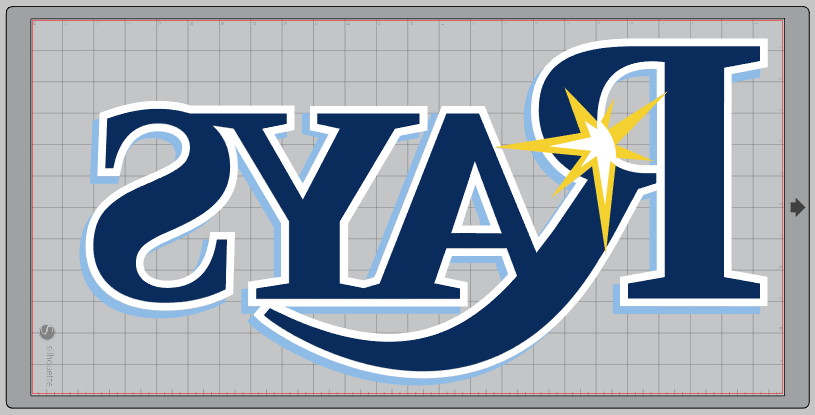
Send your design to cut in your Silhouette Cameo. I like to cut each layer/color out one at a time by selecting the cut by fill option in Silhouette Design Studio!
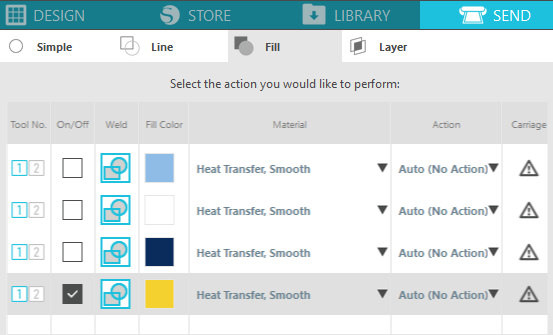
Remove the design from your Cameo and then weed away the excess, leaving your design on the carrier sheet.
Step 2: Add Your Team Logo to Your Baseball Banner:
Add one layer of your HTV to your 2 yards of felt at a time and use your heat press to adhere it to your banner.
Remember: HTV shrinks a little each time you press a layer.
Step 3: Cutting Out Your Baseballs:
Lay out your white felt.
Use a small bowl and trace with a pencil. I used this Mainstays one from Walmart.
Cut out each circle with scissors – try to keep the cuts as smooth as possible.
You can cut out the circles with your Silhouette Cameo – but you will need the rotary blade for the felt.
Step 4: Create Your Red Stitches for the Baseballs:
Open the FREE template for your team baseball banner – available in the Polka Dotted Blue Jay Cut File Library. Select the baseball stitches only file to cut out sets of stitches for the number of players on your team.
Double check the size of the stitches will fit on the white felt circle (baseball) that you cut out in step 3 above.
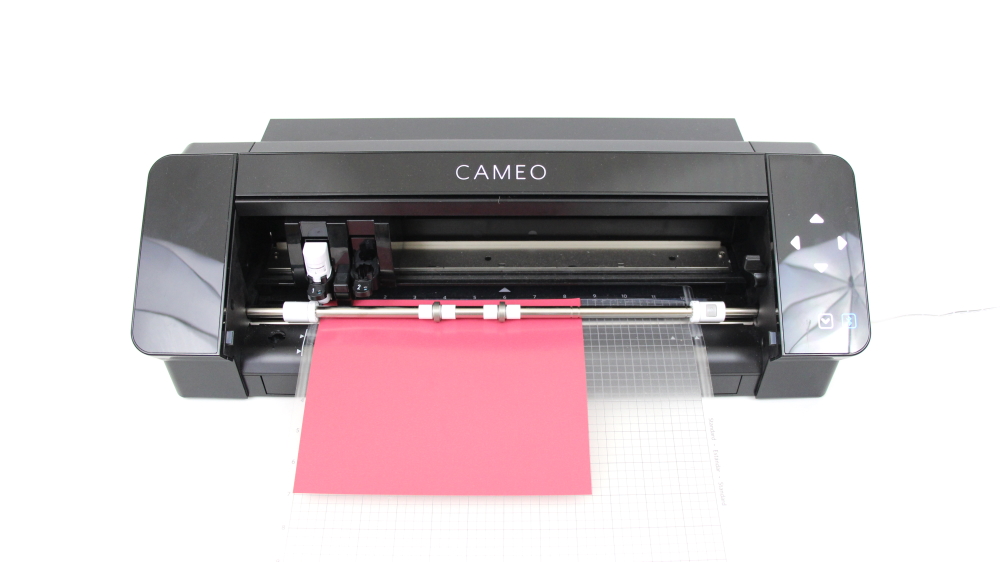
Load your HTV in your Silhouette Cameo and cut out your stitches (no mirroring your design needed).
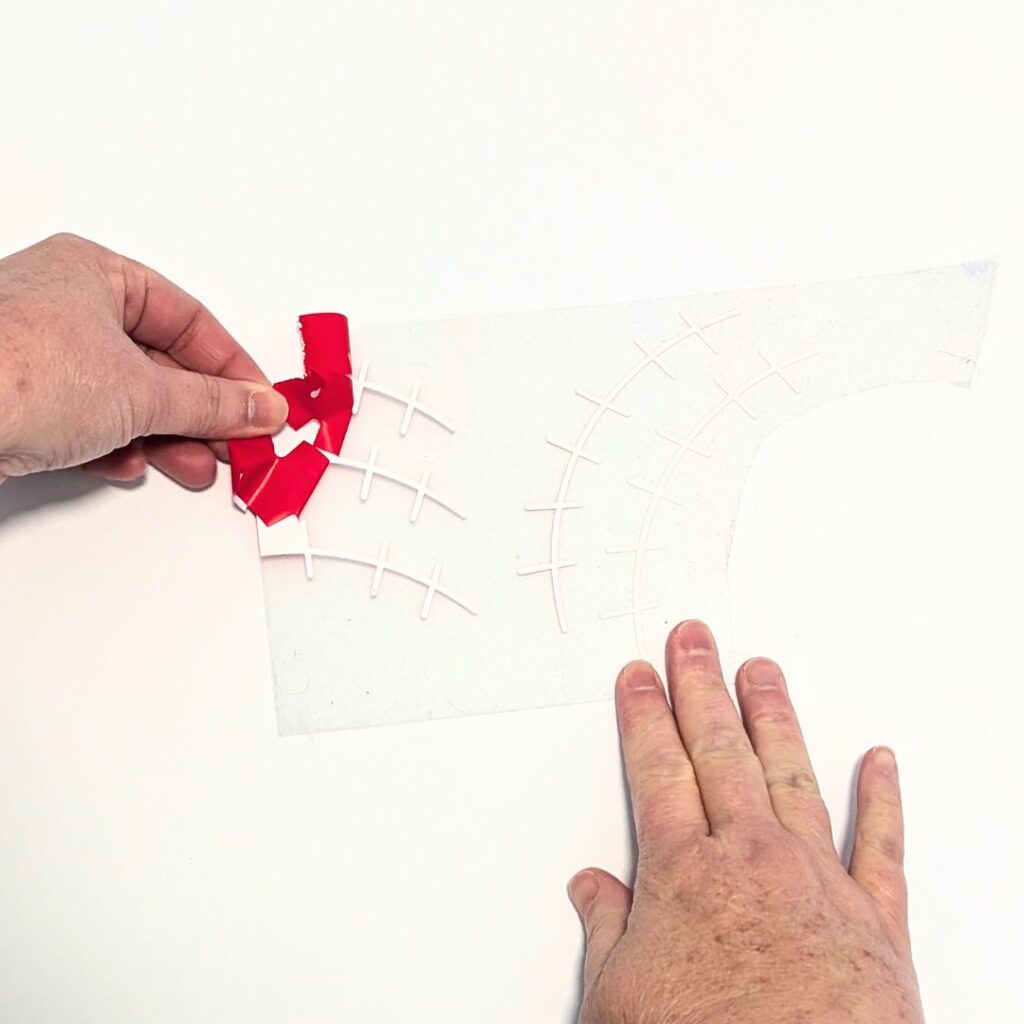
Weed your stitches carefully.
Align the design on the banner and press with your heat press or EasyPress.
Remove carrier sheets (check your vinyl for instructions for hot or cool peel) – be careful when you remove on the felt.
Step 5: Create the Baseball Player Name and Number
The next layer was adding each player’s name and jersey number.
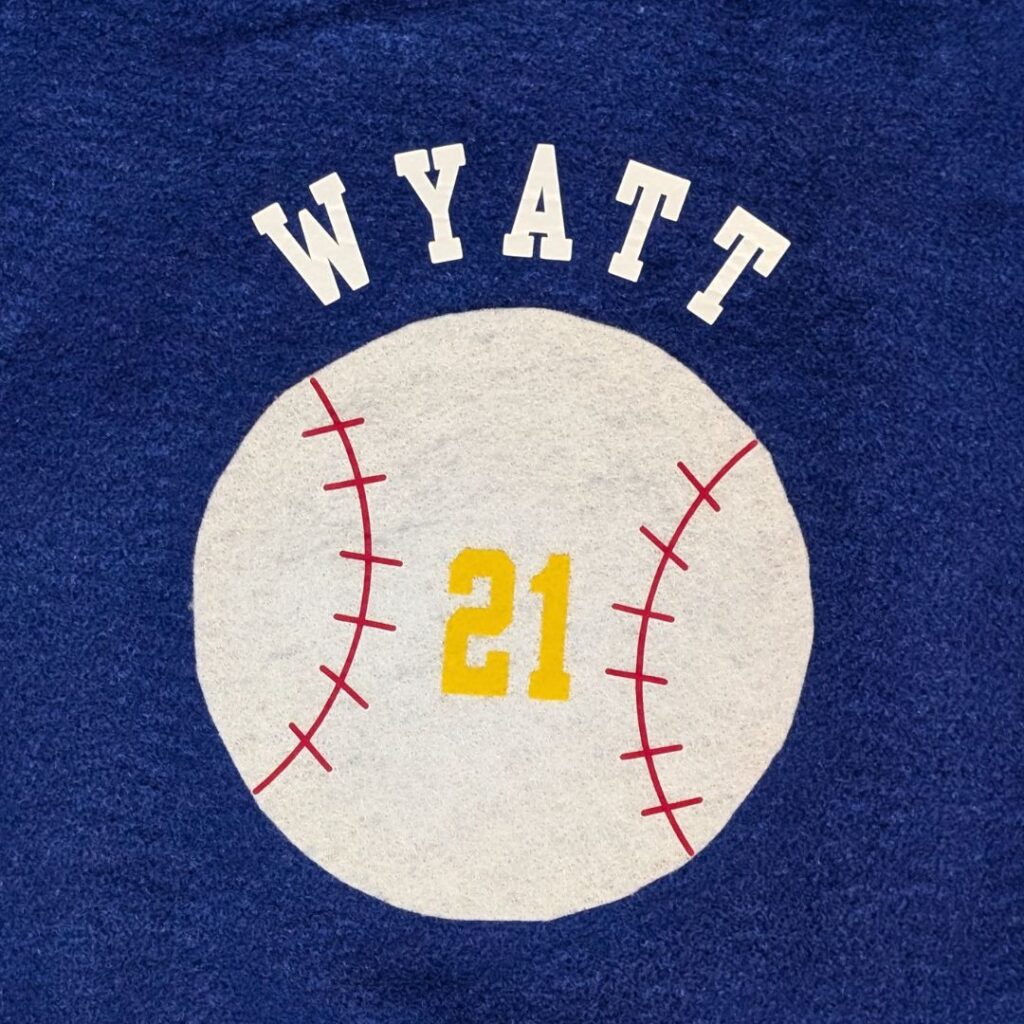
Each player’s name was placed above their baseball, while their team number was centered directly inside the baseball.
Use the free design from the cut file library and update with your team’s roster (names and numbers).
Mirror the design, cut it out, weed it, and press the number to the center of your baseball. Set the names to the side for step 5 below.
This step takes a little patience, but it is what makes the banner feel personal and special.
Step 6: Assemble the Banner
With all the pieces completed, it was finally time to put everything together.
Glue down the baseballs with some tacky fabric glue.
Arrange the player names across the top of the baseballs, place your heat mat under the banner, and press the vinyl onto the banner.
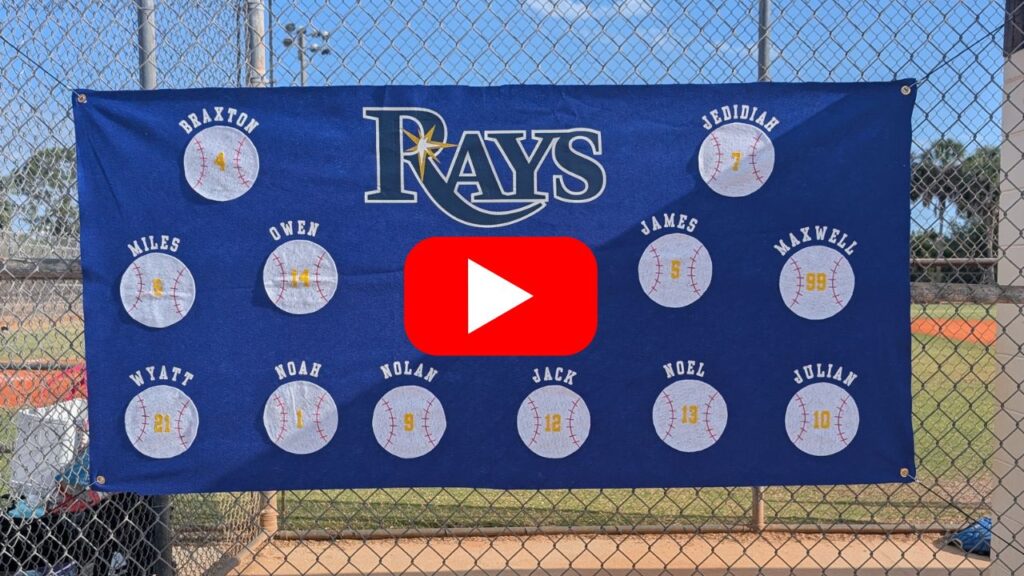
Once everything was attached, the banner looked exactly like the classic Little League banners I remembered from childhood.
The combination of felt, vinyl, and layered elements gave it a nostalgic handmade look that you just can’t get from a printed banner.
Watch the video tutorial here:
Why I Love This Little League Team Banner
As much as I appreciate quick and easy craft projects, sometimes it’s worth spending extra time on something meaningful.
This banner took about three hours from start to finish. Between tracing, cutting, pressing vinyl, and assembling all the pieces, there were definitely a lot of steps.
But every time we hang it on the fence before a game, I’m reminded why I made it.
The boys love finding their names. Parents stop to look at it and ask where we got it. And it adds so much personality to our dugout setup.
Most importantly, it feels like a throwback to what the Little League experience used to be.
Final Thoughts
If you’re looking for a DIY little league team banner, baseball dugout banner, or baseball team craft project, this felt banner is a fun and memorable option.
Using a Silhouette Cameo and heat transfer vinyl made it easy to create professional-looking details while still keeping that handmade 1990s Little League feel.
It may take a few hours and a little patience, but the finished banner becomes part of the memories you’ll make all season long.
And honestly, that’s what Little League is all about.