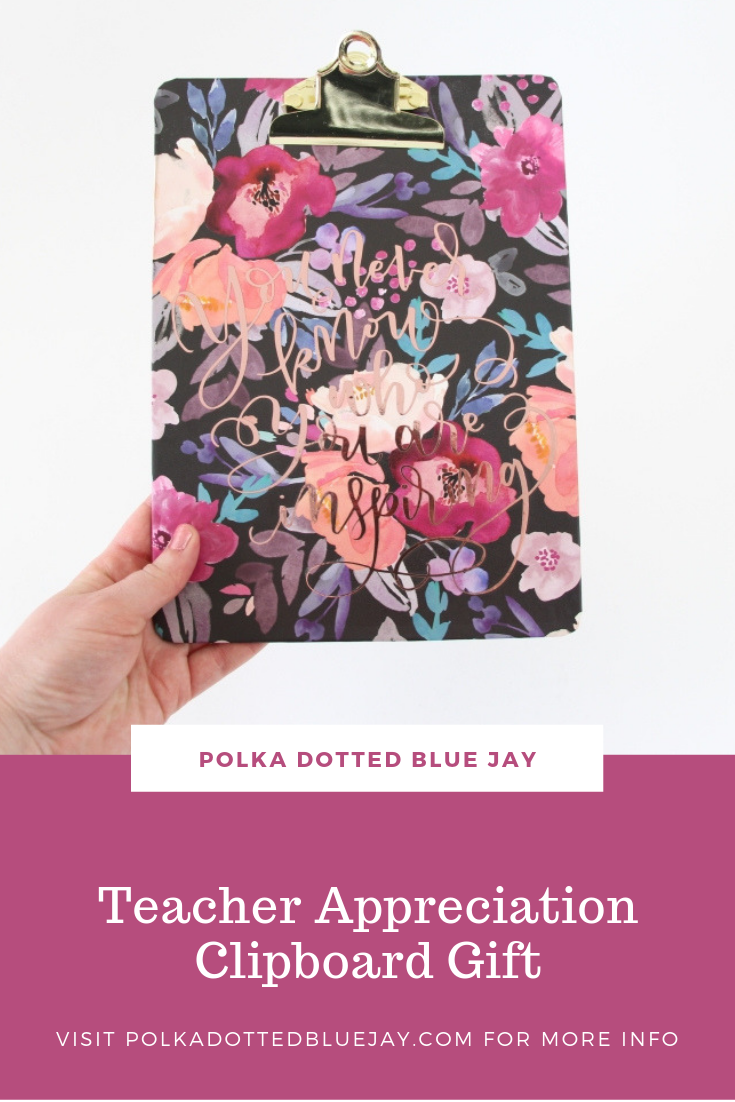
Teacher Appreciation Gift – Clipboard
| This post may contain affiliate links, which means I may receive a small commission, at no cost to you, if you make a purchase through a link. |
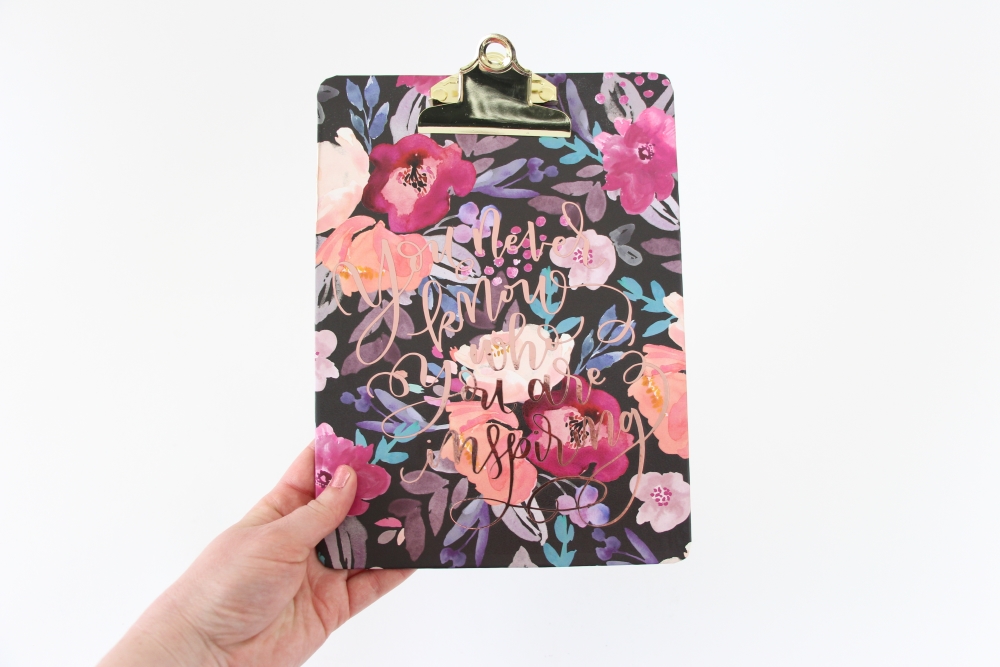
It is teacher appreciation week and I am busy making last minute gifts – which seems to be the norm now that I am a mom. Today I am sharing this quick project to customize a floral clipboard with a rose gold vinyl quote for a teacher appreciation gift.
I’ve told the story before, but when I finally went to college, I had ever intention of getting my degree in liberal arts and being a second-grade teacher. Well, that’s not how my college experience panned out. I still love teachers and have so many friends in different levels of the education field. They are definitely worthy of all the thanks and appreciation they receive this week.
When I saw this pretty floral clipboard at Target I knew exactly what I wanted to make with it.
Estimated Time: 15 Minutes
Skill Level: Beginner
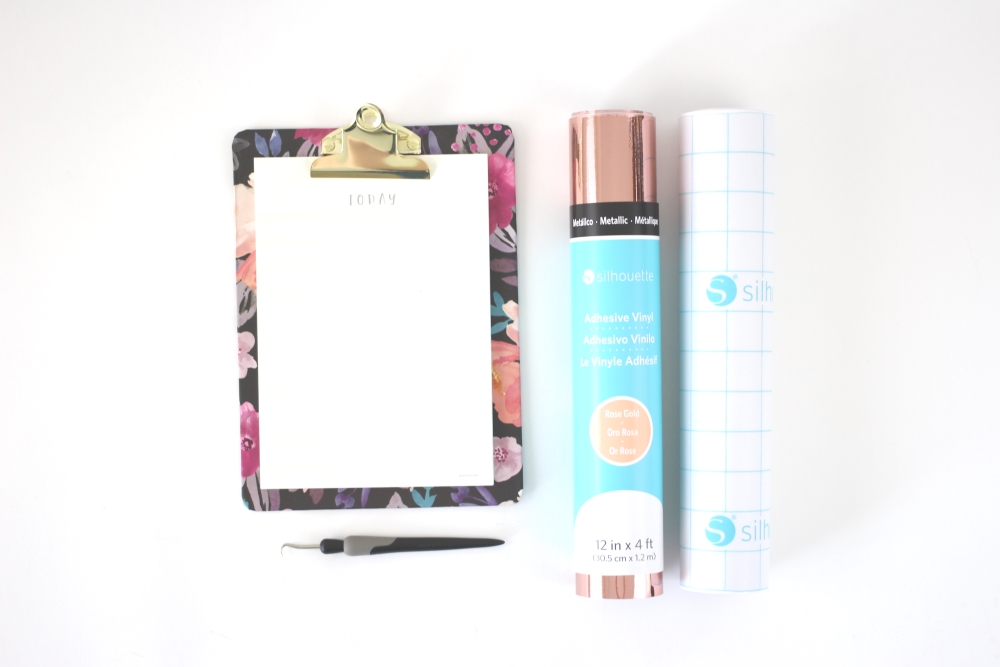
Supplies Needed:
- Silhouette CAMEO®
- Silhouette Cutting Mat
- Silhouette Cutting Blade
- Weeding Hook
- Silhouette Studio
- “Inspiring” Design – Silhouette Design Store
- Rose Gold Adhesive Vinyl
- Clipboard
CREATING YOUR DESIGN:
- Open up your Silhouette Studio®.
- Select the Page Setup Window and adjust your cutting mat size to 12×12 (or the sized mat you are using).
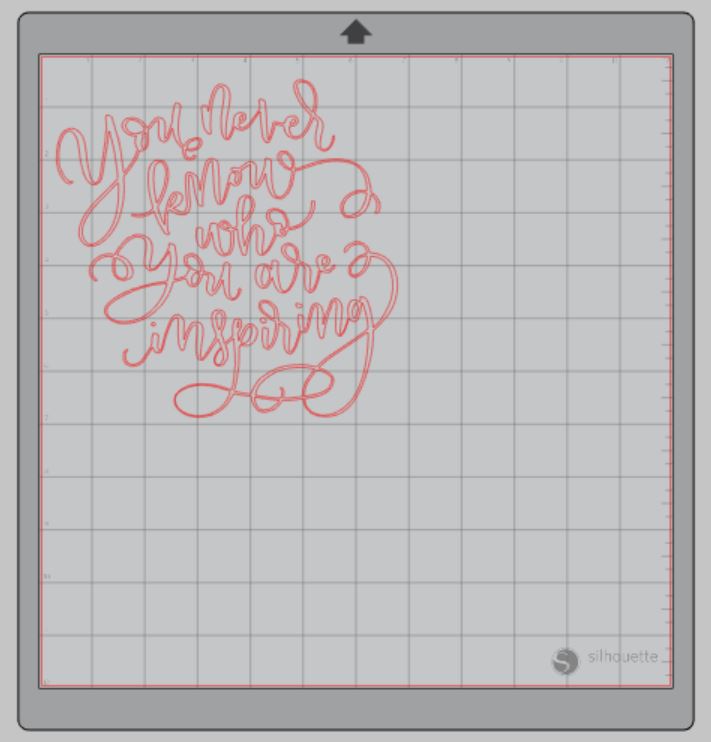
- Download your design from the Silhouette Design Store and then open your word art in Silhouette Studio. Click File>Library>Downloaded Designs>Select your downloaded file.
- Select the design and click Object>Ungroup.
- Delete the elements you don’t want on your bowl. I removed the binder clip.
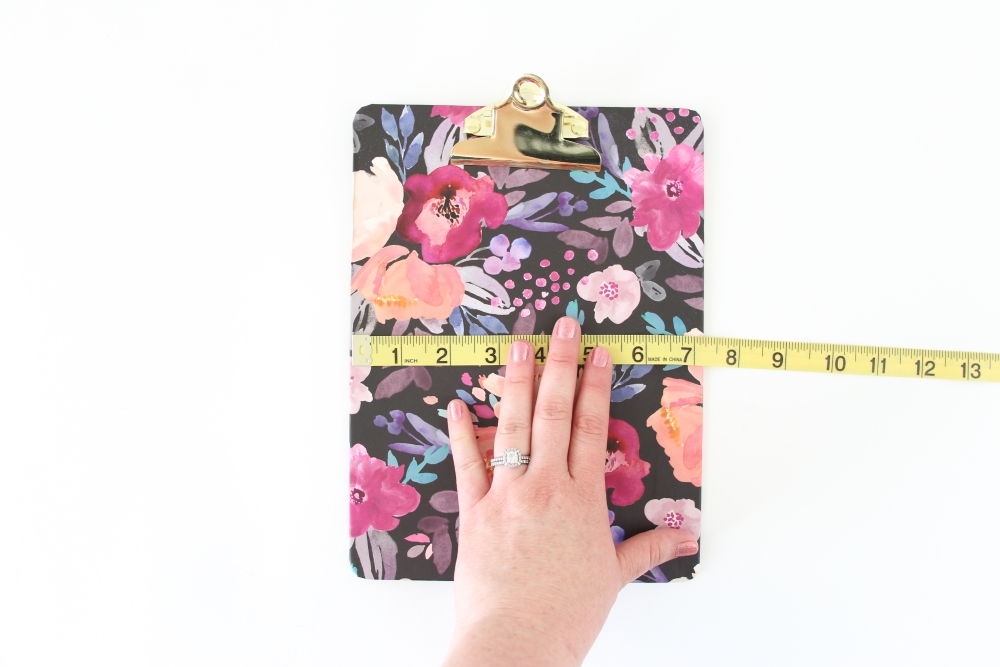
- Measure your clipboard and re-size your design to the correct space on your 12×12.
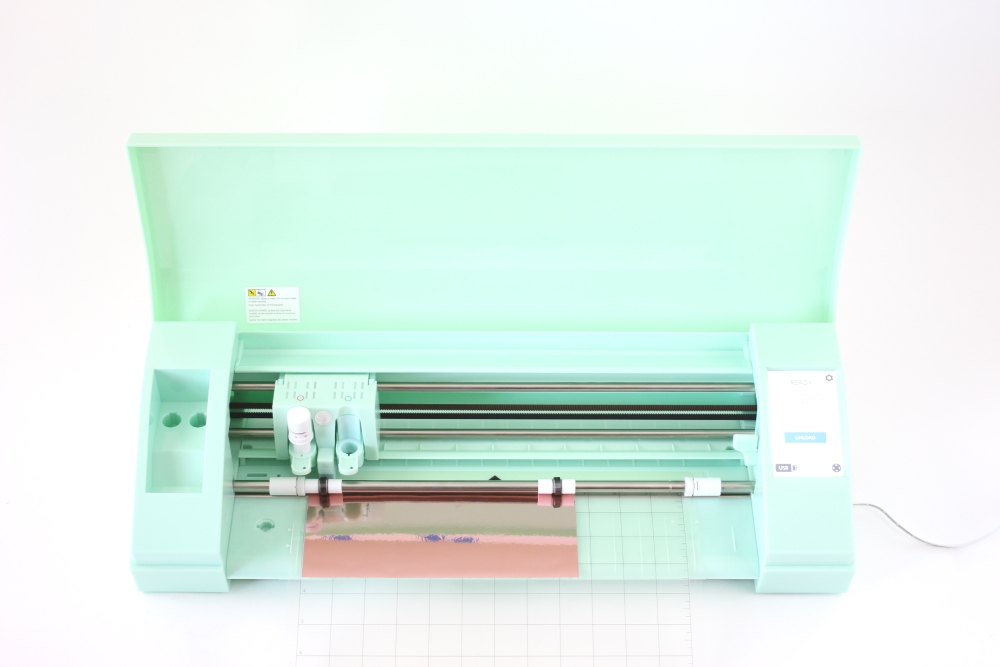
- Attach your Adhesive Vinyl to the cutting mat, color side up, and load into your machine.
- Follow the prompts in the Design Studio to adjust your blade (if using a ratchet blade) for Adhesive Vinyl and double check to make sure your design has been selected to cut.
- Select “Send” to start cutting.
- Select “Unload” when your machine has finished cutting your design to remove the cutting mat from the machine.
PREPARING YOUR DESIGN:
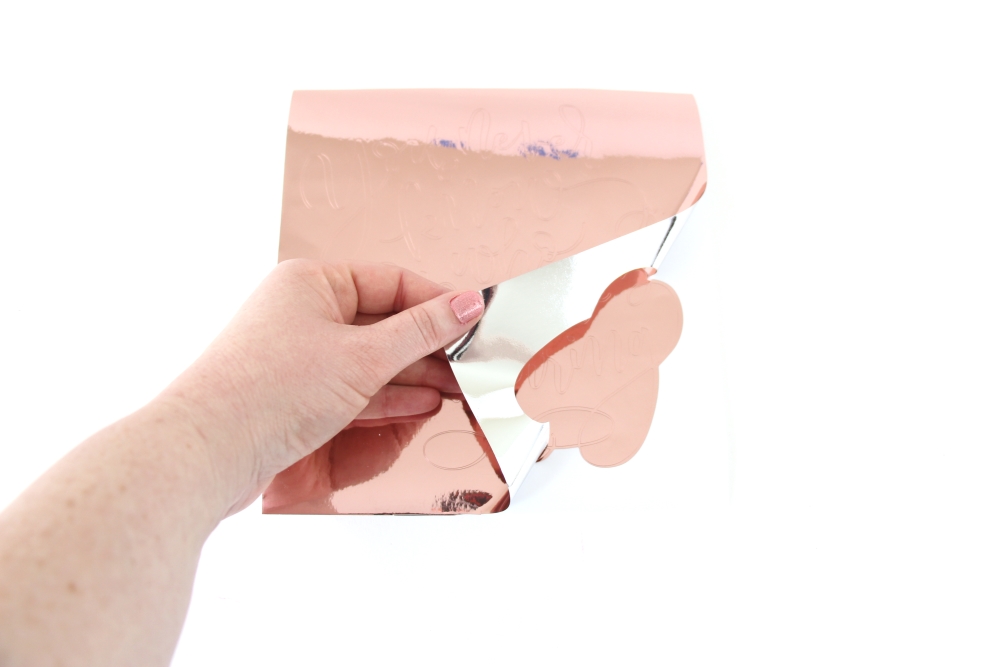
- Remove your sheets of Adhesive Vinyl from the cutting mat – go slow so it doesn’t curl up.
- Use your fingers or a wedding tool to remove the excess vinyl. Be sure to leave your design on the backing sheet.
- Carefully remove the centers of the design – this is called “weeding”.
CREATING YOUR ROSE GOLD CLIPBOARD:
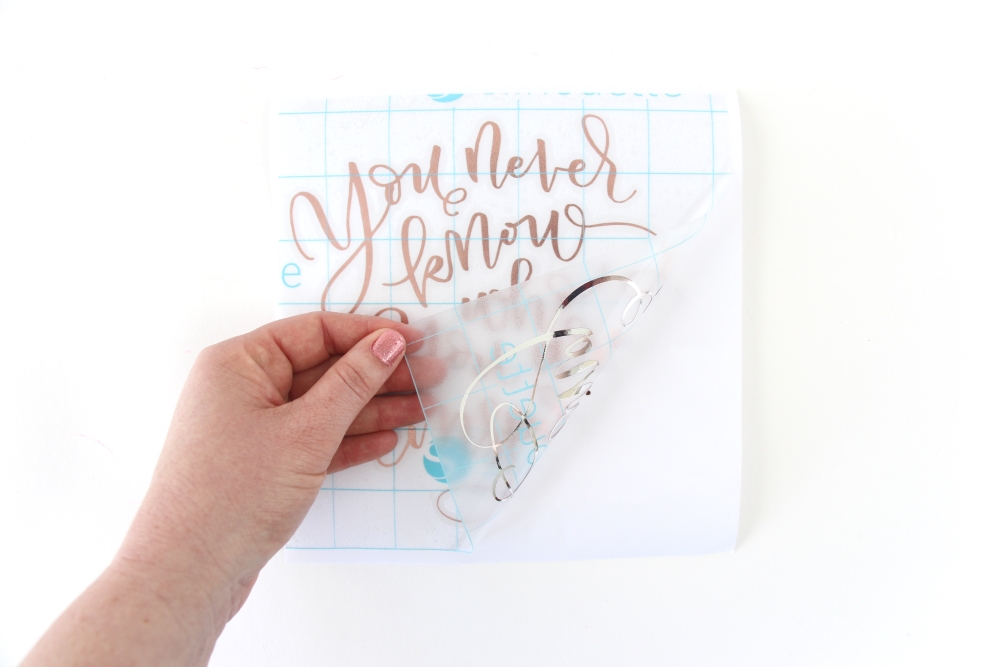
- Place a piece of transfer tape over your design.
- Use the scraping tool to make sure the design adheres to the transfer tape.
- Gently pull transfer tape and make sure the entire design lifts with it.
- Place your design on your clipboard.
- Use the scraping tool or your fingers to smooth the design onto the clipboard.
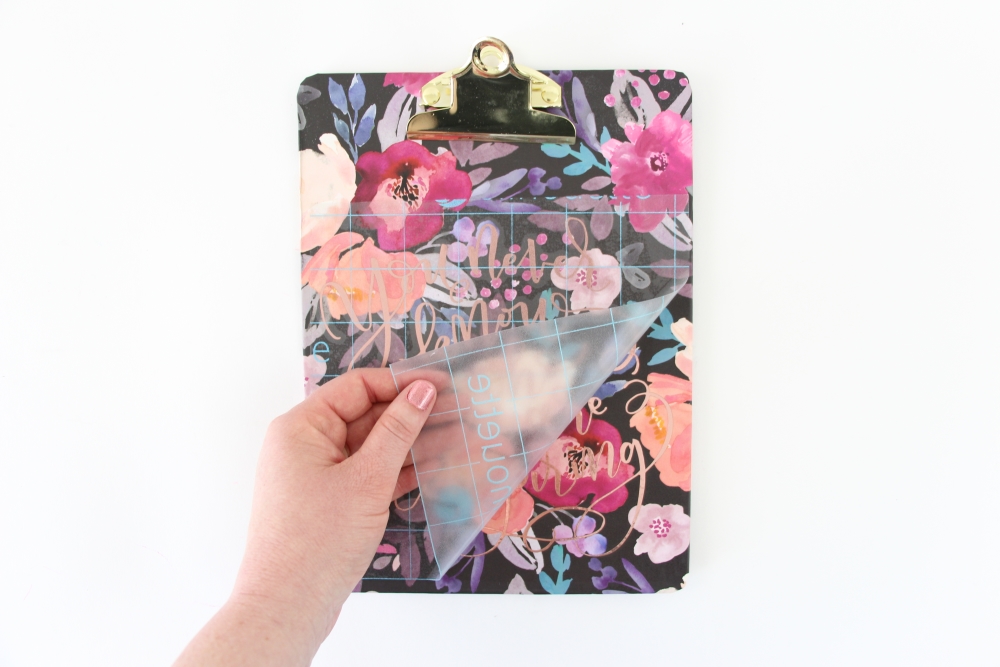
- Slowly remove the transfer tape.
I can’t wait to give this pretty clipboard to a teacher this week and remind them how much they are appreciated.