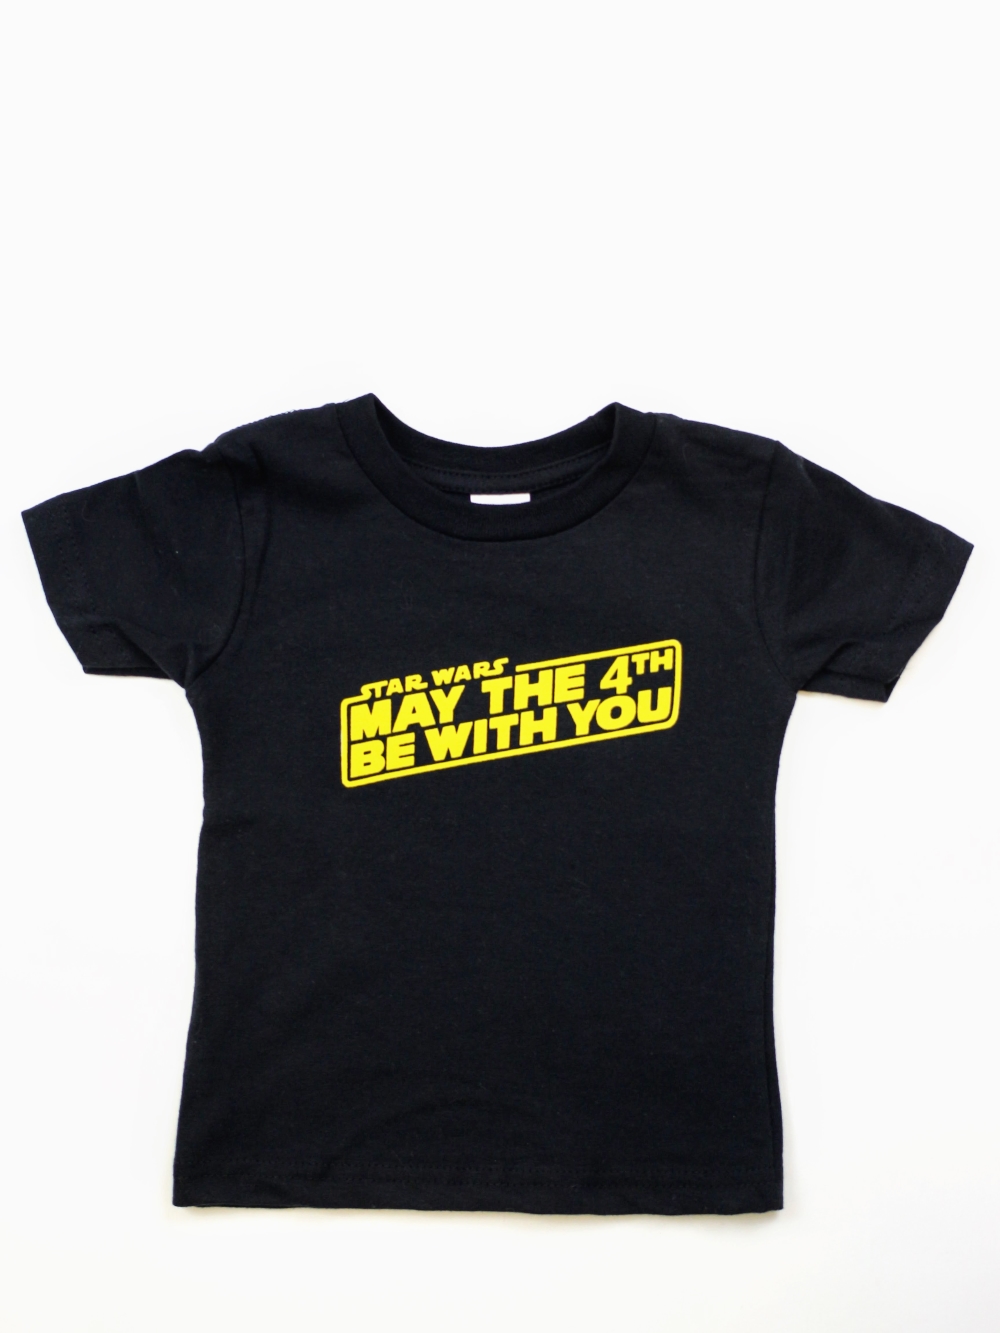
DIY May The 4th Be With You – Star Wars T-Shirt
| This post may contain affiliate links, which means I may receive a small commission, at no cost to you, if you make a purchase through a link. |
Some of our best friends are die-hard Star Wars fans and I knew I wanted to make a cute t-shirt to celebrate Star Wars day. That’s May 4th, if you didn’t know. Since I love a good pun, you know I had to get in on the play on words for the Star Wars catchphrase: “May the FORCE be with you.”
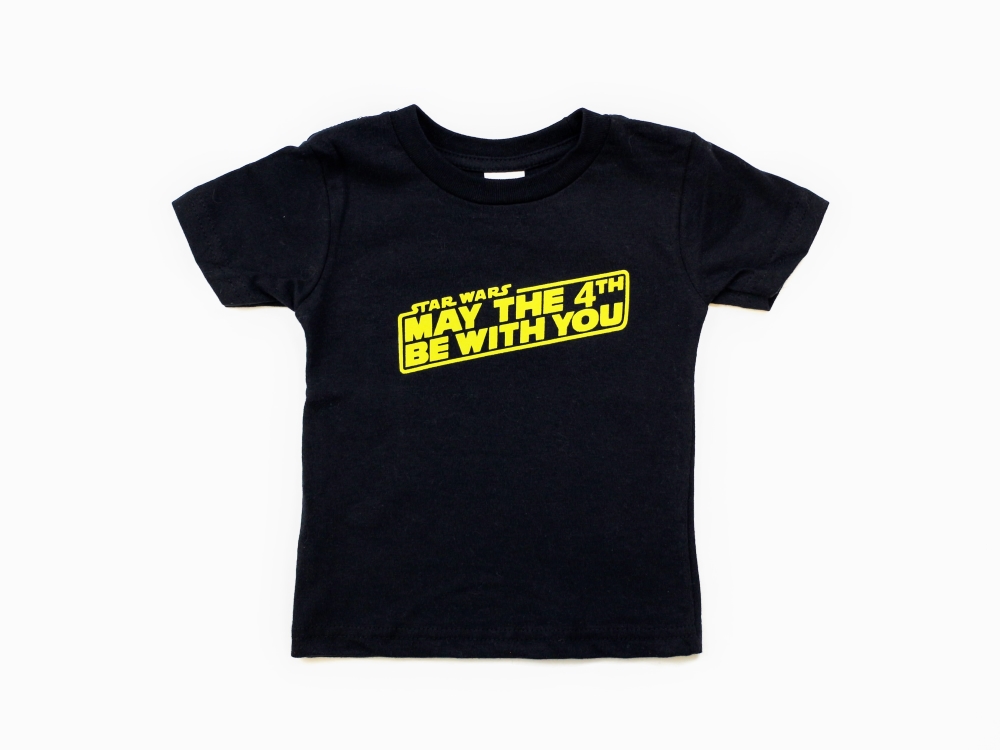
I found a fantastic SVG file on Etsy that I knew would be perfect on a t-shirt and I quickly crafted my “May The 4th Be With You” t-shirt.
Supplies Needed:
• Silhouette CAMEO® or Silhouette Portrait®
• Silhouette Cutting Mat
• Silhouette Cutting Blade
• Silhouette Studio
• Heat Transfer Vinyl – I used yellow flocked vinyl for some texture
• Etsy design
• Iron or heat press
Step One: Creating Your Design
1. Open up your Silhouette Studio®.
2. Select the Page Setup Window and adjust your cutting mat size to 12×12 (or the sized mat you are using).
3. Purchase and download your SVG “May The 4th Be With You” design from Etsy.
4. Open the design in Silhouette Studio®. File>Open>Select Jpeg.
5. If you have the standard version of Silhouette Studio®, like me, you will need to trace your Jpeg to tell your machine what to cut.
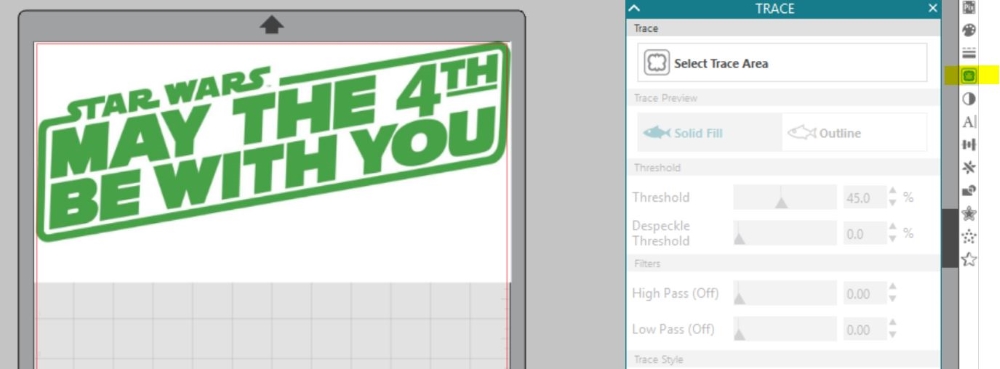
6. Click the tracing icon in the menu on the right side of your screen. It looks like a butterfly or a load of bread (see the yellow highlight in the photo above). Click and drag to highlight your design. Your design will turn yellow indicating what will be cut out. If you only want the outline of the letters, select “outline”. To cut letters like mine, select “solid fill”.
7. Verify your design is now highlighted in red – this is what the machine will cut. Double check to make sure the middle of your letters are included and that none of the cuts go through a letter twice.
8. Re-size your design to the desired size for your t-shirt.
9. Mirror your image horizontally (this is a MUST for heat transfer).
10. Load your cutting mat with your heat transfer vinyl (color size down).
11. Select “Send” and follow the prompts to adjust your ratchet blade and select the correct heat transfer vinyl to start cutting.
10. Select “Unload” when your machine has finished cutting your design to remove the cutting mat from the machine.
Step Two: Preparing Your Design
1. Remove your sheet of vinyl from the cutting mat
2. Use your fingers or a wedding tool to remove the excess vinyl. Be sure to leave your design on the clear sheet.
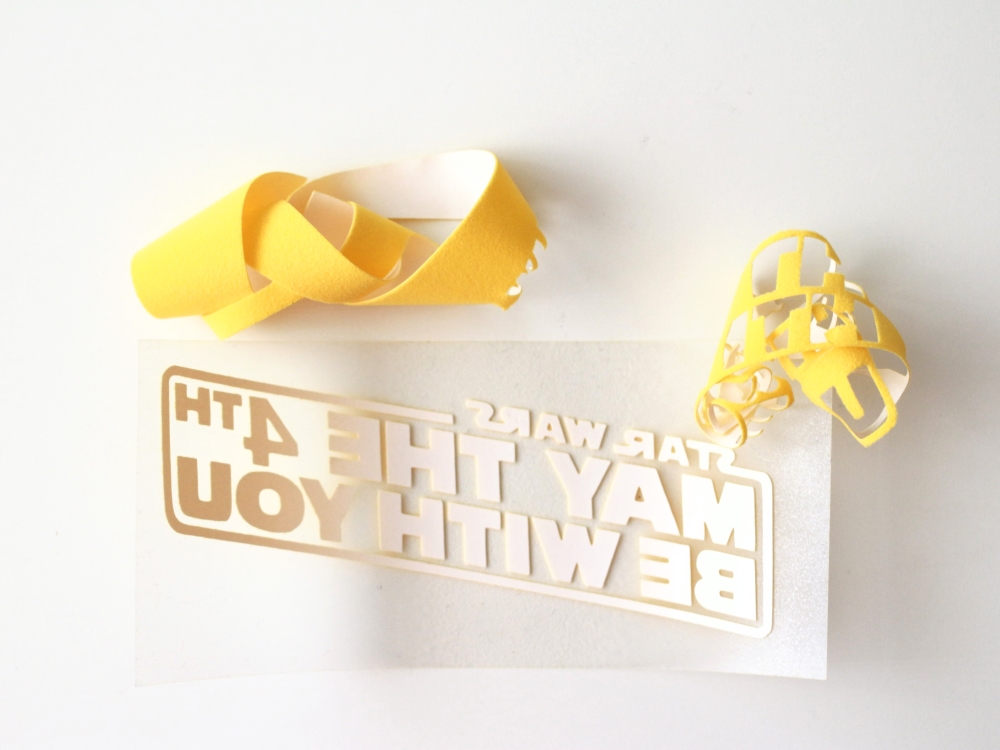
3. Carefully remove the centers of the letters and graphics. The letters can be delicate, so take your time.
Step Three: Creating Your T-shirt
1. Place your design right side up on your t-shirt.
2. Cover with a clean towel.
3. Use your iron (or heat press) to apply firm pressure on top of the towel/design.
4. Test to see if your design has completely transferred by lifting up a corner (carefully!) of the clear sheet.
5. Once the design has transferred, remove the clear carrier sheet.
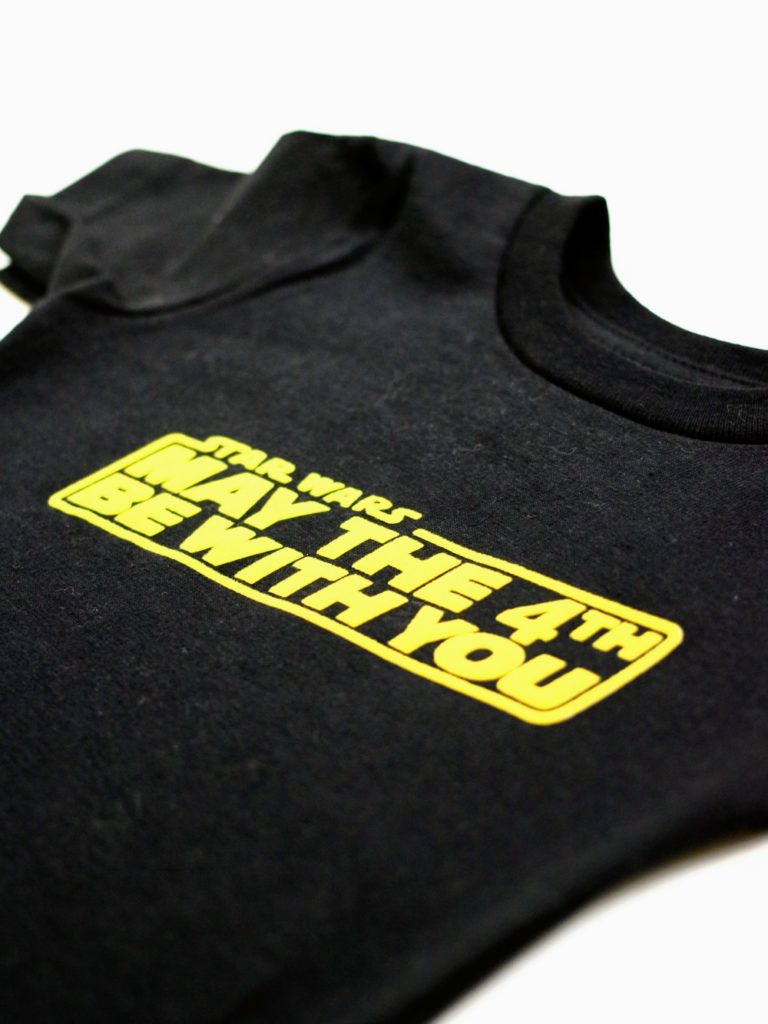
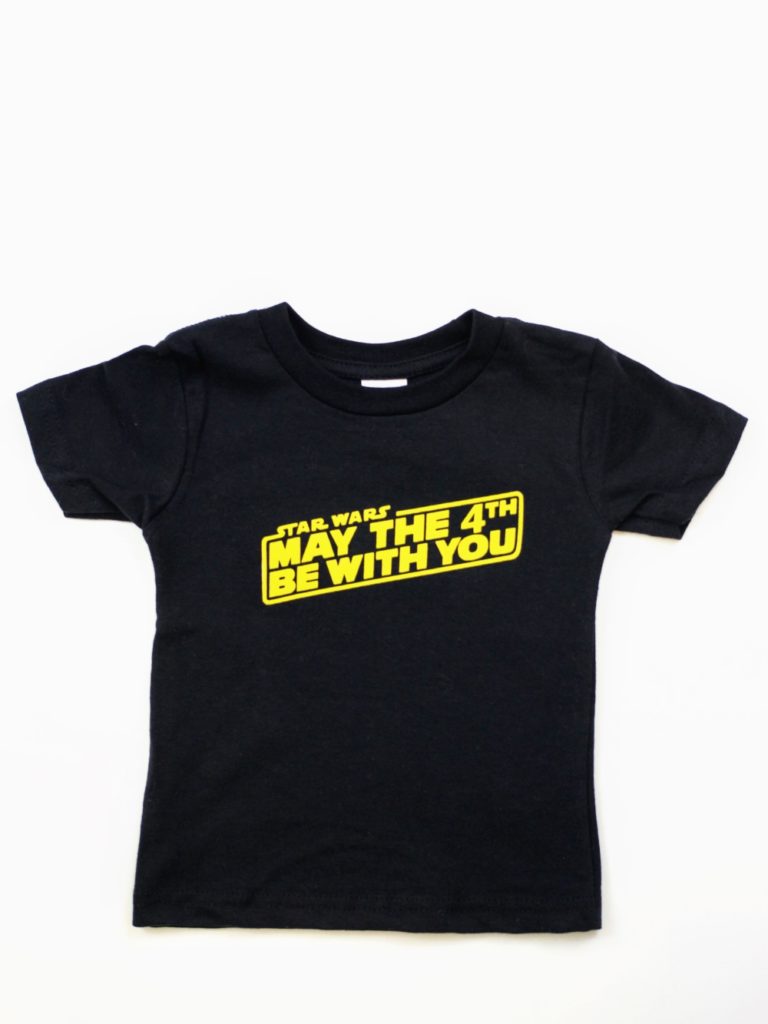
Now you a DIY “May The 4th Be With You” t-shirt that is easy to make for yourself or a Star Wars fan as a gift. Tell me how you will be celebrating Star Wars day in the comments. May the 4th be with you!


