Gold Foil Shamrock Gift Bags with the Silhouette Curio™
| This post may contain affiliate links, which means I may receive a small commission, at no cost to you, if you make a purchase through a link. |
Hi friends! Elise here with another festive way to add gold foil to your St. Patrick’s Day projects with the Silhouette Curio™. I love making custom gift wrap with a little extra shimmer and these Gold Foil Shamrock Gift Bags are the perfect craft for St. Patrick’s Day.

Supplies Needed:
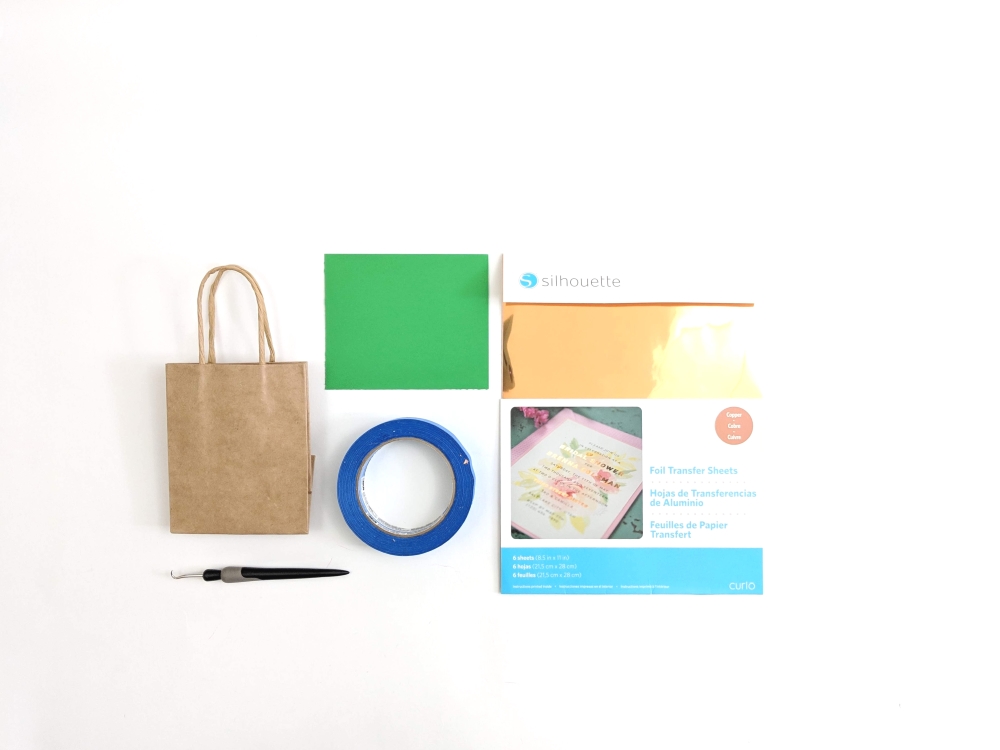
- Silhouette Curio™
- Silhouette Curio™ Embossing Mat
- Foil Transfer Sheets – Copper
- Gift Bags
- Green Cardstock
- Silhouette design # 75118
- Blue Painters Tape
Step One: Creating Your Design
1. Download and open the Silhouette Curio™ software – this is the same software you use if you have other Silhouette cutting machines. Be sure to change your settings to “Curio” – this includes your page size and cutting mat. For this project I selected page size: “Curio Automatic” and the “Curio Emboss” for the cutting mat.
2. Download/open your word art (Design ID #75118).
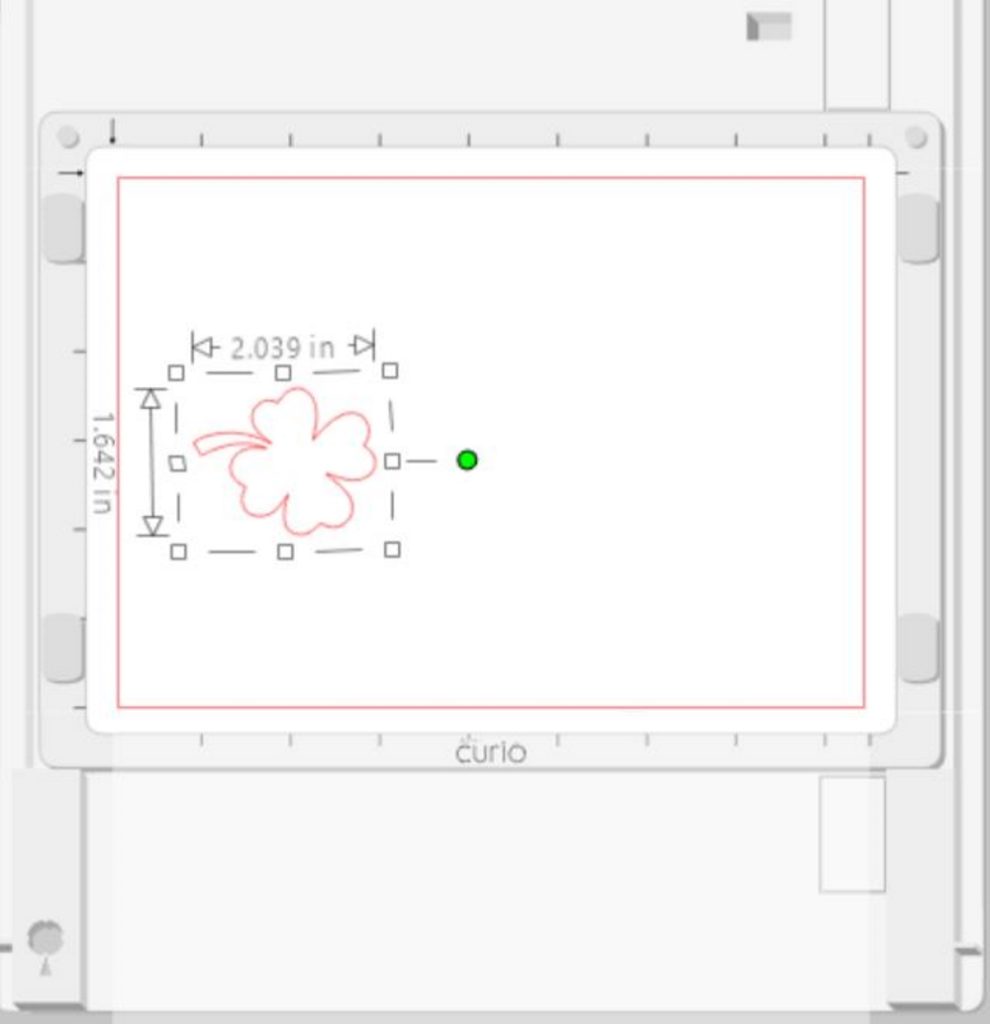
3. I deleted the extra shamrocks by selecting the design, right-clicking, and “ungroup”. Then I could select each shamrock and delete as needed.
4. Click the Emboss icon from the menu on the far right (it is the star on the bottom). You can hover your mouse over each icon to see what they do.
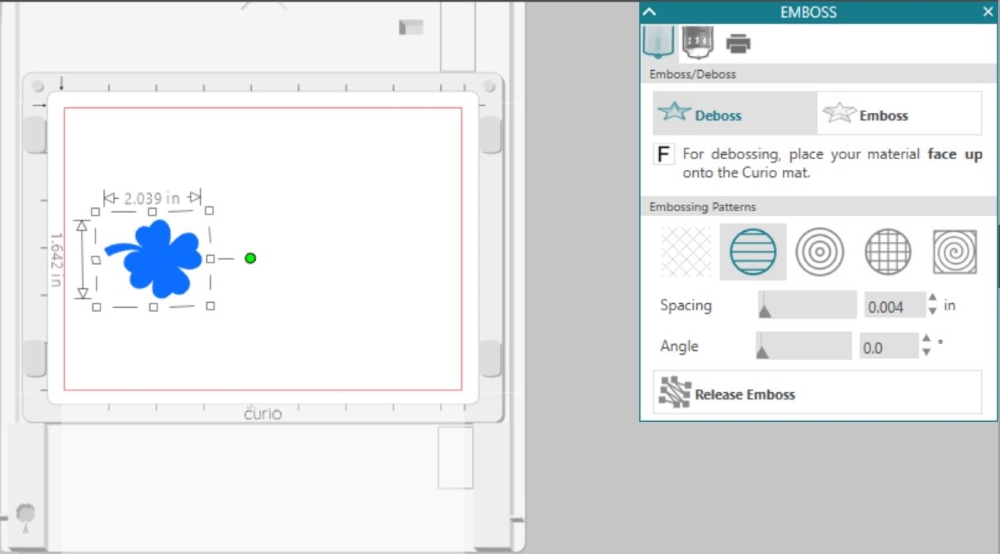
5. Click the circle with the lines from the embossing pattern and reduce the spacing to 0.004.
6. Click the draw icon and make an oval over your shamrock.
Step Two: Embossing and Cutting Your Design
1. Plug in your Silhouette Curio™ machine’s power cord and connect the USB cord from computer to the Silhouette Curio™.
2. Your Silhouette Curio™ will sync and connect.
3. Stack your cutting mats for embossing. I used two of the (2) bases and then the (1) foam base on top. Remove the protective plastic from the foam base.
4. Place your cardstock on the foam mat.
5. Cut a piece of the foil transfer sheet to slightly larger than the size of your design, remove the protective backing, and place on top of your cardstock.
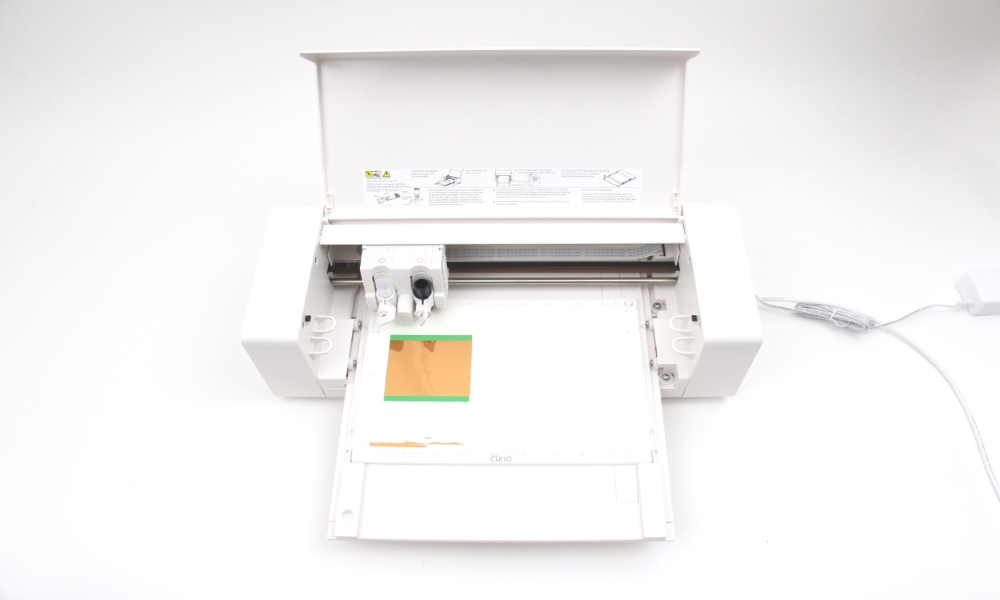
6. Turn on the Silhouette Curio™ and load your cutting mat into the machine. Do this by pushing it all the way in and then press the arrow button on the side of the machine. The mat will move and lock into place.
7. Prepare your Silhouette Software to emboss and cut by selecting “two tools” and adjusting the settings as necessary.
8. Insert your clear embossing tool and your black ratchet blade click send. *I had to change the blade depth since it is cutting through the foil and the cardstock.
9. Remove your cutting mat from the Silhouette Curio™ when embossing and cutting are finished.
Step Three: Finishing your Gold Foil Cards
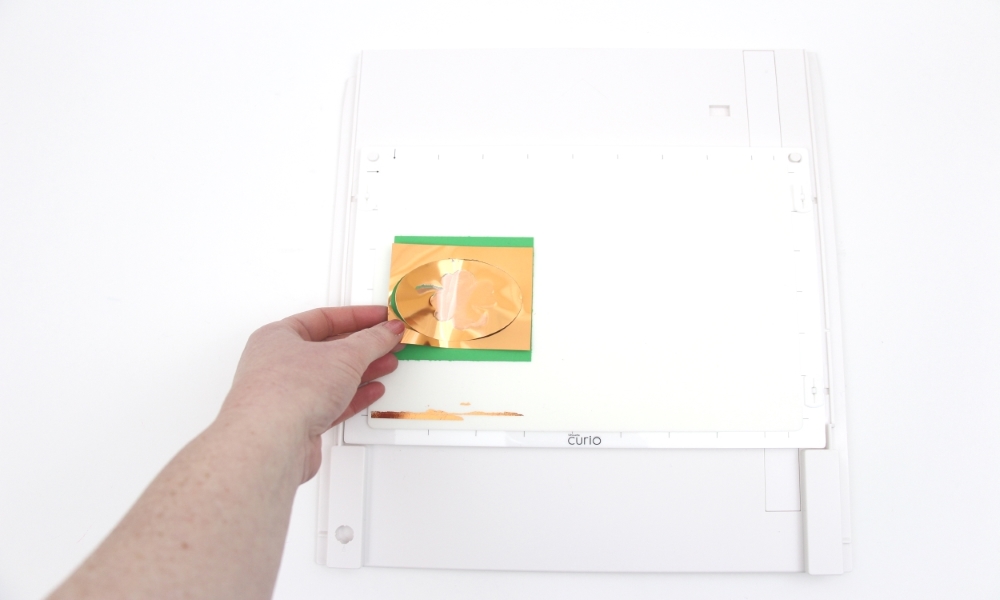
1. Gently remove your shamrock oval from the cutting mat.
2. Remove the foil sheet from the front of your oval. Don’t worry, it won’t look perfect yet.
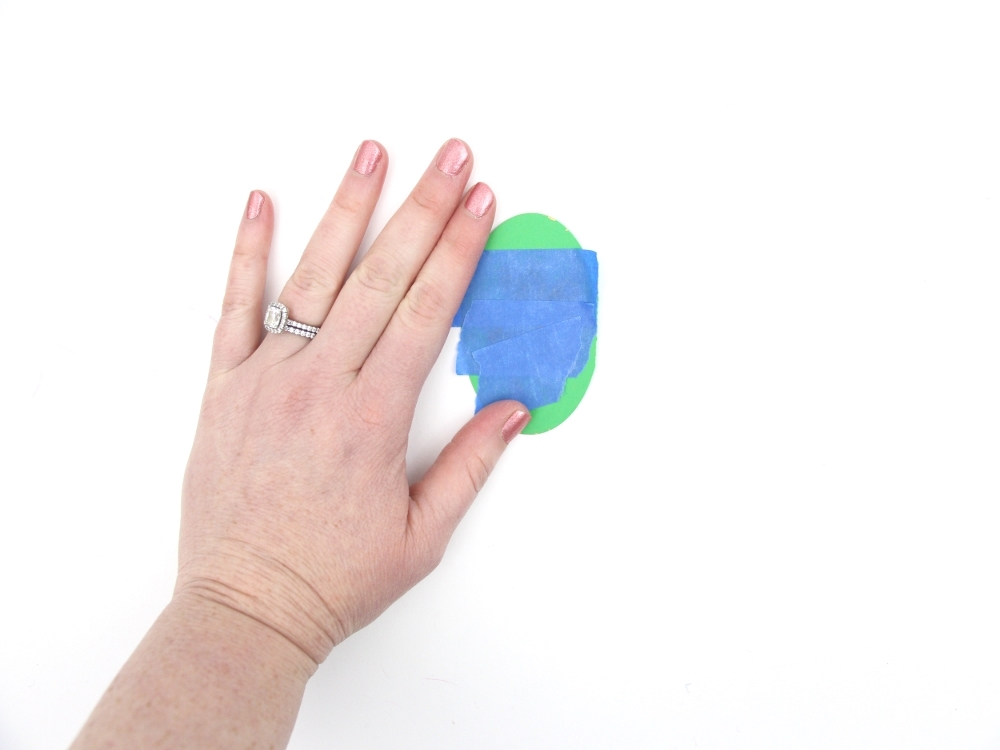
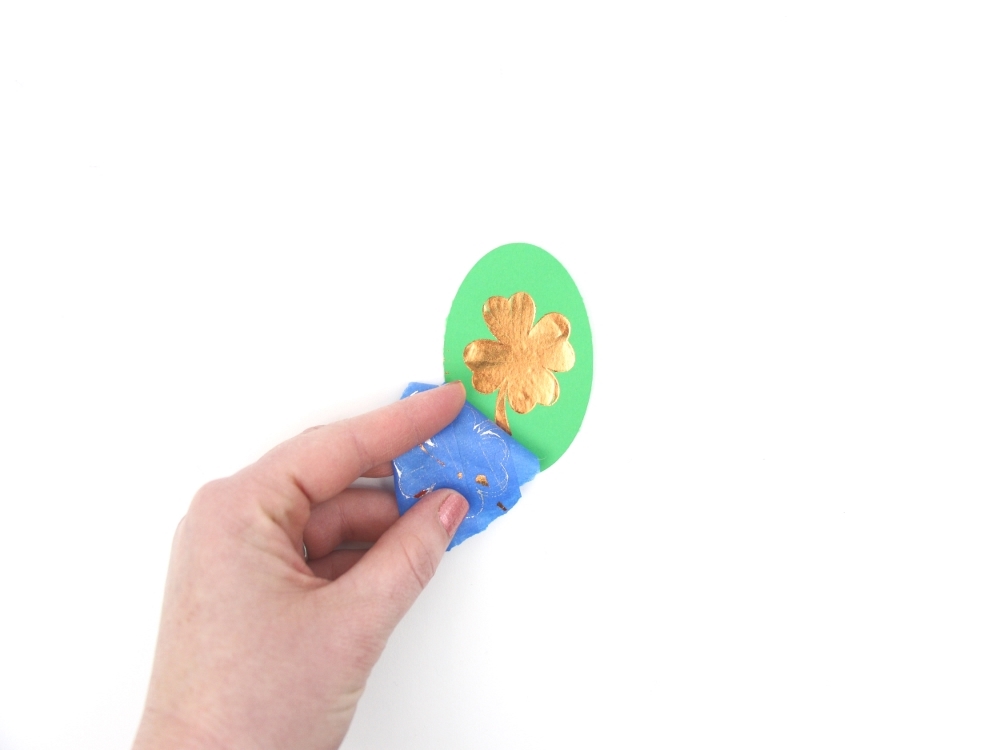
3. Cover your design with painters’ tape and gently remove to clean up the excess foil from your design.
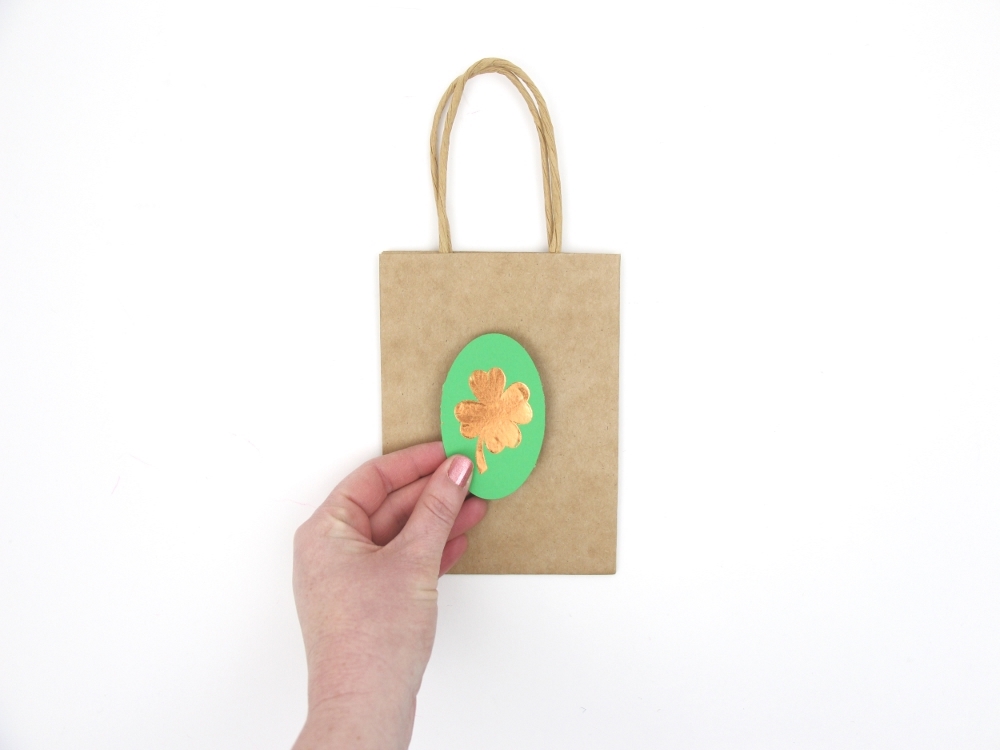
4. Attach the oval to your gift bag to make your foil shamrock gift bag with your favorite adhesive. I used my Tombow tape.

I love that I can make custom gift wrap bags anytime I want with my Silhouette Curio™ and some Foil Transfer Sheets.


