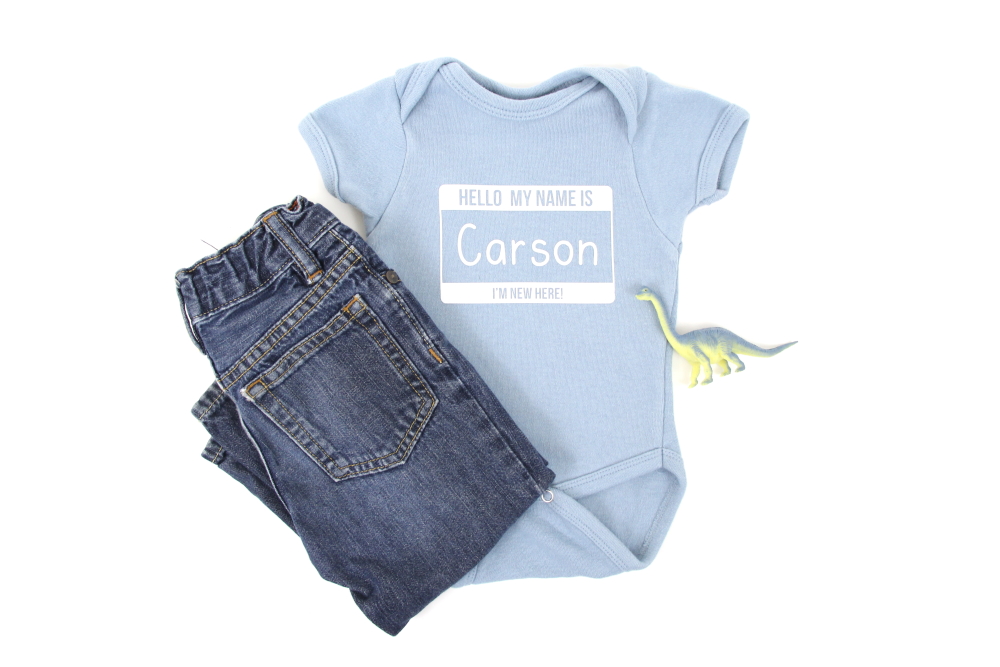
Hello, My Name Is Baby Bodysuit
| This post may contain affiliate links, which means I may receive a small commission, at no cost to you, if you make a purchase through a link. |
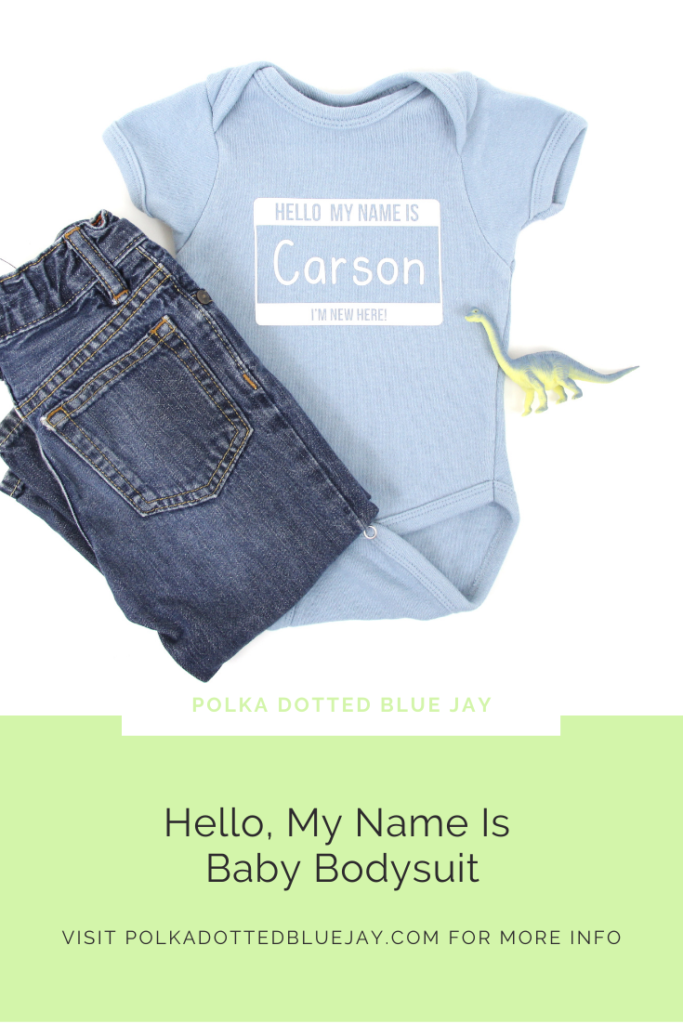
I made a really cute gift for one of my Fab Five friends who just welcomed a second baby boy into her family and love the idea of making a custom “Hello, My Name Is” Baby Bodysuit with the baby’s name filled in. I know those work event badges are kind of cheesy, but they’re just too perfect for a newborn baby.
My 20’s were filled with the Fab Five girls. Our 30’s have looked so different; we’re all married, have children, and live much too far from each other to get together. Gifts have to be sent in the mail and encouragement through text messages or Instagram. I so wish I could be there in person to bring a meal or offer help in some way when a new baby is added to the mix – but a custom baby bodysuit will just have to do. Check out the airplane-themed baby shower gift I put together in 2018 for my friend’s first baby.
How to make a “Hello, My Name Is” Baby Bodysuit with a custom name inserted for a newborn in your life.
Estimated Time: 15 Minutes
Skill Level: Beginner
Supplies Needed:
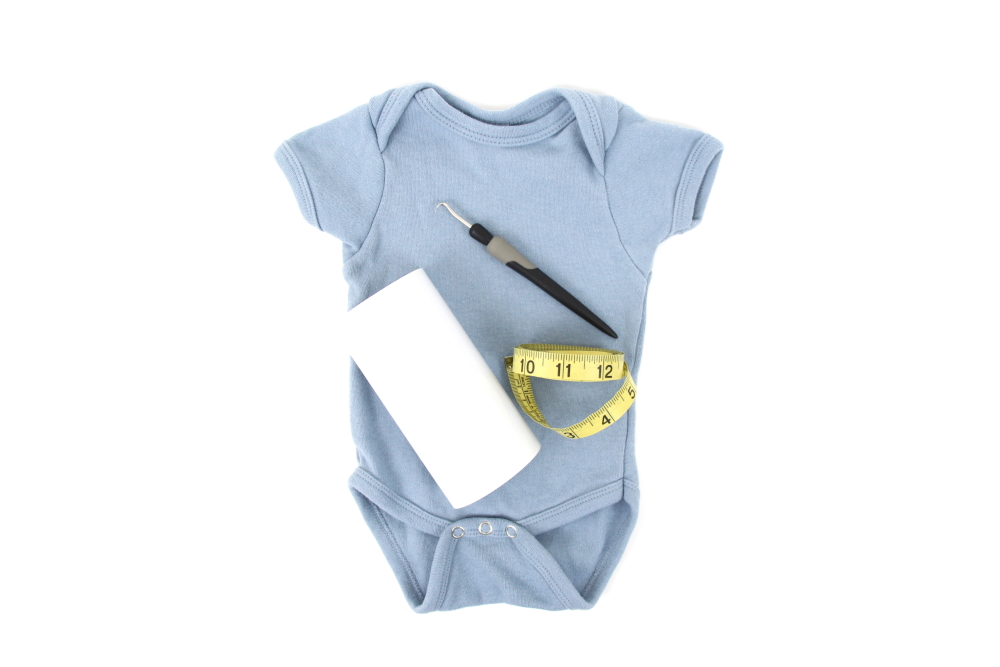
- Silhouette CAMEO®
- Silhouette Cutting Mat
- Weeding Hook
- Silhouette Studio – use the Business Edition to make importing SVGs easy
- Heat Transfer Vinyl – White Matte
- Plain Baby Bodysuit
- Iron or heat press
- Hello My Name Is Design from the Silhouette Design Store
Step One: Creating Your “Hello, My Name Is” Baby Bodysuit Design:
Open Silhouette Studio®.
In the Page Setup Window and adjust your cutting mat size to 12×12 (or the sized mat you are using).
First, you need to purchase and download your design from the Silhouette Design Store.
Next, open your design in Silhouette Studio. Click File>Library>Library>Recent Downloads. This badge needs to be layered together in the software. Click the design and ungroup by right-clicking and selecting “ungroup”.
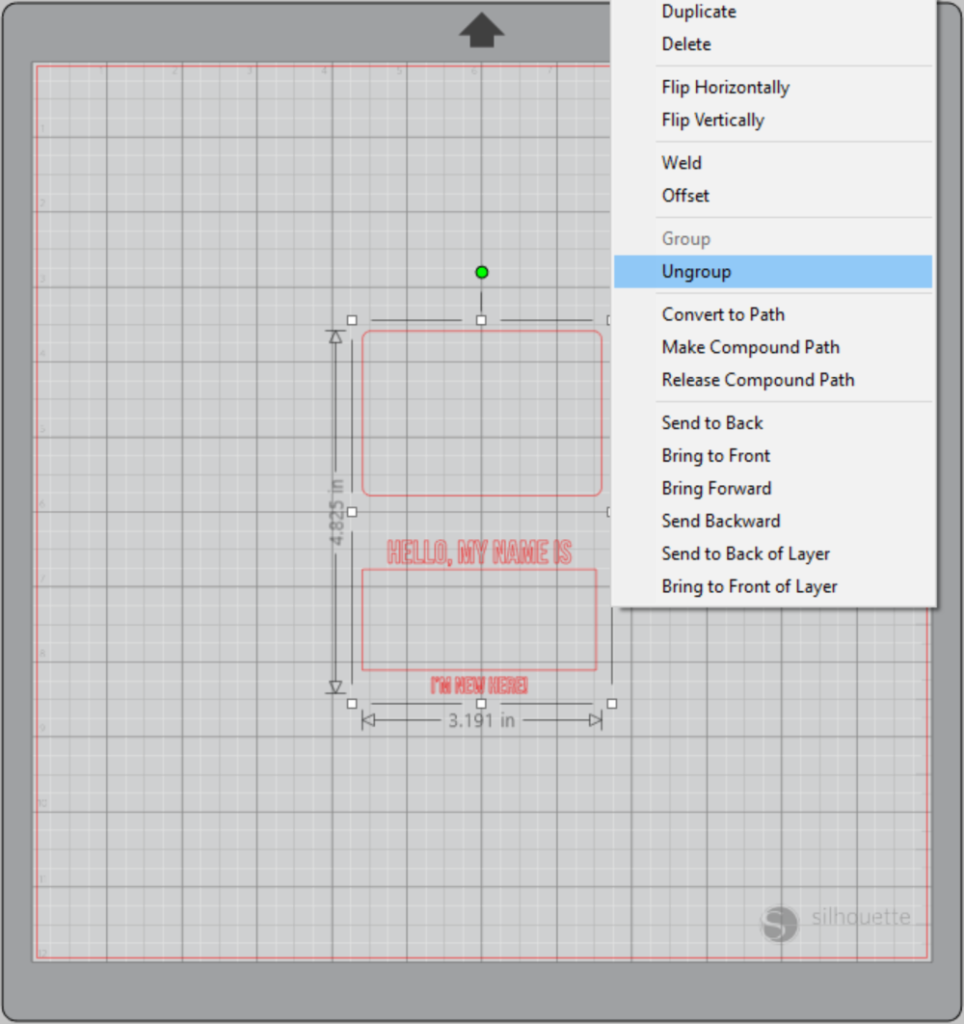
Re-group the bottom half of the design.
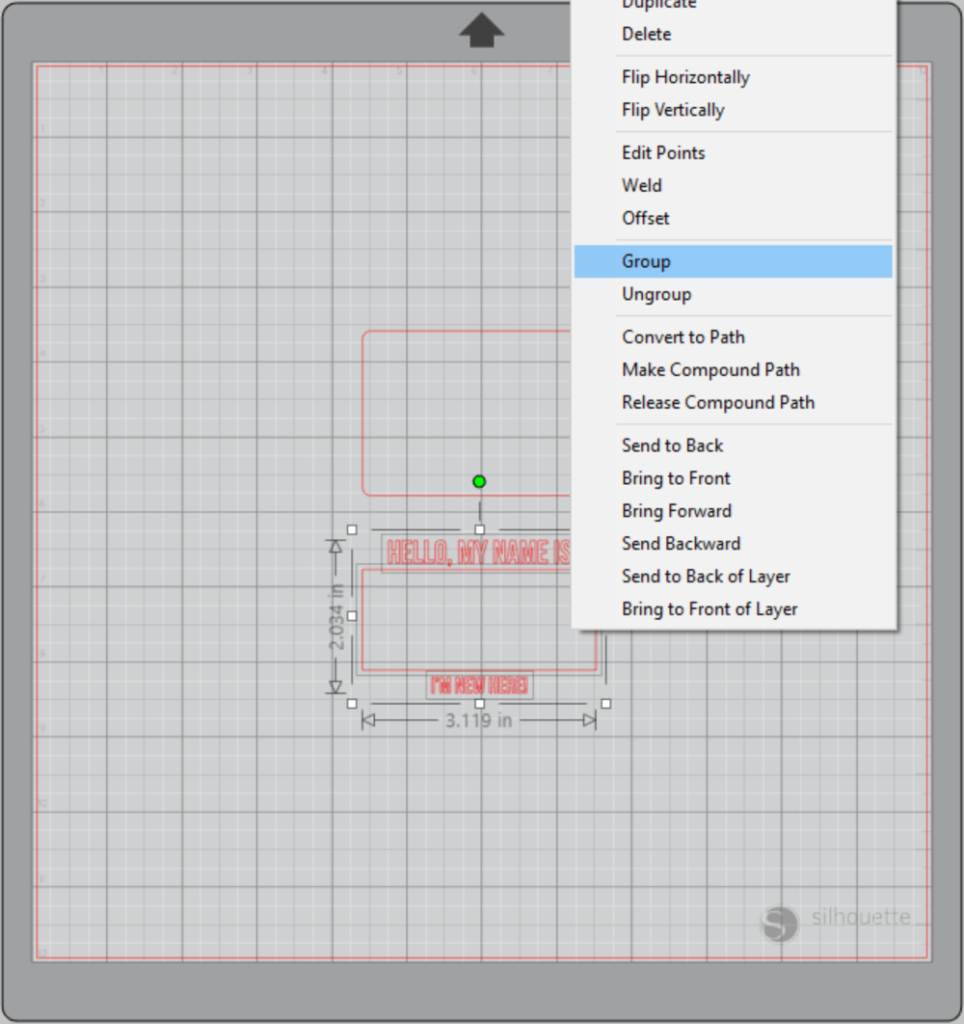
Afterward, highlight the top rectangle and select Object > Align > Align Center-Middle
Repeat for the bottom part of the design; highlight the grouped design. Object > Align > Align Center-Middle.
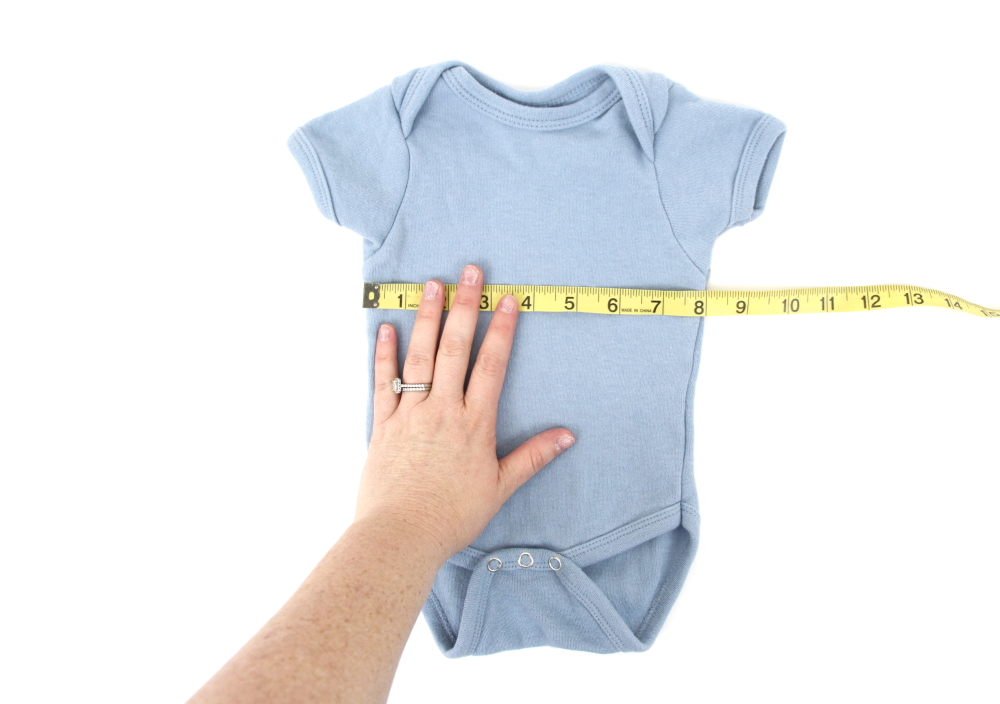
Measure your bodysuit and re-size your design to the correct space on your 12×12 template – be sure to click and drag to select the whole design to keep everything lined up.
Step Two: Customizing Your Baby Bodysuit:
After you have your badge design, you will need to add the baby’s name to the design. Click the text tool from the left toolbar and type the baby’s name in the badge.
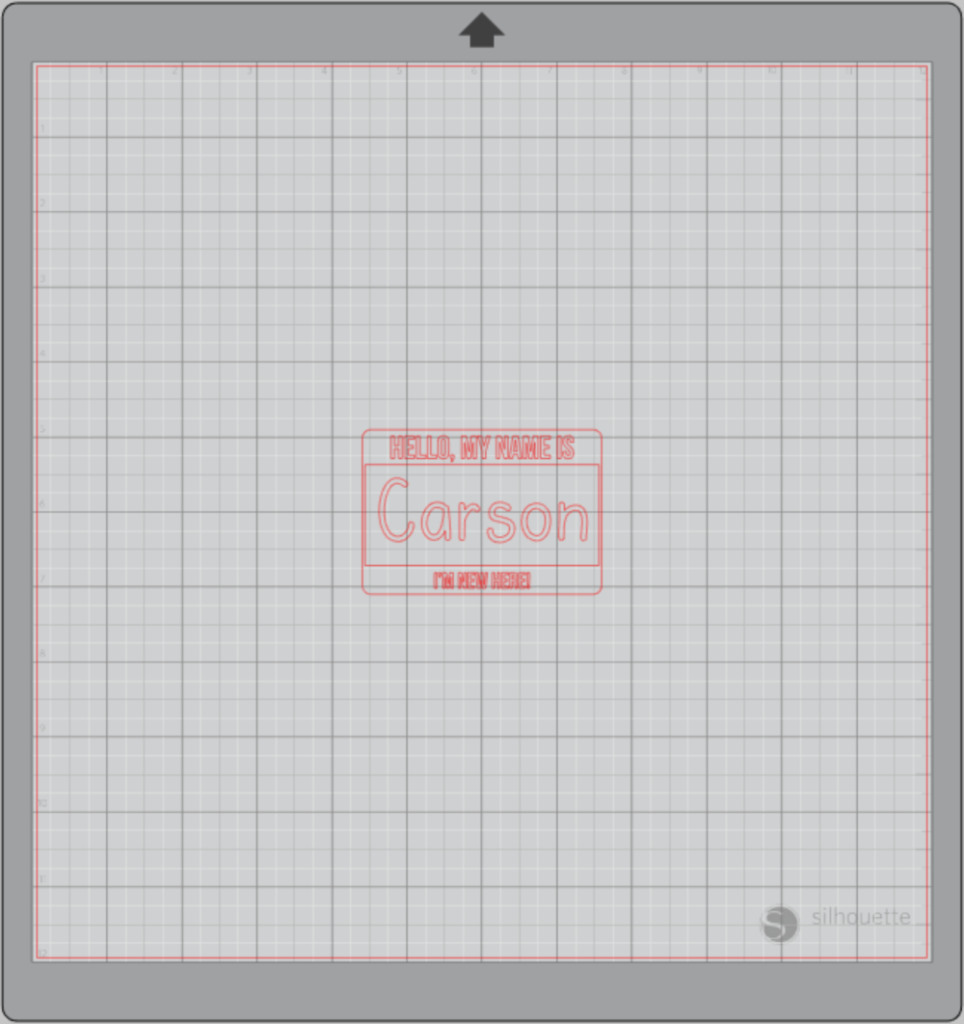
Highlight the name and change to the font you would like the name to be. You may have to adjust the size based on the font you choose as well.
Center the name in the middle of the Hello Badge.
Group all the elements together by selecting the design, right-clicking, and selecting “group”.
Step Three: Cutting Out Your Heat Transfer Decal:
Flip your design so it appears backward for Heat Transfer Vinyl – this is called “mirroring” your design. Highlight your design, right-click, and select “flip horizontally” to mirror it.
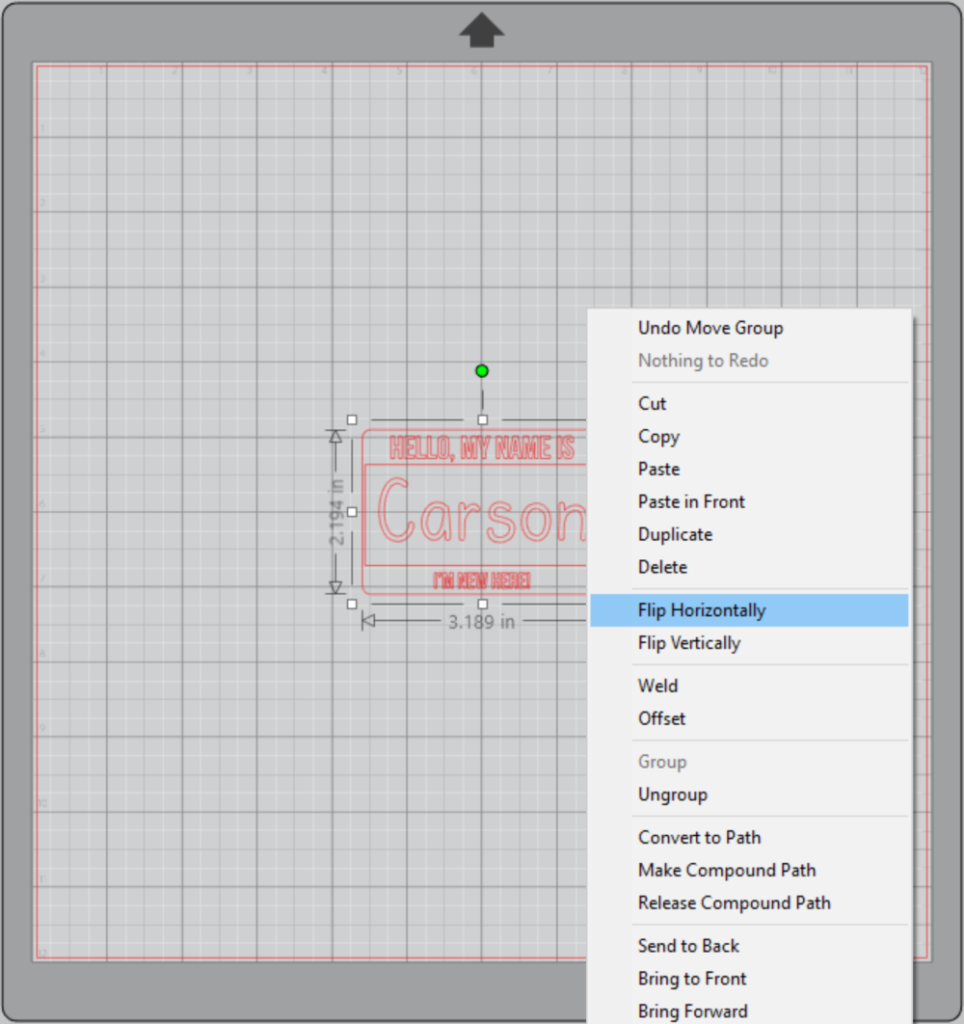
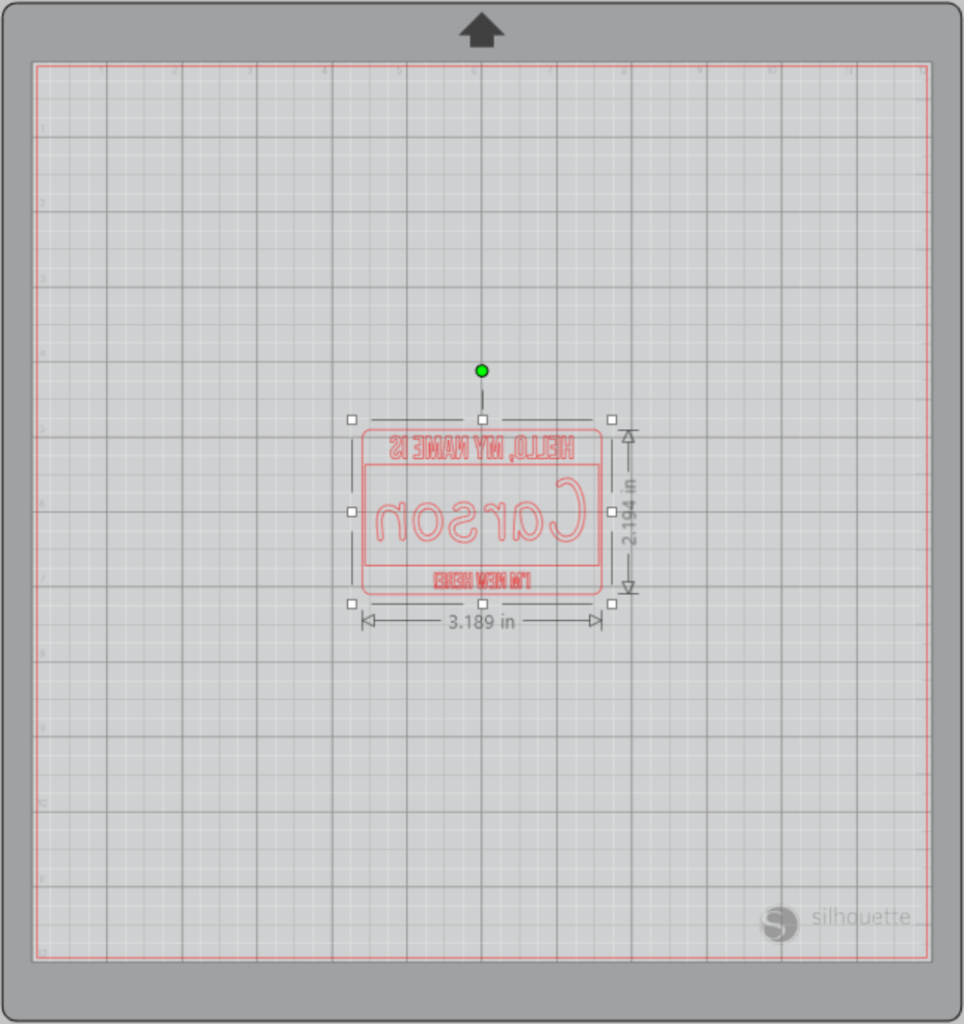
Then position your design on your cutting mat where you will place your heat transfer vinyl. I usually put mine in the top left corner to make sure I don’t waste any vinyl.
Select “Send” to prepare to cut.
Follow the prompts in the Design Studio for Heat Transfer Vinyl (or the type you are using for your project) and double-check to make sure your design has been selected to cut.
Load your heat transfer vinyl into your Cameo 4 with the color side face down on the mat.
Click “Send”.
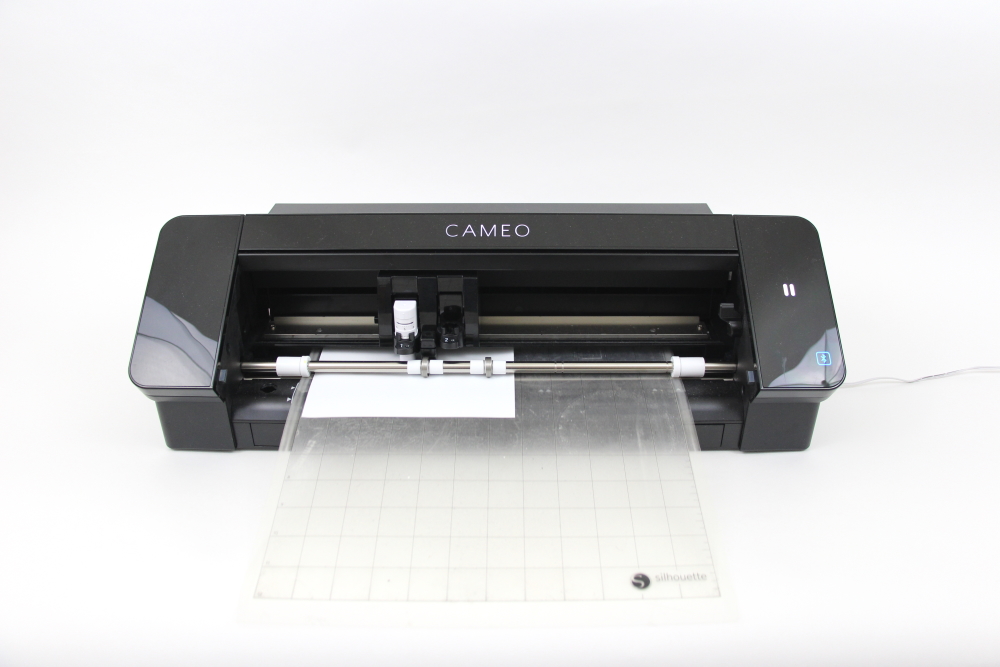
Press the down-arrow when your machine has finished cutting your design to remove the cutting mat from the machine.
Step Four: Weeding Your Decal:
Remove your sheet of Heat Transfer Vinyl from the cutting mat – go slow so it doesn’t curl up or tear.
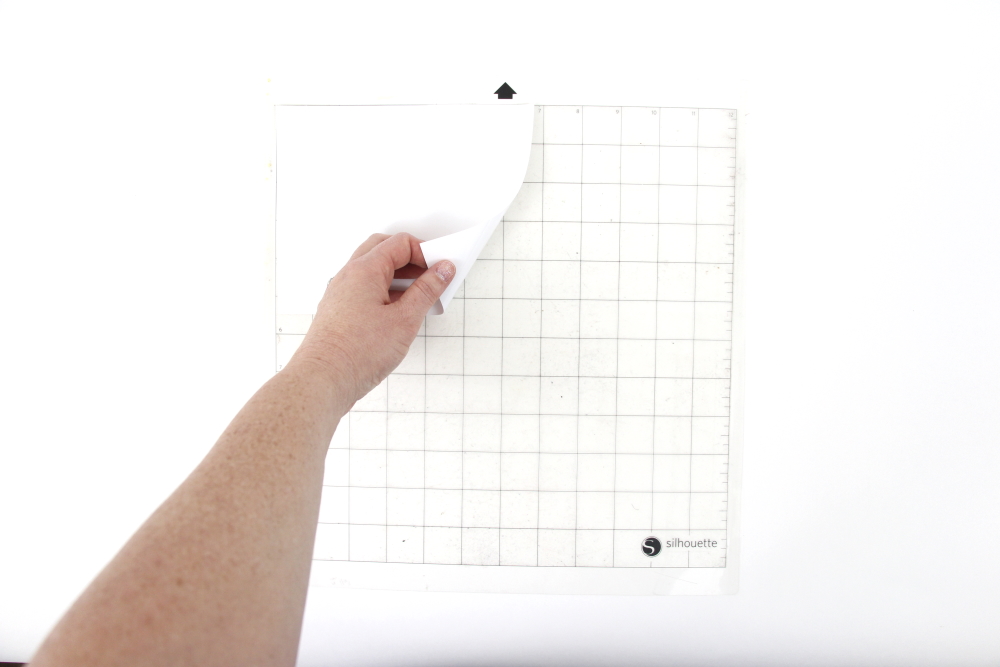
Use your fingers or a weeding tool to remove the excess vinyl. Be sure to leave your design on the clear carrier sheet.
Step Five: Creating Your “Hello, My Name Is” Baby Bodysuit:
Pre-heat your bodysuit – use your iron or heat press to warm up the fabric for a better transfer.
Place your design on your bodysuit right side up (this is the reason you mirror your design for cutting).
Heat the design for the recommended time for the HTV you’re using. Use steady pressure.
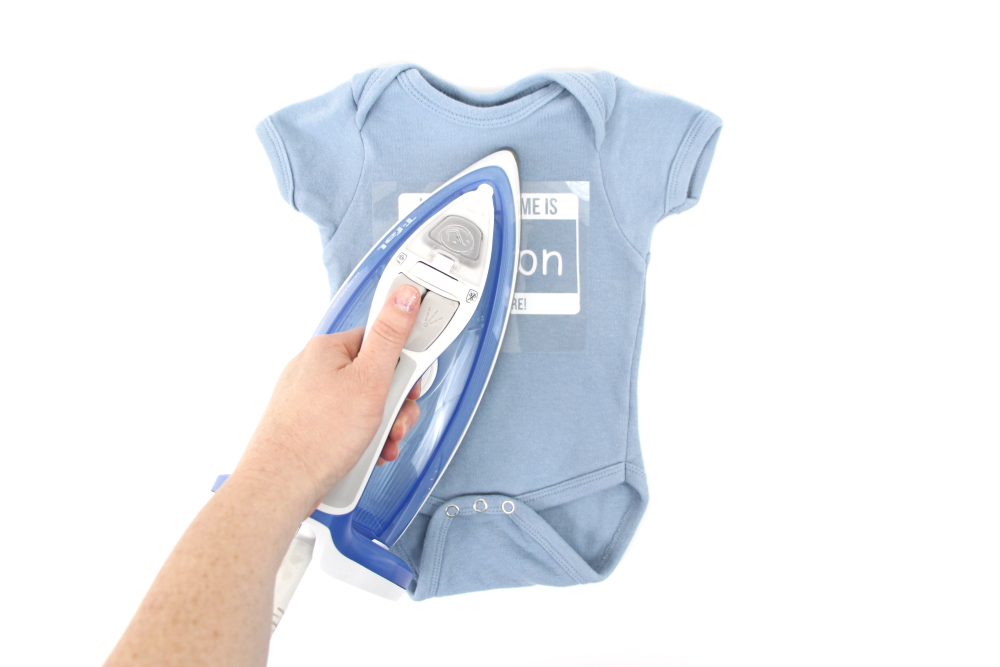
Peel back the clear carrier sheet. Some Heat Transfer Vinyl requires a hot or cold peel – always follow the recommended peel for your heat transfer vinyl. Tip: pull from a corner and not the side to make sure each part of the design transfers completely to your bodysuit.
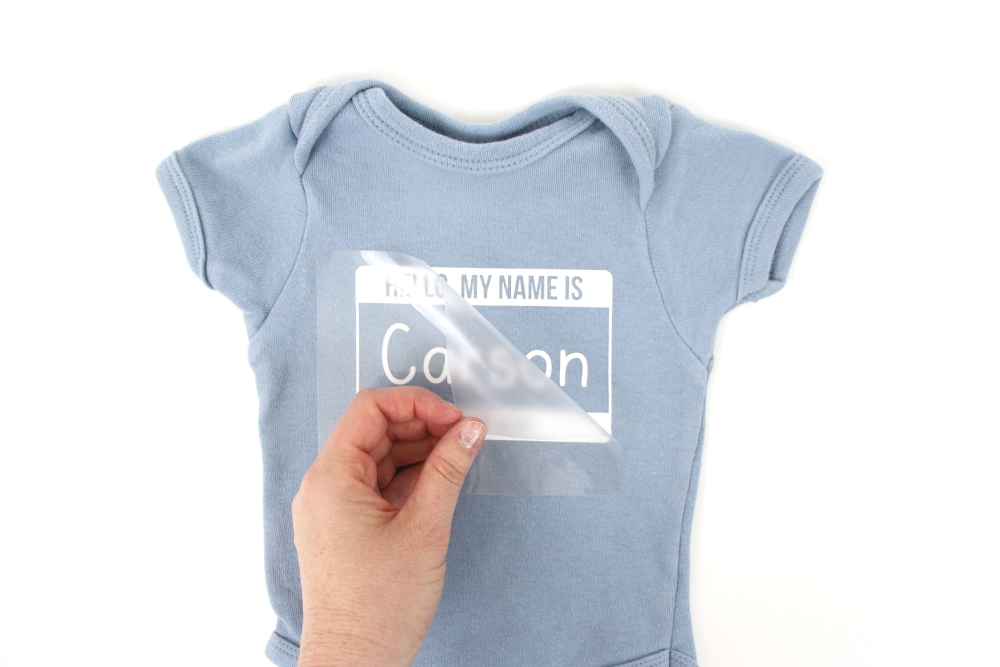
Flip your t-shirt over and give it a 10-second press to activate the adhesive.
With all the elements applied, allow it to cool, your Hello Badge Baby Bodysuit is ready for gifting!
This custom Hello Badge Baby Bodysuit would be such a great gift if the mama-to-be is sharing the baby’s name. If the baby’s name hasn’t been decided before a baby shower, you can send a welcome gift with a congratulations card!
Other baby-themed projects:


