How to Organize Small Business Expenses – Receipt Box
| This post may contain affiliate links, which means I may receive a small commission, at no cost to you, if you make a purchase through a link. |
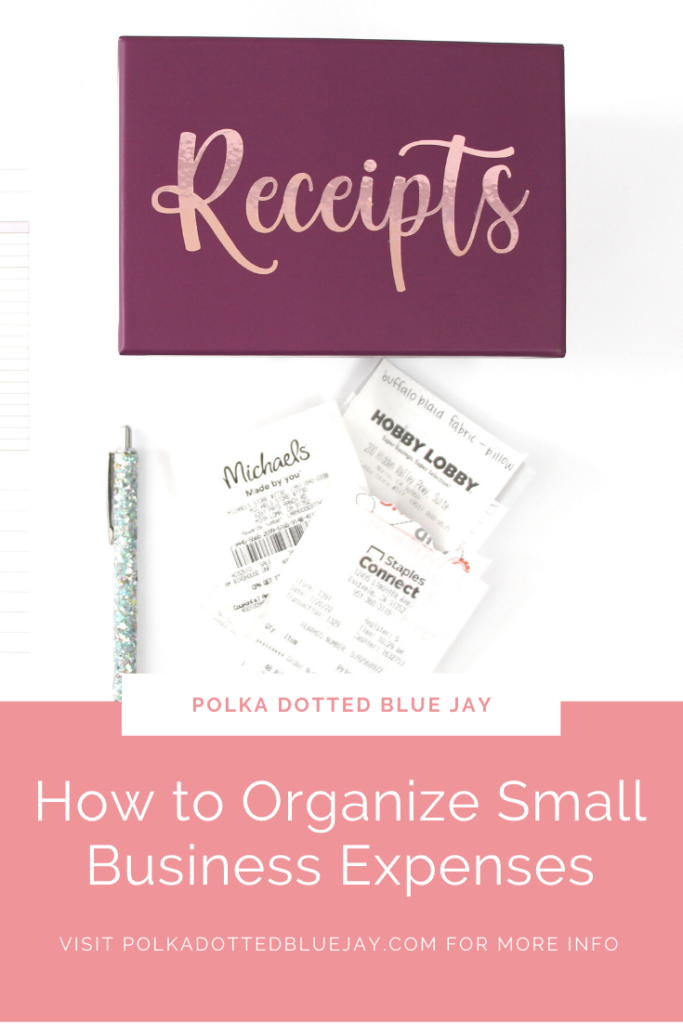
Have you set up an Etsy shop or sold something on Instagram but have no idea how to organize your small business expenses? I have the solution and the craft project to help you today with this adorable receipt box to organize your small business expenses.
If you have ever received the advice to organize your receipts as soon as you get home, I am here to free you from that rule. I don’t know about you, but when I get home with my craft store haul, I am generally off to make dinner for my family or tend to 100 other family needs. I am definitely not sitting down to log my small business expenses as soon as I walk in the door.
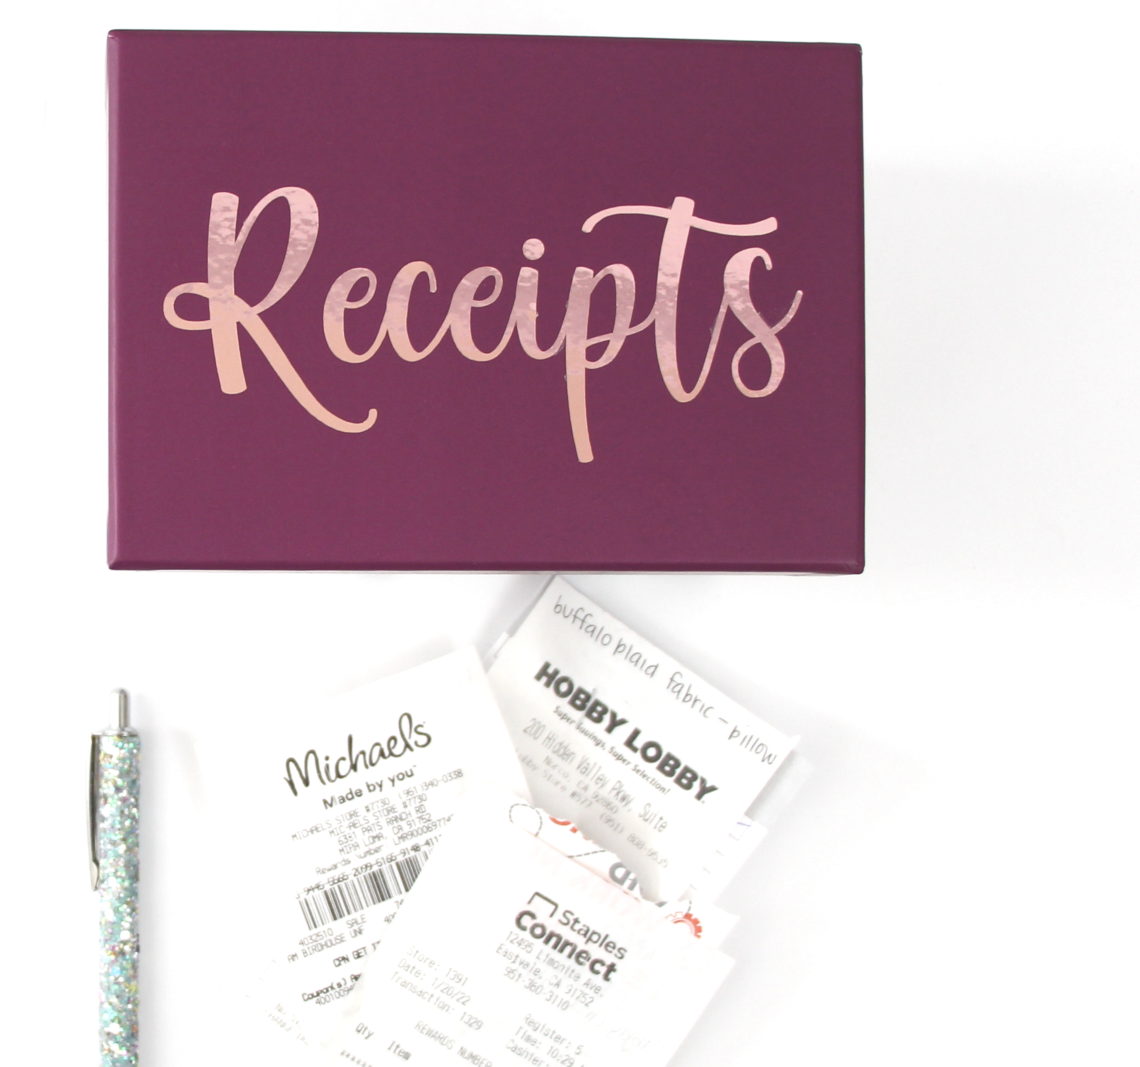
This system for organizing your receipts will help you stay organized while also being able to batch work when it comes to your expenses. I created this beautiful receipt box (tutorial below) to store my receipts as I accumulate them throughout the month. If needed, I add a post-it to the back of the receipt to list the items I purchased or any additional information I may not remember a week later. Then, once a month, I take out all my receipts and follow the steps in A Beginner’s Guide to Bookkeeping to log them and organize my small business expenses.
Estimated Time: 10-15 Minutes
Skill Level: Beginner
Supplies Needed:
- Silhouette CAMEO®4
- Silhouette Cutting Mat
- Weeding Hook
- Silhouette Studio
- Adhesive Vinyl – Rose Gold
- Transfer Tape
- Mini Photo Box
- Kismet Font
Step One: Create Your Receipts Decal:
Open Silhouette Studio®.
Select the Page Setup Window and adjust your cutting mat size to 12×12 (or the size mat you are using).
Purchase the Kismet font from the Silhouette Design Store and open it in the Silhouette Software. Click File>Library>Library> Fonts from the menu>Double click your file.
Click in the cutting mat guide on your screen and type “Receipts”. Use your mouse to highlight the whole word, right-click, and select “weld” from the menu. Using the weld function is a MUST when you use a script/cursive font; it connects all the letters together instead of cutting each one out individually.
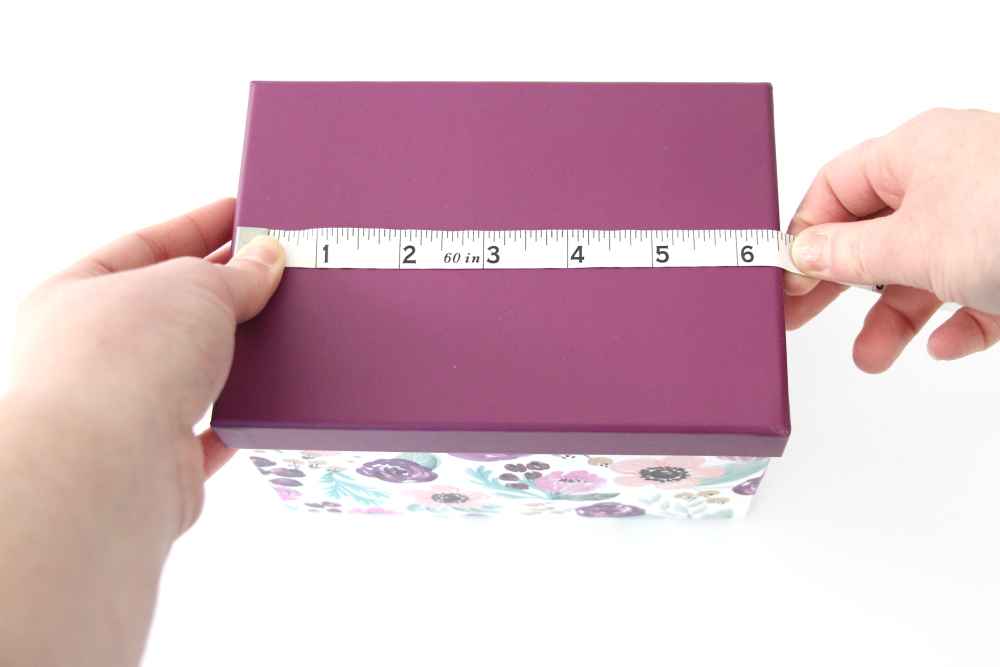
Measure your box and re-size your decal to the size you would like.
Don’t want to create your own label? I have this “Receipts” cut file available for you in the freebie library!
How To Get The Receipts SVG:
Click here to subscribe to the free cut file library and Polka Dotted Blue Jay newsletter.
Once subscribed you will get a welcome email with a link to the freebie library and the password to access the files.
Find the Little Lassie file and click the image to download it to your computer.
If you’ve already subscribed but can’t remember the password, check your inbox for a newsletter email. The link and password are always included when you get an email from me.
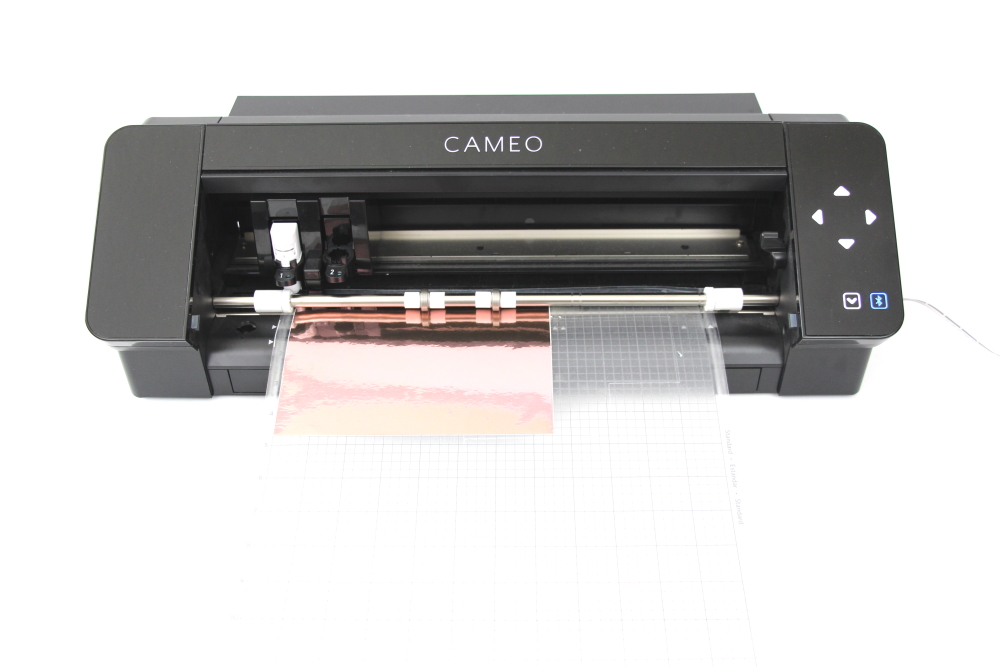
Step Two: Cutting out your Receipts Decal:
Turn on your Silhouette Cameo 4.
Attach your Adhesive Vinyl to the cutting mat, color side up, and load into your machine by lining up the mat on the guidelines and pressing the “up” arrow on the touch panel.
Follow the prompts in the Design Studio for the type of Adhesive Vinyl you’re using and double-check to make sure your design has been selected to cut.
Click “Send” in the design studio to start cutting.
Press the “down” arrow on the Cameo 4 touch panel when your machine has finished cutting your design to remove the cutting mat from the machine.

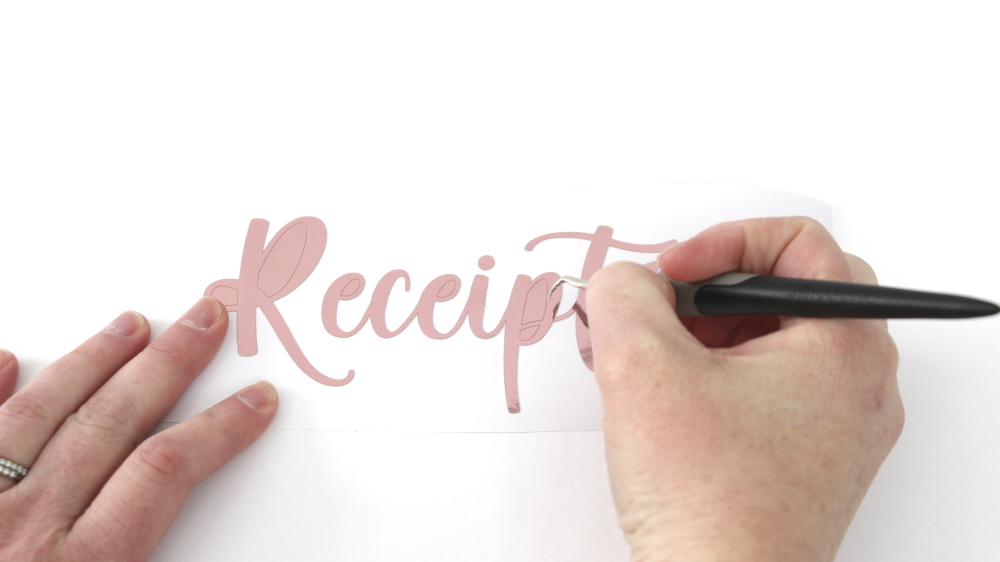
Step Three: Preparing Your Receipts Decal:
Remove your Adhesive Vinyl from the cutting mat – go slow so it doesn’t curl up.
Use a paper trimmer to cut away the vinyl you won’t be using. Don’t waste any valuable vinyl.
Peel away the excess vinyl with your fingers or a weeding tool. Be sure to leave your design on the white backing sheet and get be sure to get the vinyl out of the loops and middles of your letters.
Step Four: Creating Your Receipts Box to Organize Small Business Expenses:
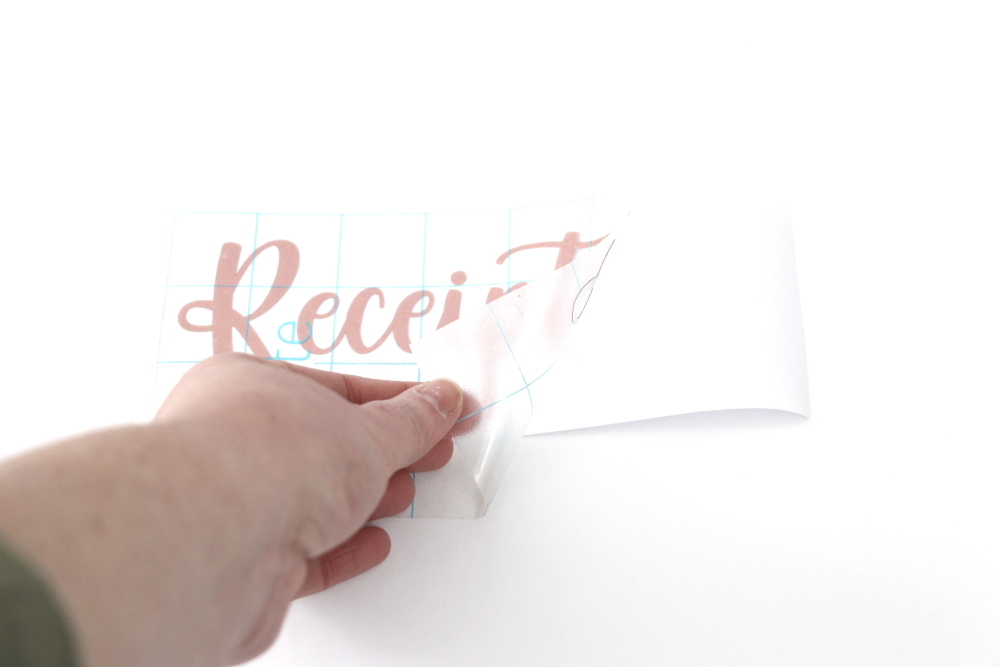
Place a piece of transfer tape over your decal.
Scrape the top of the transfer tape with your scraping tool (or a credit card) to make sure the design adheres to it.

Gently pull transfer tape up away from the backing sheet and make sure the entire decal lifts with it.
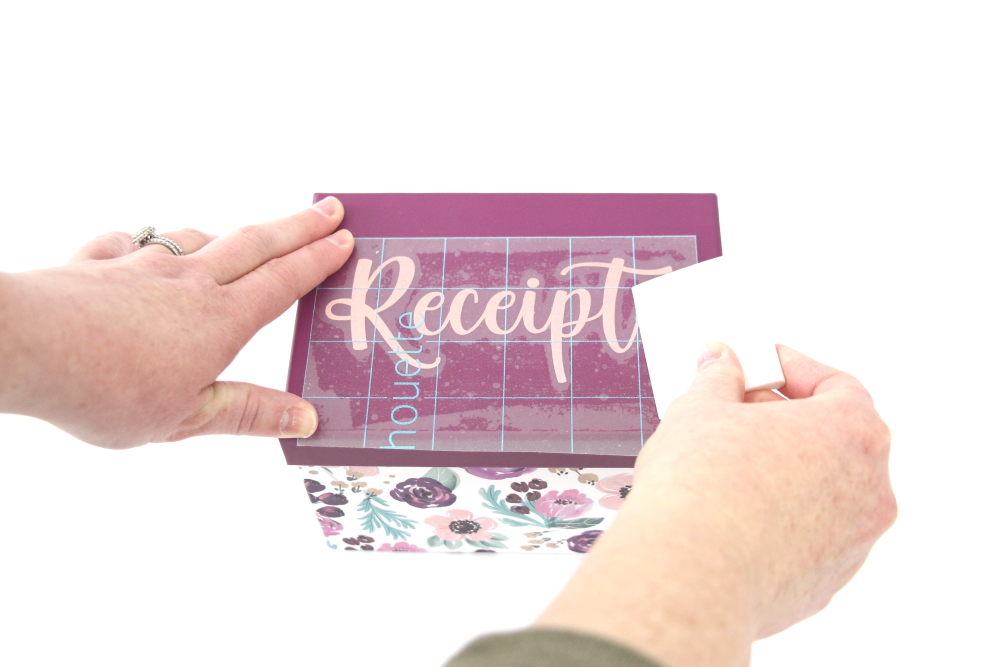
Center your decal on your box and press it down from left to right.
Finally, remove the transfer tape from your box. Tip: pull from a corner and not the side to make sure each part of the design transfers completely to your box.
Don’t forget to grab A Beginner’s Guide to Bookkeeping to help you with the next steps as you organize your small business expenses.
Want some DIY help with bookkeeping? I have an ebook that will walk you through some of the basics!
Click here to buy your copy of A Beginner’s Guide to Bookkeeping.
Once you complete your purchase, you will receive a receipt/email with the links to download the e-book and the additional attachments. Save them to your computer so you can edit and print as you would like.
Have some questions you would like to ask me one-on-one? I am now offering zoom or phone call appointments!
Click here to book an appointment
Need some help with how to price your products for profit?
Click here to download my free Etsy Pricing Guide.
I am rooting for you, friend. Now get out there and build that empire!