
Patriotic Gift Wrap with Silhouette Mint™
| This post may contain affiliate links, which means I may receive a small commission, at no cost to you, if you make a purchase through a link. |
This Patriotic Gift Wrap with Silhouette Mint™ is the perfect kid craft! Seriously, it is so much fun to make custom stamps in just a couple of minutes and watch the stamp come out of the machine. Just think of all the designs you could put on a stamp and then use to make custom gift wrap, tissue paper, tags, or cards!
My Patriotic Gift Wrap would be perfect for a treat bag with sparklers, a cookie, or glow sticks.
Estimated Time: 20 Minutes
Skill Level: Beginner
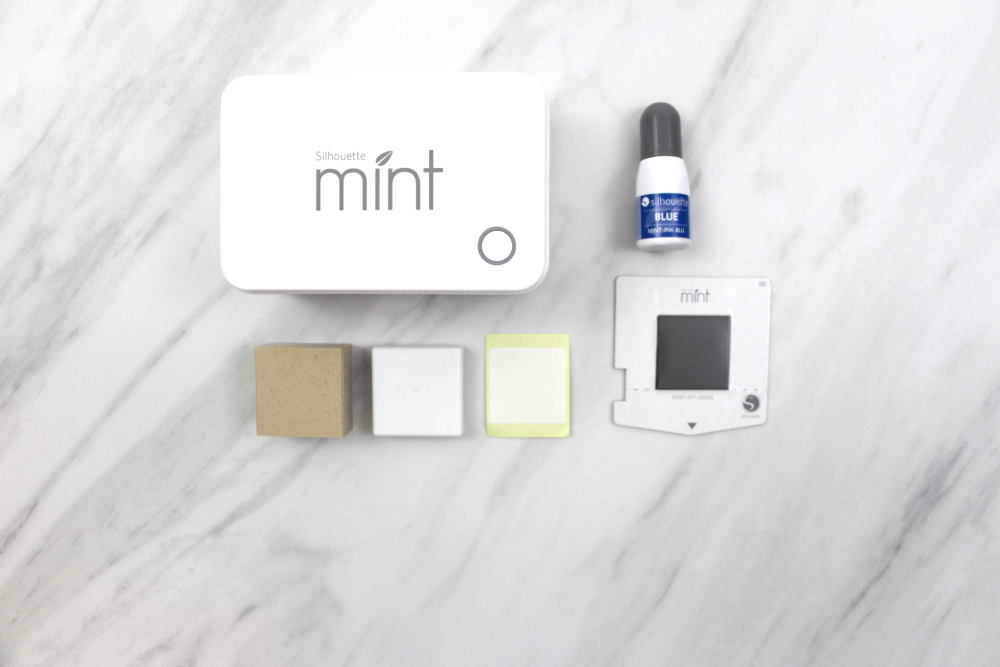
Supplies Needed:
- Silhouette Mint™
- 30×30 Stamp Kit (if you already have a stamp block, just get an additional stamp sheet set)
- Mint Ink – Blue
- Kraft Paper Gift Bag – make sure it isn’t glossy
- Star Design – I used one star from this design
- Silhouette Mint™ Software – this is different from the software you use with your Cameo
Step One: Download the Silhouette Mint™ Software:
Download and install the Silhouette Mint™ software for FREE. This is a different program than the one you use with your Silhouette Cameo.
Open the software and select “Library” to sign in to your existing Silhouette Design Store account.
Purchase the star design from the Silhouette Design Store.
Now, you will need to access your designs and download them to the Silhouette Mint™ program. Click File>Download Pending Orders>Sign into your account and click download.
Step Two: Designing Your Star Stamp:
Select the size stamp you will be making from the menu on the right. The screen will automatically change when you select the size. My stamp is 30 mm x 30 mm.
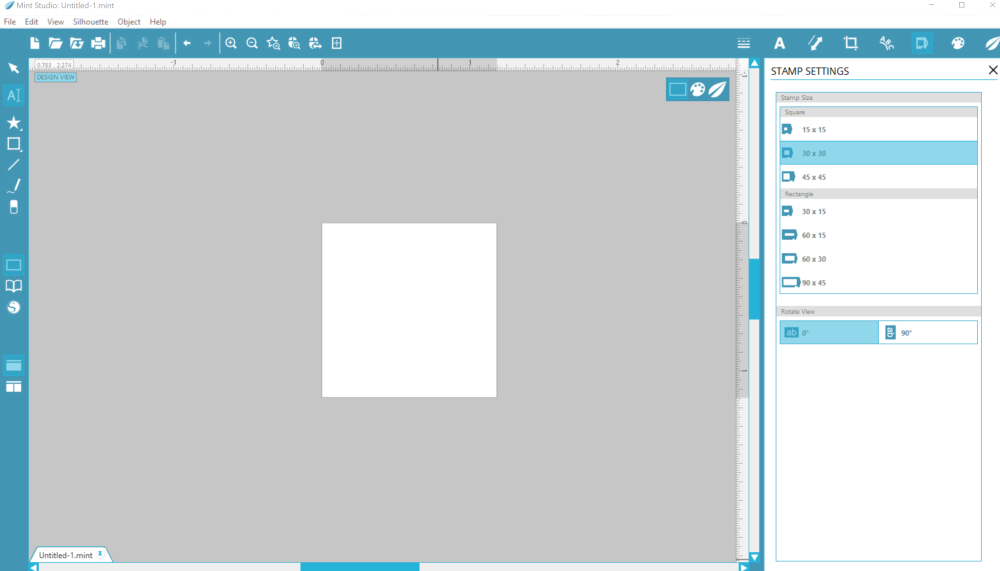
Locate your design by selecting File>LIbrary>Library>Recent Downloads and select your design.
Resize your design to fit within the white square.
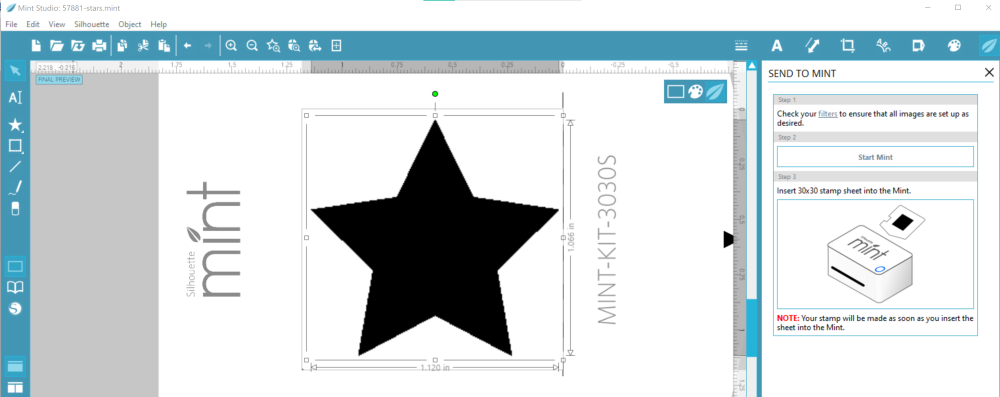
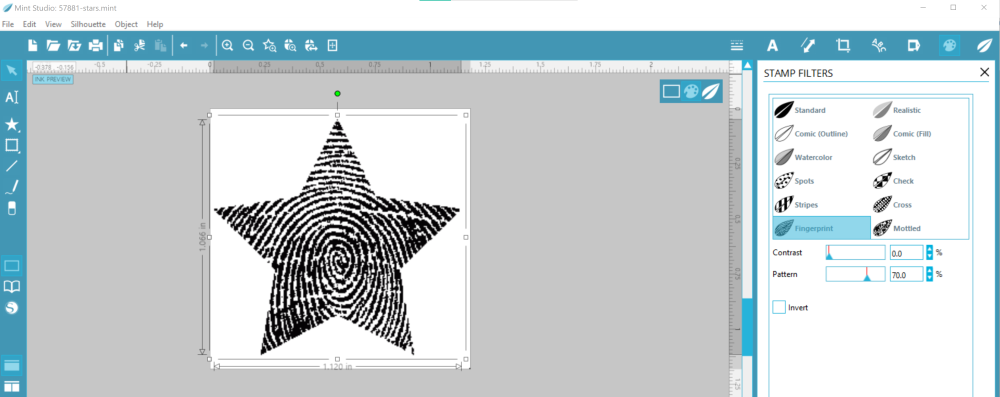
To preview your stamp, click the leaf icon on the top right. The software will automatically mirror your design (but you won’t see it with this star design). You can play with the different filters – I picked the “standard” filter to get crisp lines.
Step Three: Create Your Star Stamp:
Attach your power cord from wall to machine and the USB cord from your computer to the Silhouette Mint™ (this machine doesn’t have Bluetooth capabilities like the Cameo).
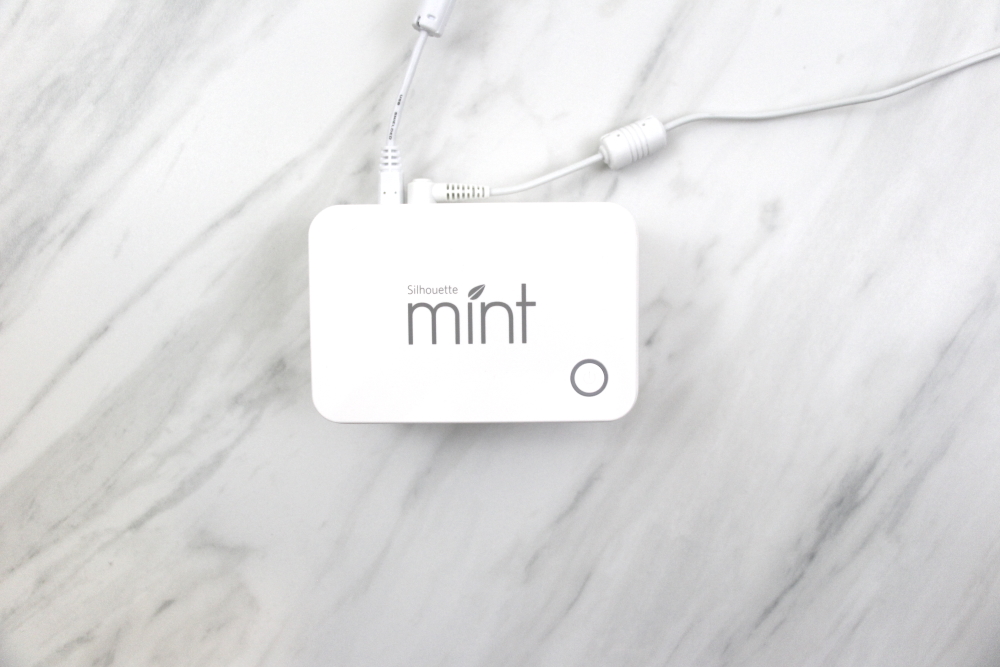
Turn it on by pressing the power button on top of the machine; a blue light will turn on and the software will switch to “ready” status.
Click “send”.
After the light begins to blink, insert your stamp sheet in the back of the machine, black square facing up. Do NOT remove the plastic.
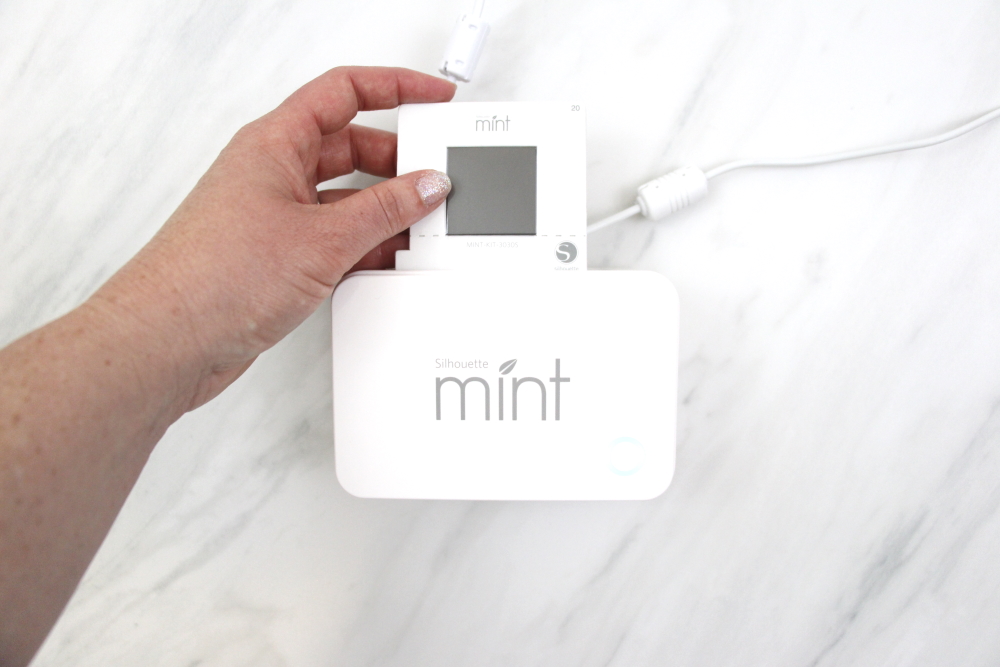
Your stamp will automatically start feeding through the machine.
When the machine has finished, gently remove the sheet from the machine.
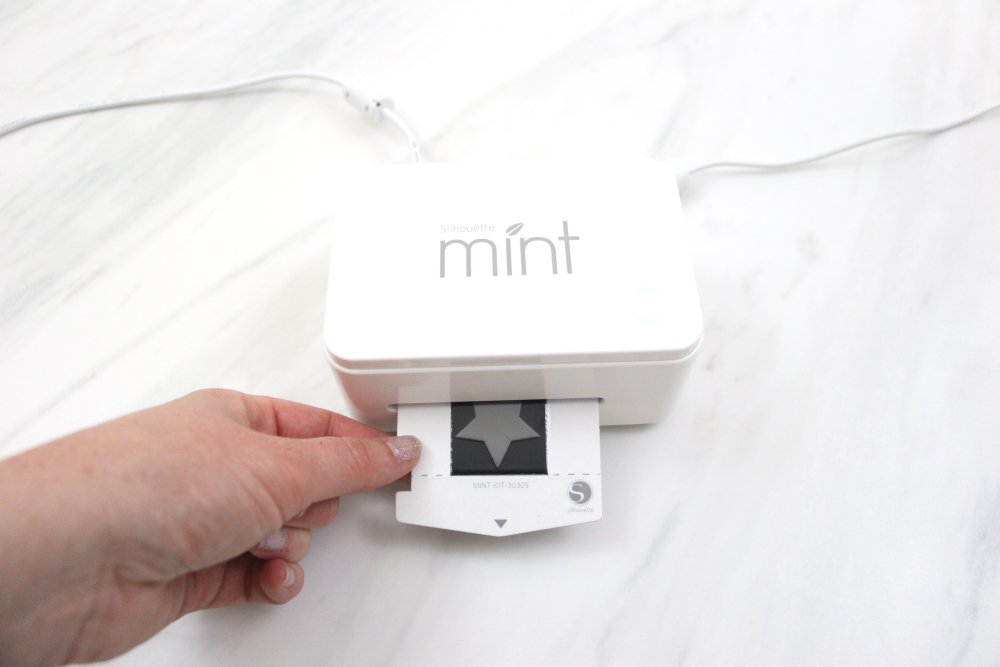
Step Four: Assembling Your Star Stamp:
Fold and break the cardboard along the perforation.
Gently remove the plastic from your stamp.
Remove the rubber from the backing.
Add your stamp mount to the base (I find it is easier to prep my stamp when it is attached to a base) and remove the adhesive sheet.
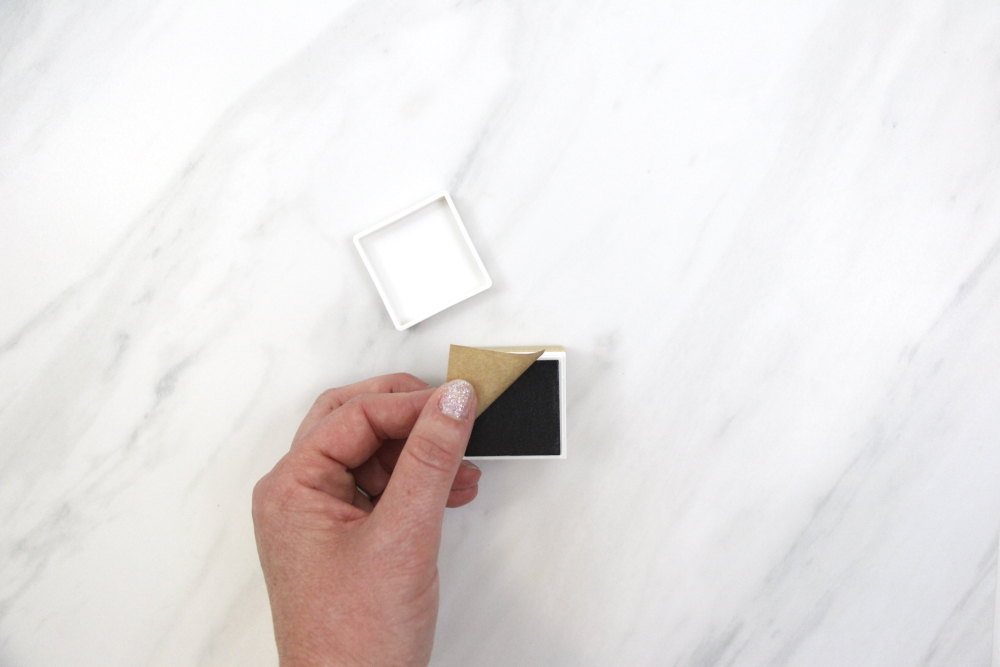
Carefully place your star stamp on the now sticky stamp mount.
Step Five: Adding Ink To Your Star Stamp:
Turn your stamp rubber side up on top of a piece of cardstock and carefully fill it in with ink.
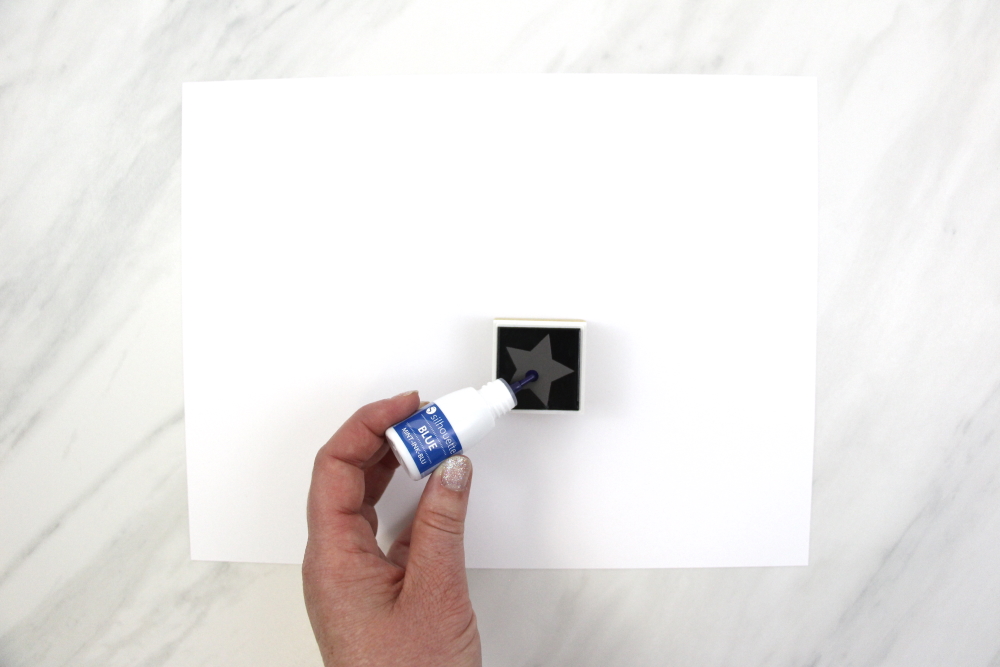
Allow the ink to soak in for a few minutes until it’s no longer pooling on top of the stamp and then stamp it a couple of times to remove the excess ink. I also like to practice so I know how much pressure I need when I go to stamp.
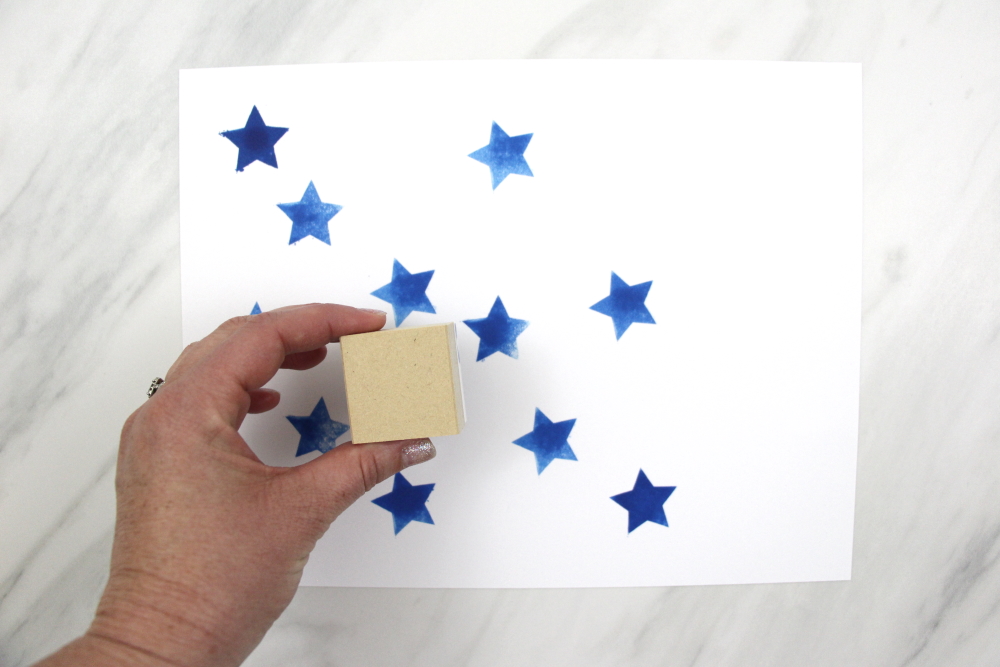
Refill the ink as needed.
Use your stamp on your gift bag or tissue paper.
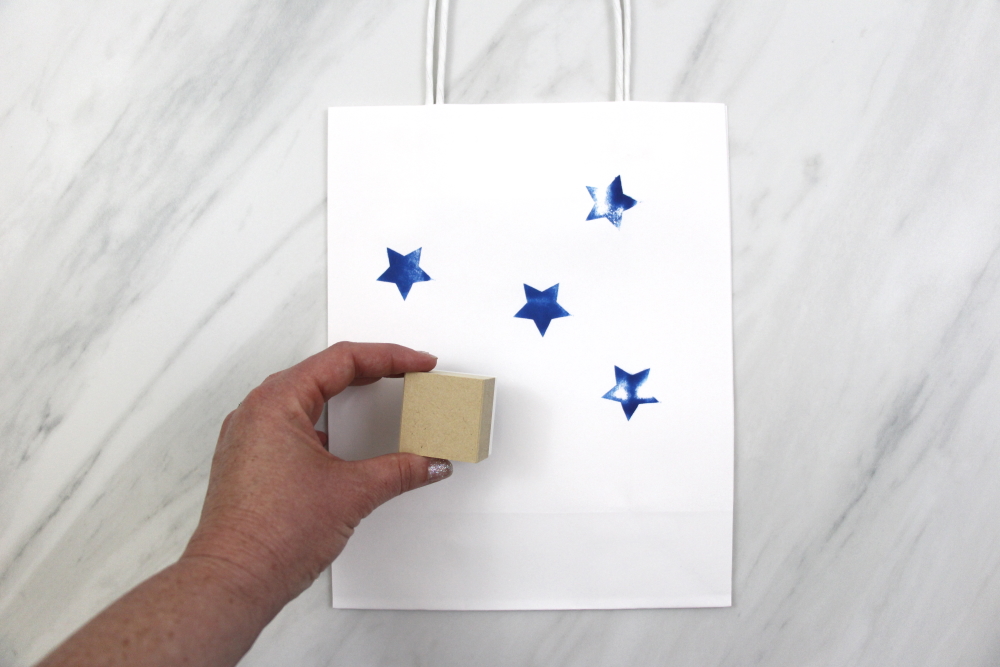
I love that this stamp is a simple design and young kids can use it too! Wouldn’t a butcher paper table runner covered with stars be so much fun? I think I will have to add that to my 4th of July table for my patriotic cupcakes.

Check out these other Silhouette Mint™ projects below:



2 Comments
Pingback:
Pingback: