Back to School Cupcake Topper
| This post may contain affiliate links, which means I may receive a small commission, at no cost to you, if you make a purchase through a link. |
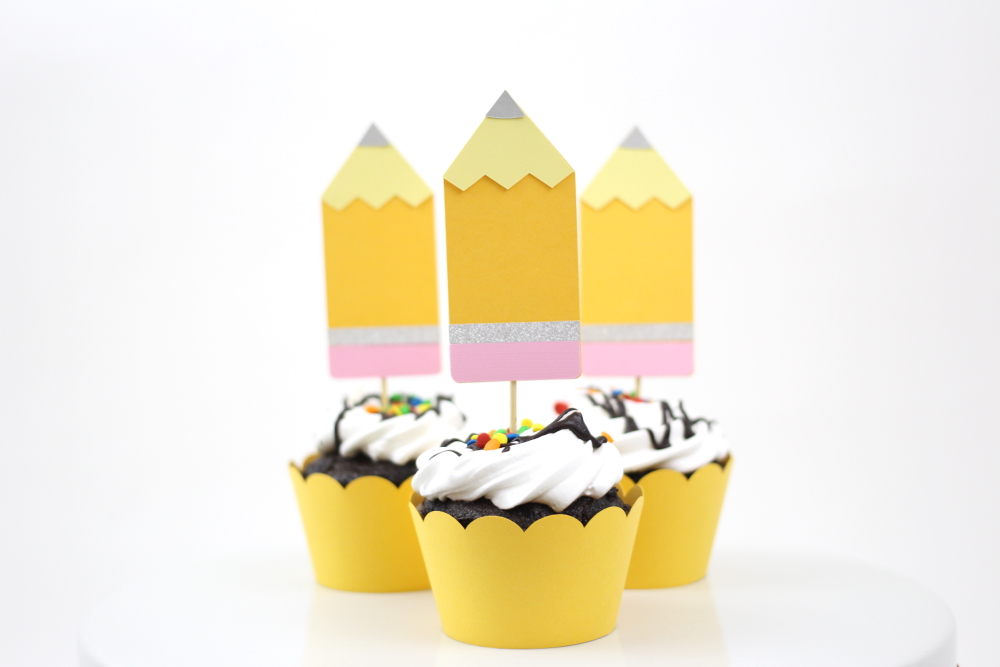
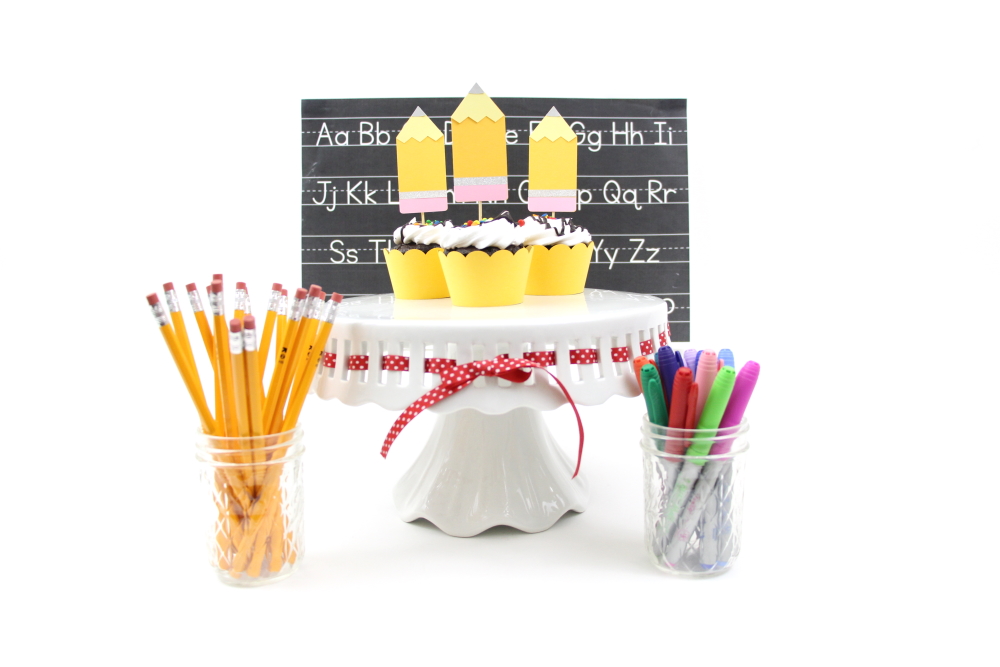
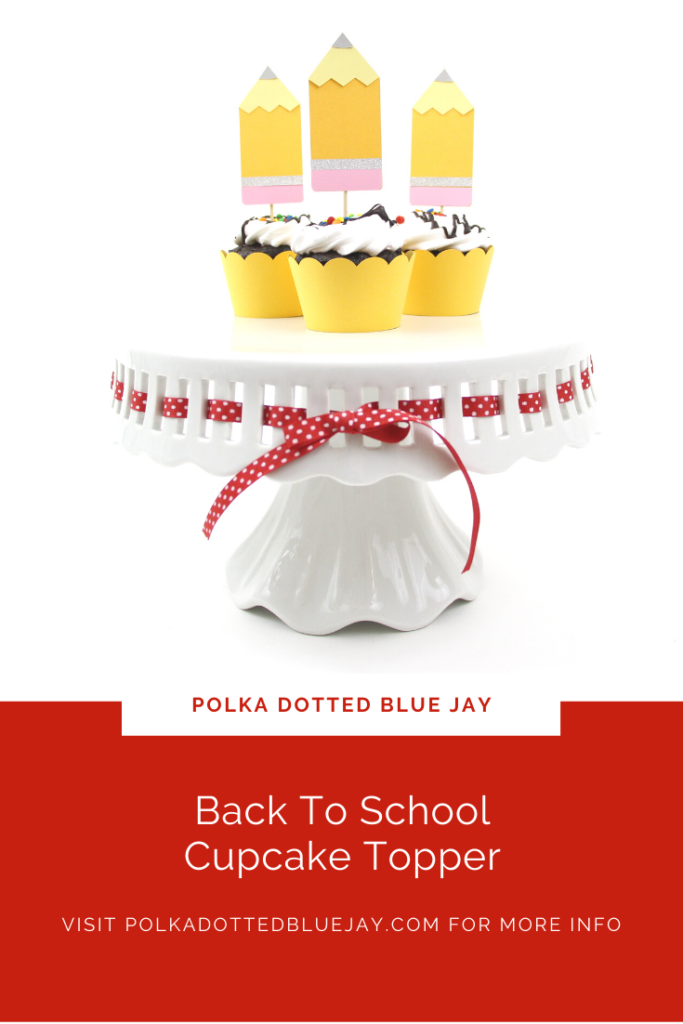
Here in California, our school year has already started, and what better way to celebrate with a yummy dessert and a Back to School Cupcake Topper? I love this pencil design from Amy Robison and knew it would make the perfect back to school cupcake topper to dress up my store-bought cupcakes.
This school cupcake topper would be great to celebrate a successful first day of school, as a gift for a teacher, a bake sale, or even for celebrating 100% on a quiz. It was easy to make and the paper piecing was simple enough that older kids could do the project with you.
Estimated Time: 15 Minutes
Skill Level: Beginner
Supplies Needed:
• Silhouette CAMEO® 4
• Silhouette Cutting Mat
• Silhouette Studio
• Amy Robison Pencil Design
• Scalloped Cupcake Wrapper
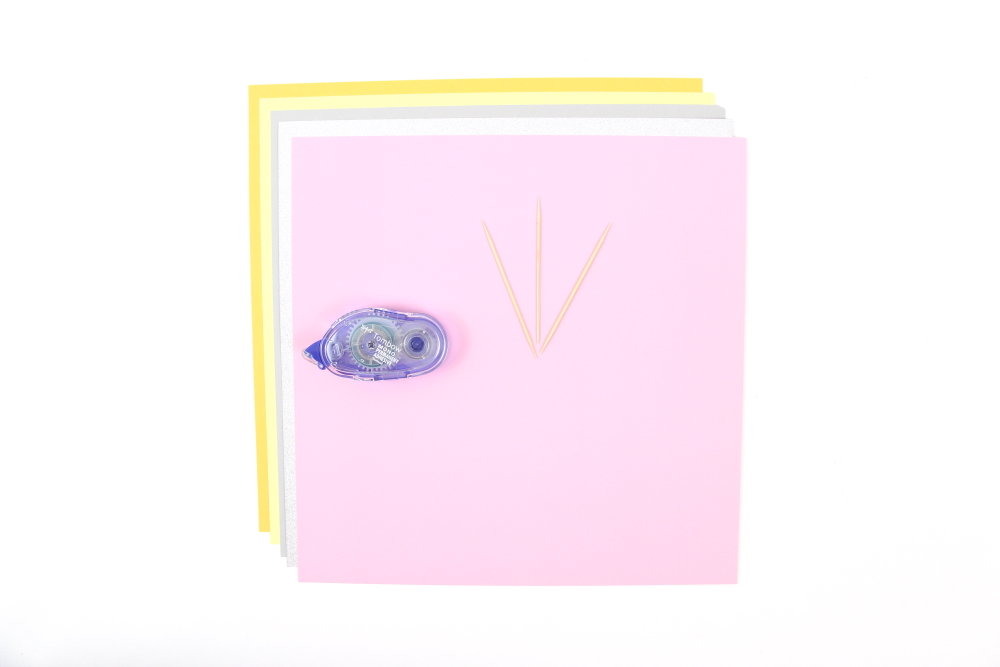
• Cardstock (Gray, Yellow, Gold, Silver, Pink)
• Tape Runner
• Toothpicks
• Washi Tape
Step One: Cut Out Your School Cupcake Topper Pieces:
Open Silhouette Studio® on your computer.
Select the Page Setup Window and adjust your cutting mat size to 12×12 (or the sized mat you are using).
Purchase your Scalloped Cupcake Wrapper Design and the Pencil Design from the Silhouette Design Store and then open them in Silhouette Studio. Click File>Library>Library>Recent Downloads>Select the downloaded design.
You can see the step-by-step process for the scalloped wrappers on my Christmas Cupcake Wrappers post.
Highlight all the elements of your pencil and resize them all together. This will keep all your elements the correct size in relation to each other.
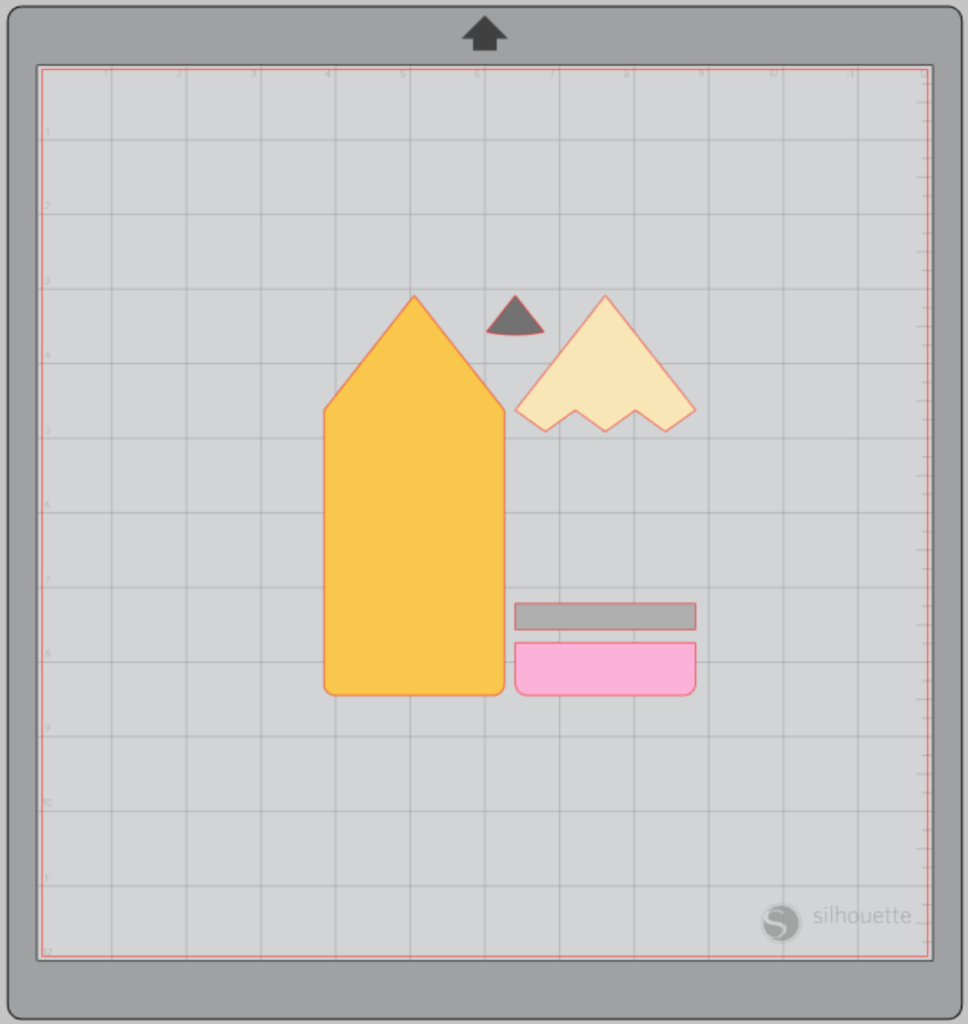
Click on each element individually and copy and paste for the number of toppers you will be making.
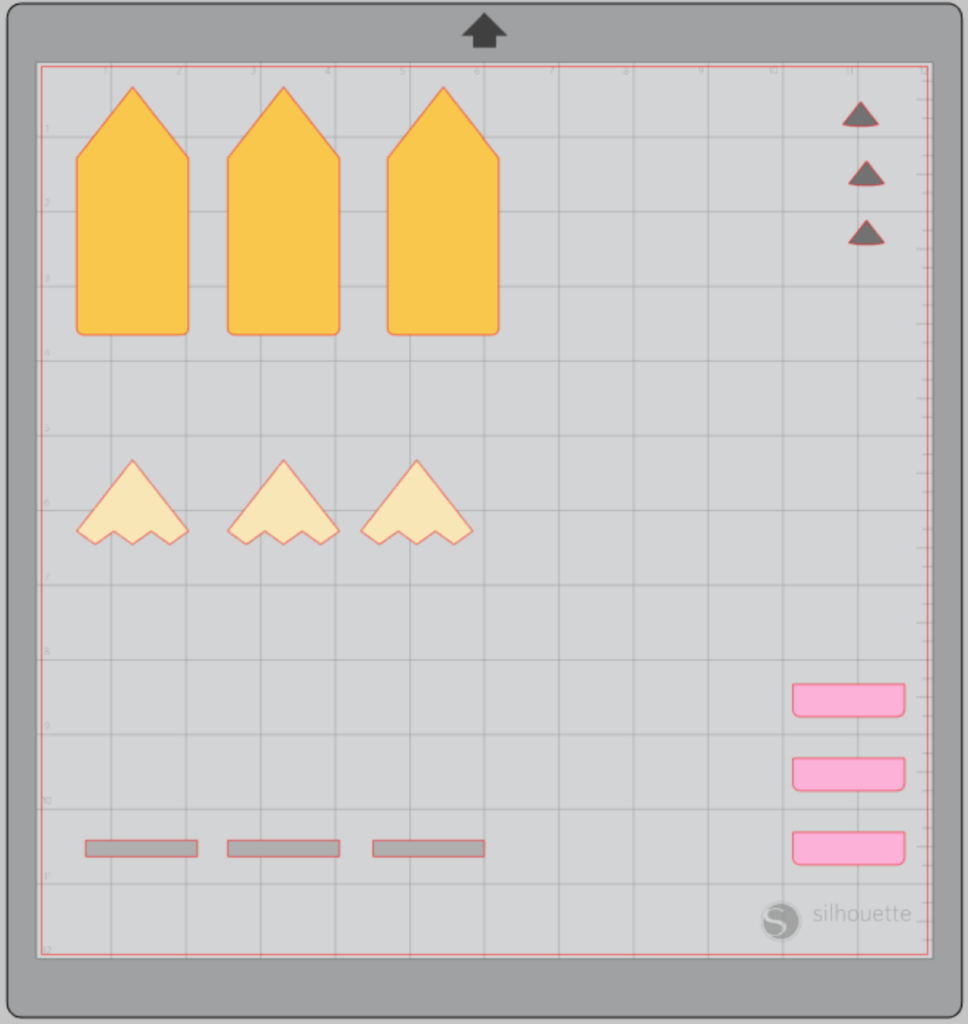
Space out the pieces on your cutting mat.
Step Two: Cutting Out Your Christmas Cupcakes Wrapper and Topper:
Turn on your Silhouette CAMEO® 4.
Attach your cardstock to the cutting mat to match your design in the software, and load it into your machine by lining up your mat with the guidelines and pressing the “up” arrow.
Then, click “send” in the Software and then select the type of cardstock you are using from the dropdown menu.
Double-check to make sure your design has been selected to cut and the Silhouette CAMEO®4 autoblade had been selected. The autoblade will adjust to cut based on the type of material you selected. I suggest always doing a test cut to make sure it will work with your cardstock – there is a “test” button at the bottom of your screen.
Press the “down” arrow when your machine has finished cutting your design to remove the cutting mat from the machine.
Step Three: Make Your Back To School Cupcake Topper:
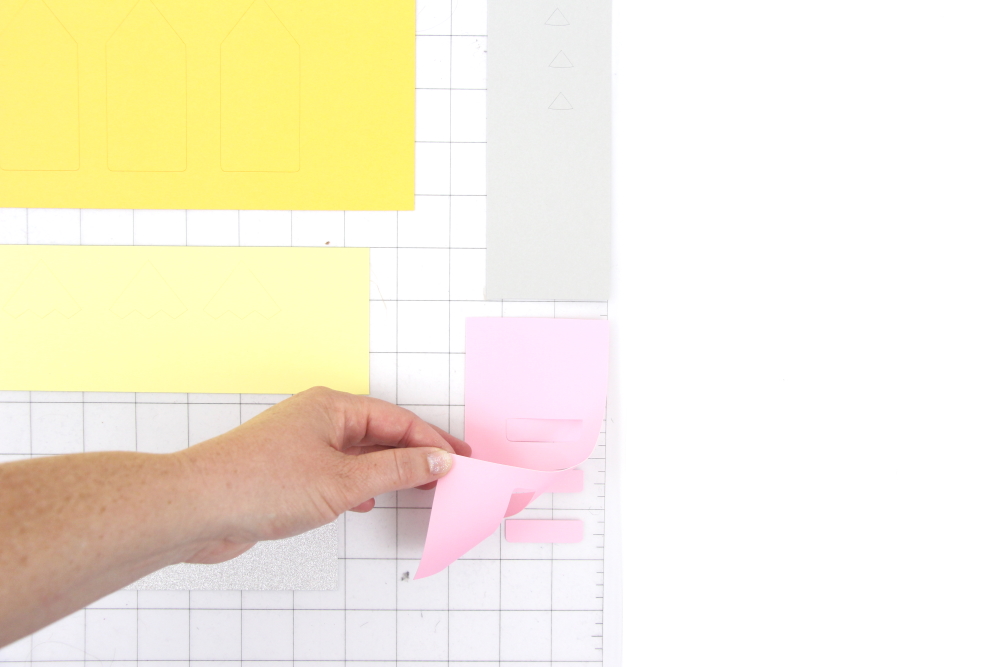
Remove all your paper pieces from the cutting mat.
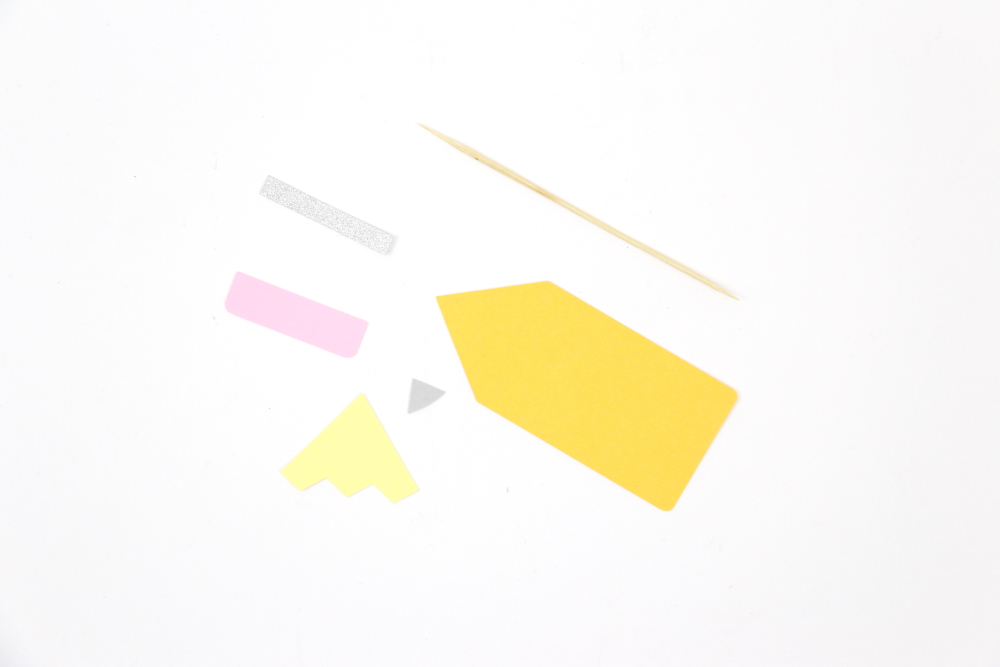
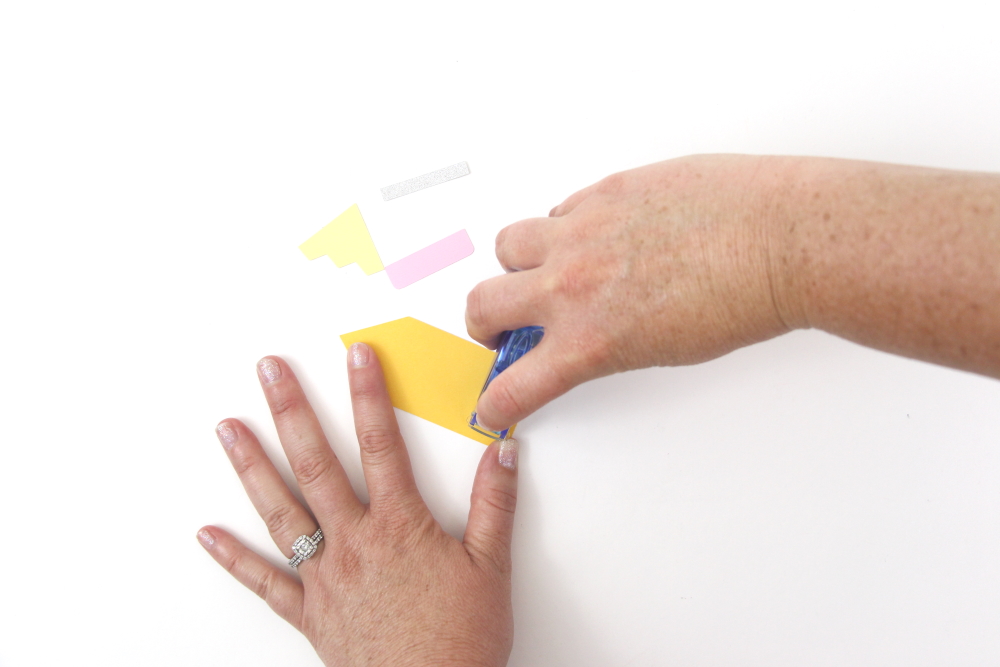
First, add a tiny drop of glue or adhesive for the light yellow pencil tip and attach it to the gold pencil piece. Layer the pencil lead gray piece on top.
Next, make your eraser. I attached my pink piece first and then the silver.
Attach your toothpick to the back of the pencil with some fun washi tape.
Insert your toothpick tree topper into your cupcake.
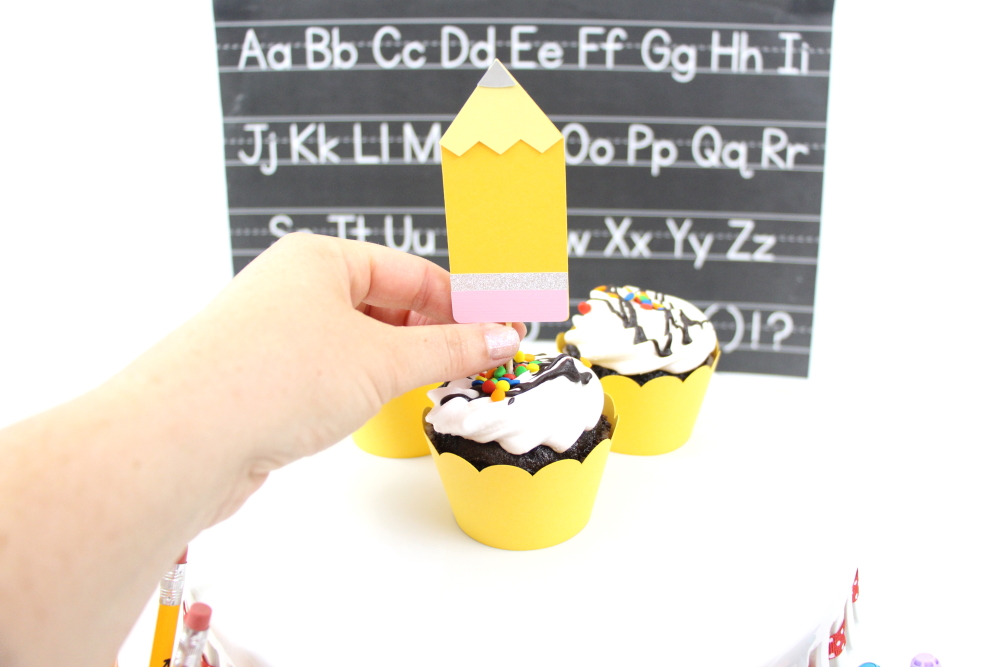
I can’t wait to hear how you would use these cupcakes in your own back to school celebrations!
![]()


2 Comments
Pingback:
Pingback: