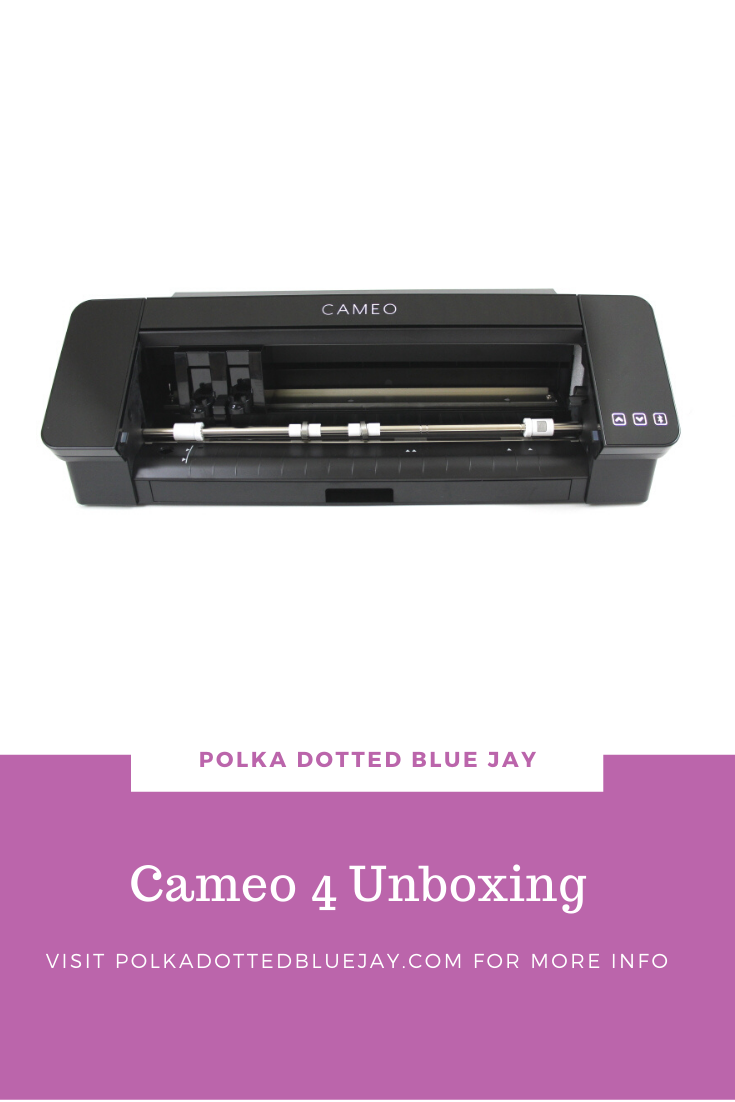
Silhouette Cameo 4 Unboxing
| This post may contain affiliate links, which means I may receive a small commission, at no cost to you, if you make a purchase through a link. |
This Silhouette Cameo 4 unboxing is a sponsored post written by me on behalf of Silhouette America®. All opinions are 100% mine.
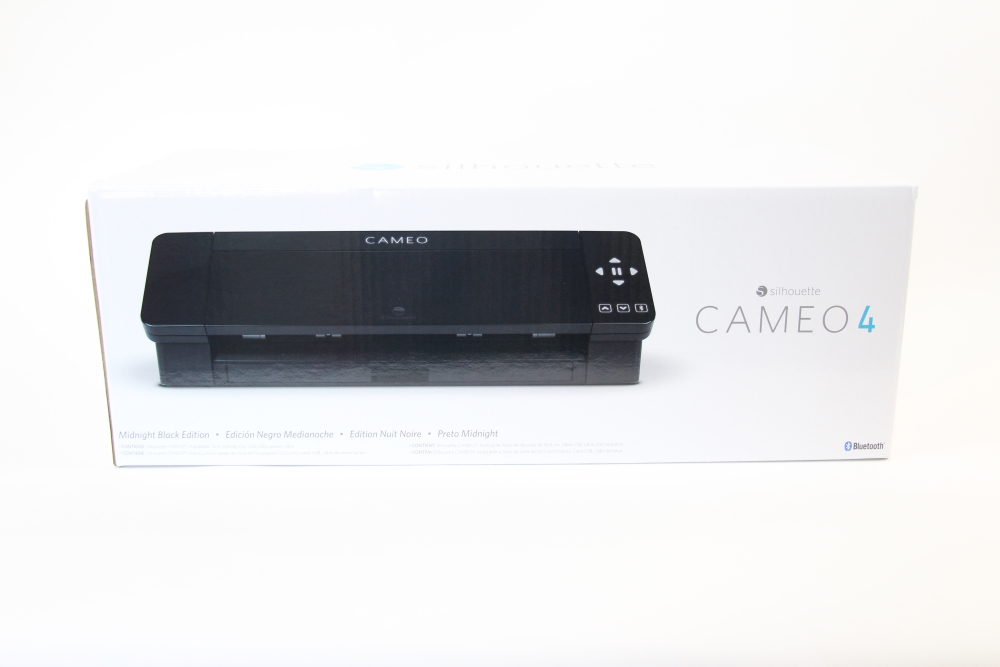
Last year I followed the Silhouette Summit on social media and was so excited to see the unveiling of the new Cameo 4 during the event. It looks so great with the illuminated Silhouette logo and I love that the built-in roll feeder is included instead of an add-on like it is for the Cameo 2 and 3. The hardest decision I always have to make is: what color Cameo should I get? Well, today I am sharing my sleek black Silhouette Cameo 4 unboxing.
First, why would I, a person who shares light and very bright photos, choose a black Cameo 4? High contrast, friends! My white Cameo 2 was always blending into my white background in my photos and I know this black one will look great for my craft tutorials.
Now onto the Cameo 4 unboxing!
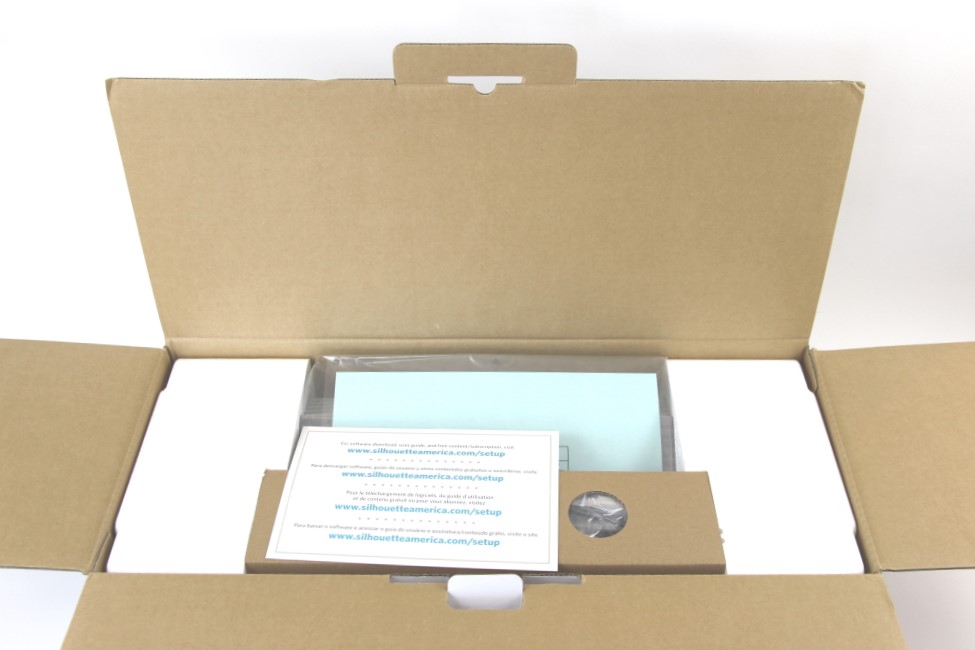
I love how the Silhouette Cameo 4 comes packaged. They care so much about their machines and do their best to make sure they don’t get damaged during shipping. My actual Cameo 4 box was nearly perfect when I pulled it out of the shipping box; I have one tiny dent on one of the corners.
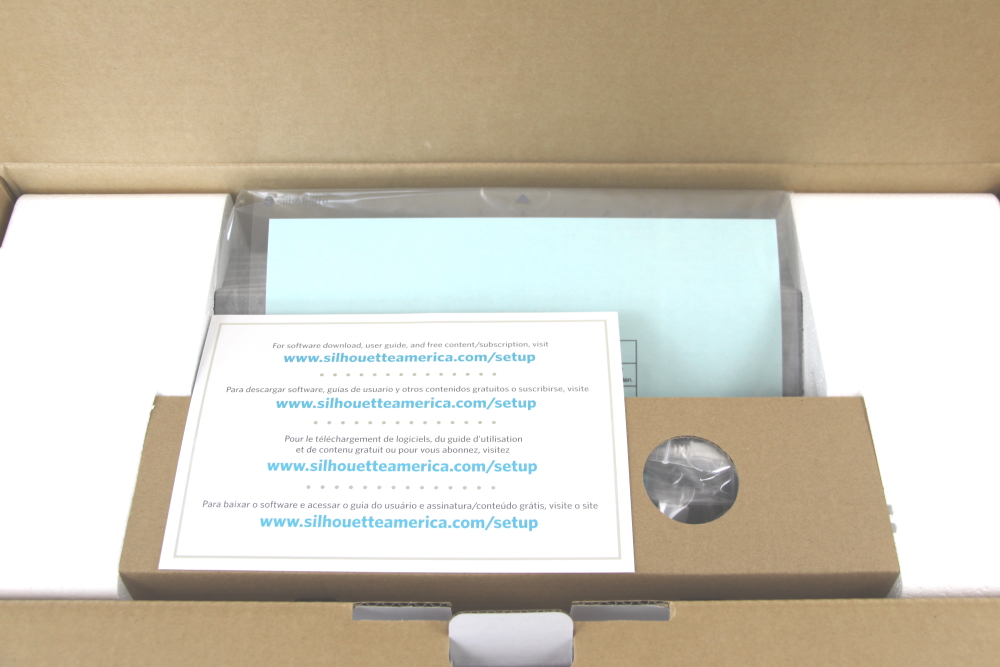
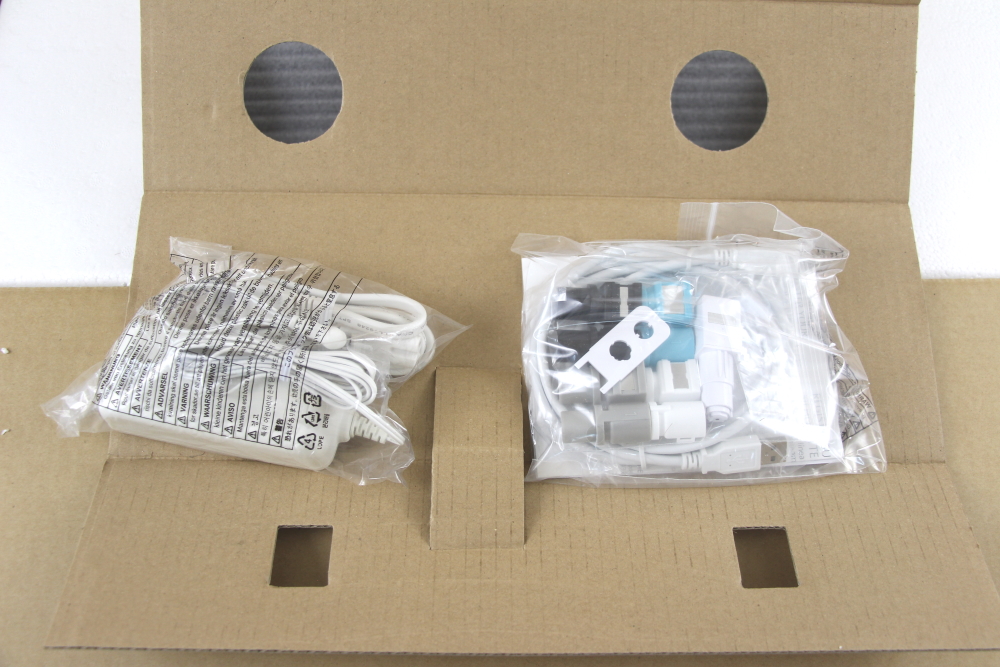
The first thing you see when you open the flaps of the Cameo 4 box is the mailing insert with links for getting started with your Cameo 4; in four different languages, I might add. Since I am a previous Cameo user, I set it to the side in case I need to reference it later.
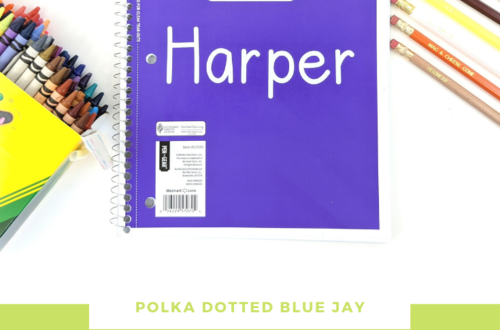
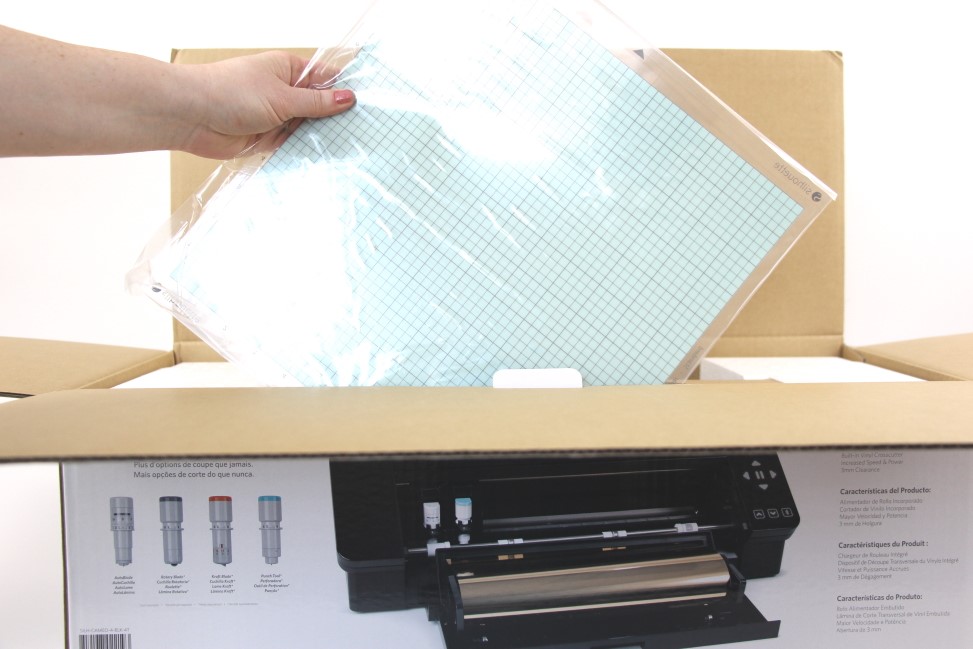
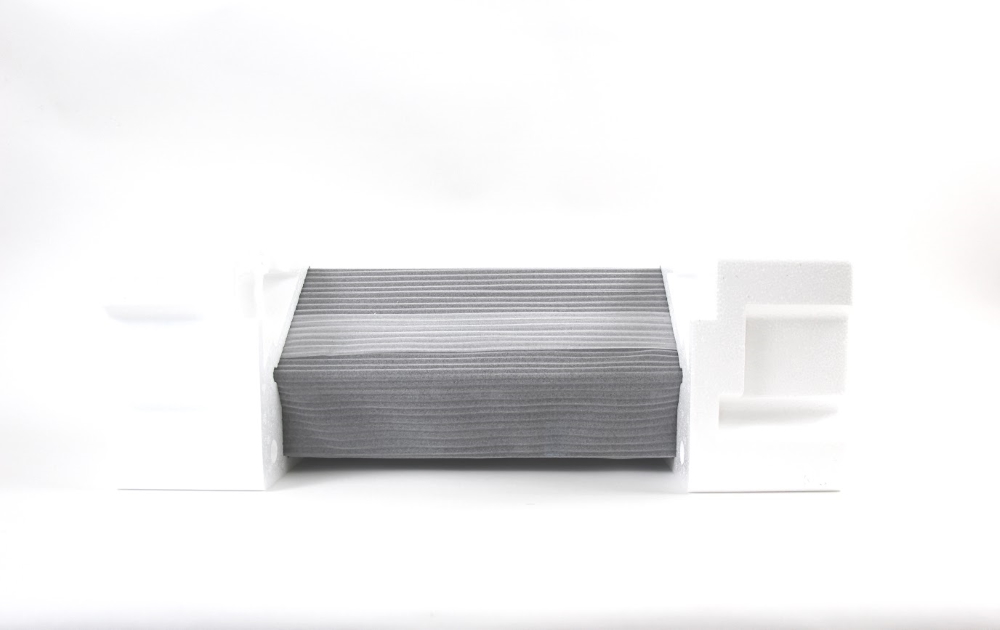
The first thing out of the box was the cutting mat. I love this different grid pattern; it is going to be great for small cuts and making sure I maximize my vinyl.
Second, I pulled out the cardboard sleeve that contained the power cord, USB cord, Cameo 4 Autoblade, and tool adapters.

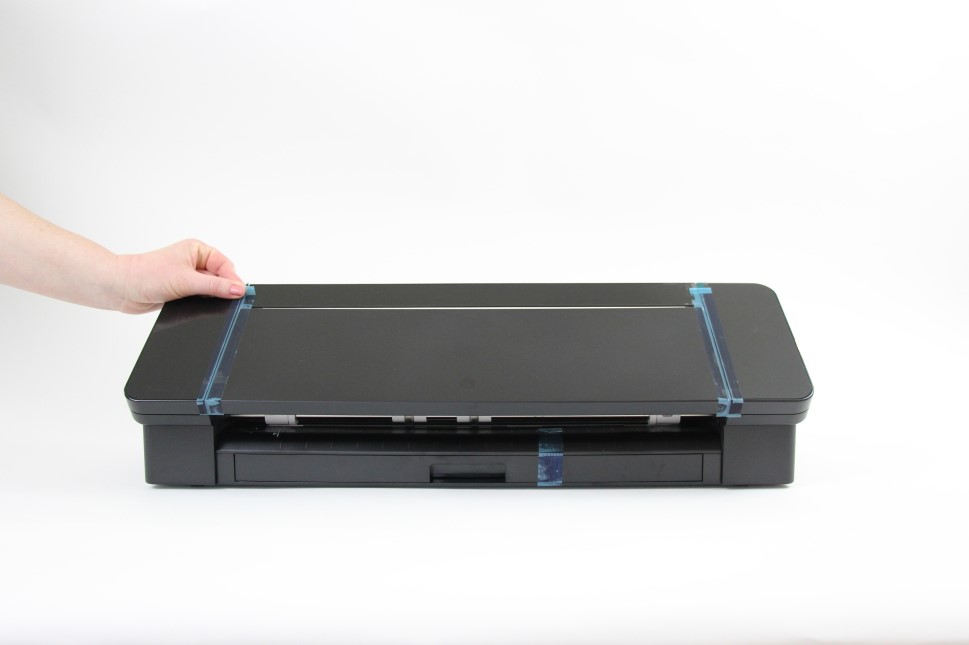
Next, it was time to pull out the Cameo 4 machine. I found it was easiest to flip the box upside down and pull the box up/off the cameo than to try to lift the machine out of the box.
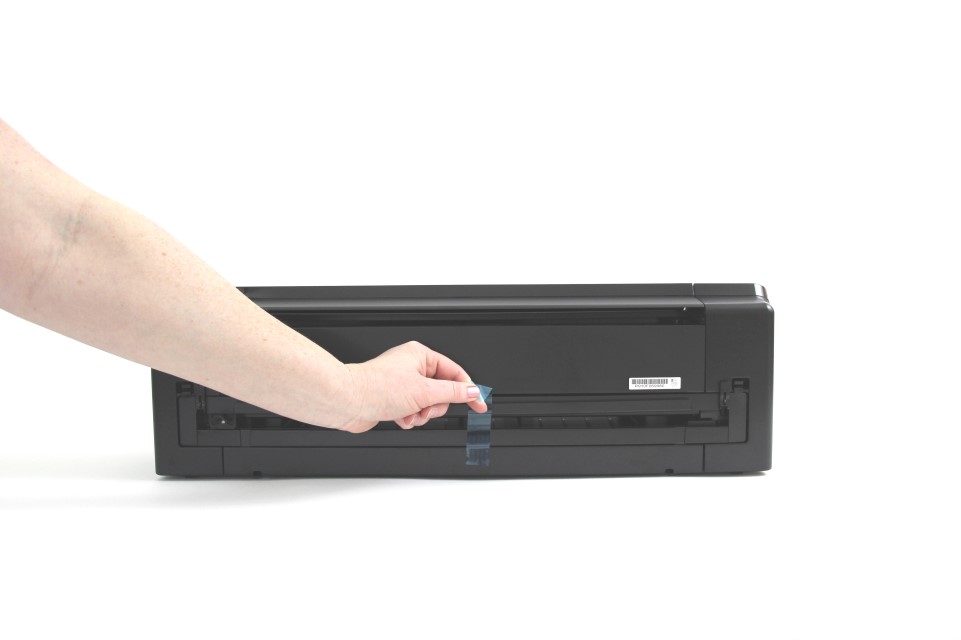
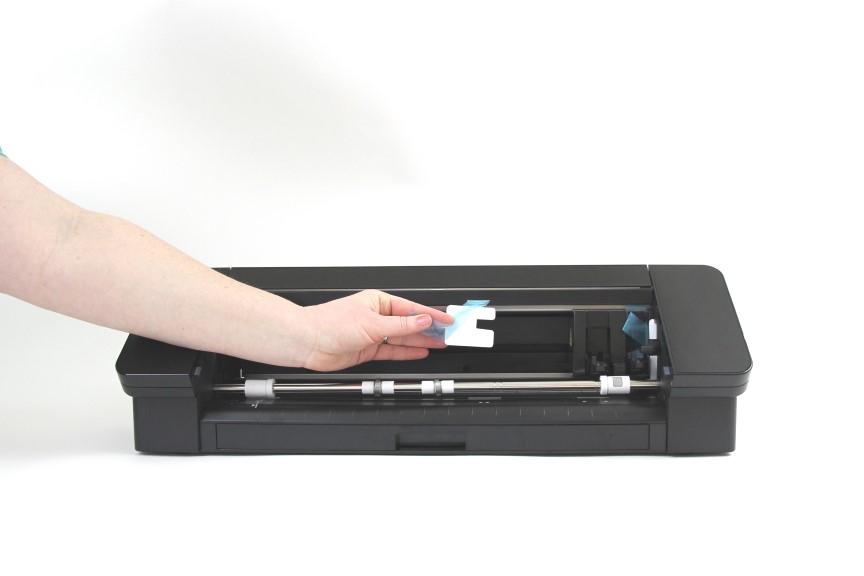
Remove the styrofoam, blue tapes (that hold the machine together tightly for shipping), and the clear plastic that is protecting the machine from scratches. *Don’t forget the blue tape on the back of the machine on the cross cutter.
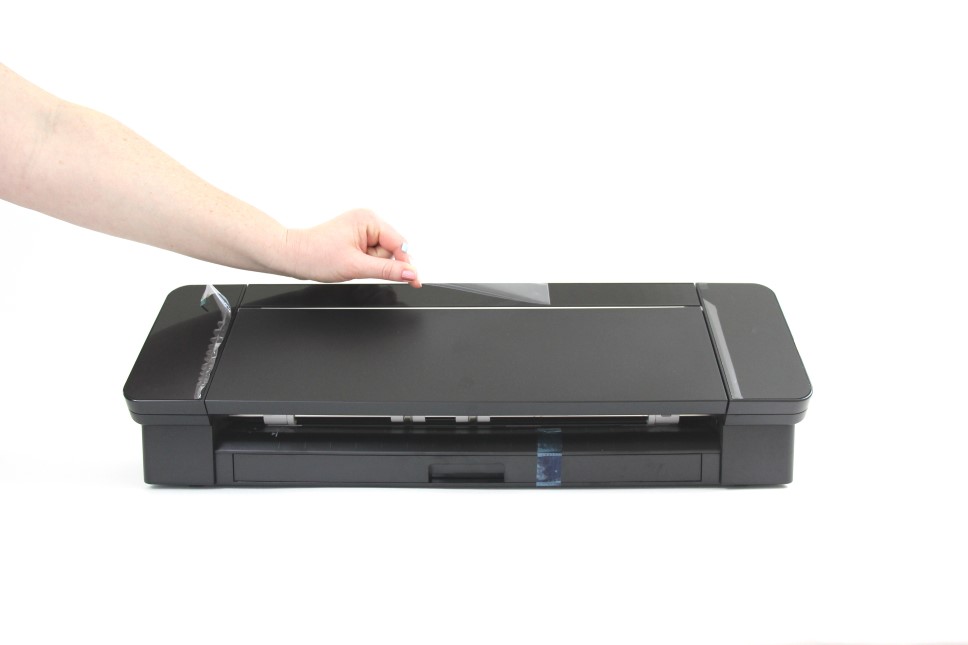
Lastly, lift open the cover of your Cameo 4 to reveal more tape and cardboard that needs to be removed. See? I told you Silhouette really packages their machines well.
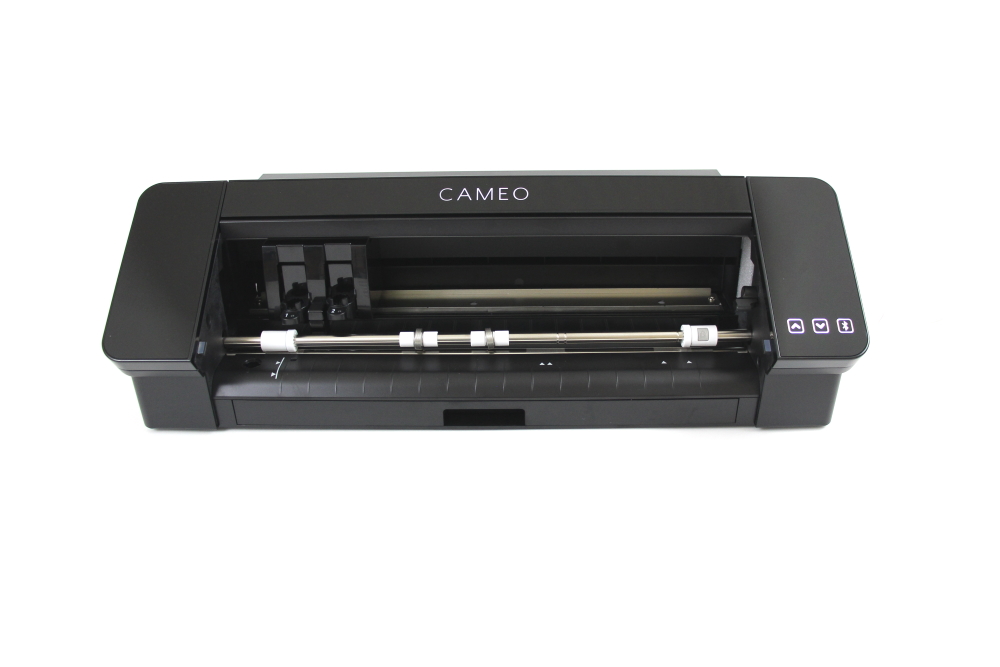
Now you’re ready to plug her in and watch the touch screen and logo light up. That is my favorite part!
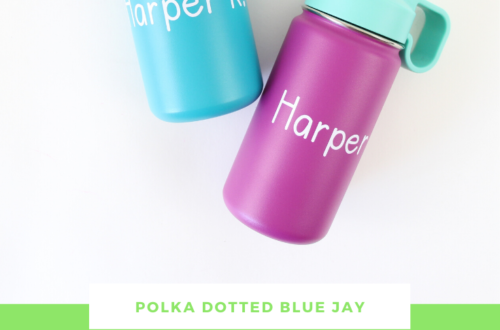
I can’t wait to make some new Valentine’s Day crafts with my Cameo 4. Tell me what color Cameo 4 you would choose in the comments and be sure to grab one during the Silhouette Cameo 4 Sale for a great price.