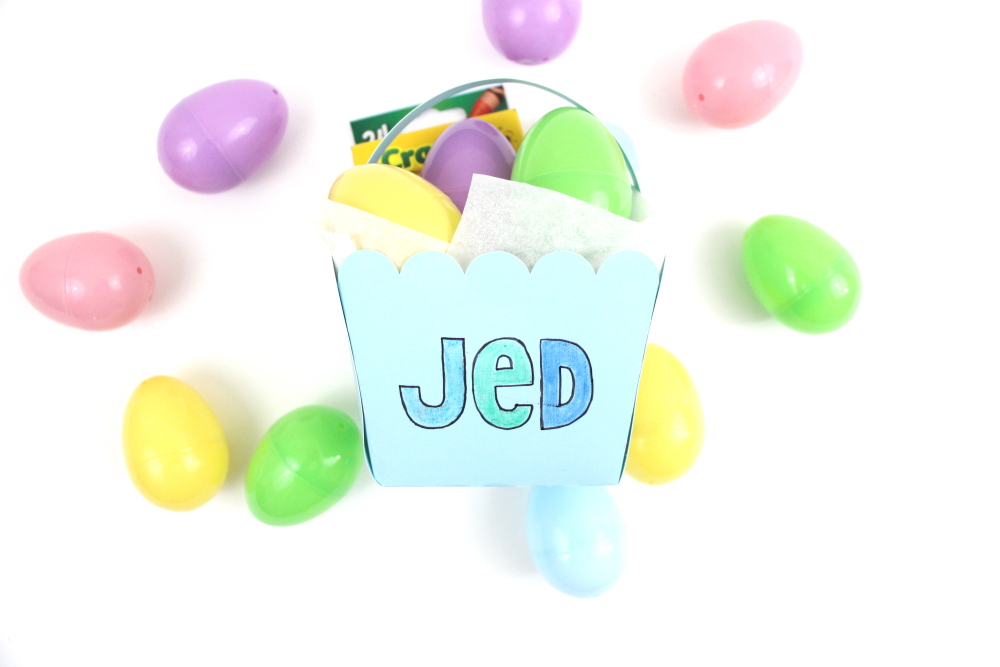
Coloring Activity Easter Basket
| This post may contain affiliate links, which means I may receive a small commission, at no cost to you, if you make a purchase through a link. |
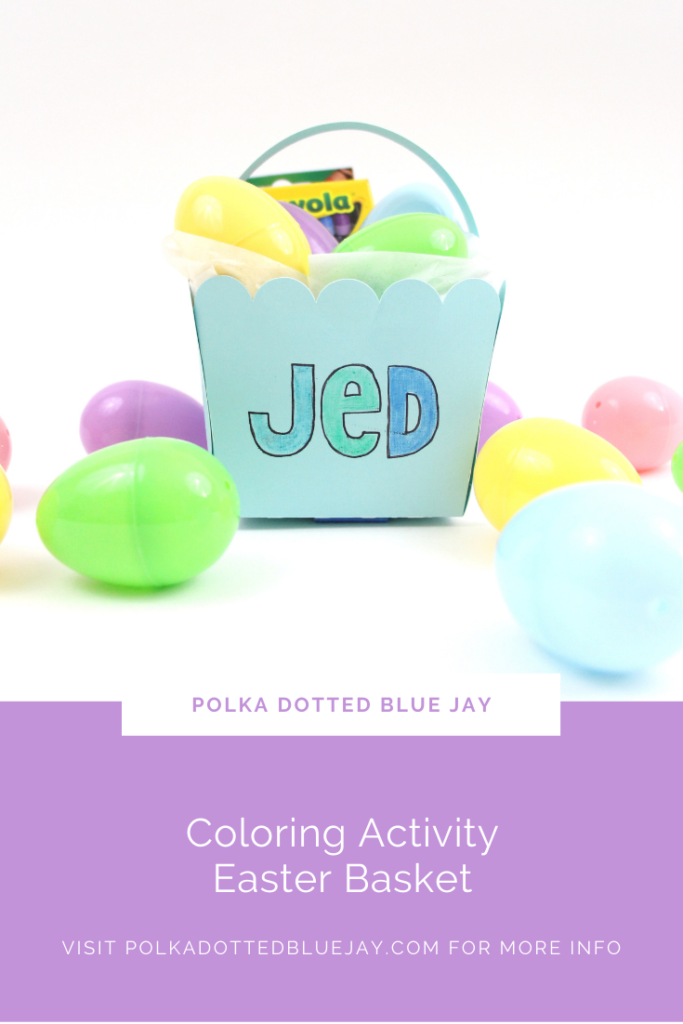
Easter crafts are right around the corner in our house and I thought it would be fun to have Jed help with this coloring activity Easter Basket. It is always fun to have your name on something and this allows kids to do customize their name with a coloring activity Easter basket.
We love celebrating Easter in our house and celebrated with these Candy-Free Easter Eggs last year. This year it will be even more fun because Jed can recognize all the numbers on the eggs now.
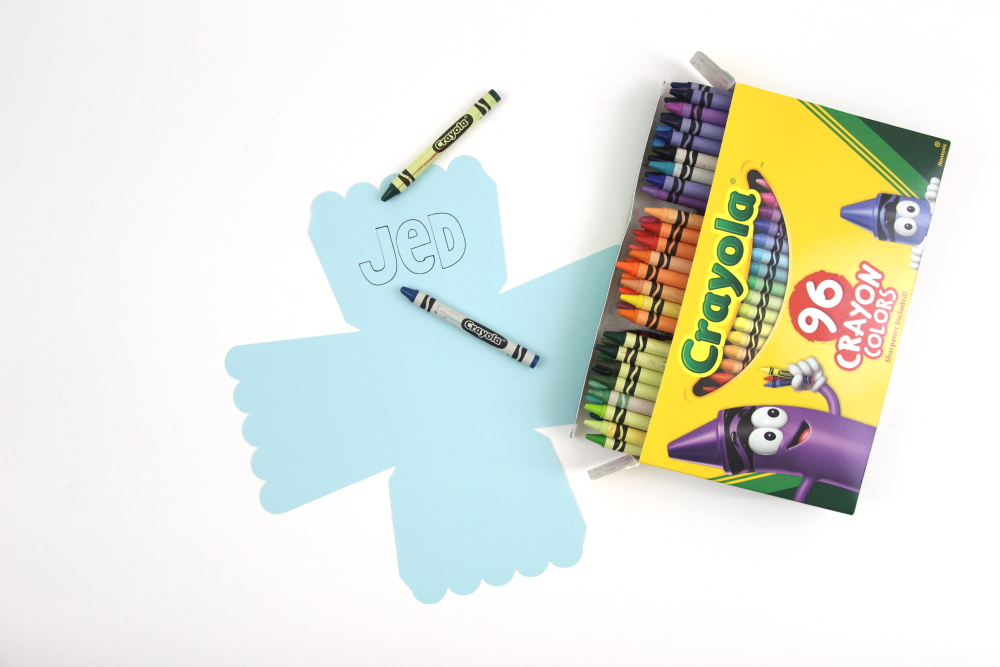
Estimated Time: 20-30 Minutes
Skill Level: Intermediate
Supplies Needed:
- Silhouette CAMEO® 4
- Cutting Mat – Light Tack
- Software – Silhouette Studio
- Silhouette Sketch Pens
- White Cardstock
- Color Printer
- Crayons
- Basket Design
- Hey Elsie Font
Step One: Create Your Coloring Activity Easter Basket in Silhouette Studio:
Open Silhouette Studio® on your computer.
Select the Page Setup Window and adjust your cutting mat size to 12×12 (or the size paper/mat you are using).
Purchase your basket design from the Silhouette Design Store and then open it in Silhouette Studio. Click File>Library>Library>Recent Downloads>Select the basket design.
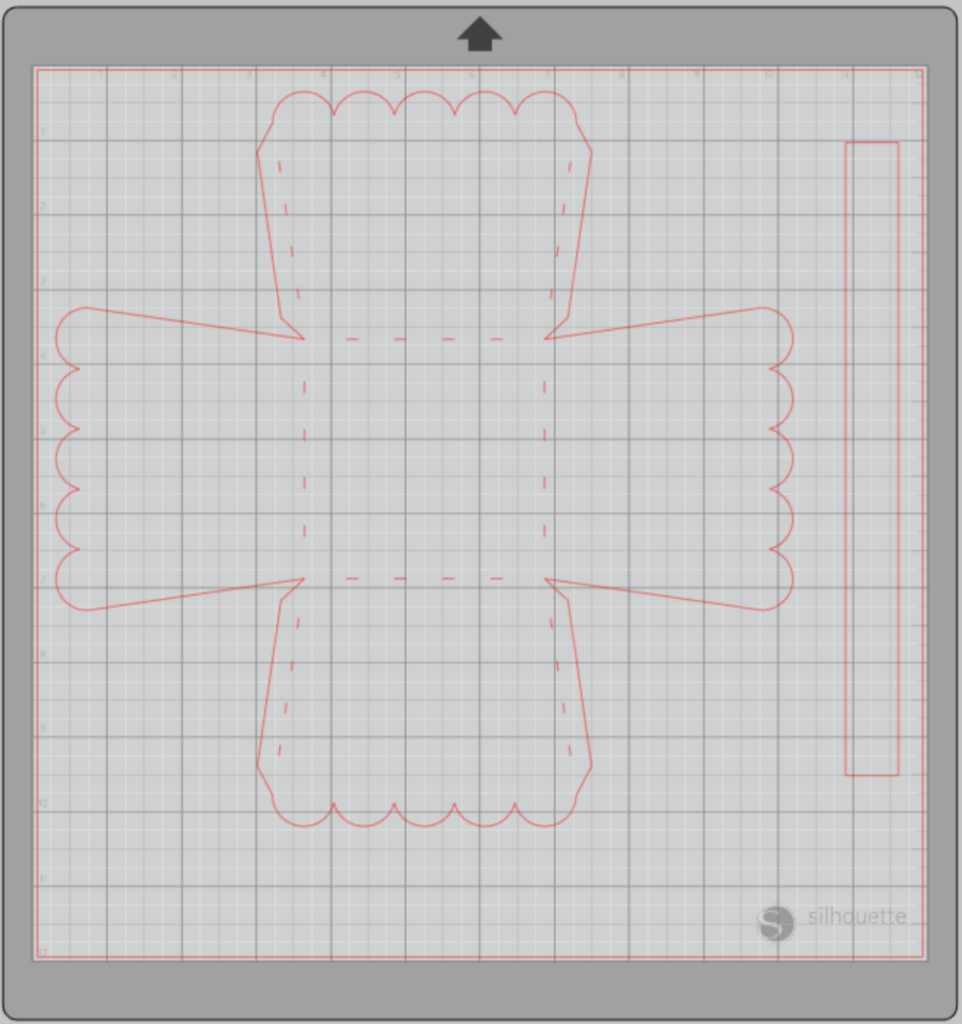
Resize if you would like. I made my basket as big as possible.
Step Two: Customize Your Coloring Activity Easter Basket in Silhouette Studio:
Use the Text tool in Silhouette Studio to add the name you want on your Easter basket. This tool works a lot like Microsoft Word; highlight the text and then select a font, size, etc. that you like for your basket.
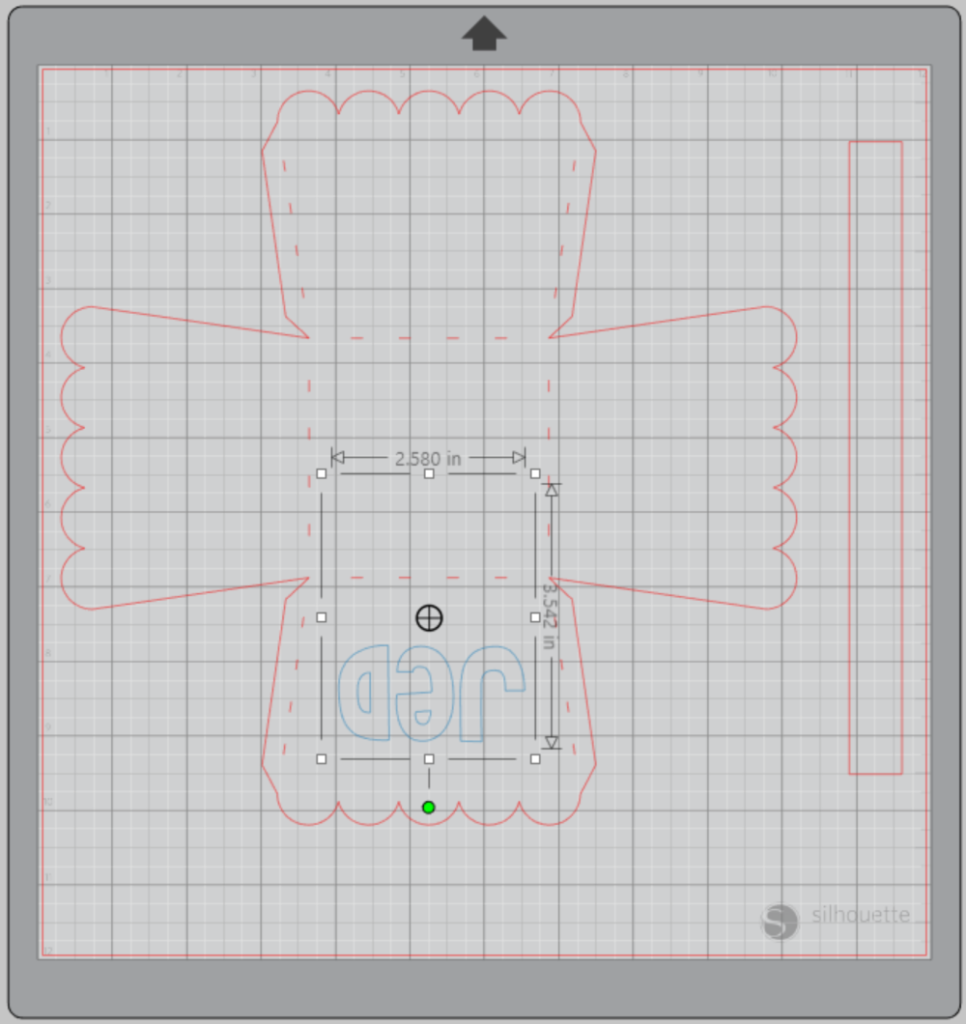
Center the name on one of the flaps of your basket design. Be sure to rotate it since you will be folding the flap up to assemble.
Step Three: Cut Out Your Easter Basket:
Turn on your Silhouette CAMEO® 4.
Attach your cardstock to the cutting mat and load it into your machine by lining up your mat with the guidelines and pressing the “up” arrow.
Next, click “send” in the Design Studio and then select the type of cardstock you are using from the dropdown menu.
Double-check to make sure your design has been selected to cut and the Silhouette CAMEO®4 autoblade had been selected. The autoblade will adjust to cut based on the type of material you selected.
Make sure you select the basket layer only. You don’t want to cut out the letters of the name as you would if you were creating a vinyl project.
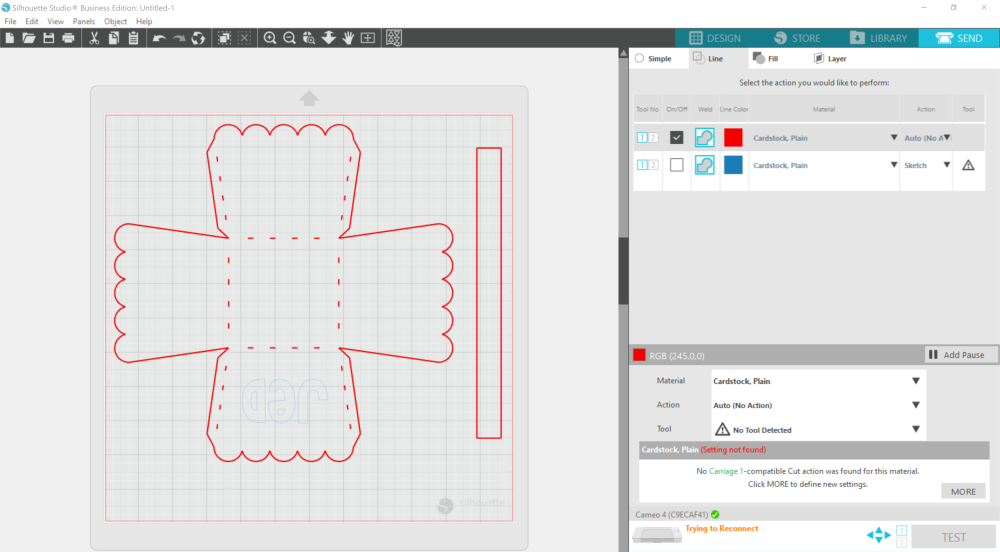
Click “Send” to start cutting.
When your machine has finished cutting do NOT press the down arrow to remove the cutting mat from the machine.
Step Four: Sketch Your Name:
Switch out your autoblade to the sketch pen of your choice. Be sure it is clicked all the way into position in the carriage.
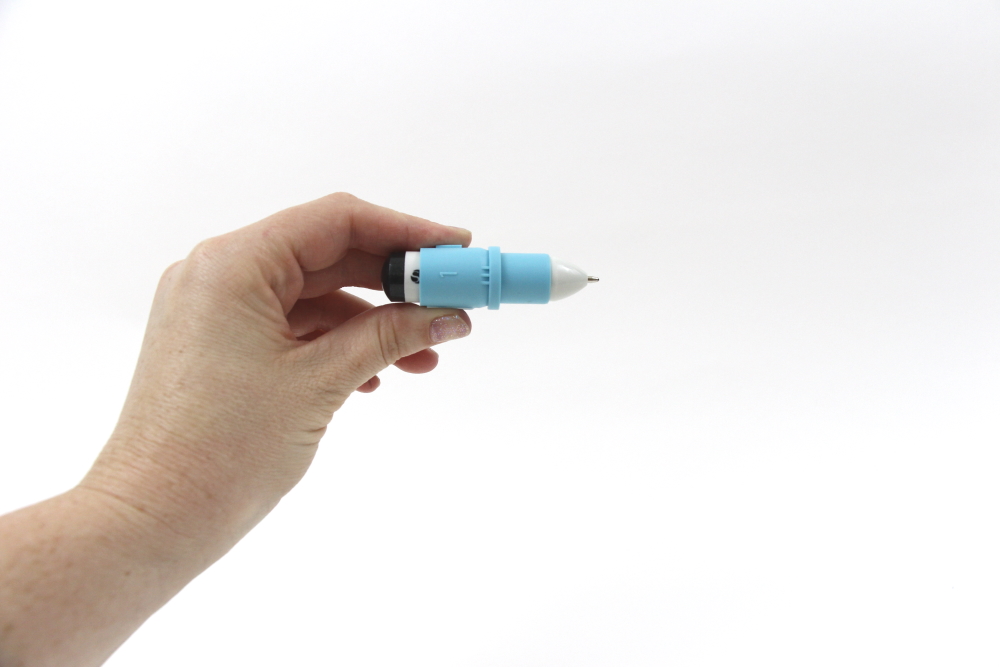
Change your selection on the “Send” panel to the name layer and the tool to “sketch pen”.
Click “Send” again to start the sketching.
Press the down arrow to remove your cardstock from the cutting mat when it has finished sketching.
Step Five: Decorate and Assemble Your Coloring Activity Easter Basket:
Gently remove the basket from the cutting mat and lay it flat.
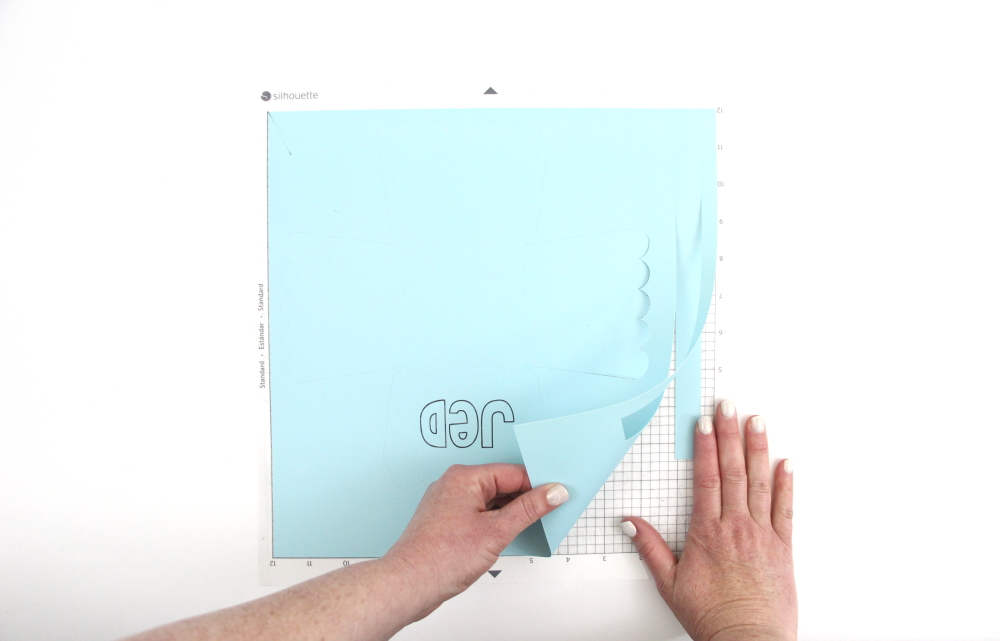
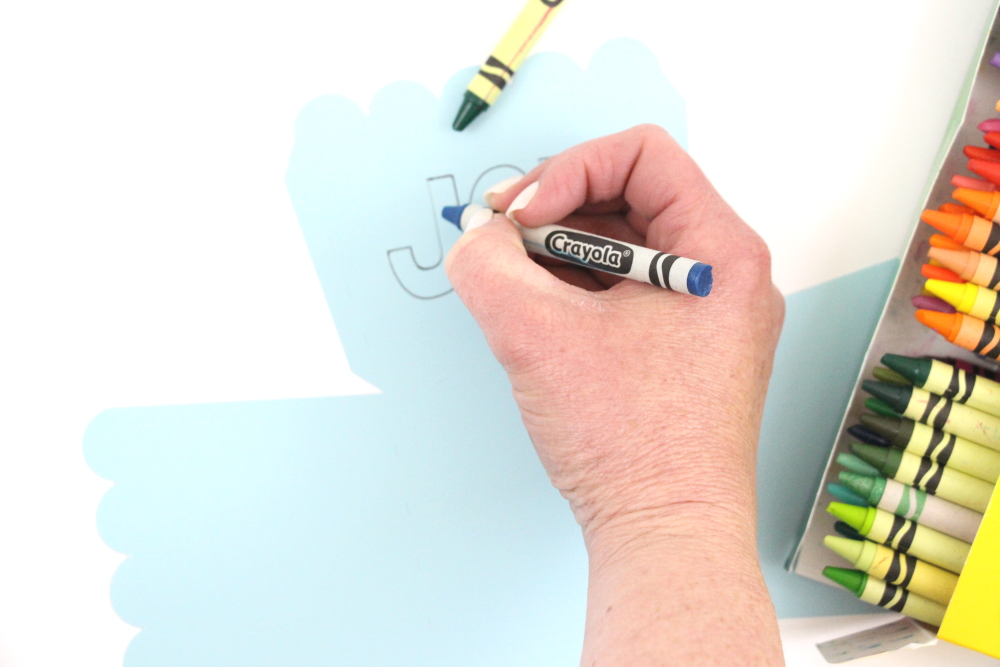
Allow your child/children to color in their names and decorate their basket. Other great decorating options: stickers, pom poms, glitter, etc.
Fold the basket along the lines and secure it with adhesive.
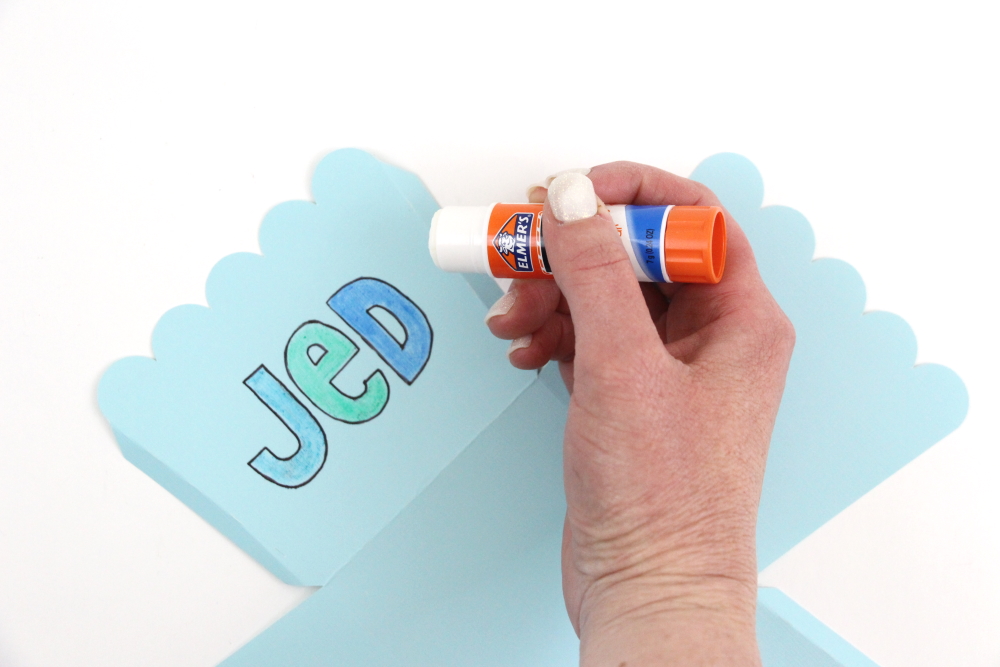
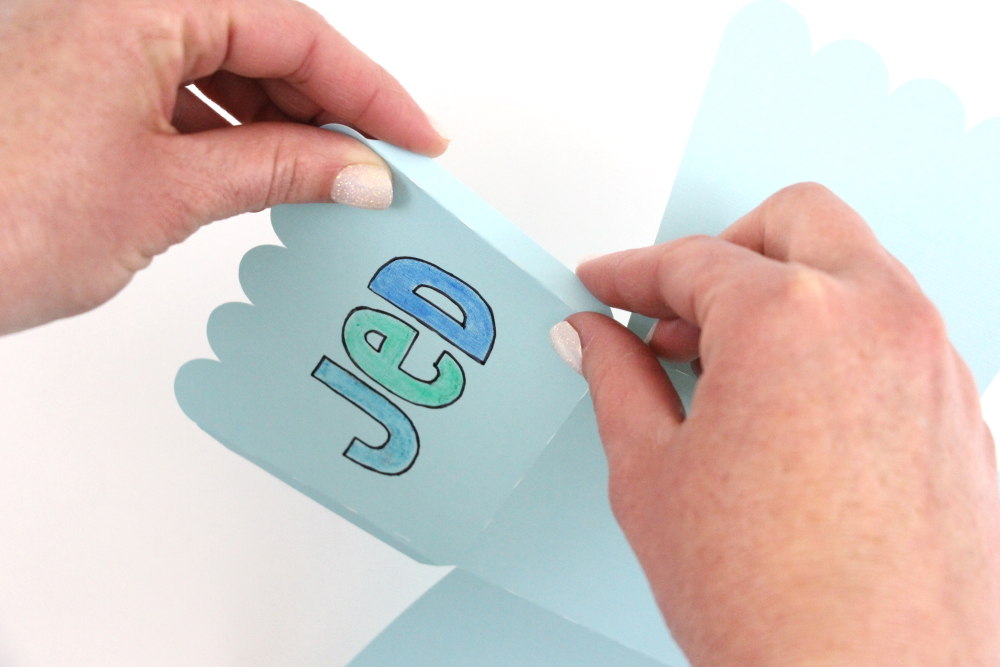
Attach the handle with a little adhesive as well to finish your basket.
Just think of all the fun ways you can customize your Coloring Activity Easter Baskets! They would be great for a church activity with a “He is Risen” for the kids to color.
Click here for other Easter Posts:



4 Comments
Pingback:
Pingback:
Pingback:
Pingback: