Candy-Free Easter Egg Hunt
| This post may contain affiliate links, which means I may receive a small commission, at no cost to you, if you make a purchase through a link. |
Looking for a Candy-Free Easter Egg Hunt? I have got you, friends. Whether you are stuck at home quarantined during the Coronavirus pandemic or if you just want to have a little less sugar in your Easter Egg Hunt, this easy tutorial and activity will be an instant success with kids of all ages.
Last year I shared a photo of my Candy-Free Easter Egg Hunt game and got a ton of positive feedback. I guess it just never occurred to me that some mamas feel like they have to put candy in the eggs and didn’t realize there was another option.
Here is how the Candy-Free Easter Egg Hunt works:
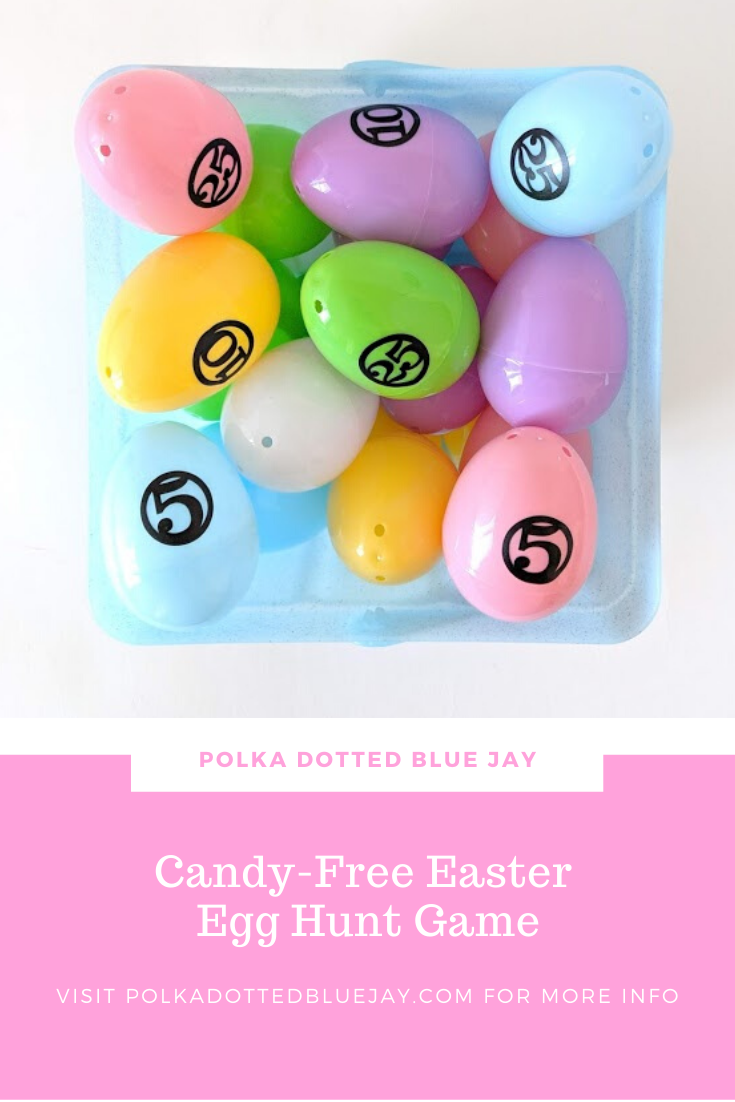
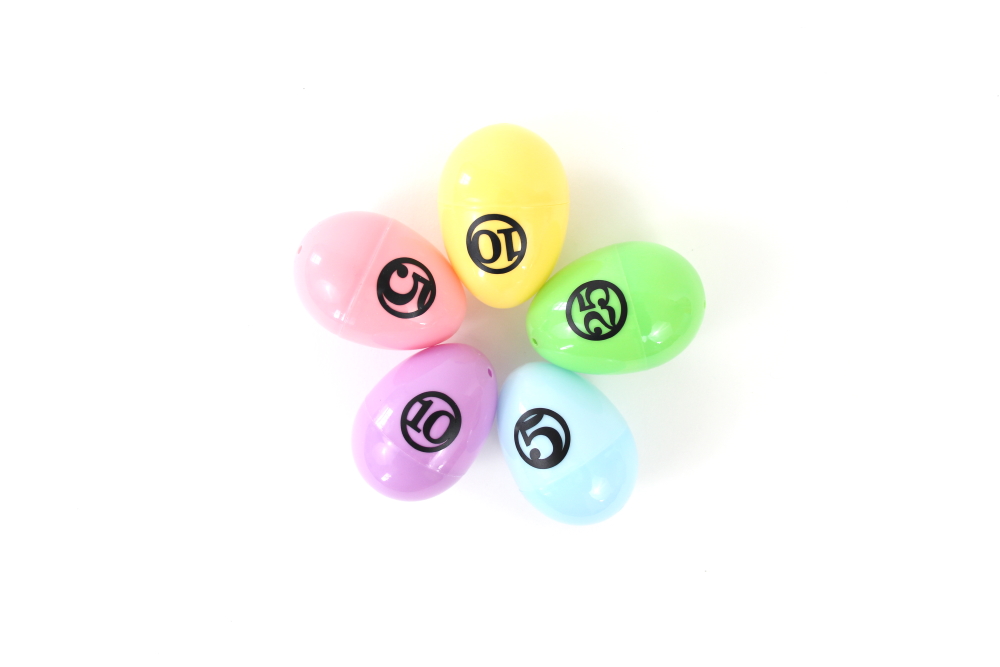
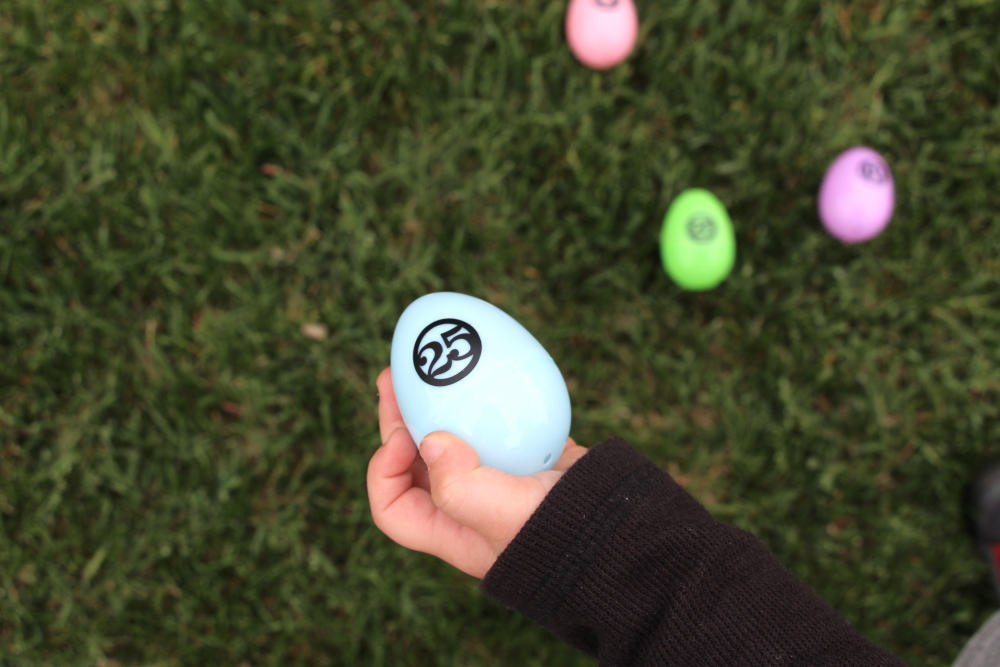
- Label plastic (re-usable!) Easter eggs with adhesive vinyl in the amounts you would like. I do increments of 5 for easy math.
- Hide the EMPTY eggs in your house or yard.
- Turn the kiddos loose and let them gather up the eggs. I usually set a timer for 5 minutes to make it a little more exciting.
- When the timer goes off the kids can return to you and cash in their eggs. Eggs labeled 25 get a quarter. Eggs labeled 5 get a nickel.
Easy to understand and even teenagers may get in on the money-making action.
Pros:
No keeping track of hard-boiled eggs – have you ever forgotten where you hid one of those? It is not fun.
No melted chocolate
No sugar highs/cranky kids
Make the kids add up their total = instant math practice and money learning skills
How to make your Candy-Free Easter Egg Hunt labels:
Estimated Time: 10 Minutes
Skill Level: Beginner
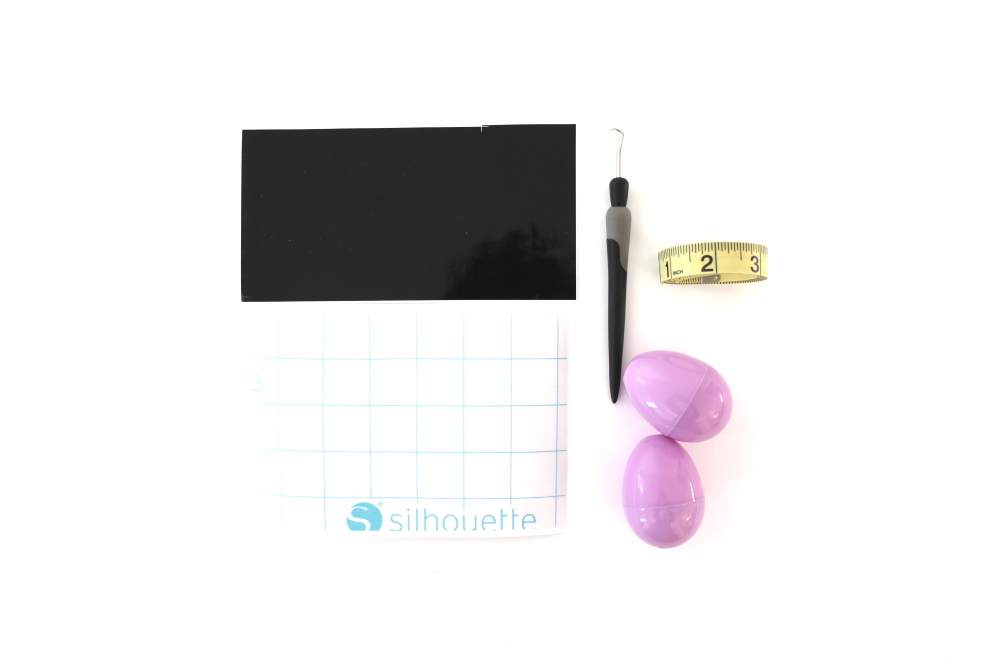
Supplies Needed:
- Silhouette CAMEO®
- Silhouette Cutting Mat
- Weeding Hook
- Silhouette Studio
- Everyday Life Number Circles
- Adhesive Vinyl – Black
- Plastic Easter Eggs
- Transfer Tape
- Open up your Silhouette Studio®.
- Select the Page Setup Window and adjust your cutting mat size to 12×12 (or the sized mat you are using).
- Download your Numbers Design from the Silhouette Design Store and then open in Silhouette Studio. Click File>Library>Library>Recent Downloads>Select your downloaded file.
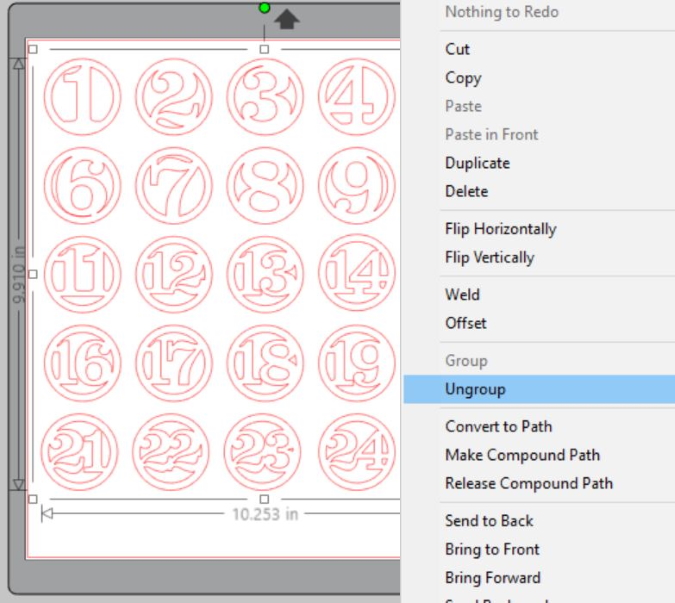
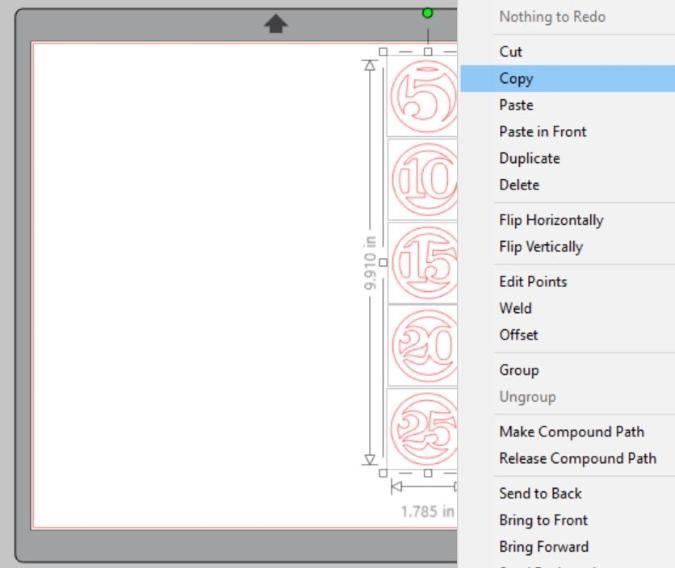
- Ungroup your design and delete the numbers you don’t want to use.
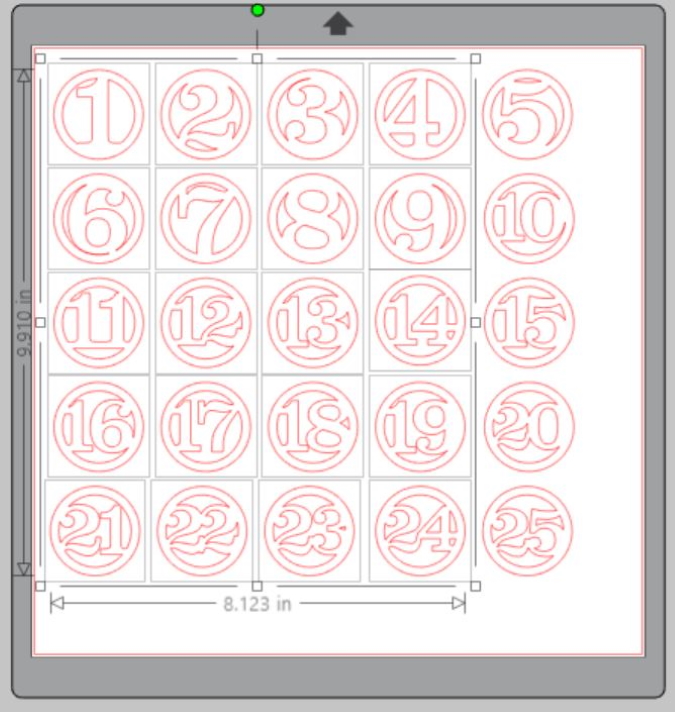
- Re-group your numbers and highlight. Copy and paste multiple times to get the desired number of labels.
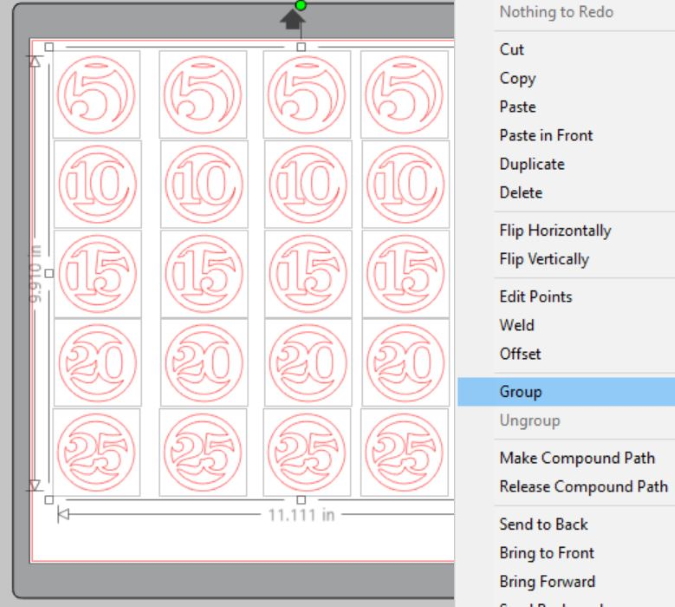
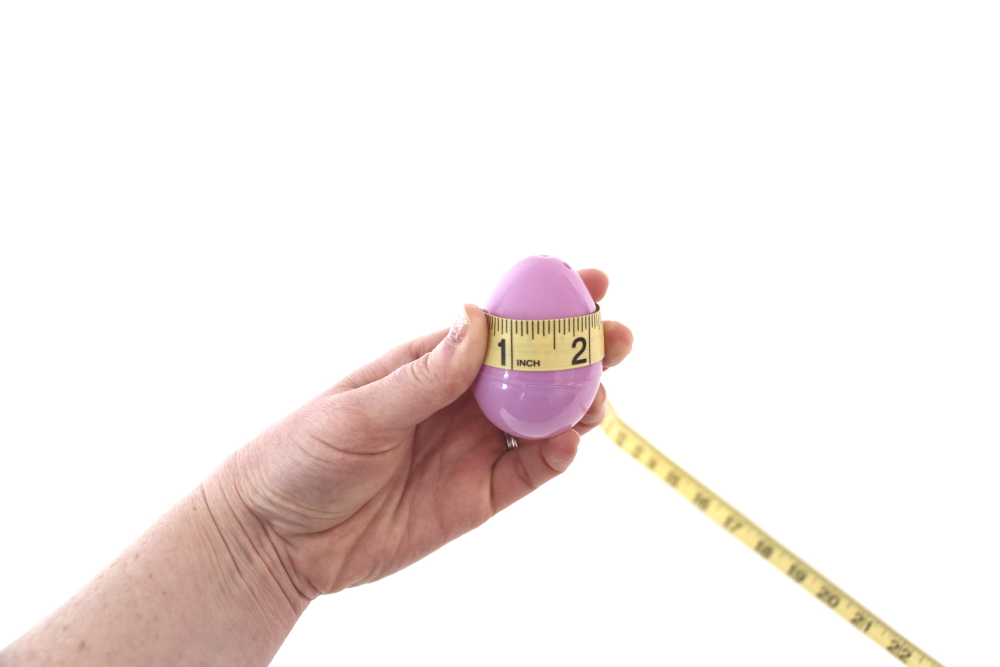
- Measure your eggs and re-size your design to the correct space on your 12×12 template – be sure to move the design as a group so it keeps everything lined up.
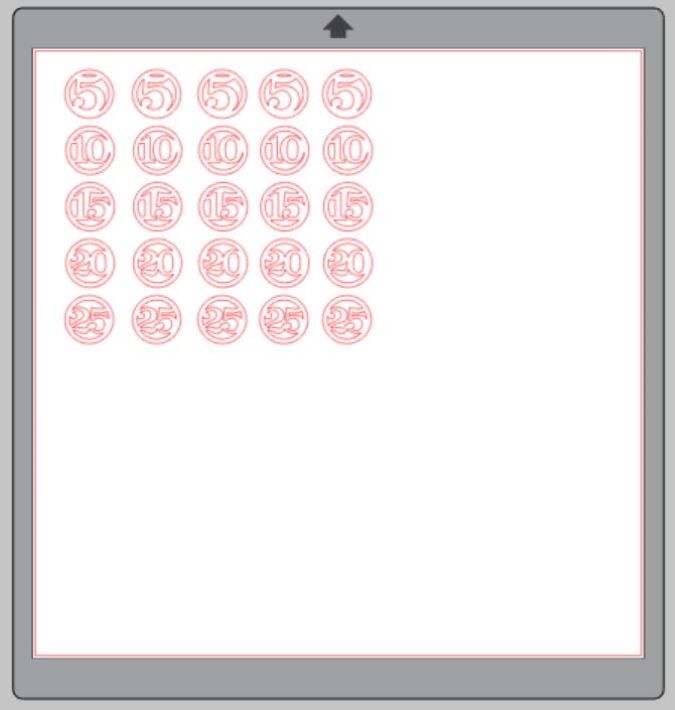
- Attach your Adhesive Vinyl to the cutting mat, color side up, and load into your machine.
- Follow the prompts in the Design Studio for Adhesive Vinyl and double-check to make sure your design has been selected to cut.
- Select “Send” to start cutting.
- Select “Unload” when your machine has finished cutting your design to remove the cutting mat from the machine.
Preparing Your Candy-free Easter Eggs Decals:
- Remove your sheet of Adhesive Vinyl from the cutting mat – go slow so it doesn’t curl up.
- Use your fingers or a weeding tool to remove the excess vinyl. Be sure to leave your design on the backing sheet.
Creating Your Candy-free Easter Eggs Decals:
- Place a piece of transfer tape over your decals.
- Use the scraping tool to make sure the design adheres to the transfer tape. It is easier to do them all at one time and then trim instead of trying to put transfer tape on each small decal.
- Trim your decals so each one is attached to its own small square.
- Gently pull transfer tape up and make sure the entire number lifts with it.

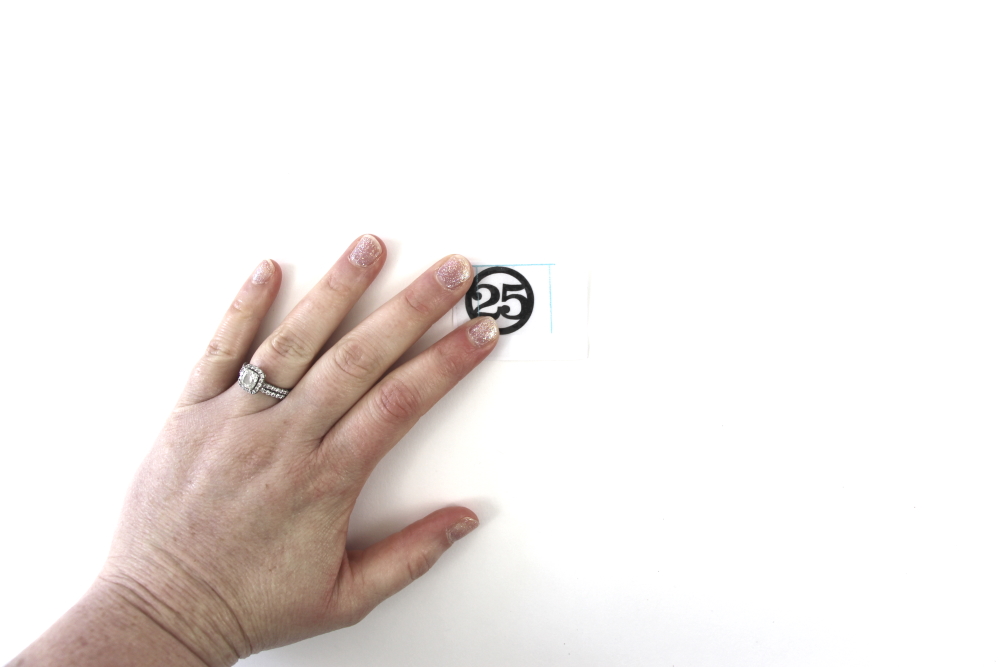
- Center your design on your egg and attach it from left to right. Go slow because round items can be tricky. Make a snip in the carrier sheet to be able to transfer the design without it getting bunched up as you go.
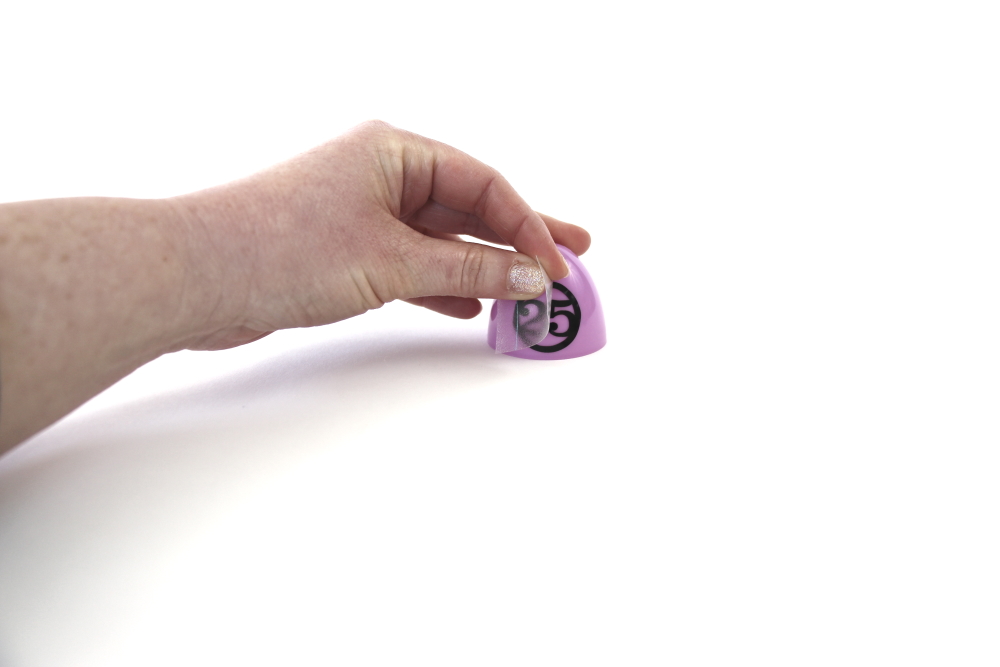
- Slowly remove the transfer tape. Tip: pull from a corner and not the side to make sure each part of the design transfers completely to your egg.
Be sure to tell me if you use this Candy-free Easter Egg Game this year – I would love to hear what your kids thought!
Need some other Easter inspiration: