Decorating a DIY Pen Pouch
| This post may contain affiliate links, which means I may receive a small commission, at no cost to you, if you make a purchase through a link. |
This tutorial for decoration a DIY Pen Pouch has been compensated by Collective Bias, Inc. and its advertiser. All opinions are mine alone. #PilotYourLife #CollectiveBias
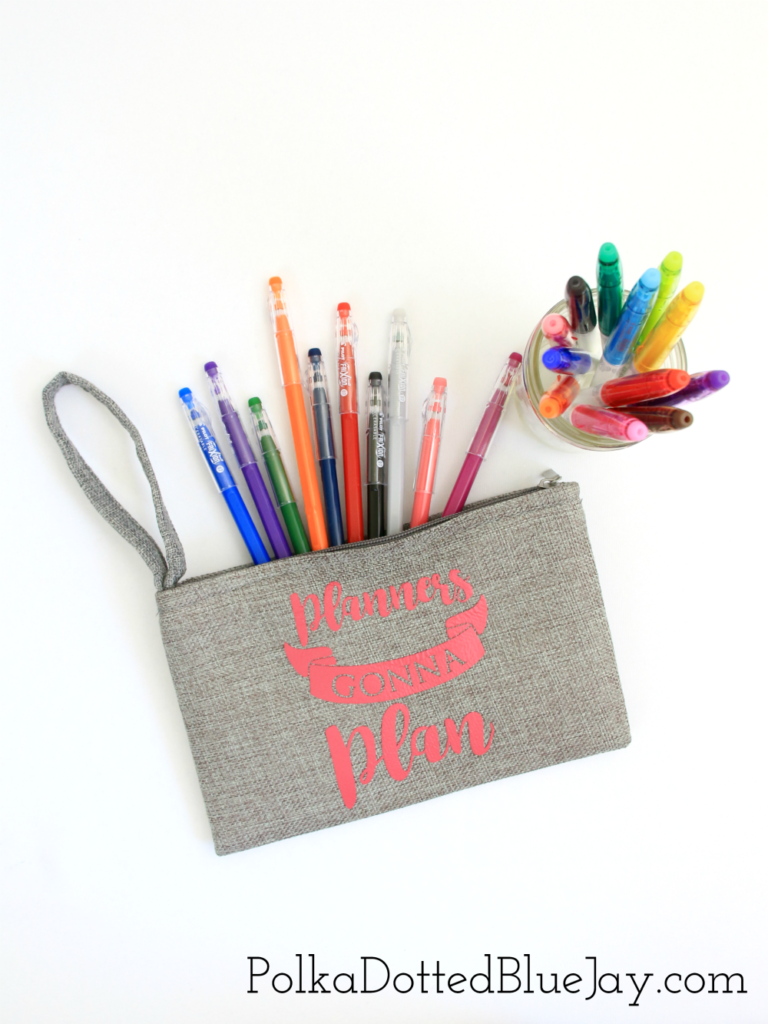
I’m not sure if I have ever shared my love of handwriting and lettering here on the blog before. My obsession with handwriting goes back as far as I can remember because my Dad has perfect penmanship and handwriting; it seriously looks like a computer font. When I was a little girl I used to beg him to write out sentences for me so I could trace the letters and make my handwriting look as much like his as possible.
There was never a shortage of yellow legal pads and colored markers when my Dad and I were around. He also happens to be a very talented artist – a trait I did not get.
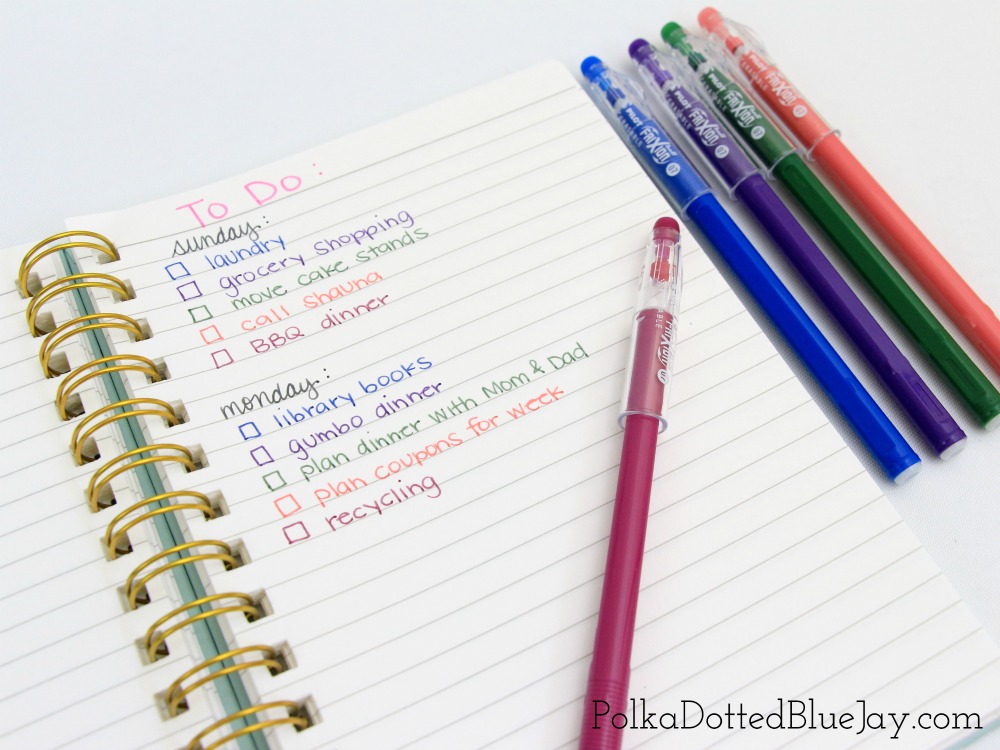
Well, my handwriting isn’t identical to my Dad’s, but I still love handwriting my grocery list (I always manage to delete it off my phone in Google Keep about half way through the grocery store) and my love of to-do lists is no joke. I have also traded my Dad’s yellow legal pads for girly spiral notebooks and pretty planners.
Now, with all this list-making, note-taking, and writing in general, I am bound to make a few mistakes here and there. I strongly dislike having errors on my page (I run spell checks at a law firm as my day job) and will often start a list over to avoid any ugly marks on my page. I can’t begin to tell you how excited I was to find pens and markers (!!!) that erase my mistakes without adding smudges to my page. The perfect replacement for traditional pens, pencils, and markers, FriXion offers you unlimited do-overs so you can write, erase and rewrite until you get it right.
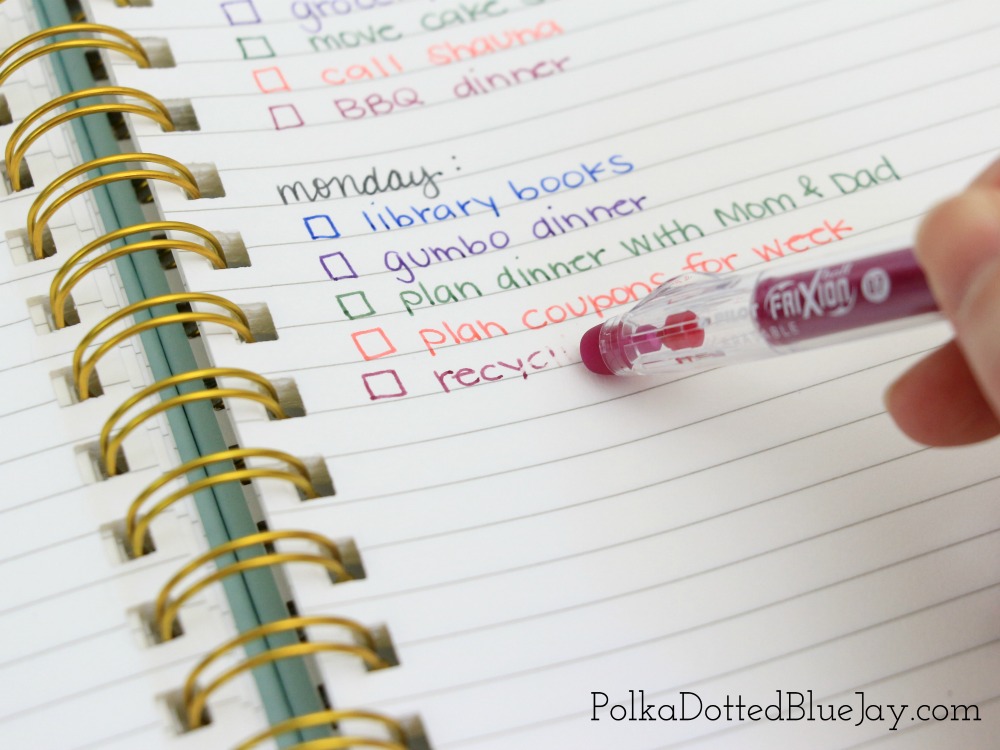
In addition to being able to fix my mistakes, I love that the pens don’t bleed through the pages of my planner or notebook. Win! I promptly decided to only carry these pens and markers for future use but knew I needed something to corral them in my tote bag. A DIY pen pouch is the perfect addition to my tote bag that I carry every day with my planner, notebook, and coupon binder.
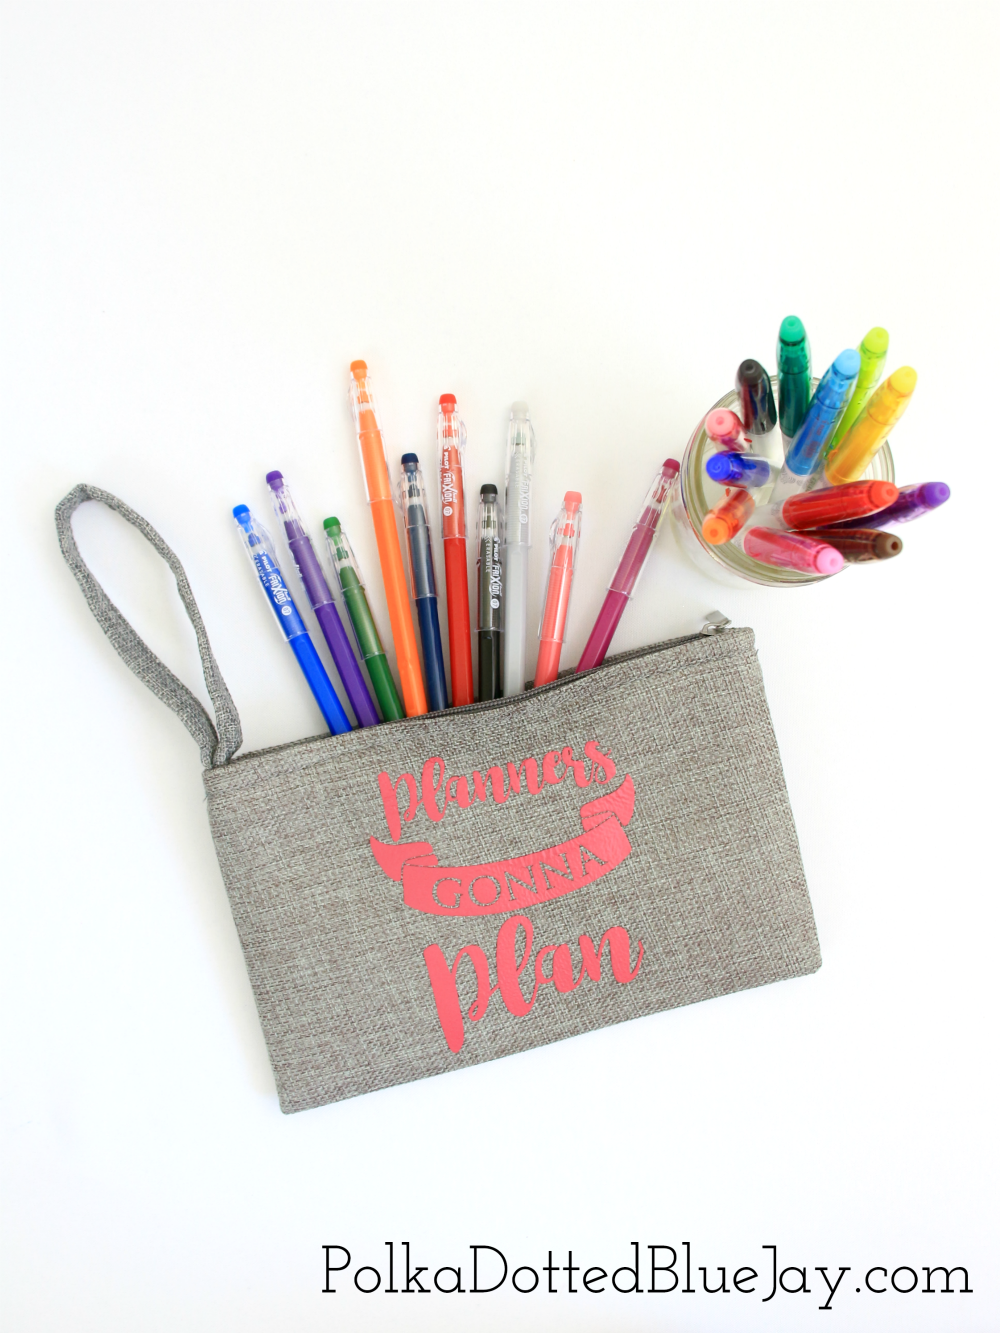
I snagged this adorable fabric wristlet for under $3 at my favorite craft store and decided to decorate it with some hot pink iron-on vinyl.
Here’s what you need to make one for yourself (click the photo above for product details):
• Pencil pouch or wristlet
• Heat transfer vinyl
• Iron
• Clean washcloth
• Cutting machine
• Design/Phrase
• FriXion ColorSticks Erasable Gel Ink Pens
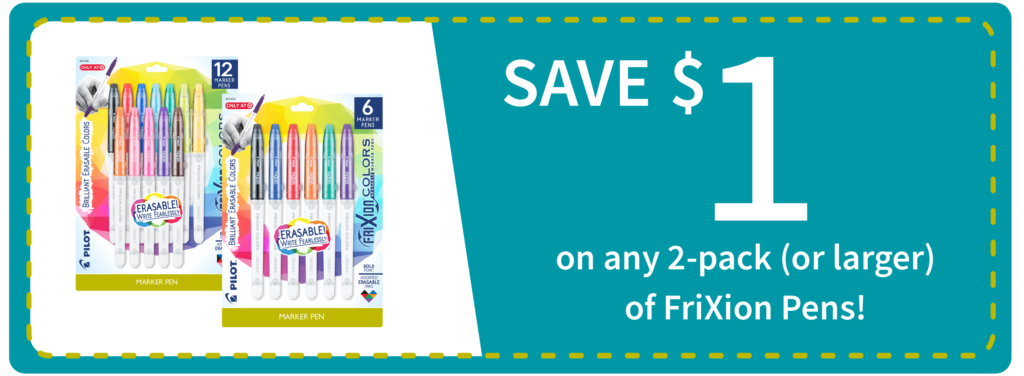
• FriXion Colors Erasable Marker Pens Packs
How to make your DIY Pen Pouch:
Download the design you would like to use on your pouch or type your phrase directly into the cutting machine software. I removed the little stars from the design I chose buy ungrouping the graphic so it was just the phrase.
Cut your design out on the heat transfer vinyl according to the product instructions.
Weed the design (remove the centers from any loopy letters).
Place your design on the pouch and cover with a clean washcloth.
Iron the washcloth according to the vinyl instructions.
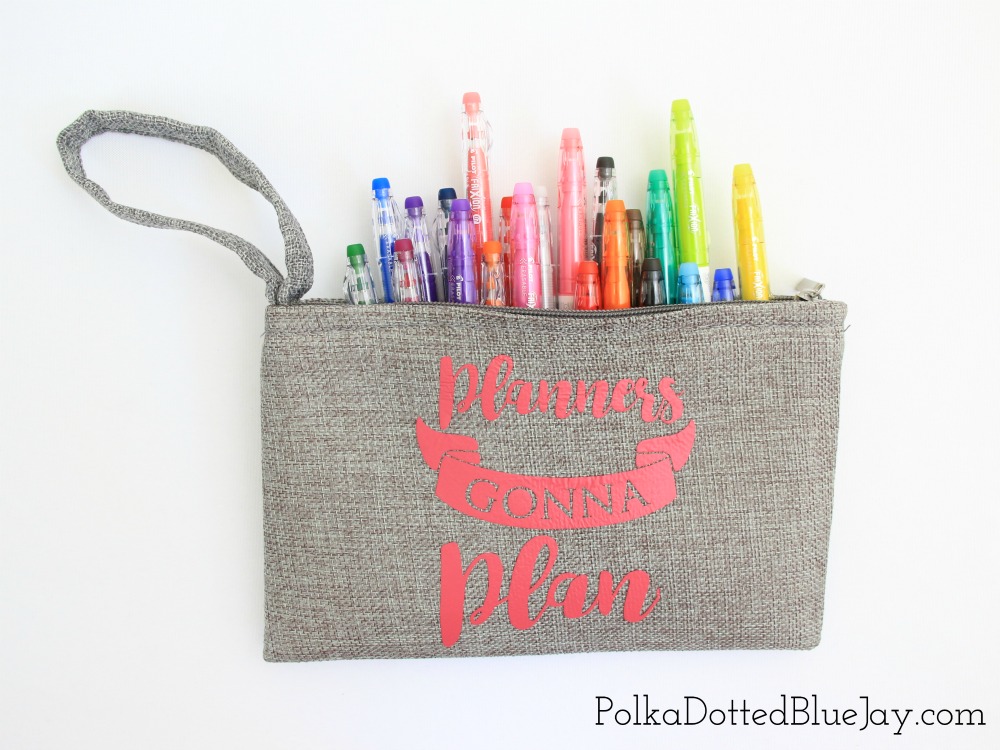
Fill your DIY Pen Pouch with your FriXion Pens and Markers (only available at Target – on the writing supply aisle and in the Back to School section) and enjoy!
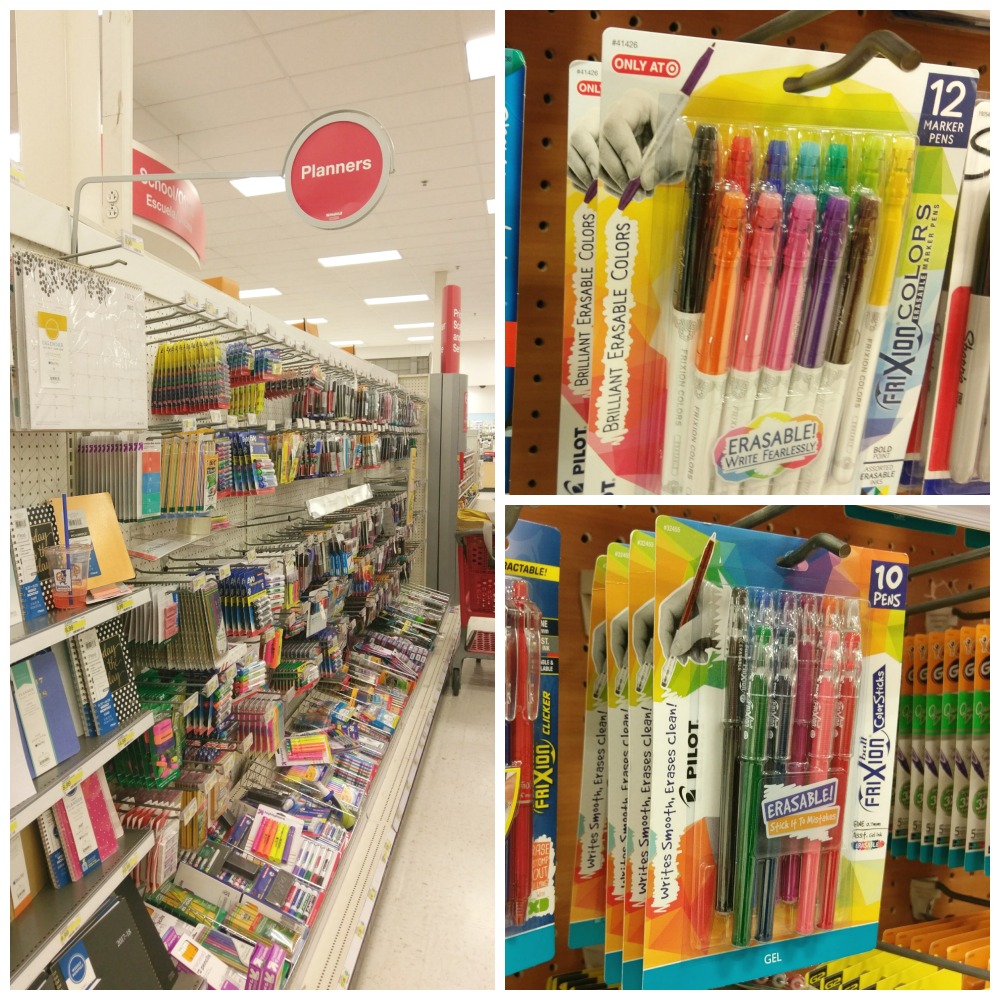
I love that my pen pouch keeps my pens and markers organized and keeps them from rolling around in the bottom of my tote bag. My FriXion pens and markers will be getting a lot of use as we head towards the holidays and my to-do lists get longer. What will you make more colorful with FriXion Pens and Markers? Tell me in the comments.
