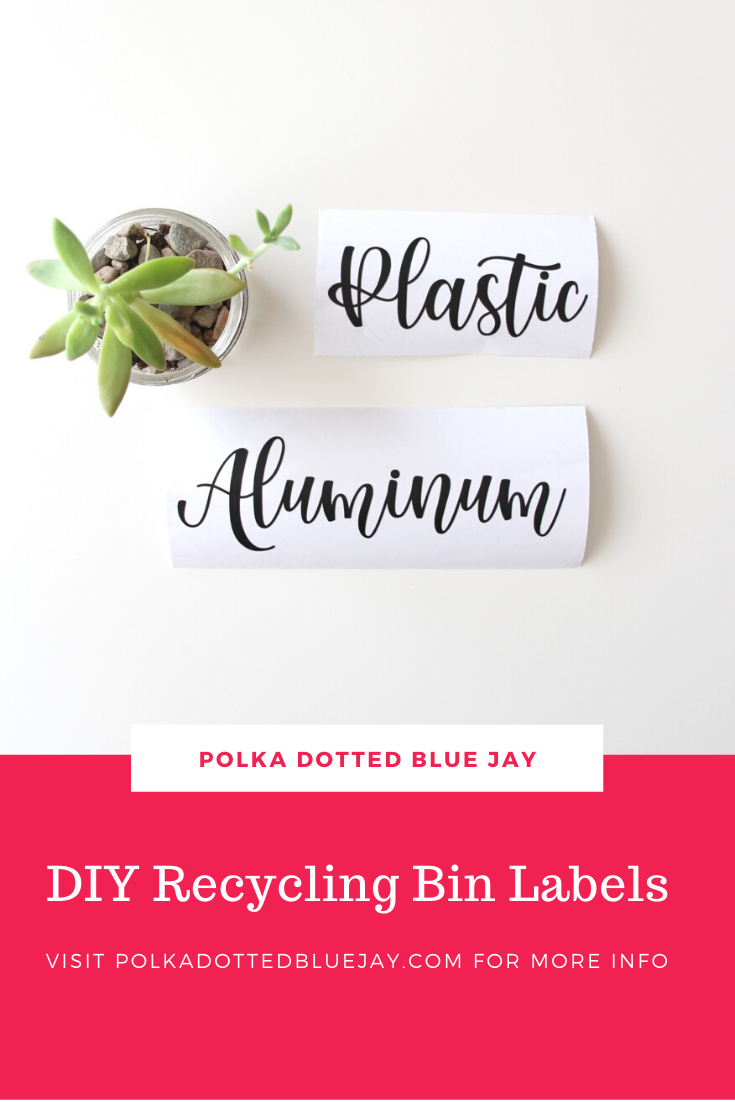
DIY Recycling Bin Labels
| This post may contain affiliate links, which means I may receive a small commission, at no cost to you, if you make a purchase through a link. |
I live in Southern California where recycling and being earth-conscious is a big thing. We separate our trash at home (waste, recycling, and green waste) and recycle our bottles and cans. Well, my recycling bins needed a little organizing and sprucing up and, since I loved my pantry organization labels, I got to work making some DIY recycling bin labels with adhesive vinyl and my Silhouette Cameo.
I wanted to use a “pretty” script font and figured this would be a great time to show you how to “weld” the letters together when using script/hand-lettered/cursive fonts. If you don’t weld the letters, they cut out individually and don’t always connect correctly. Using the weld tool in Silhouette Studio makes sure your design cuts perfectly and transfers easily too.
Estimated Time: 10 Minutes
Skill Level: Beginner
Supplies Needed:
- Silhouette CAMEO®
- Silhouette Cutting Mat
- Weeding Hook
- Silhouette Studio
- Kismet Font
- Adhesive Vinyl – Black
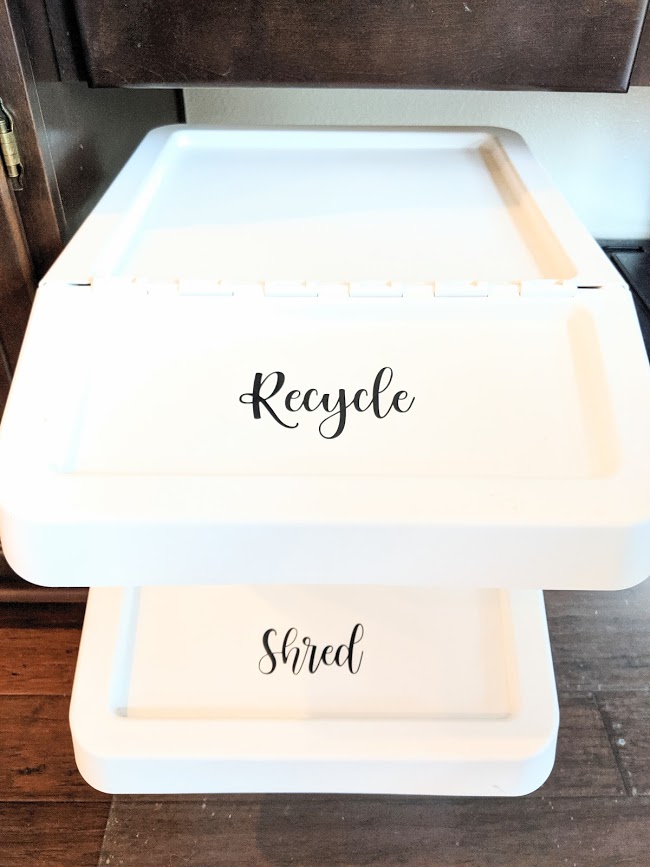
- Recycling Bins (I got my white ones from Ikea, but anything will do)
- Transfer Tape
Creating Your Recycling Label:
Step 1: Open up your Silhouette Studio®.
Step 2: Select the Page Setup Window and adjust your cutting mat size to 12×12 (or the sized mat you are using).
Step 3: Download your Kismet Font from the Silhouette Design Store and then open your font in Silhouette Studio. Click File>Library>Library>Fonts>Select your downloaded file.
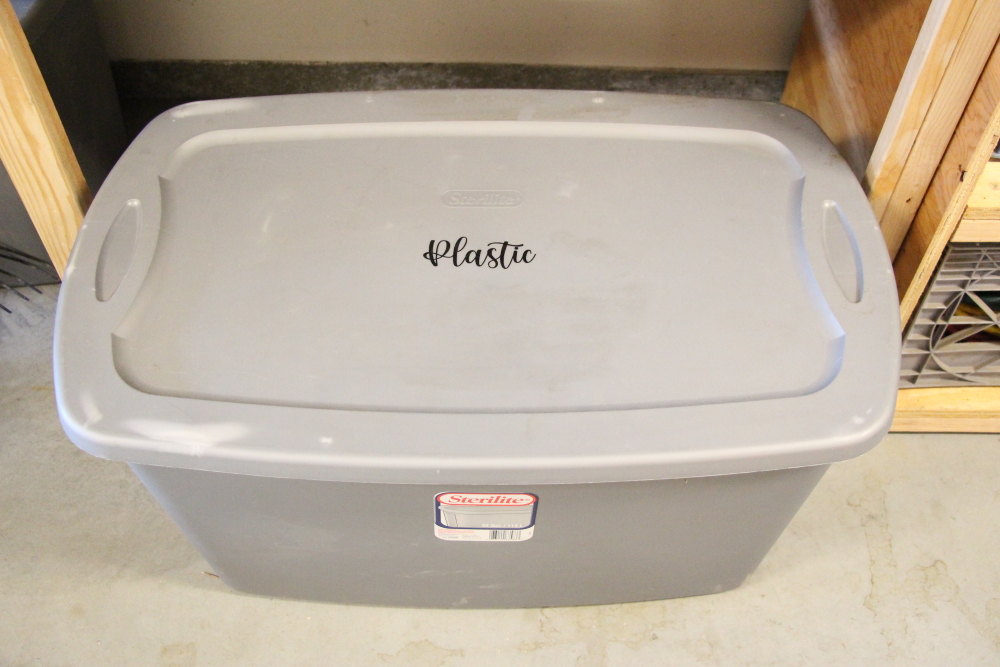
Step 4: Click in the online Silhouette cutting mat template and type your recycling word: Recycle, Shred, Aluminum, Plastic, etc. See how the red lines cross over into other letters (like on the S and T? That means they will cut into the other letters unless you do the following steps to weld them together.
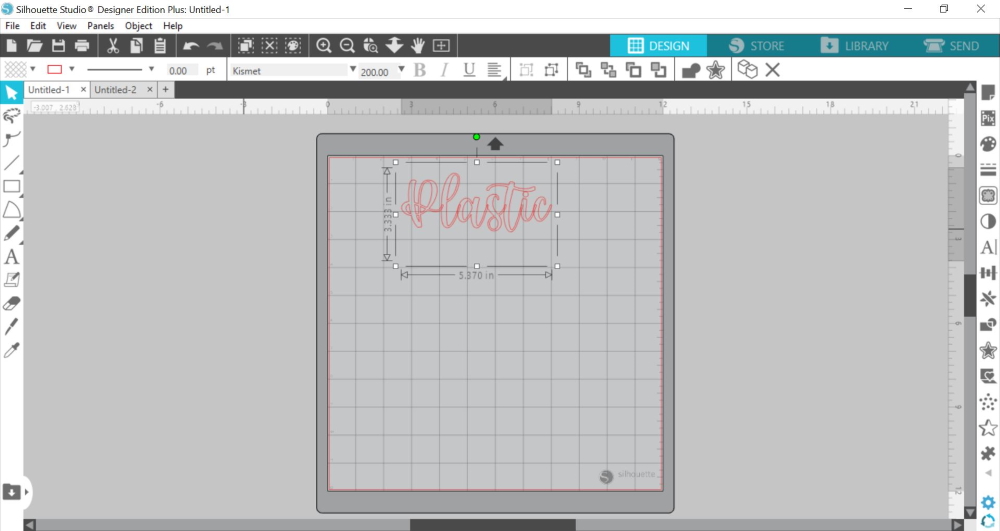
Step 5: Highlight your whole word and right-click. Select “weld” from the menu. Now your letters connect instead of cutting into one another.
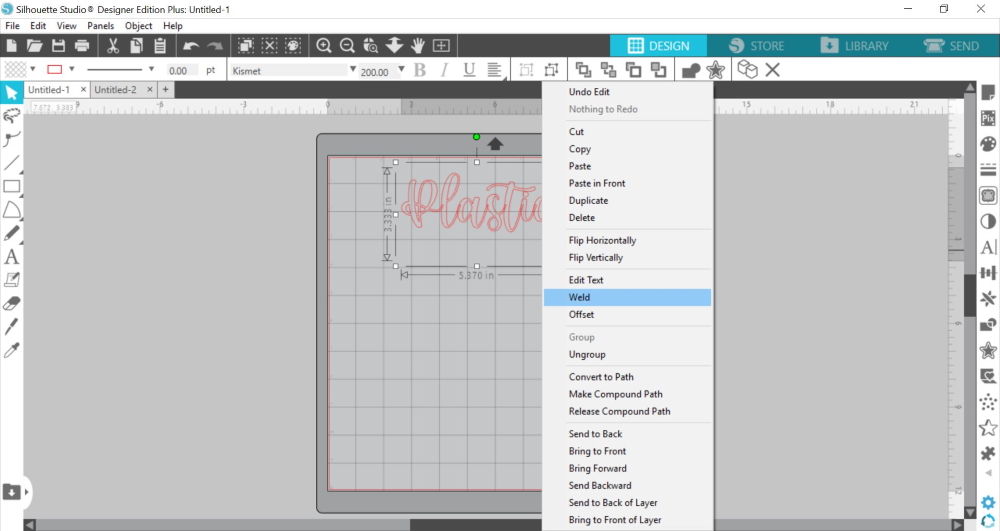

Step 6: The capital letter may not be grouped with the rest of your word – because it doesn’t connect, so be sure to also highlight, right-click, and select “group”. This will make it easier to resize your word for your recycling bin.
Step 7: Measure your bin and re-size your design to the correct space on your 12×12 template – be sure to move the design as a group so it keeps everything lined up.
Step 8: Attach your Adhesive Vinyl to the cutting mat, color side up, and load into your machine.
Step 9: Follow the prompts in the Design Studio to adjust your blade (if using a ratchet blade) for Adhesive Vinyl and double-check to make sure your design has been selected to cut.
Step 10: Select “Send” to start cutting.
Step 11: Select “Unload” when your machine has finished cutting your design to remove the cutting mat from the machine.
Preparing Your Recycling Bin Labels:
Step 1: Remove your sheets of Adhesive Vinyl from the cutting mat – go slow so it doesn’t curl up.
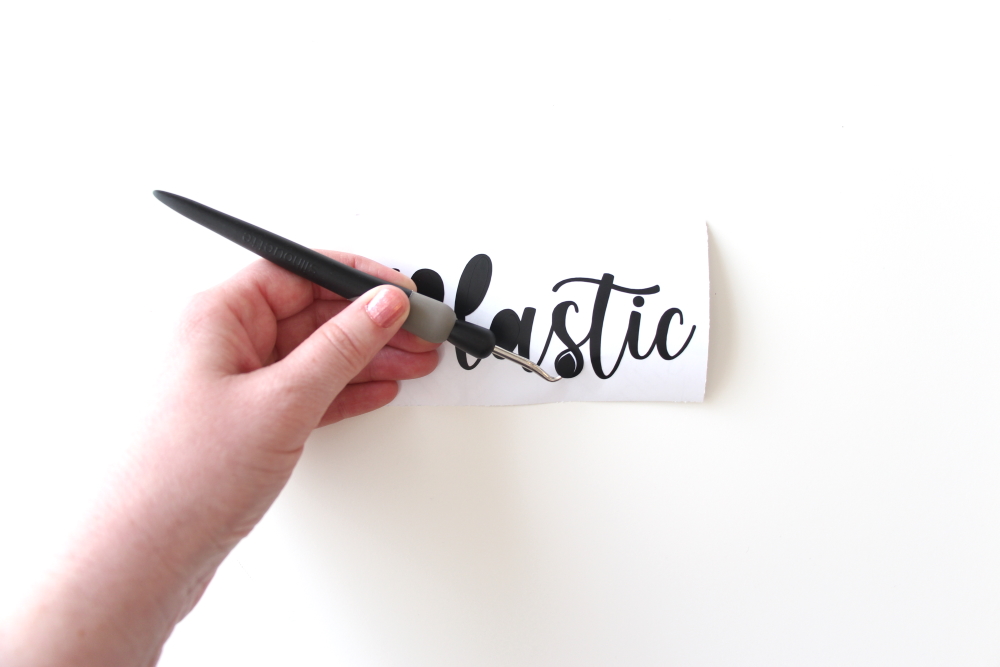
Step 2: Use your fingers or a weeding tool to remove the excess vinyl. Be sure to leave your design on the backing sheet.
Creating Your Recycling Bin Labels:
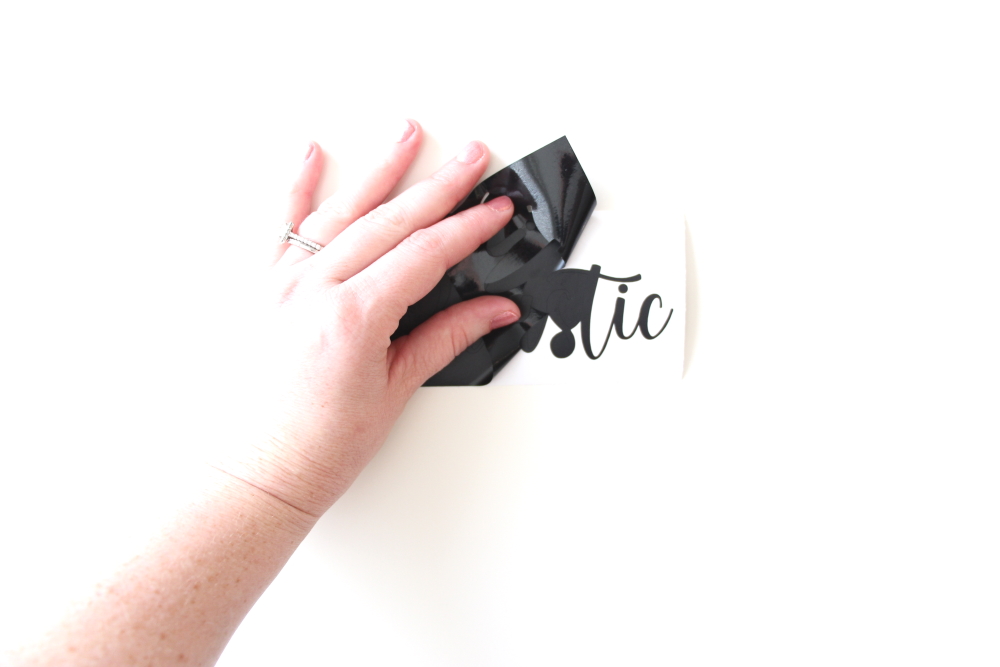
Step 1: Place a piece of transfer tape over your label.
Step 2: Use the scraping tool to make sure the design adheres to the transfer tape.
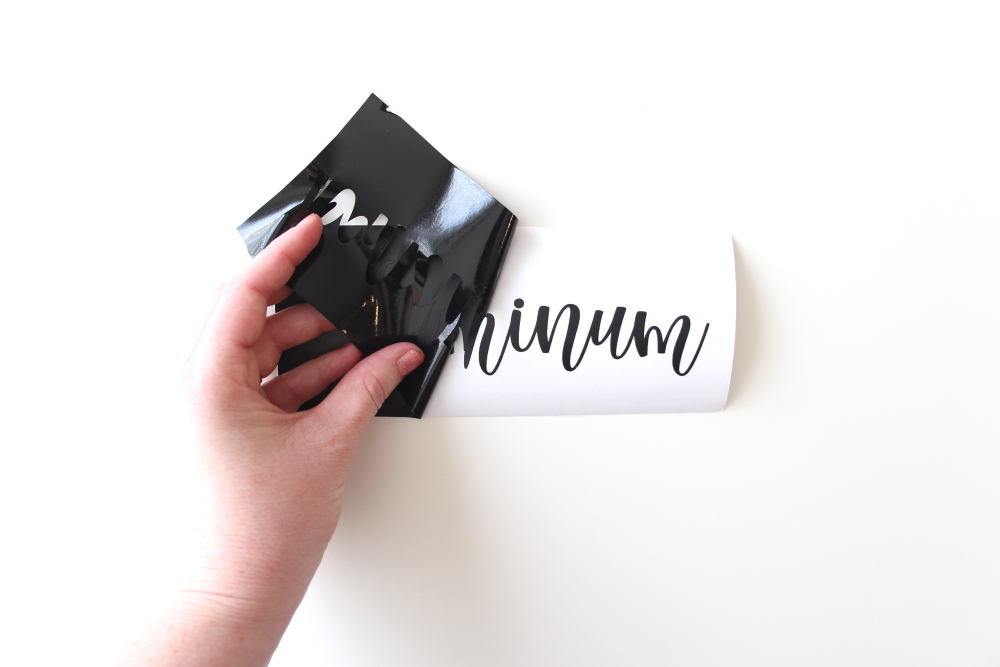
Step 3: Gently pull transfer tape up and make sure the entire word lifts with it. Be sure to take the dots on your I, they can be tricky.
Step 4: Place your design on your bin.
Step 5: Use the scraping tool to smooth the word onto the bin.
Step 6: Slowly remove the transfer tape. Tip: pull from a corner and not the side to make sure each part of the design transfers completely to your recycling bin.
I wouldn’t believe how easy this project was to complete while I was also making dinner. Mom life, am I right? I was totally kicking myself for taking so long to get it done and I love our new labels. It just makes everything easier, especially for paperwork.
Be sure to tag me online or send me a link if you make some recycling labels – I would love to see your project. Recycle, reduce, reuse and close the loop!