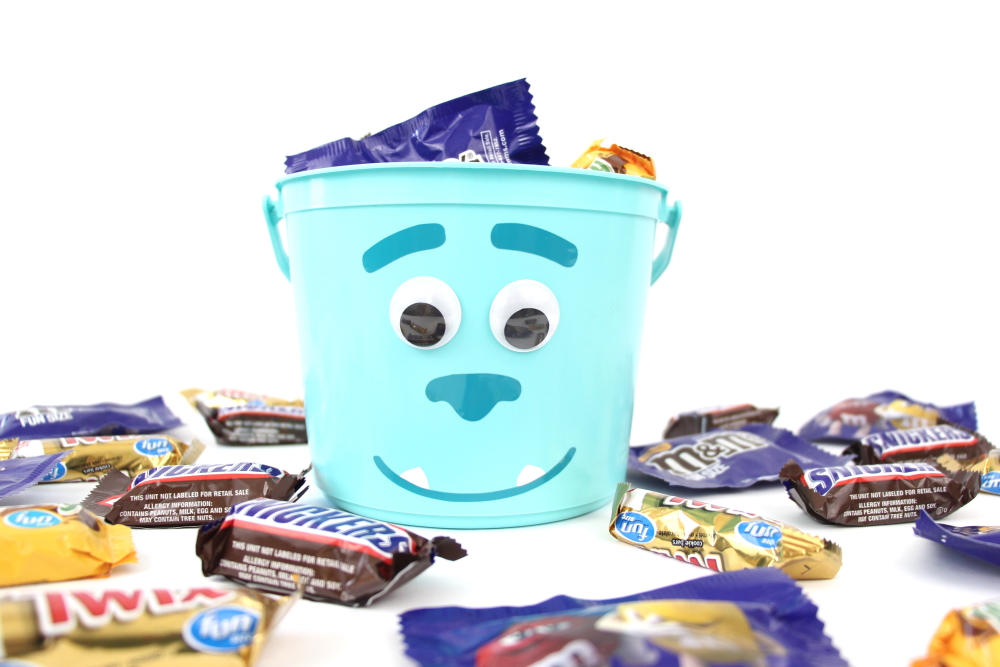
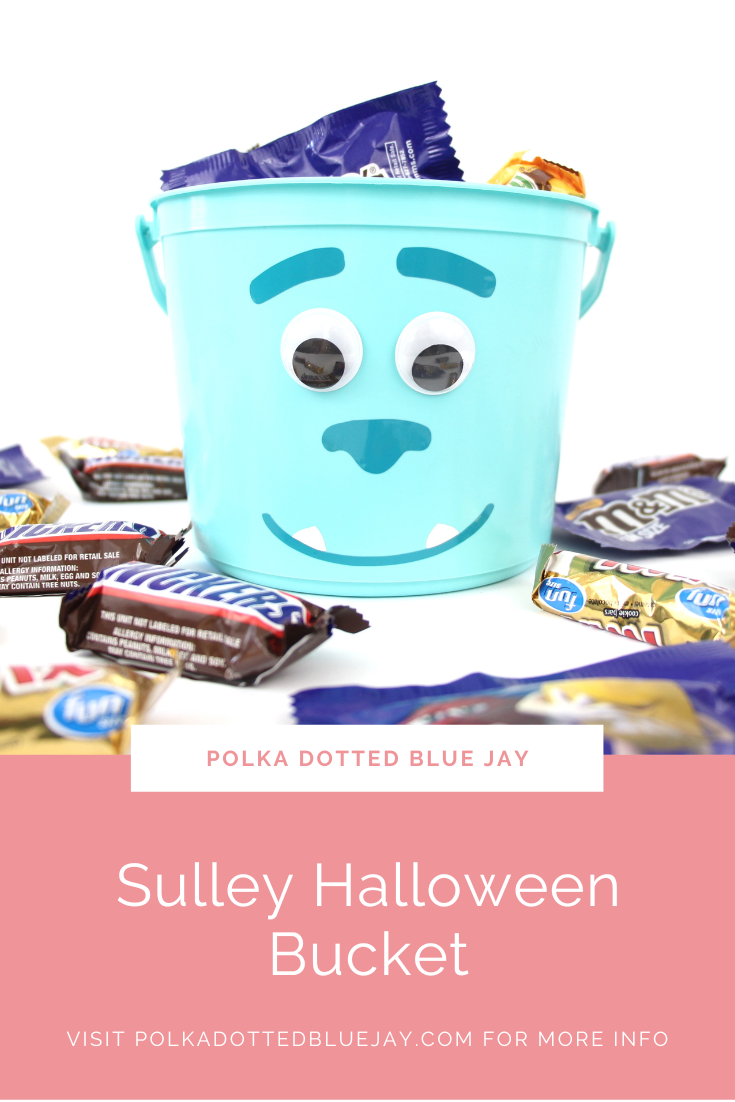
James P. Sullivan Sulley Halloween Bucket
| This post may contain affiliate links, which means I may receive a small commission, at no cost to you, if you make a purchase through a link. |
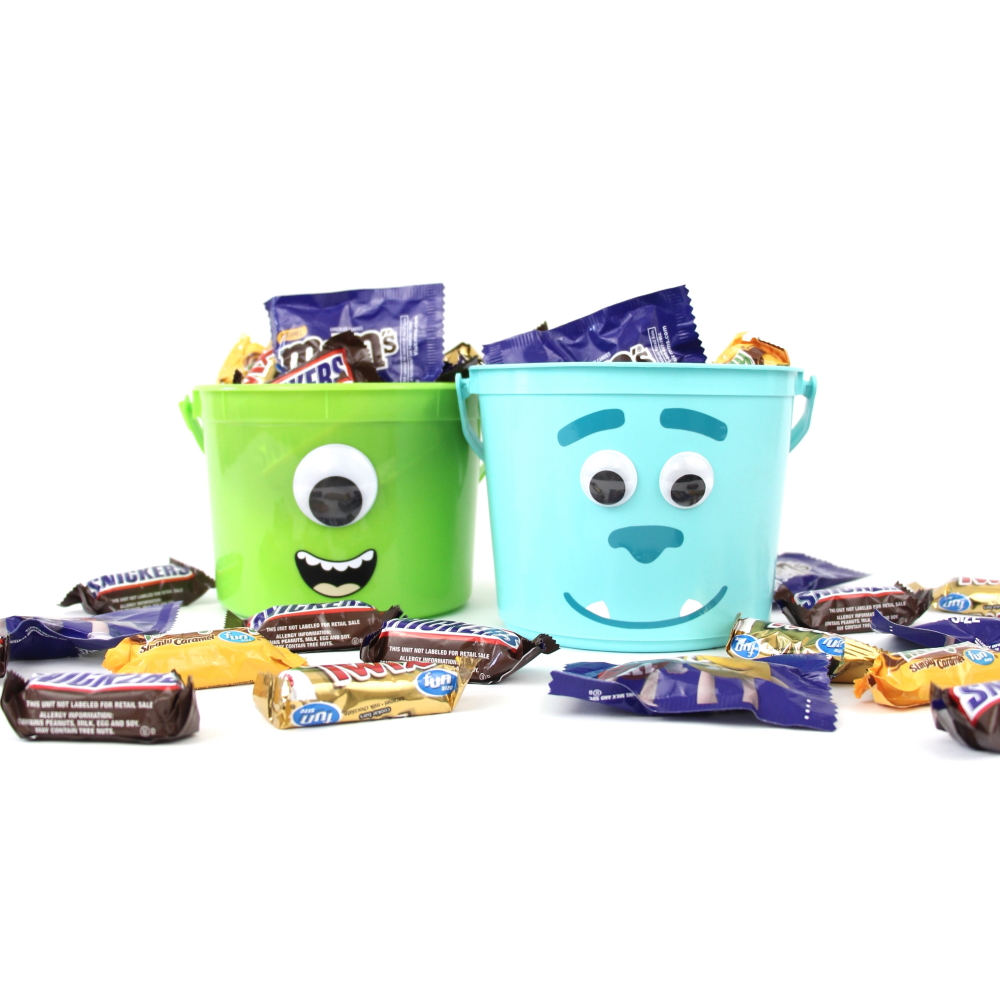
Disneyland released the information for their Fall celebrations, the internet is going wild with excitement, and I immediately made a Sulley Halloween bucket. Three years ago I made the Mike Wazowski Halloween bucket and I finally rolled up my sleeves and made my Sulley Halloween bucket to match. I could barely contain myself and had to send some exclamation-filled DMs to my fellow Disney fans.
One of those friends was Simply Made Fun and, after sharing in my excitement over the new Sulley Halloween bucket, we decided we need to keep this theme going. So, no promises, but we’re scheming and thinking we need a whole lineup of Monsters, Inc./Monsters University buckets and t-shirts.
If you have been around for any amount of time, you know that I am a huge Disney fan. My husband proposed on Main Street at Disneyland, my Dad was the maître’d at Club 33, and we just spent a year as Magic Key holders at Disneyland.
Estimated Time: 15 Minutes
Skill Level: Beginner
Supplies Needed:
- Silhouette CAMEO®
- Silhouette Cutting Mat
- Silhouette Cutting Blade
- Weeding Hook
- Silhouette Studio
- Adhesive Vinyl – I used Turquoise Blue and White
- Transfer Tape
- Scraper Tool
- Teal Bucket – this link is the exact one I purchased.
- Googly Eyes
- Sulley face design
Step 1: Creating Your Bucket Design:
Open up your Silhouette Studio®.
Select the Page Setup Window and adjust your cutting mat size to 12×12 (or the sized mat you are using).
Download and open the face in Silhouette Studio. Click File>Open>Select your downloaded file.
Measure your bucket and re-size your design to the correct space on your 12×12 template – be sure to move the design as a group so it keeps everything lined up. You can do this by clicking and dragging to cover the whole design and then moving it as one piece.
Step 2: Cutting Out Your Design:
Attach your Adhesive Vinyl to the cutting mat, color side up, and load it into your machine. I loaded one color at a time and used the cut-by-fill option to select each one individually.
Select adhesive vinyl in the Silhouette Design Studio and double-check to make sure your design has been selected to cut.
Click “Send” to start cutting.
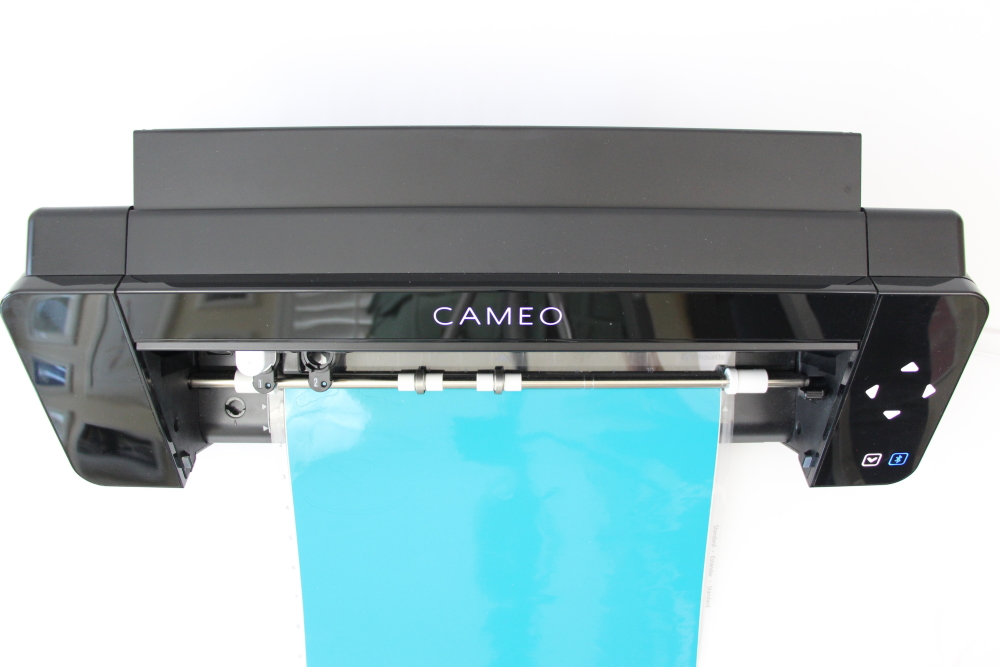
“Unload” when your machine has finished cutting your design to remove the cutting mat from the machine.
Remove your sheets of Adhesive Vinyl from the cutting mat – go slow so it doesn’t curl up.
Repeat for the next color.
Step 3: Creating Your Sulley Halloween Bucket:
Use your fingers or a weeding tool to remove the excess vinyl. Be sure to leave your design on the backing sheet.
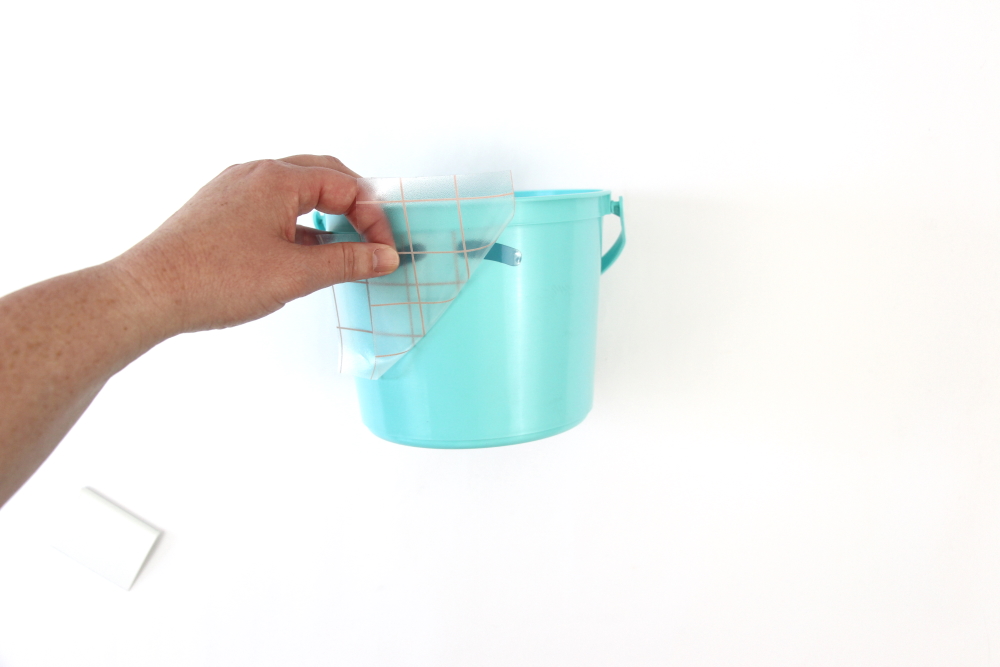
Place a piece of transfer tape over each part of your design.
Use the scraping tool to make sure the design adheres to the transfer tape.
Gently pull transfer tape up and make sure the entire design lifts with it.
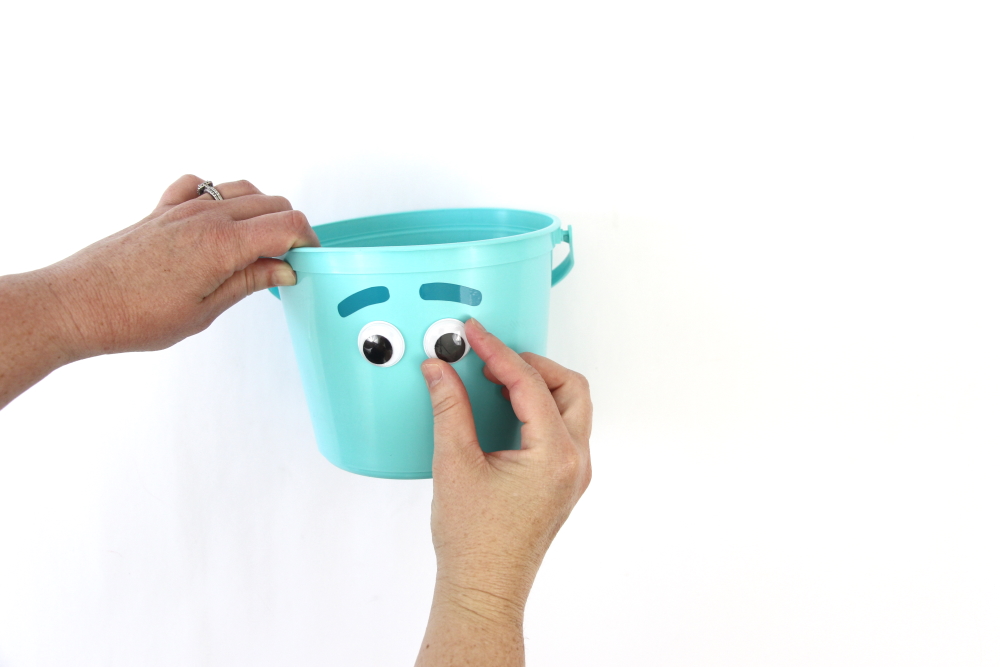
Place your design on your bucket one piece at a time. I added eyebrows, then eyes, nose + mouth, and finished with the fangs.
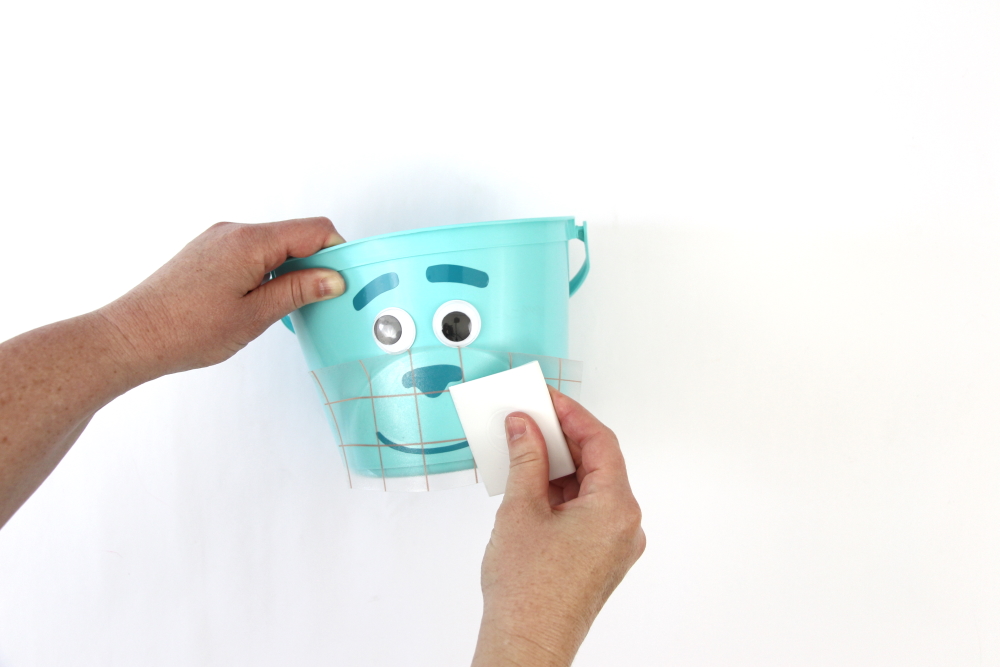
Use the scraping tool to smooth the design part onto the bucket.
Slowly remove the transfer tape. Tip: pull from a corner and not the side to make sure each part of the design transfers completely to your bucket.

I added a little extra adhesive to my googly eyes since the bucket is curved, and the eye is not (so the edges may not lay flat depending on the size you use.).
Ta-Da! A super easy DIY James P. Sullivan / Sulley Halloween Bucket that is perfect for Trick or Treating at Oogie Boogie Bash with your buddy Mike Wazowski.
Please tag me online or send me a link if you make a Sulley Halloween Bucket – I would love to see your creation. Happy scaring, friends!
Check out these other Monster-themed projects:
Mike Wazowski Trick or Treat Bucket
DIY Monsters Inc. Family Costumes
Monsters, Inc. Trick or Treat Bags
I’m excited to be one of Google’s paid early testers for their Thank with Google pilot program. Thank with Google is an experimental feature that allows you to purchase a virtual sticker and directly show your appreciation for content on my website.
There are a variety of stickers to select from and every time you send a paid sticker, you can add a personal message to me. These virtual stickers translate into direct revenue to support the work that goes into the content that you are enjoying on my blog.
You can find the Thank with Google feature in multiple places on my site, including the top and bottom of this and all blog posts, and the sidebar. If you try it out, let me know what you think! Thank you for supporting Polka Dotted Blue Jay.