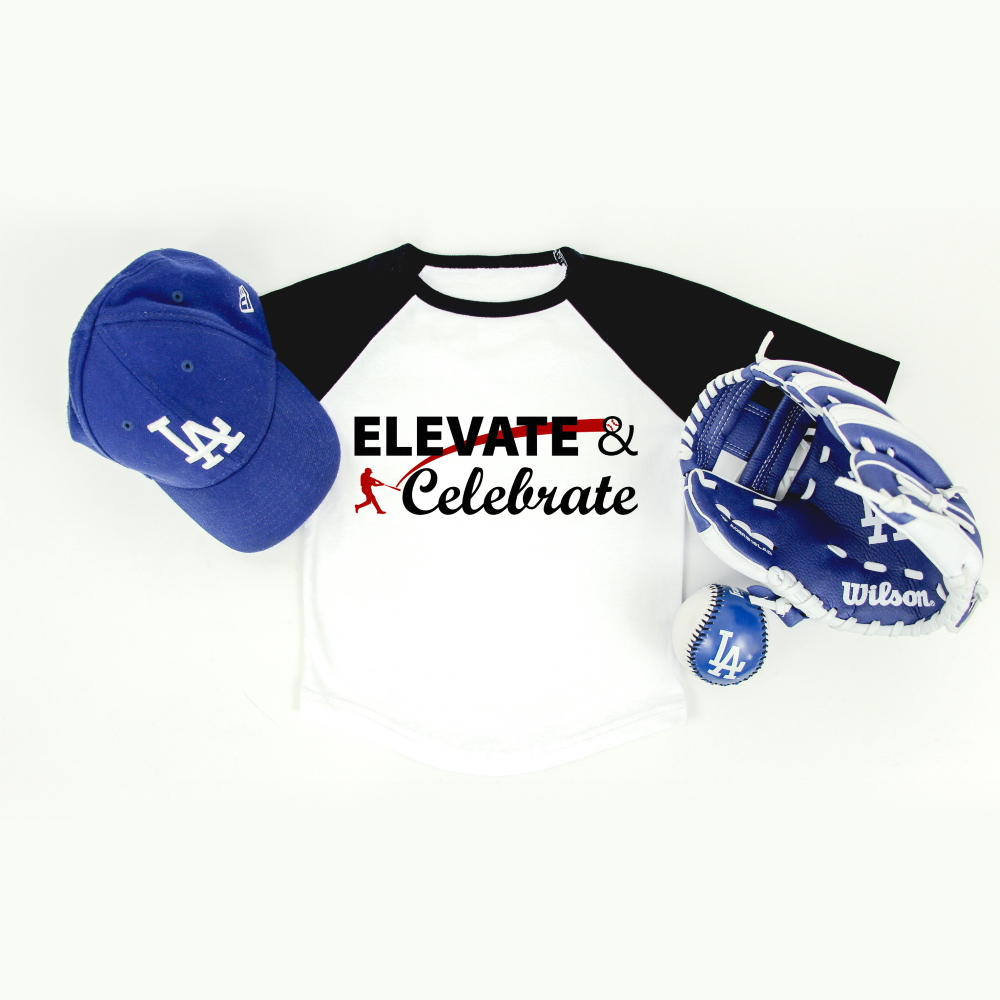
Elevate and Celebrate Free Baseball SVG
| This post may contain affiliate links, which means I may receive a small commission, at no cost to you, if you make a purchase through a link. |
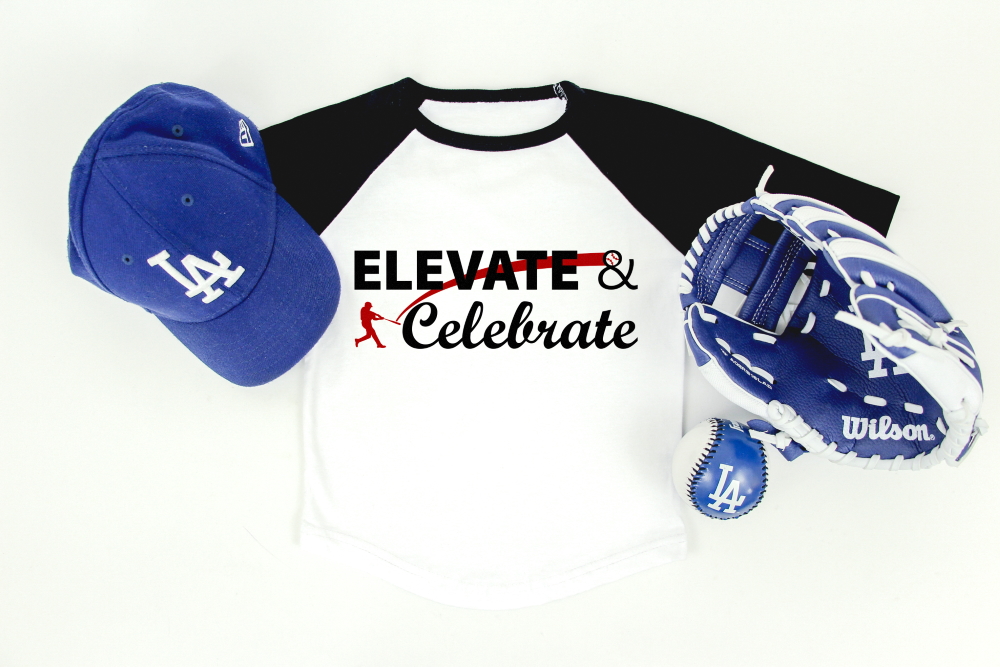
We love baseball season in our house. Houston plays in an adult baseball league, we watch Dodger baseball as a family, and we play t-ball with Jedidiah after dinner every night. Houston suggested that this month we share and Elevate and Celebrate SVG with you and make it a little more masculine than our normal cut files.
Don’t worry, I’ll be back sharing more glitter designs in no time. Or better yet, make a glitter Elevate and Celebrate t-shirt for yourself!
Estimated Time: 20 Minutes
Skill Level: Advanced
Supplies Needed:
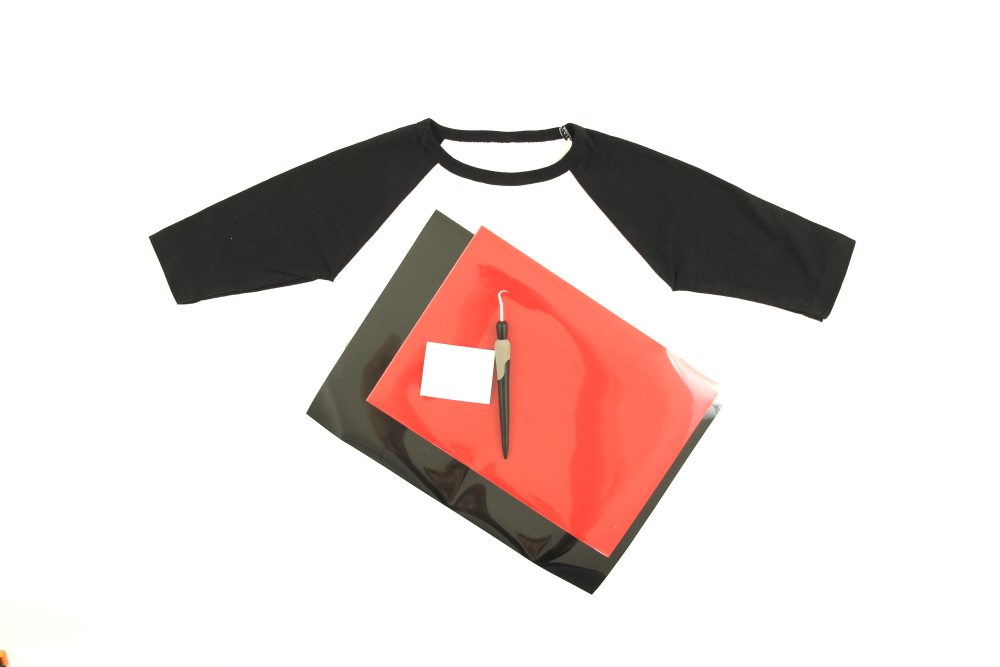
- Silhouette CAMEO®
- Silhouette Cutting Mat
- Weeding Hook
- Silhouette Studio – use the Business Edition to make importing SVGs easy
- Heat Transfer Vinyl (I used black and red)
- Blank t-shirt (be sure to wash and dry before crafting)
- Iron or heat press
- Free Elevate and Celebrate SVG
Step One: Creating Your Elevate and Celebrate Knockout Method Design:
Open Silhouette Studio®.
Select the Page Setup Window and adjust your cutting mat size to 12×12 (or the sized mat you are using).
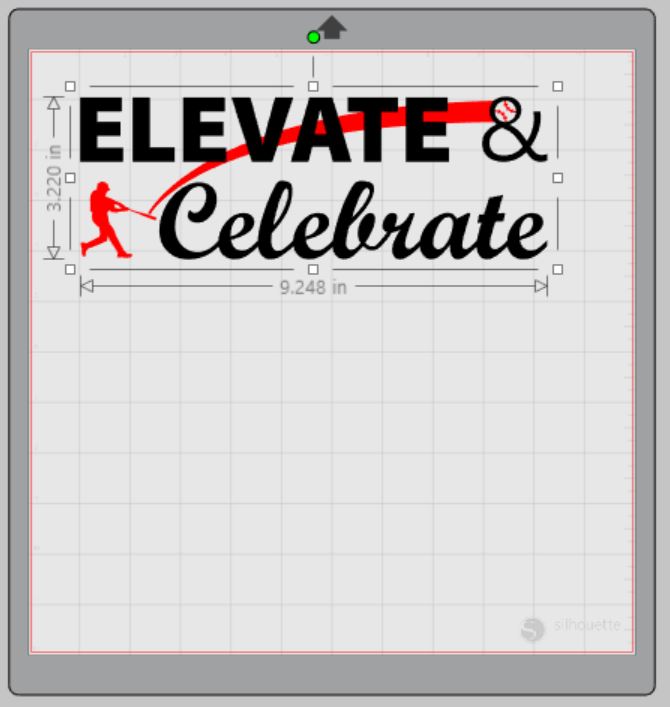
First, you need to download your Elevate and Celebrate design from The Polka Dotted Blue Jay Freebie Library and then open it in Silhouette Studio. Click File>Open>Select your downloaded file.
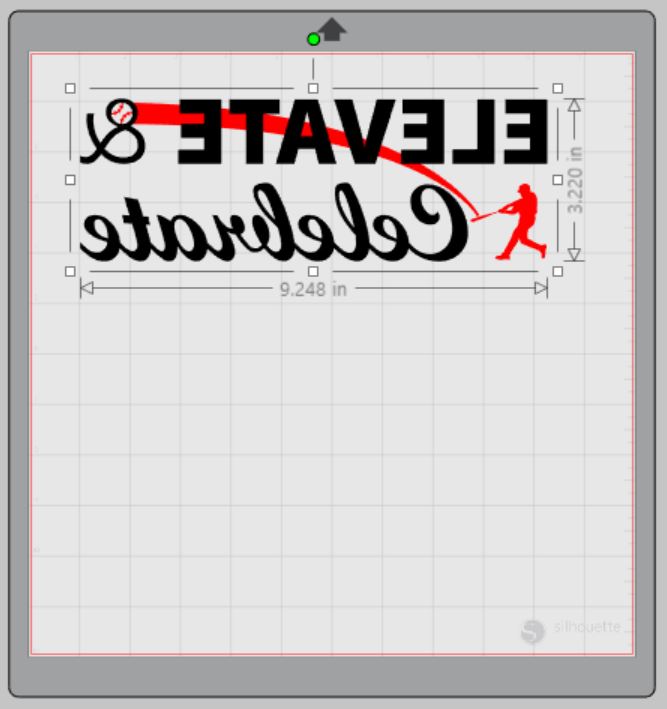
Using the Business Edition of Silhouette Studio will make part seamless. Ungroup your design by right-clicking and selecting “ungroup”.
Use the fill option in Silhouette Studio® to color each element of your design. Click a part of the design and then select the color you want from the fill menu in the toolbar. I like to coordinate the fill color with the color of my vinyl so I can “see” what my design will look like.
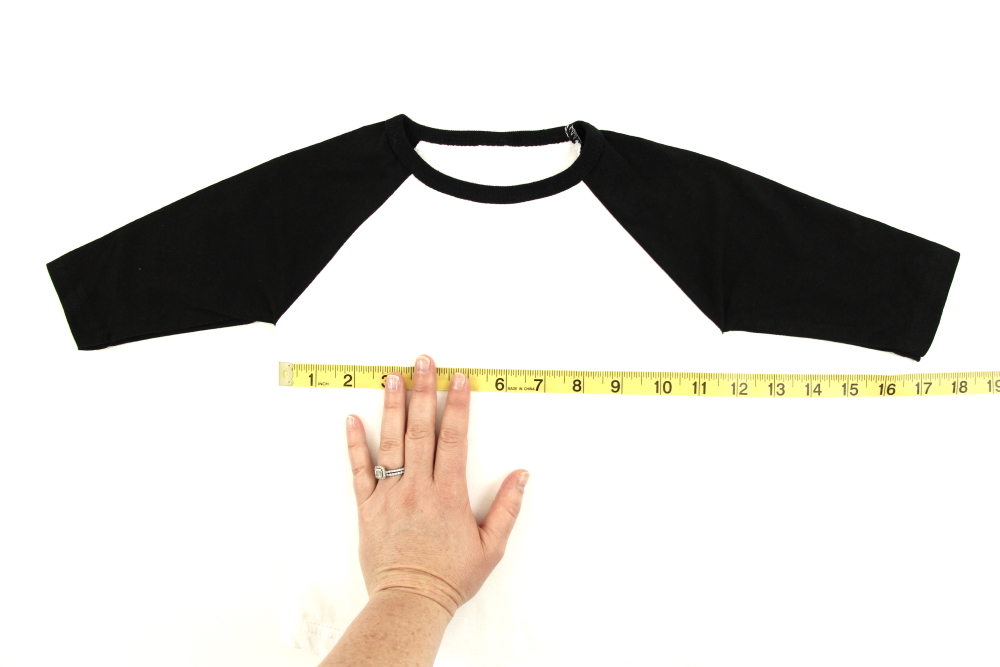
Measure your t-shirt and re-size your design to the correct space on your 12×12 template – be sure to click and drag to select the whole design, right-click, and select “group” to re-group your design to move it as one design and keep everything lined up.
You will need to flip your design, so it appears backward for Heat Transfer Vinyl – this is called “mirroring” your design. Highlight your design, click “object” from the toolbar, “mirror” from the menu, and then “horizontally” to mirror it.
Select “Send” to prepare to cut.
Follow the prompts in the Design Studio for Heat Transfer Vinyl (or the type you are using for your project) and double-check to make sure your design has been selected to cut.
Select the fill option instead of “simple” from the cutting menu. You can select each color and your Silhouette Cameo will only cut out the elements in your design that are that color. This is why it is helpful to change the design colors in step 5.
Load your heat transfer vinyl into your Cameo 4 with the color side face down on the mat.
Click “Send”
Press the down-arrow when your machine has finished cutting your design to remove the cutting mat from the machine.
Repeat for the next color of heat transfer vinyl.
Step Two: Preparing Your Elevate and Celebrate Knockout Method Design:
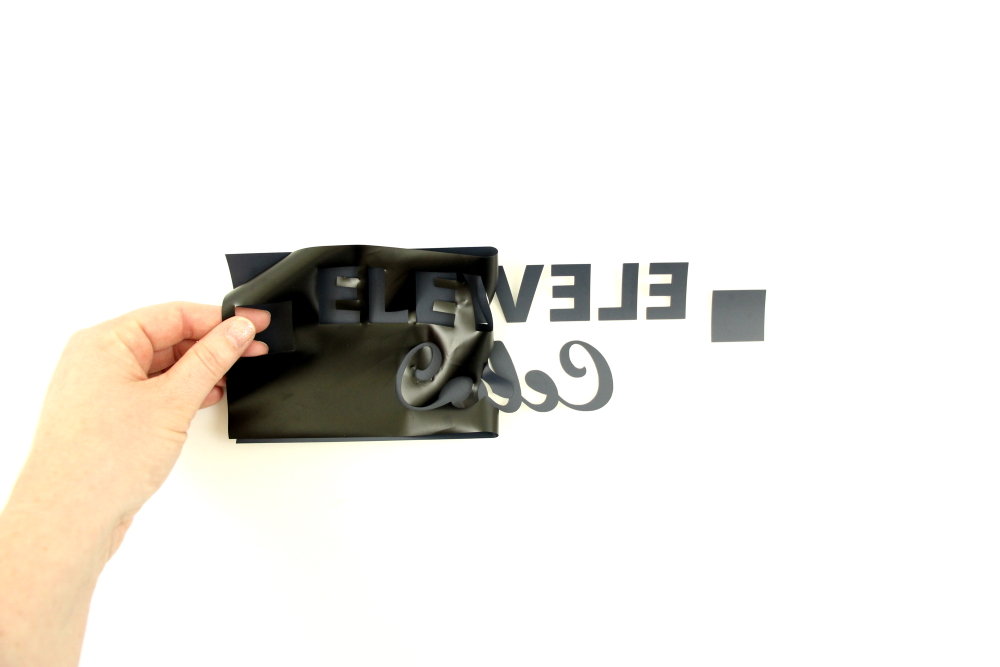
Remove your sheet of Glitter Heat Transfer Vinyl from the cutting mat – go slow so it doesn’t curl up or tear.
Use your fingers or a weeding tool to remove the excess vinyl from each color. Be sure to leave your design on the clear carrier sheet.
Step Three: Creating Your Elevate and Celebrate Knockout Method T-shirt:
Pre-heat your t-shirt – use your iron or heat press to warm up the fabric for a better transfer.
Place the first color of your design on your t-shirt right side up (this is the reason you mirror your design for cutting).
Heat the larger part of your design for the recommended time for the HTV you’re using. Apply steady pressure.
Peel back the clear carrier sheet. Some Heat Transfer Vinyl requires a hot or cold peel – always follow the recommended peel for your heat transfer vinyl. Tip: pull from a corner and not the side to make sure each part of the design transfers completely to your t-shirt while holding the shirt down.
Repeat steps 2-4 for the next color making sure that your carrier sheet covers the design you already pressed. Tip: use a Teflon sheet to make sure you don’t overheat/burn any of your vinyl.
Flip your t-shirt over and give it a 10-second press to activate the adhesive.
Once you have applied all the elements of your design and allowed it to cool, your t-shirt is ready!
What project will you make with this Elevate and Celebrate SVG? I would love to hear about it in the comments or with a tag on social media!
Here are 11 other FREE Sport-themed SVGs from some of my crafty friends.
I’m Told I like Basketball
Go Team Football
Football Y’all
No Place Like Home
Sport Gift Card Holders
Eat, Sleep, Repeat
Heart on the Field (File no longer available)
Football Cake Topper
What’s Life Without Goals
Volleyball Grunge SVG (and other sports)




3 Comments
Pingback:
Pingback:
Pingback: