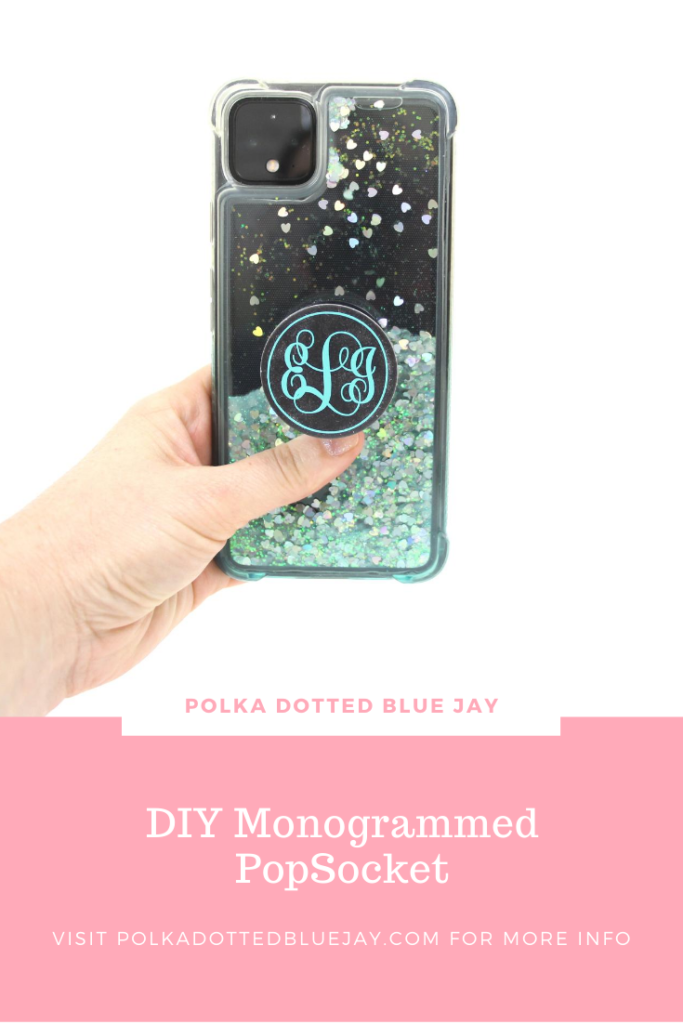
DIY Monogrammed PopSocket
| This post may contain affiliate links, which means I may receive a small commission, at no cost to you, if you make a purchase through a link. |
I remember how confused I was the first time I downloaded a monogram font. How do you get the letters to be the right size variations? How do you keep the letters from cutting through each other? How do I make this look right? Keep reading to see how to make a DIY monogrammed popsocket in Silhouette Software and add a custom monogram to your PopSocket.
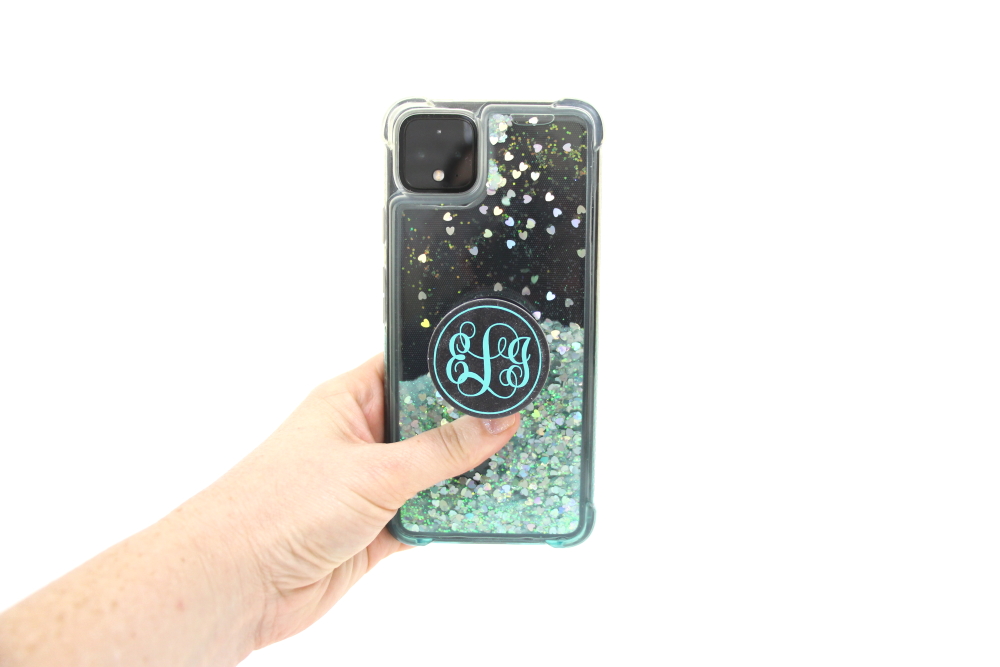
I love my PopSocket but the flat black was boring against my super fun glitter confetti phone case. I love a good monogram, so I whipped up a new minty adhesive vinyl one for my phone over the weekend.
Estimated Time: 10 Minutes
Skill Level: Beginner
Supplies Needed:
- Silhouette CAMEO® 4
- Silhouette Cutting Mat
- Weeding Hook
- Silhouette Studio
- Adhesive Vinyl – Mint
- Transfer Tape
- PopSocket
- Monogram Script Design # 81300
Step One: Create Your Monogram:
Open Silhouette Studio®.
Select the Page Setup Window and adjust your cutting mat size to 12×12 (or the size mat you are using).
Measure your PopSocket.
Purchase the Monogrammed Script design from the Silhouette Design Store and open it in the Silhouette Software. Click File>Library>Library> Fonts from the menu>Double click your file.
A text cursor will appear in the middle of your mat. Type your first initial (no space bar).
Next, type your last initial while holding the space bar. *Monograms are traditionally First, Last, Middle. By holding down the space bar, you will make the letter for your last name slightly larger than the other two. A very classic monogram.
Finally, type your middle initial (no space bar)
Step Two: Editing your Monogram:
Highlight the whole design and right-click.
Select “group”.

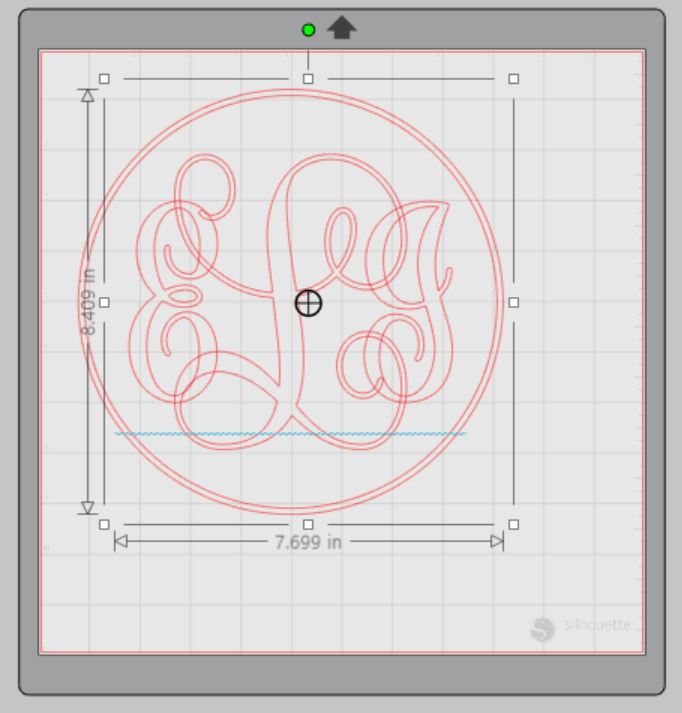
Right-click on the design again and select “weld” from the menu and watch those pesky lines that cut through your letters disappear!
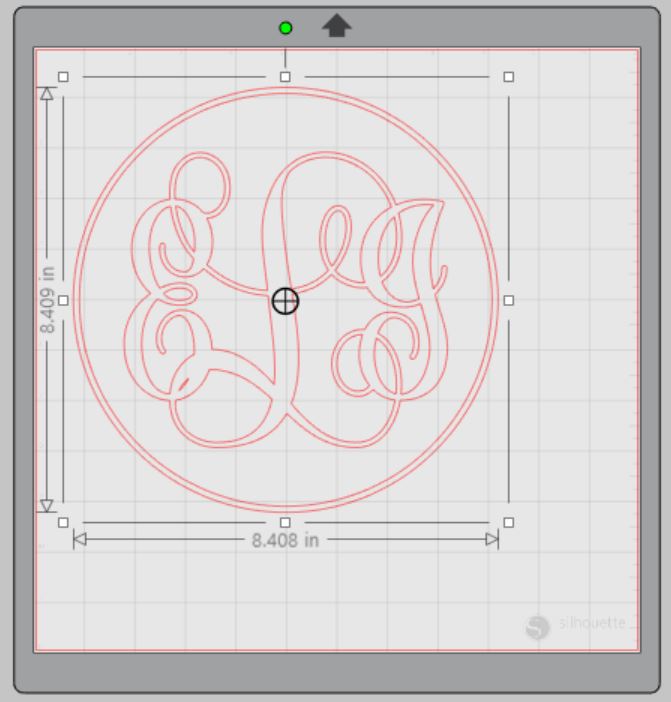
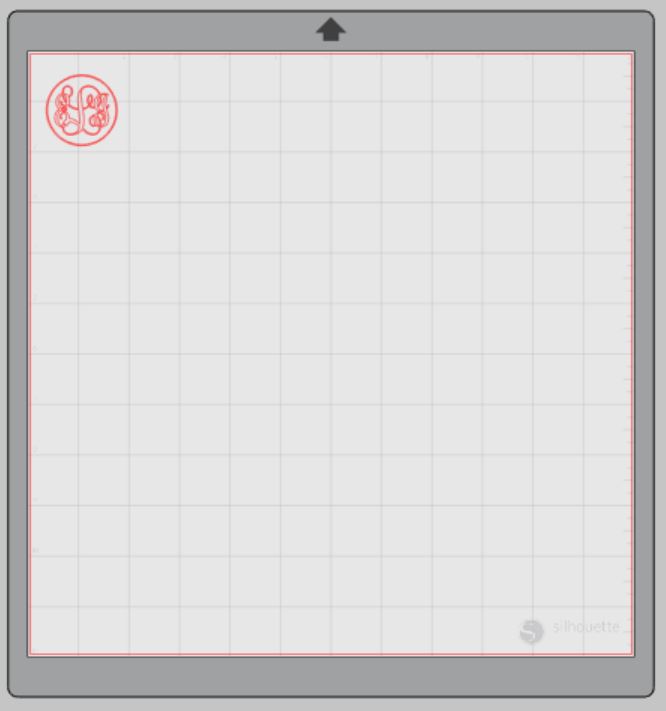
Re-size the design to fit your PopSocket. I made mine about an inch and a half wide in diameter.
Step Three: Cutting out your Monogram:
Turn on your Silhouette Cameo 4.
Attach your Adhesive Vinyl to the cutting mat, color side up, and load into your machine by lining up the mat on the guidelines and pressing the “up” arrow on the touch panel.
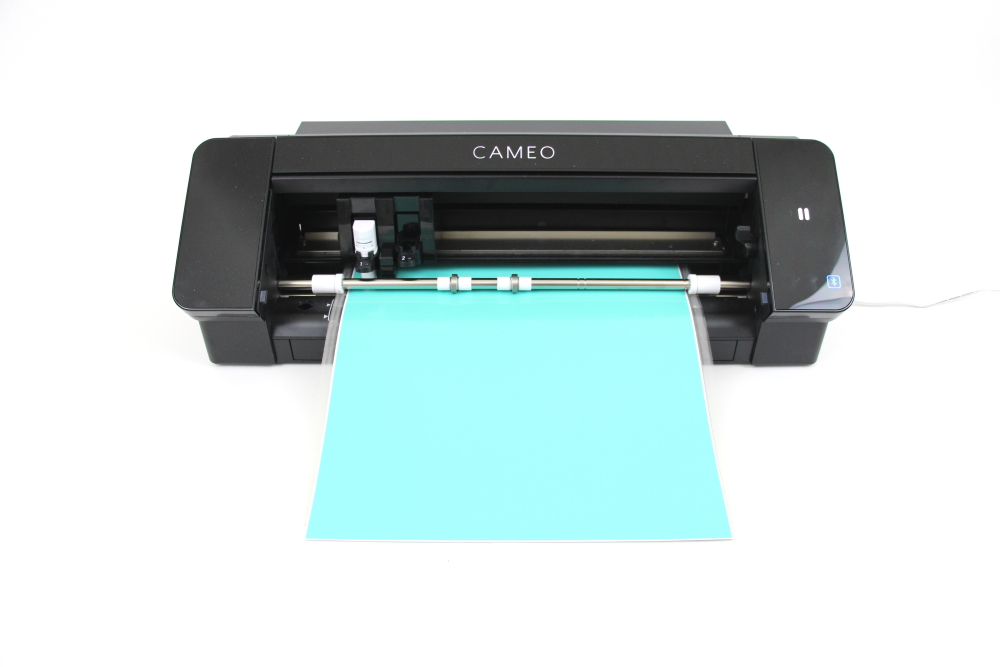
Follow the prompts in the Design Studio for Adhesive Vinyl and double-check to make sure your design has been selected to cut.
Click “Send” in the design studio to start cutting.
Press the “down” arrow on the Cameo 4 touch panel when your machine has finished cutting your design to remove the cutting mat from the machine.
Step Four: Preparing Your DIY Monogrammed PopSocket:
Remove your Adhesive Vinyl from the cutting mat – go slow so it doesn’t curl up.
Use a paper trimmer to cut away the vinyl you won’t be using. Just have the small monogram by itself so you don’t waste any valuable pretty vinyl.

Use your fingers or a weeding tool to remove the excess vinyl. Be sure to leave your design on the white backing sheet and get be sure to get the vinyl out of the loops and middles of your letters.
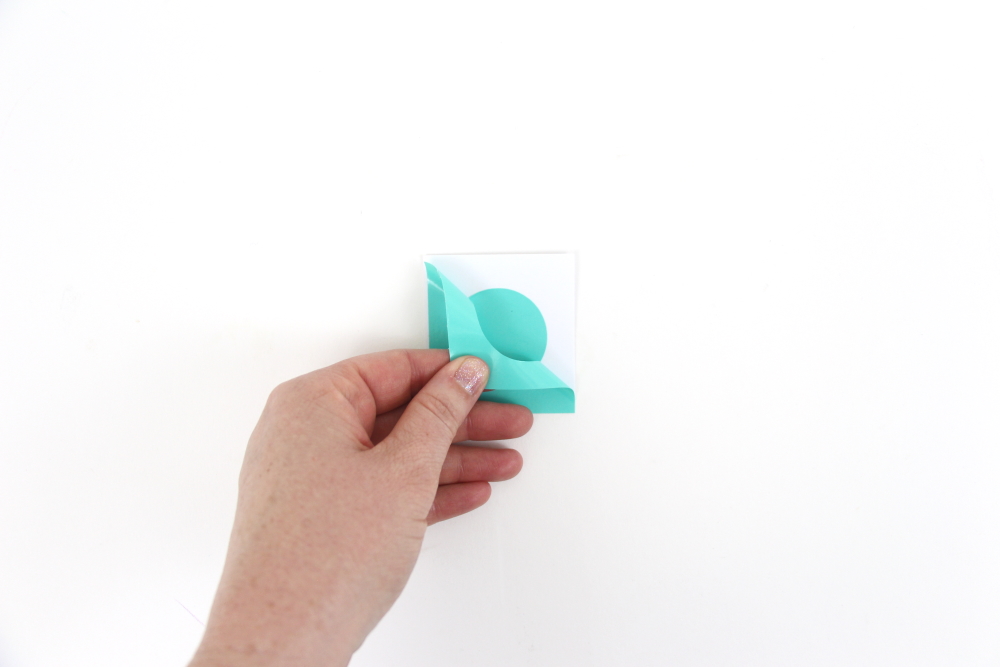
Step Five: Creating Your DIY Monogrammed Popsocket:
Place a piece of transfer tape over your monogram.
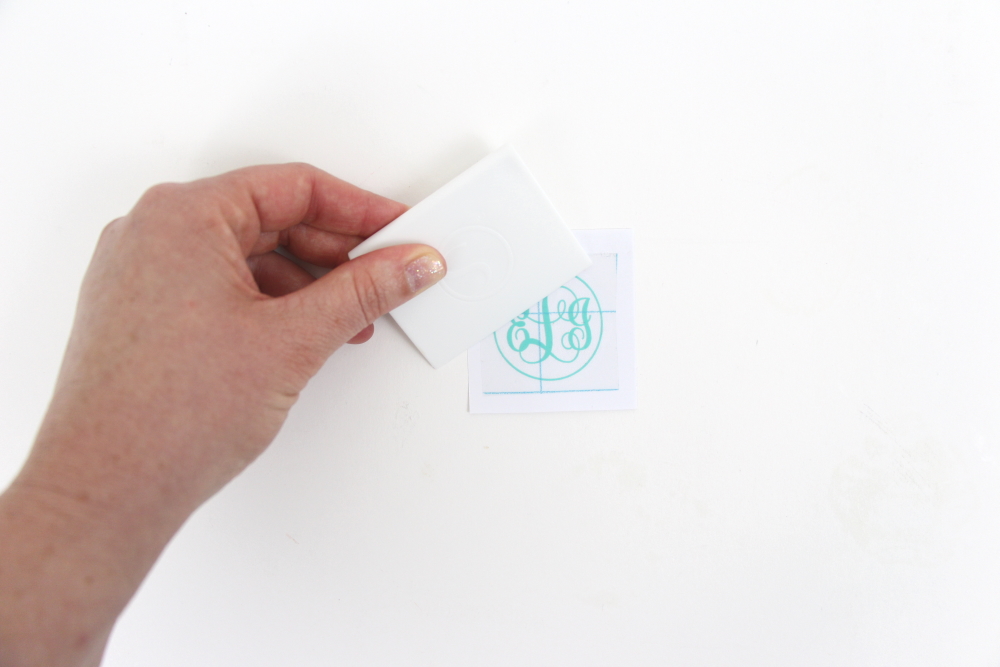
Use the scraping tool and scrape the top of the transfer tape to make sure the design adheres to it.
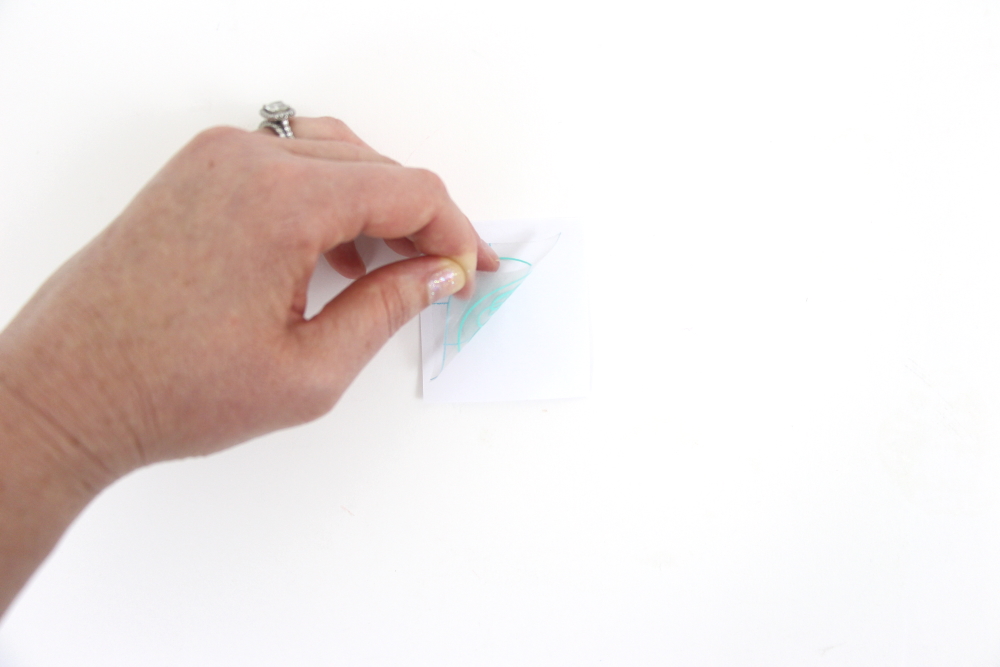
Gently pull transfer tape up away from the backing sheet and make sure the entire monogram lifts with it.
Center your monogram on your PopSocket and press it down from left to right.
Slowly remove the transfer tape from your monogram. Tip: pull from a corner and not the side to make sure each part of the design transfers completely to your PopSocket.

So cute, right? Tell me if you like a classic monogram or just a single initial in the comments below!
Check out these other monogram projects below: