Free Grateful SVG and DIY Napkin Rings
| This post may contain affiliate links, which means I may receive a small commission, at no cost to you, if you make a purchase through a link. |
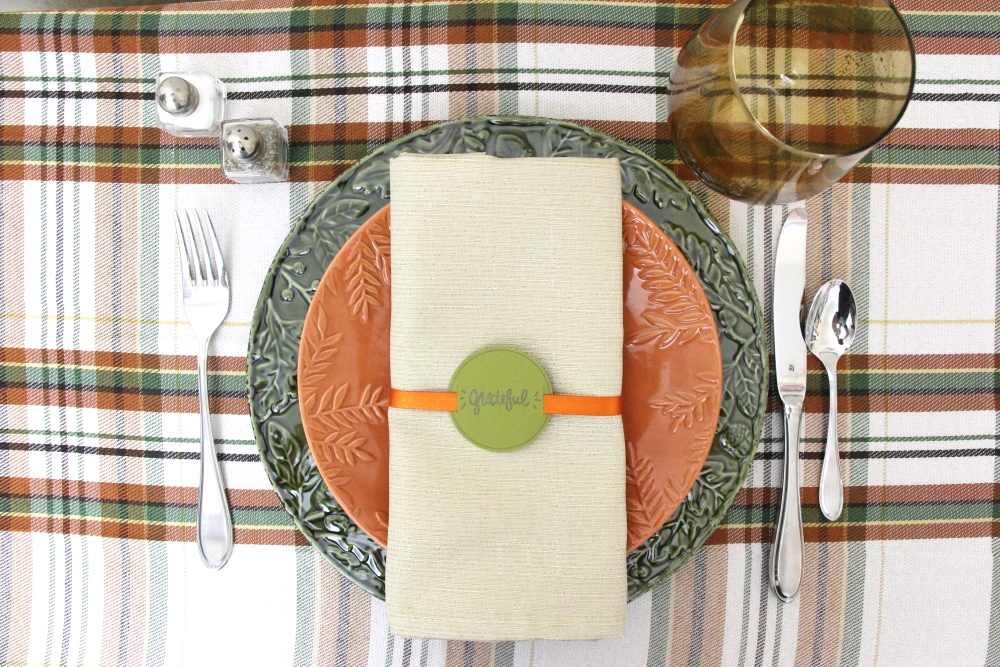
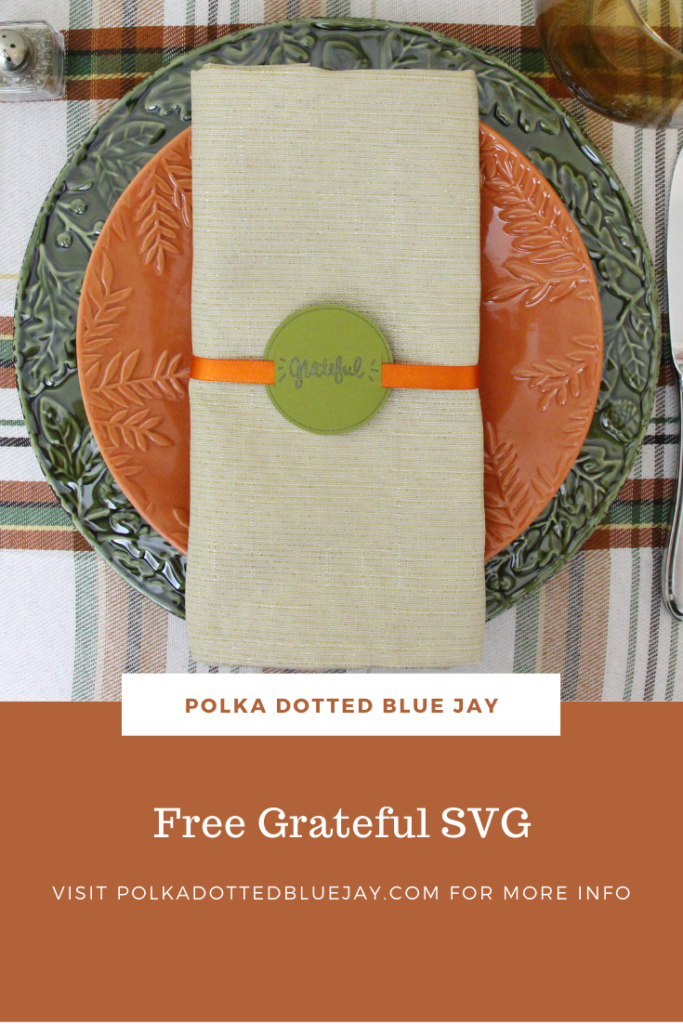
I wanted to make a napkin ring for my Thanksgiving tablescape this year and thought it would be fun to make a hand-lettered “grateful” design. You can use this design to make your own DIY grateful napkin rings or add the design to a t-shirt, mug, etc. Keep reading to see how I made the napkin rings and how you can get the grateful SVG too.
I try to create fun, yet practical, tablescapes for holidays. Don’t get me wrong, I would love a table covered with mini pumpkins and beautiful florals, but knowing where to put the bread and butter just ranks higher in importance to me on my table. I like to keep the crafts simple and cost-effective and love sharing those kinds of crafts with you, friends!
Estimated Time: 20 Minutes
Skill Level: Beginner
Supplies Needed:
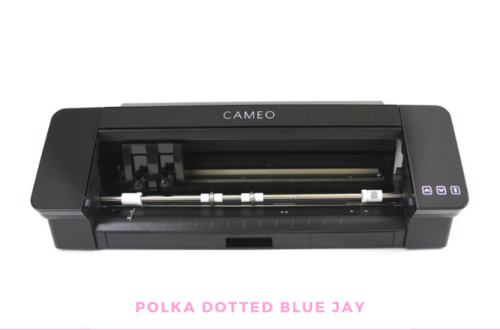
- Silhouette CAMEO® 4
- Silhouette Cutting Mat
- Silhouette Studio
- Silhouette Sketch Pens
- Cutting Mat (I recommend Light Tack)
- Cameo 4 AutoBlade
- Ribbon (I used 3/8 inch)
- Grateful SVG (Click here if you already have the password to the Freebie Library)
Step One: Get the free grateful SVG and prepare to make your napkin ring:
Open Silhouette Studio®.
Select the Page Setup Window and adjust your cutting mat size to 12×12 (or the size mat and cardstock you are using).
First, you need to download your design from the Polka Dotted Blue Jay Freebie Library. Enter your name and email and you will receive an email with a link to the library and the password. Log in, select the Grateful SVG, and save to your computer.
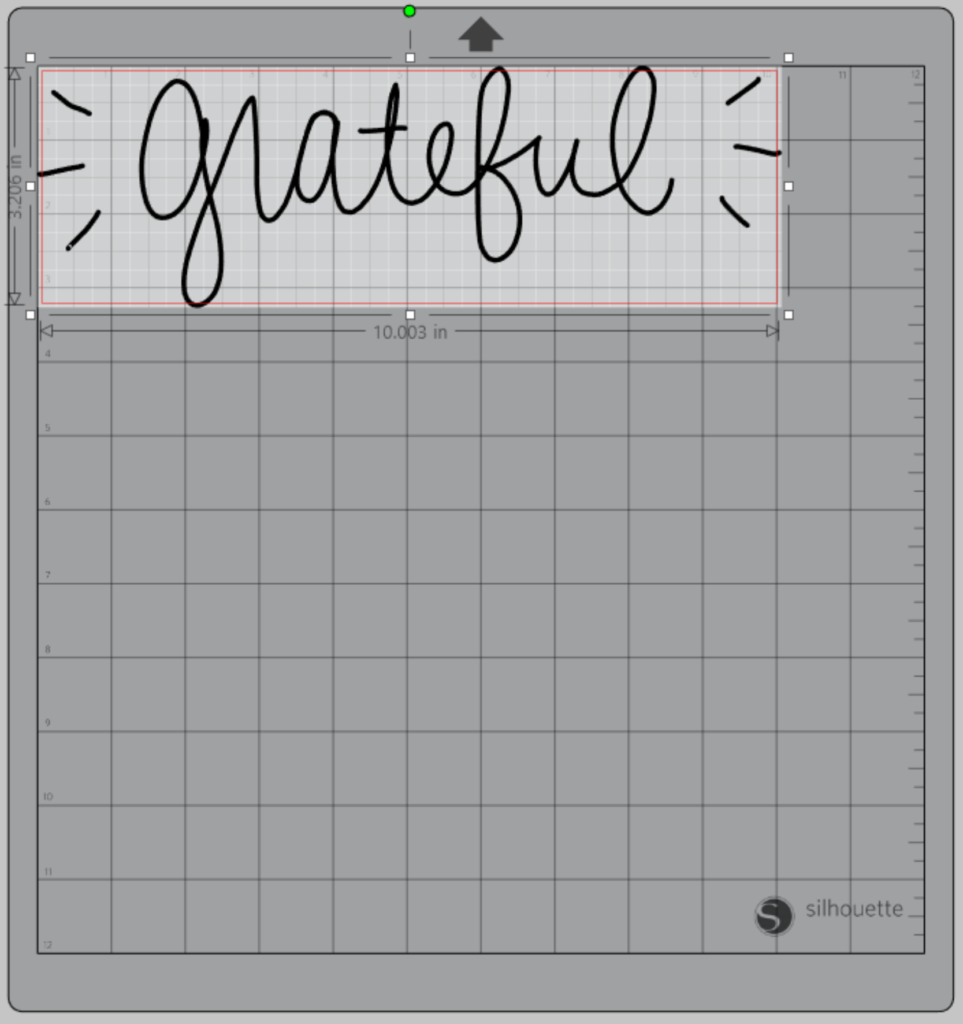
Next, open your grateful design in Silhouette Studio. Click File>Open>Select your downloaded file.
Step Two: Create your grateful SVG napkin ring:
First, be sure to highlight the whole design and right-click.
Select “group”.
Re-size the design for your napkin ring. I made mine 1.5″ inches wide in diameter.
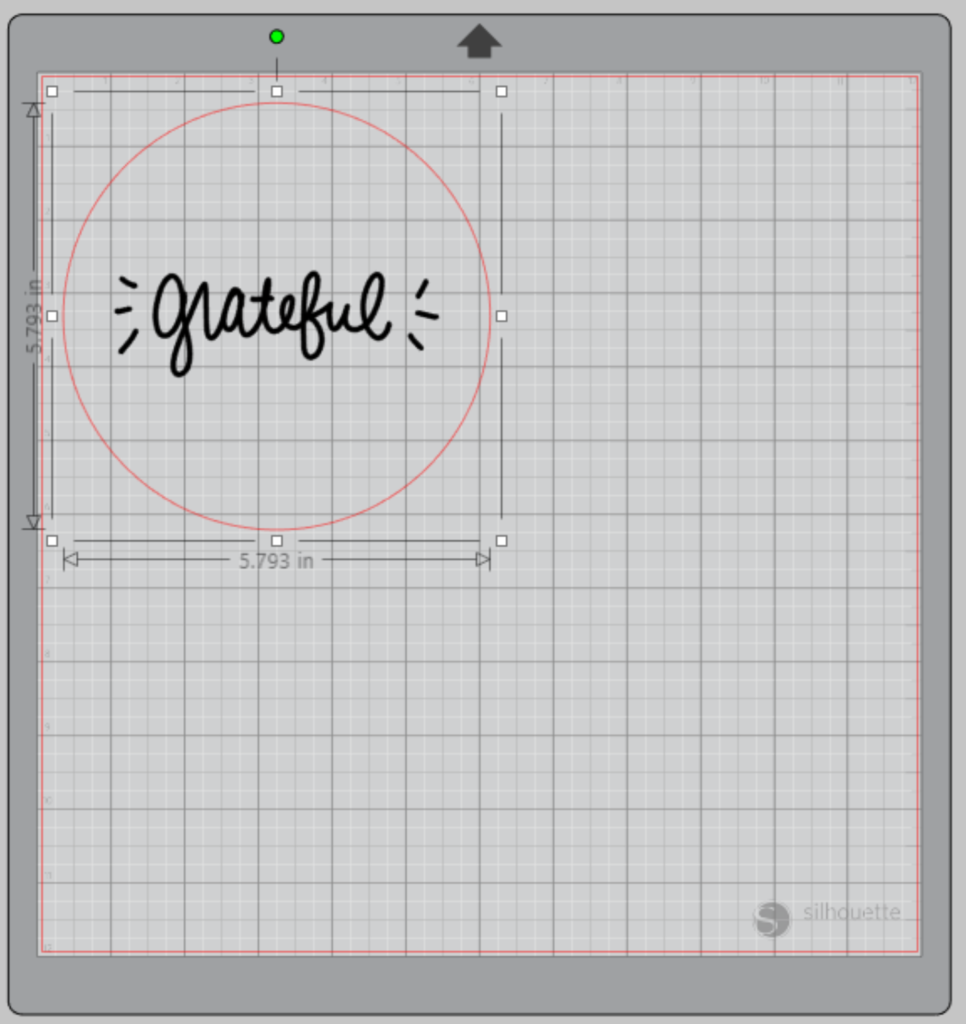
Create a circle around your grateful design using the drawing tool.
Next, highlight your design and then select the offset tool (it looks like a star on the right toolbar). Click the internal offset option from the popup.
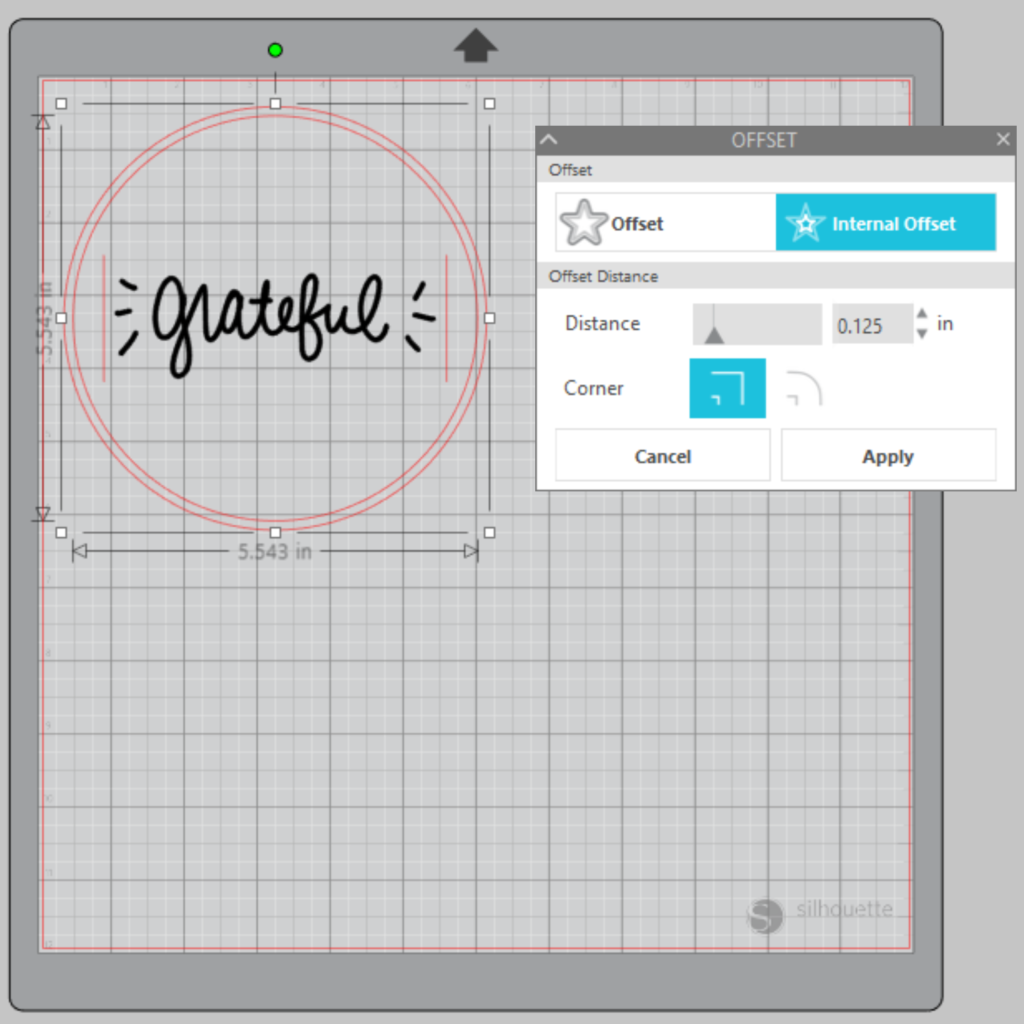
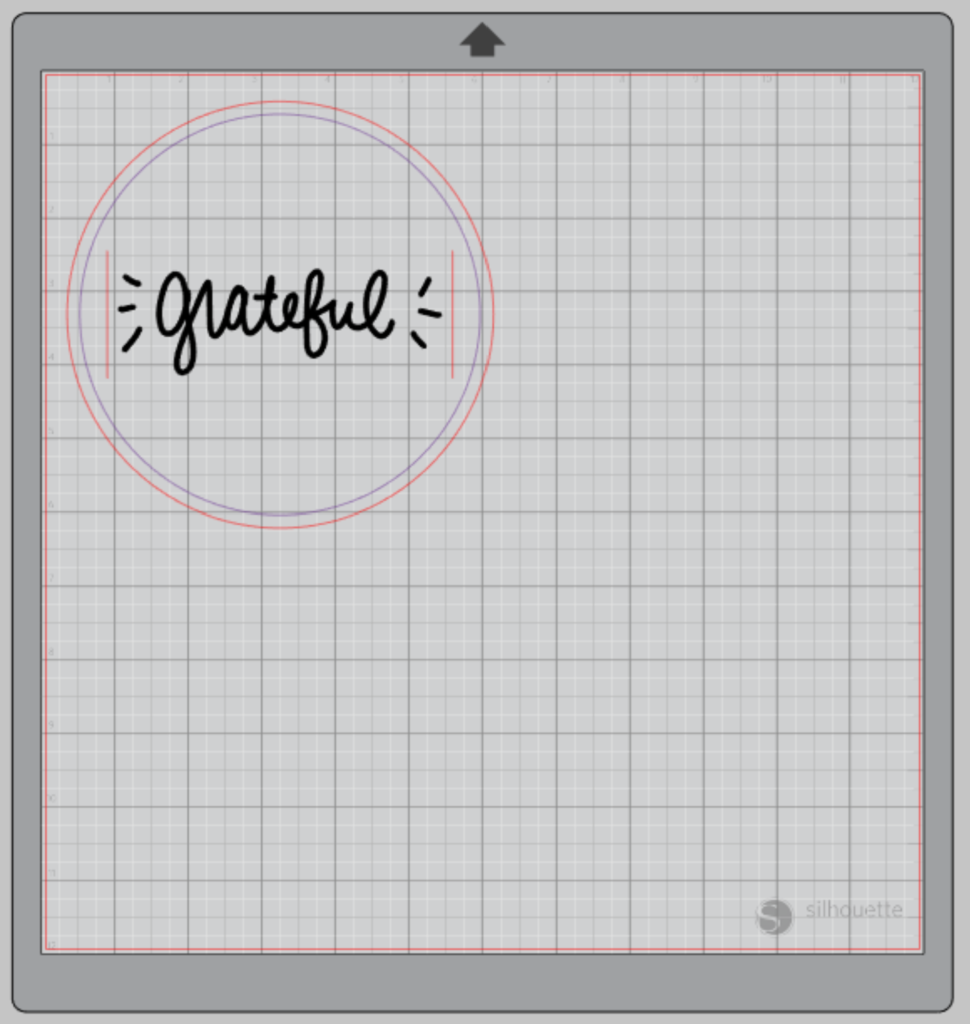
Re-size the offset line to your liking and make it a different color, I made mine purple (this will help when your sketch and cut later).
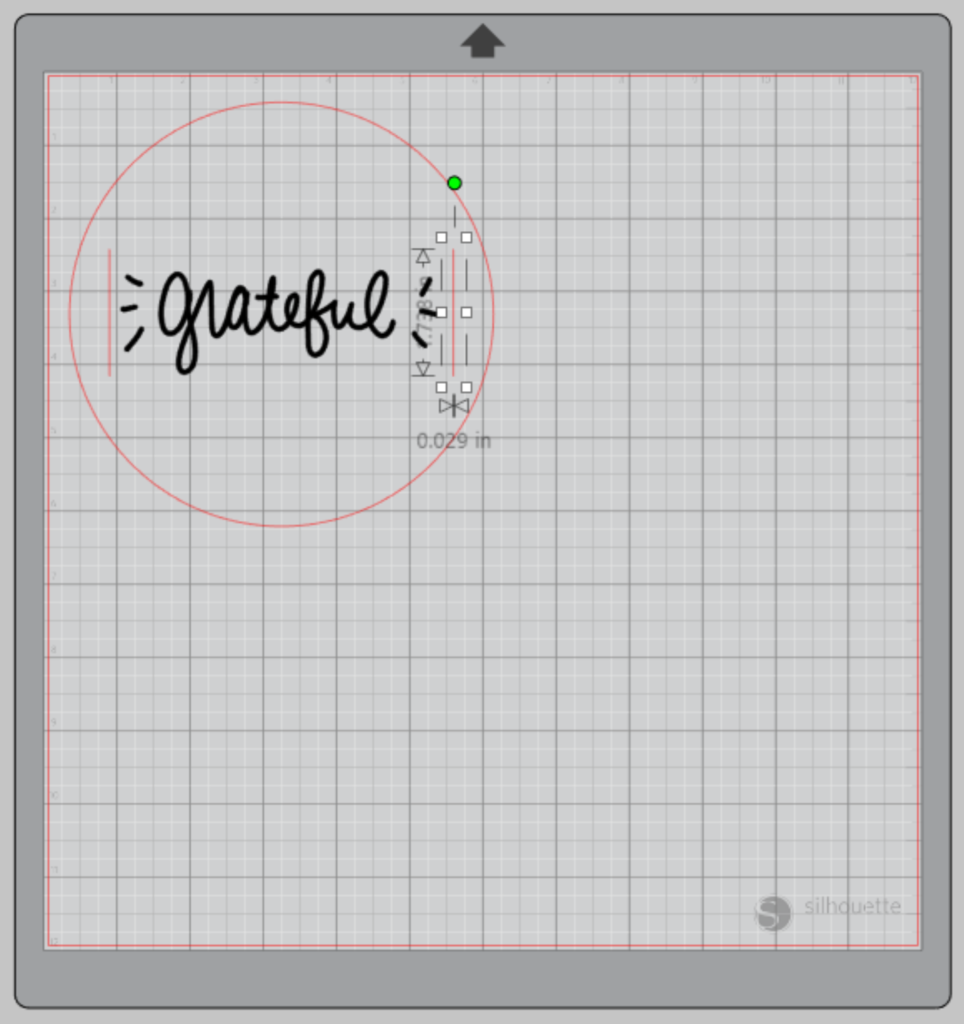
Add the cut lines for your ribbon on either side of the grateful phrase.
Step Three: Sketching your grateful napkin ring:
Turn on your Silhouette Cameo 4.
Attach your cardstock to the cutting mat, color side up, and load into your machine by lining up the mat on the guidelines and pressing the “up” arrow on the touch panel.
Use the blue tool adapter for your Silhouette Sketch Pen. I used the black with some shimmer in it.
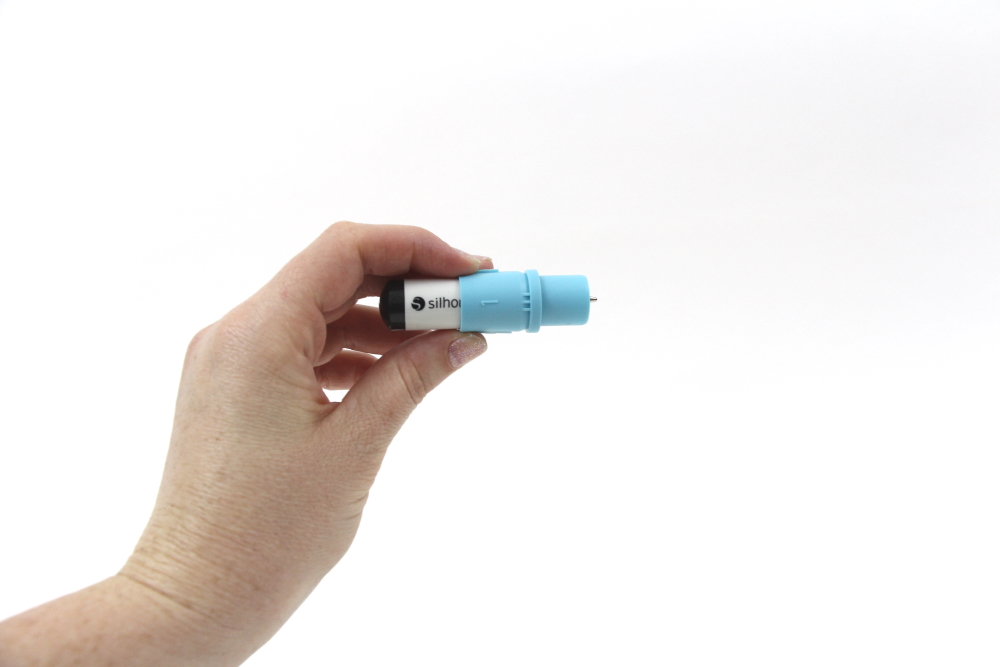
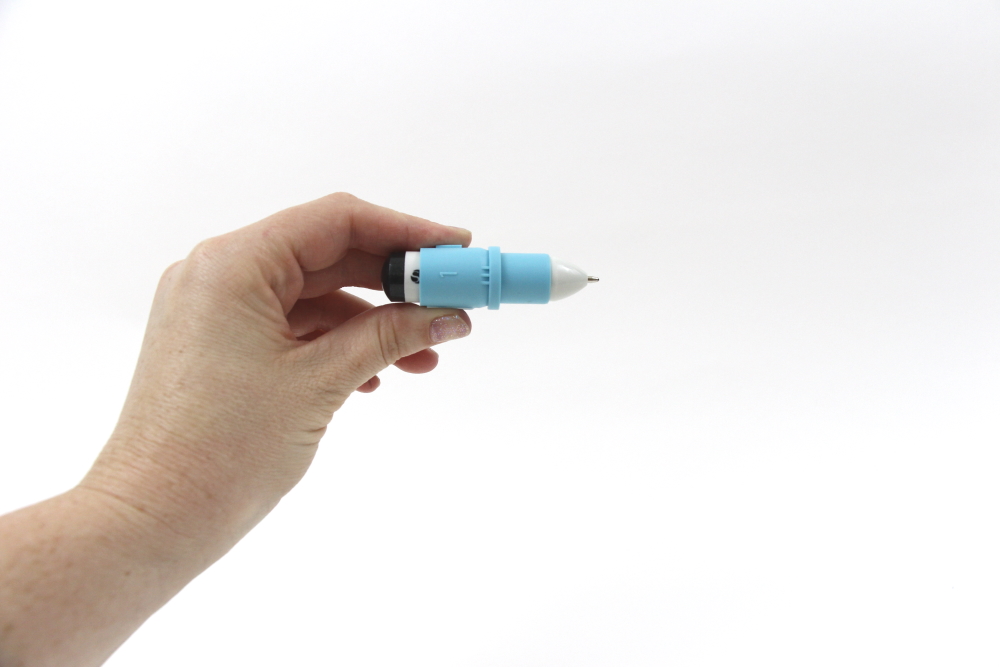
Make sure your sketch pen is in the adapter and add it to the carriage 1 (see the little #1 on the adapter).
Follow the prompts in the Design Studio for cardstock and double-check to make sure your design has been selected to sketch.
Use the line option to select the black and purple lines to sketch the grateful design and your internal offset line.
Click “Send” in the design studio to start sketching.
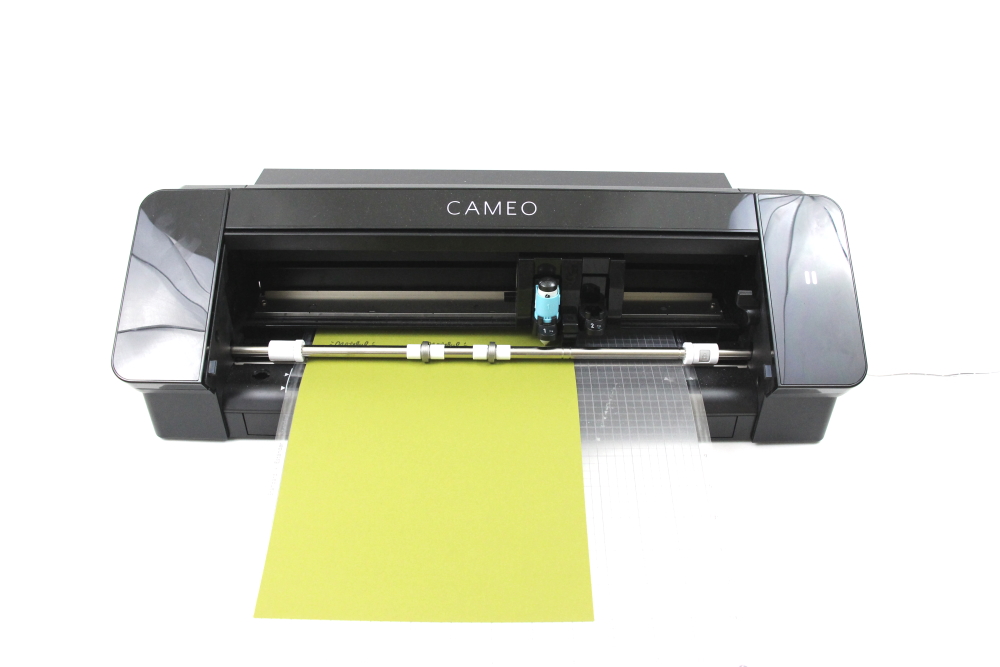
DO NOT press the “down” arrow on the Cameo 4 touch panel when your machine has finished cutting.
Step Four: Cutting out your grateful napkin ring:
Remove the sketch pen from the carriage 1 and insert your Cameo 4 autoblade.
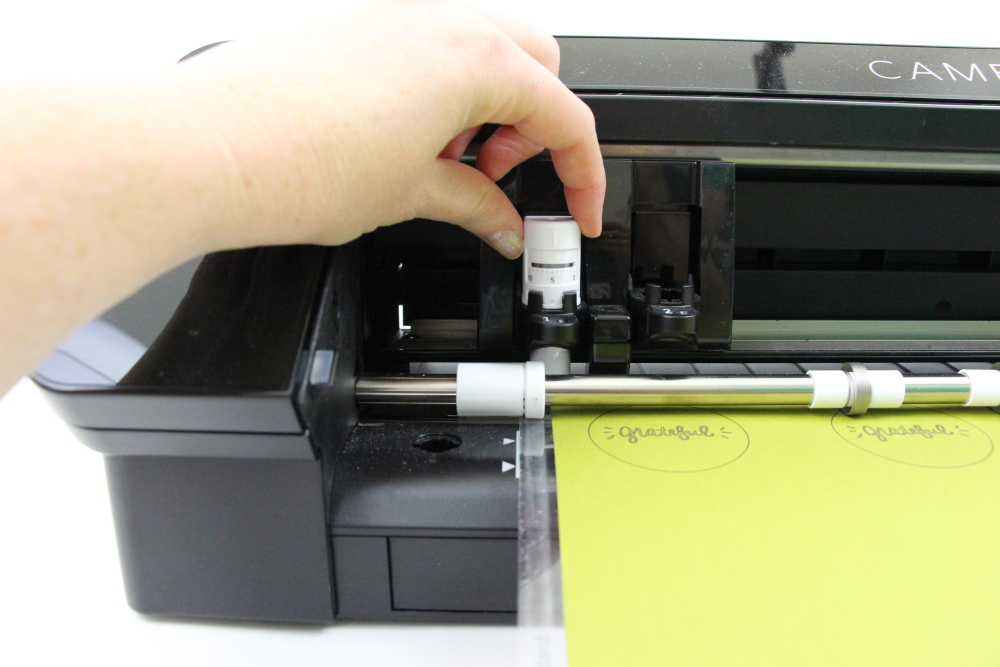
Select the other color from the line option in the software (mine was red) to cut out the circle and the slits for the ribbon.
Follow the prompts in the Design Studio for cardstock and double-check to make sure your design has been selected to cut.
Click “Send” in the design studio to start cutting.
Step Five: Finishing your grateful napkin ring:
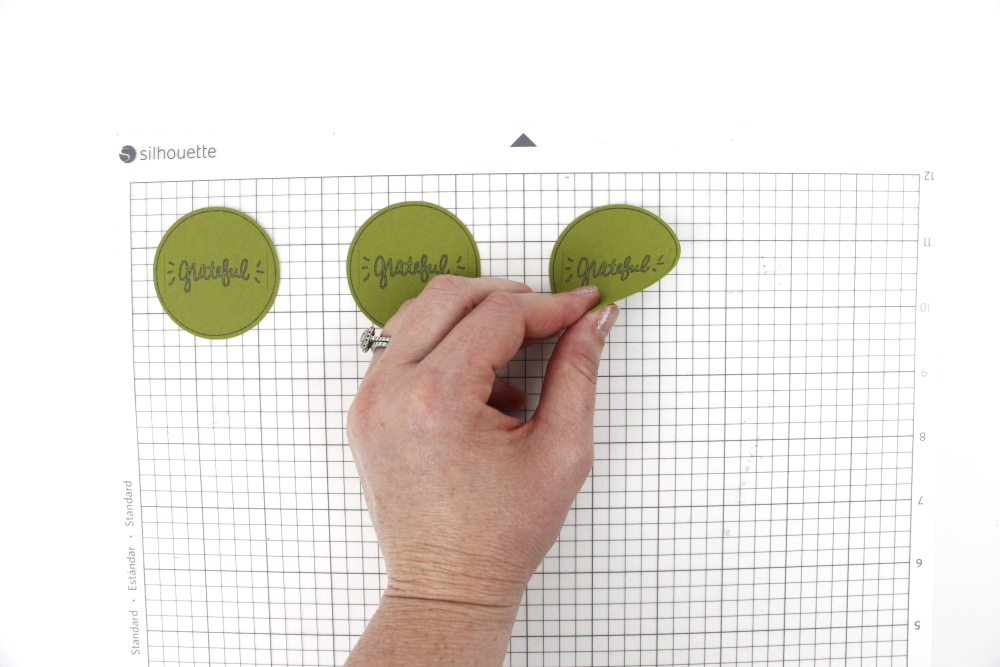
Now, remove your cardstock circles from the cutting mat – go slow so it doesn’t curl up.
Cut your ribbon to your needed length. Mine was 11″ long.
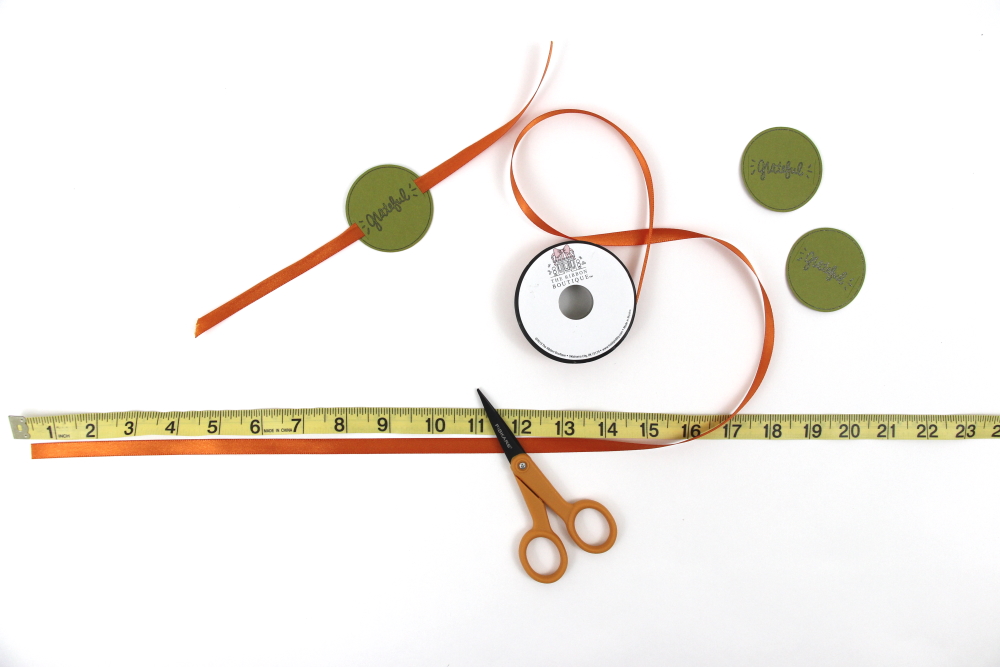
Thread the ribbon through the slits of the grateful circle.
Wrap the ribbon around your folded napkin and attach the two ends with a piece of tape.

It may sound like 100 steps to get your grateful napkin ring completed, but I promise it is a breeze when you get the hang of it. Another added bonus? That you can cut over a dozen of these out on one piece of cardstock.
Now, I want to hear from YOU! What would you create with this free grateful SVG? A t-shirt, pillow, tea towels? I want to see your projects on social media, so be sure to use #pdbjaydotties and tag me when you share them!
Check out these other 11 FREE fall SVGs below:
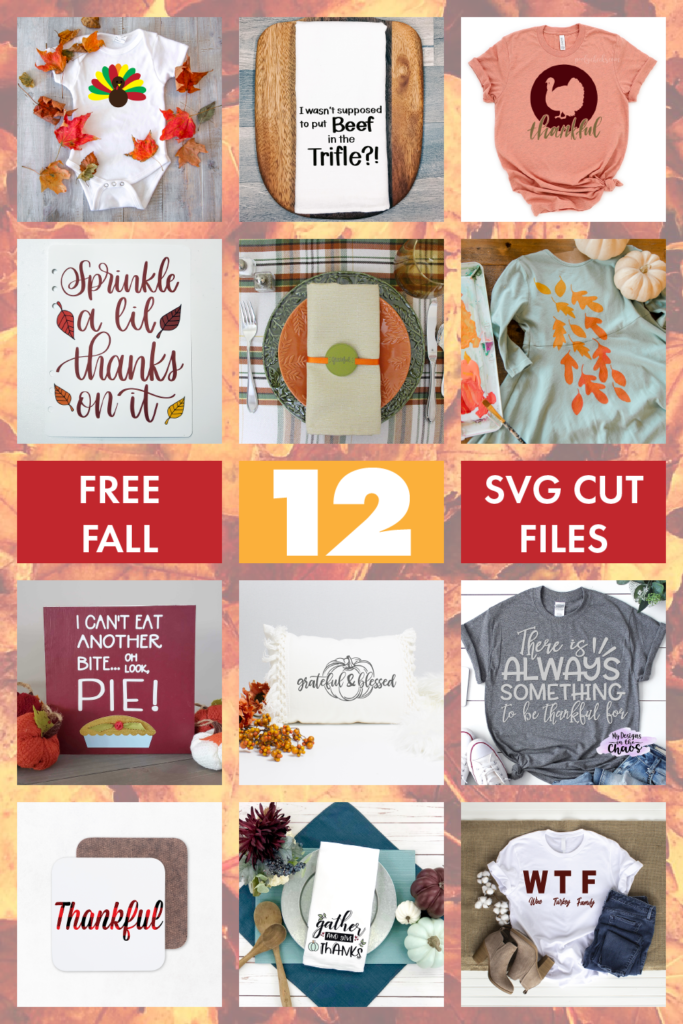
Monogram Turkey SVGs
Thanksgiving Free Cut File
Fall Leaf Stencils
Thanksgiving Cut File
Sprinkle a lil Thanks Cut File
There is Always Something To Be Thankful For
Grateful and Blessed
I Can’t Eat Another Bite SVG
DIY Thankful Coaster
WTF Thanksgiving File (File no longer available)
Free Thanksgiving Gather and Give Thanks SVG


9 Comments
Pingback:
Pingback:
Pingback:
Pingback:
Pingback:
Pingback:
Pingback:
Pingback:
Pingback: