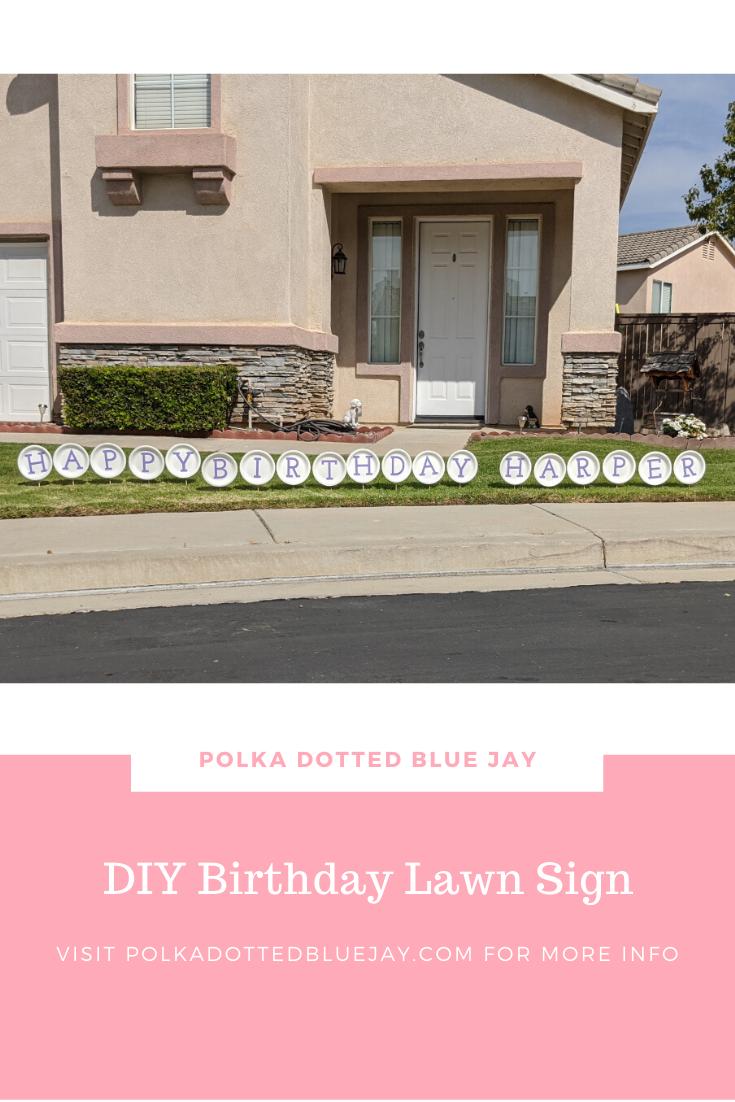
DIY Birthday Lawn Sign
| This post may contain affiliate links, which means I may receive a small commission, at no cost to you, if you make a purchase through a link. |
My niece’s birthday was last week and I wanted to make a fun DIY birthday yard sign for her birthday parade; friends and family all came over with balloons and signs and drove around her cul-de-sac while honking our horns. Enter my Silhouette Cameo 4 and about 15 minutes of some crafting.
I was inspired by an Instagram post from Spot of Tea Designs and got to work since I already had everything on hand.
Estimated Time: 15 Minutes
Skill Level: Beginner

Supplies Needed:
- Silhouette CAMEO®
- Silhouette Cutting Mat
- Weeding Hook
- Silhouette Studio
- Cardstock
- Kabob Sticks
- Glue Gun and Hot Glue Sticks
- Craft Glue Stick
- Paper Plates
- Measuring Tape
How To Make A DIY Birthday Yard Sign:
- Open up Silhouette Studio® on your computer.
- Select the Page Setup Window and adjust your cutting mat size to 12×12 (or the sized mat you are using).
- Measure your plates so you know how big to make your letters.
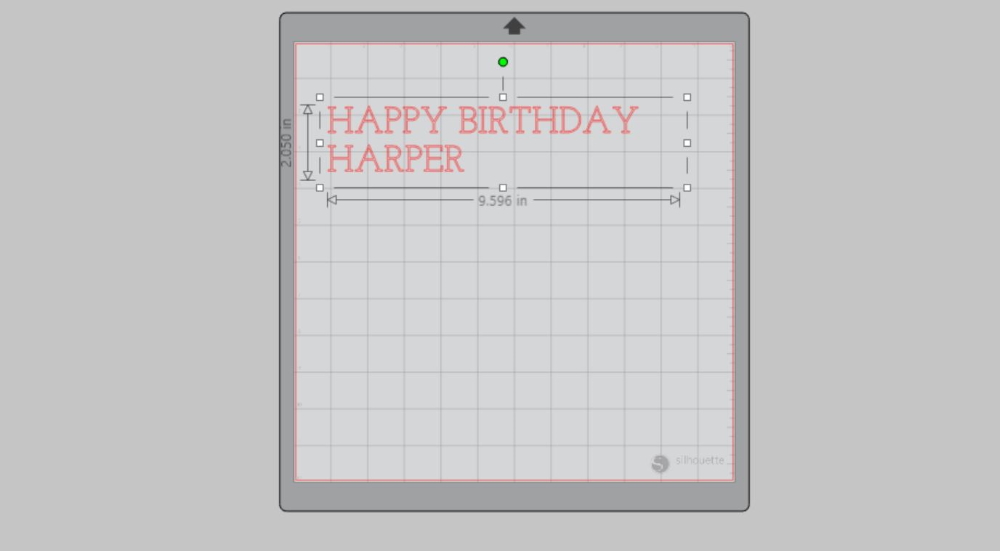
- Type “Happy Birthday” and the birthday person’s name in the font of your choice (I used Josefin Slab). I typed the whole phrase out to make sure all the letters were the same font size and adjusted based on the widest letter.
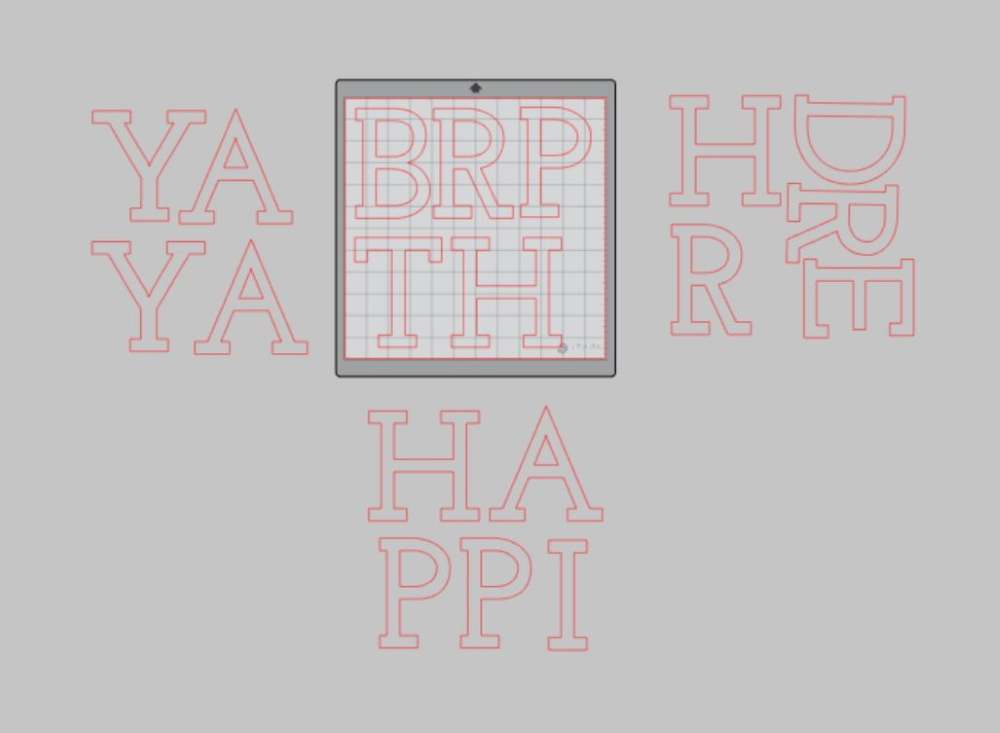
- Un-group your letters and rearrange to utilize as much of the 12×12 cardstock as possible.
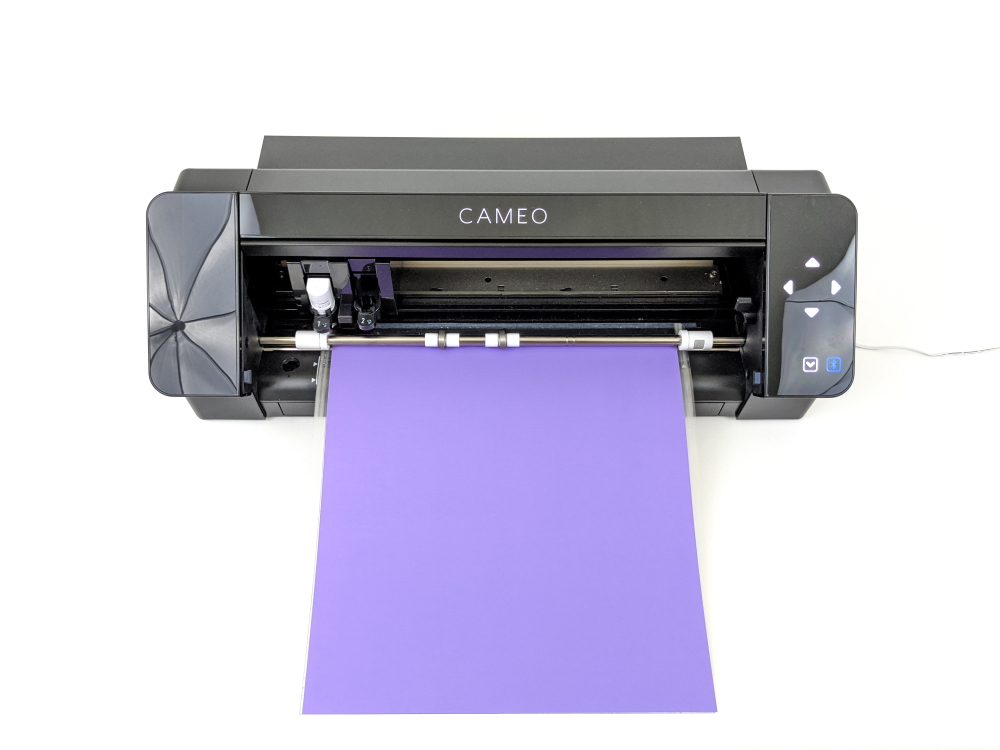
- Attach the first sheet of cardstock to the cutting mat, color side up, and load into your machine.
- Follow the prompts in the Design Studio for the type of cardstock you are using and double-check to make sure your design has been selected to cut.
- No need to adjust your blade with the new Cameo 4. The Autoblade will adjust to cut based on the type of material you selected. I suggest always doing a test cut to make sure it will work with your cardstock.
- Select “Send” to start cutting.
- Press the “down” arrow when your machine has finished cutting your design to remove the cutting mat from the machine.
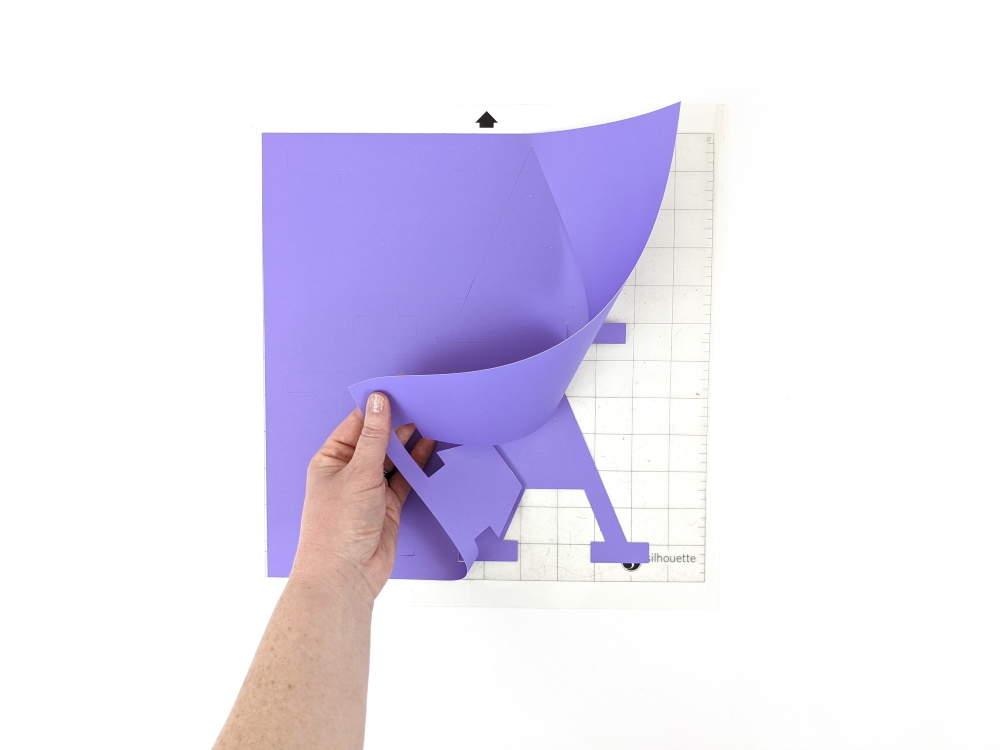
- Remove your sheets of cardstock from the cutting mat – go slow so it does not curl up.
- Use your fingers or a weeding tool to remove the excess cardstock.
- Repeat steps 4-11 as many times as you need in order to cut out all of the letters.
Creating Your DIY Birthday Yard Sign:
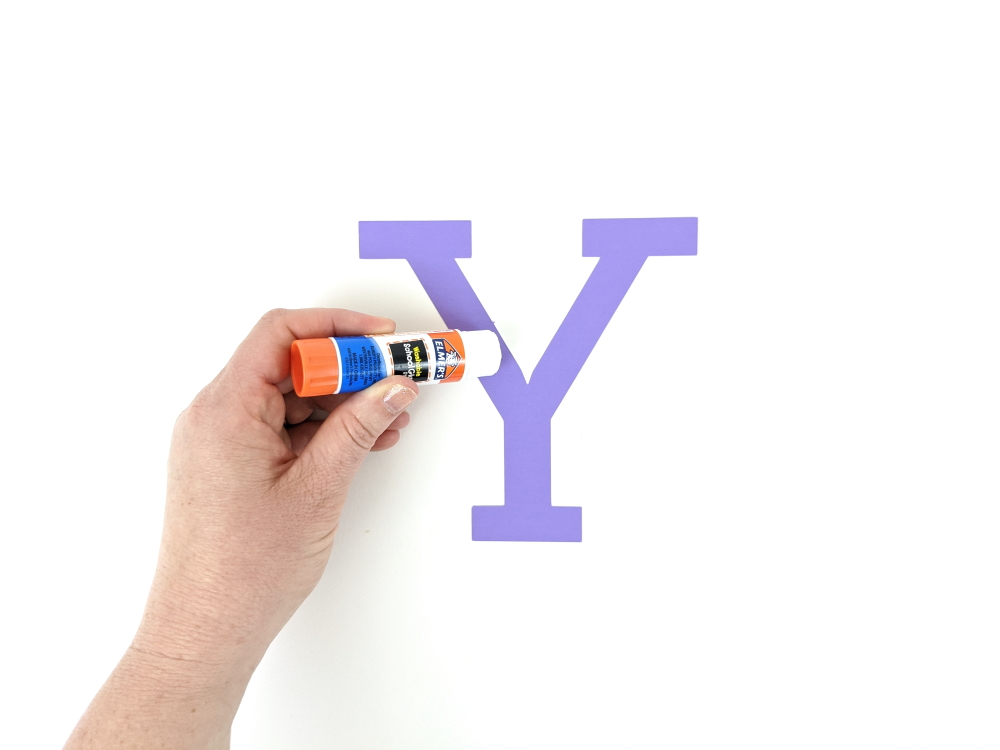
- Glue each letter to the paper plate (on the part where you would put your food). Be sure to really press it down so it sticks!
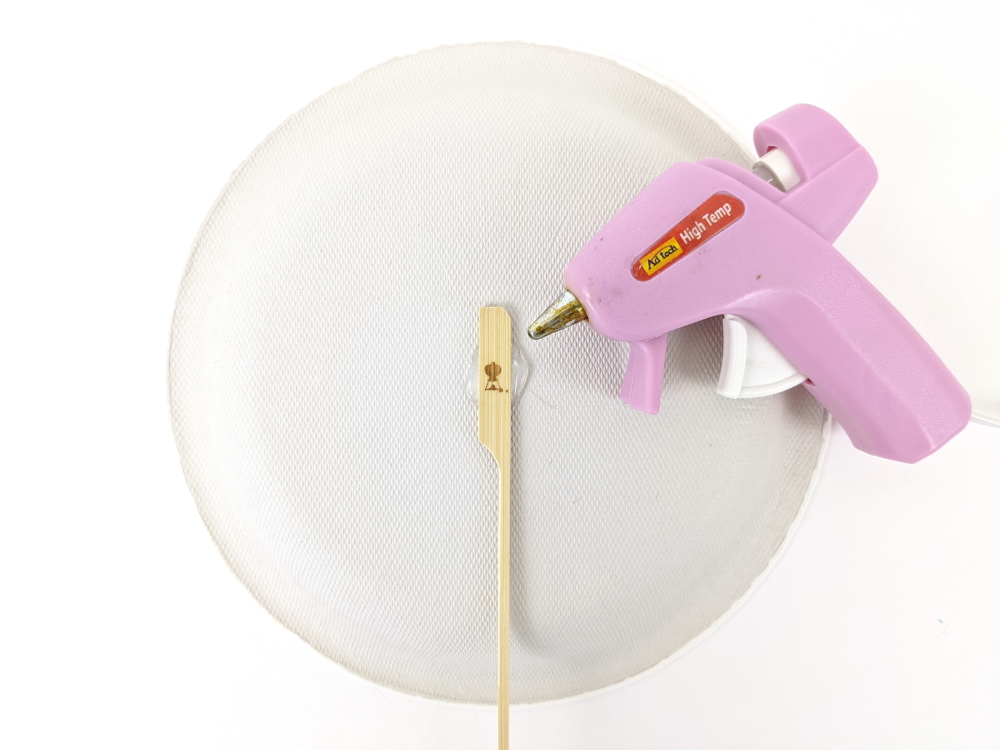
- Flip the plate over and put a generous amount of hot glue in the center of the plate.
- Press your kabob stick into the hot glue to attach it. It’s ok if it oozes over the sides a little – better to be really secure than not enough!
- Allow both types of glue to dry completely.
Setting up your DIY Birthday Yard Sign is easy. Just stick the kabob stick into the grass with the letters spelling out your phrase.
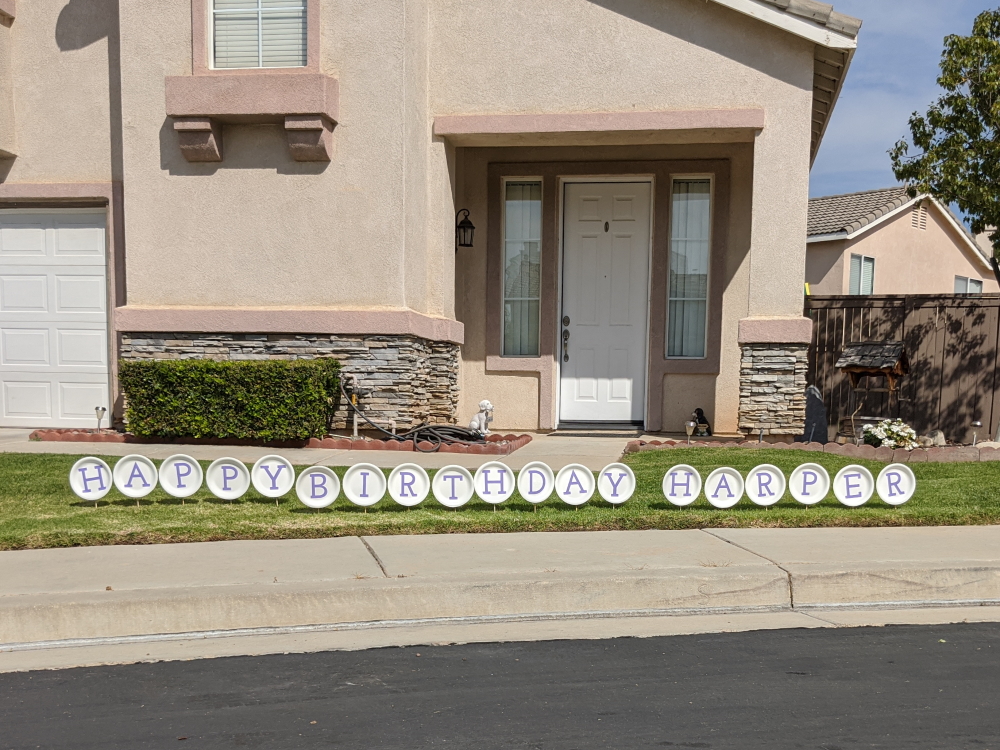
My niece loved her DIY Birthday Yard Sign and now I can’t stop thinking of other yard signs to make; these would be great for graduations, baby showers, or any other type of celebration!
Check out these other fun birthday craft ideas: