Toy Storage Labels
| This post may contain affiliate links, which means I may receive a small commission, at no cost to you, if you make a purchase through a link. |
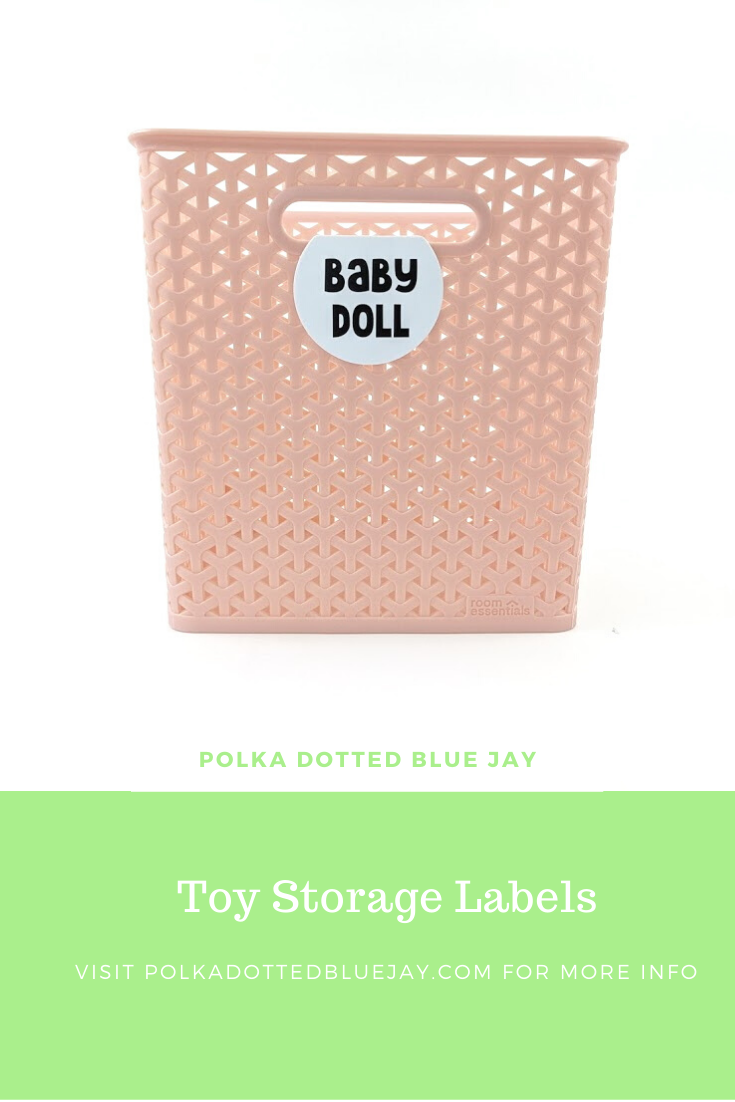
My sweet friend Alisha asked me to help her with a little project she was working on in her daughter’s playroom. She had purchased beautiful blush pink baskets to organize toys but needed labels for the contents. Have no fear, Elise and her Cameo 4 are here! These DIY toy labels were so easy to create, and I show you how in the tutorial below.
Estimated Time: 10 Minutes
Skill Level: Beginner
Supplies Needed:
- Silhouette CAMEO® 4
- Silhouette Cutting Mat
- Weeding Hook
- Silhouette Studio
- Adhesive Vinyl – Black
- Transfer Tape
- Bin Labels
- Elsie Font from the Silhouette Design Store
Step One: Create Your DIY Toy Labels:
Open Silhouette Studio®.
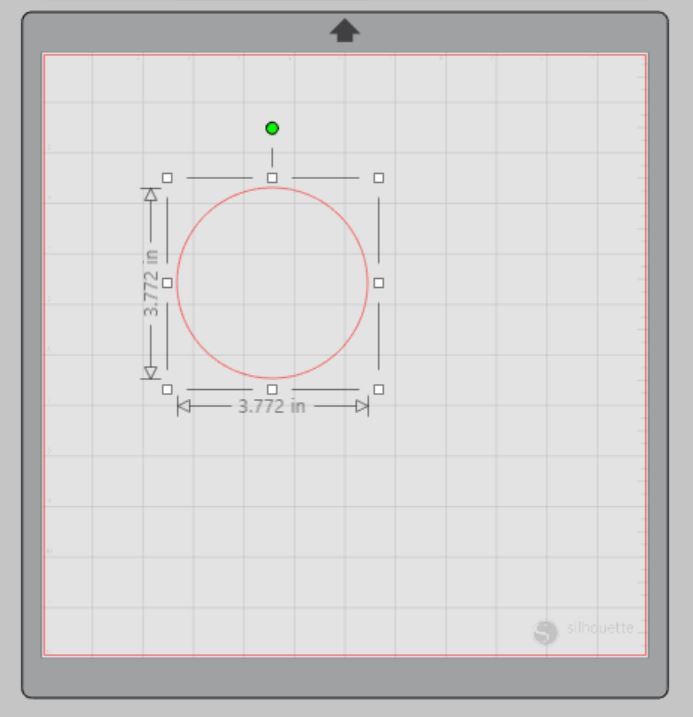
Select the Page Setup Window and adjust your cutting mat size to 12×12 (or the size mat you are using).
Measure your clip-on bin label and create a circle on your template that is the same size.
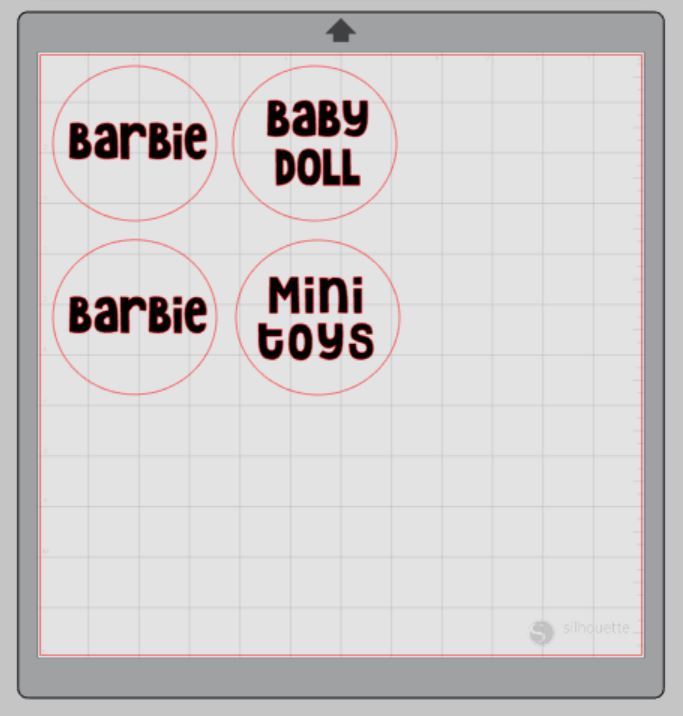
Download the Elsie Font from the Silhouette Design Store and then open your font in Silhouette Studio. Click File>Library>Library>Fonts>Select your downloaded font.
For this project, I changed my font size in the text toolbar so they would all be the same size instead of selecting the group and re-sizing.
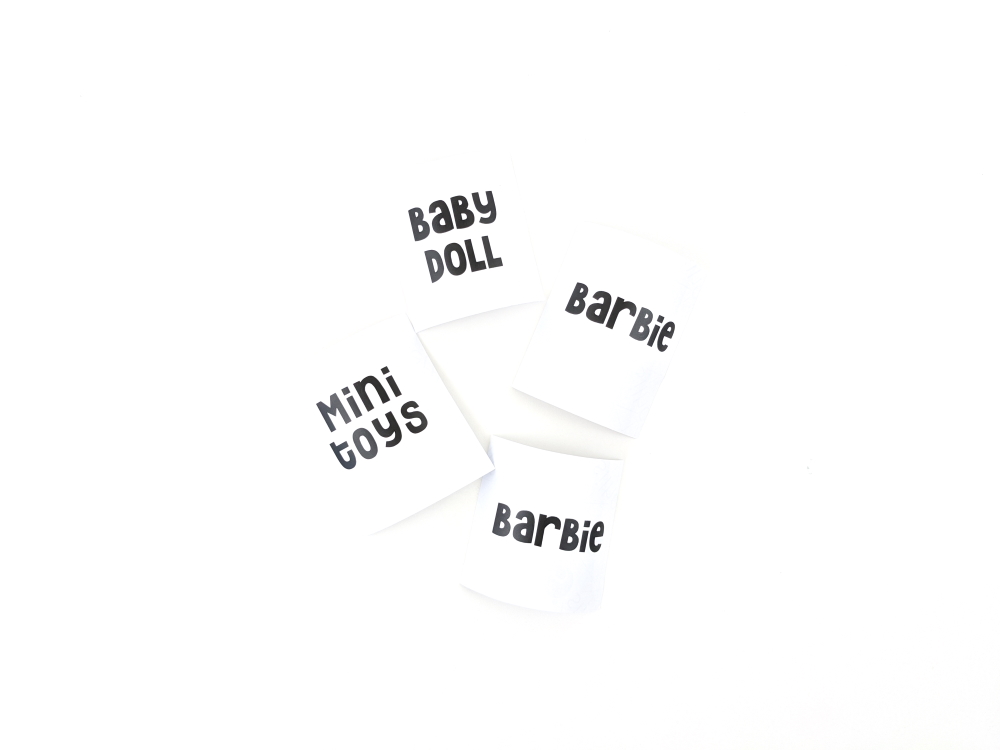
Type your labels for your storage bins and arrange inside your circle templates.
Attach your Adhesive Vinyl to the cutting mat, color side up, and load into your machine by lining up the mat on the guidelines and pressing the “up” arrow on the touch panel.
Follow the prompts in the Design Studio for Adhesive Vinyl and double-check to make sure your design has been selected to cut.
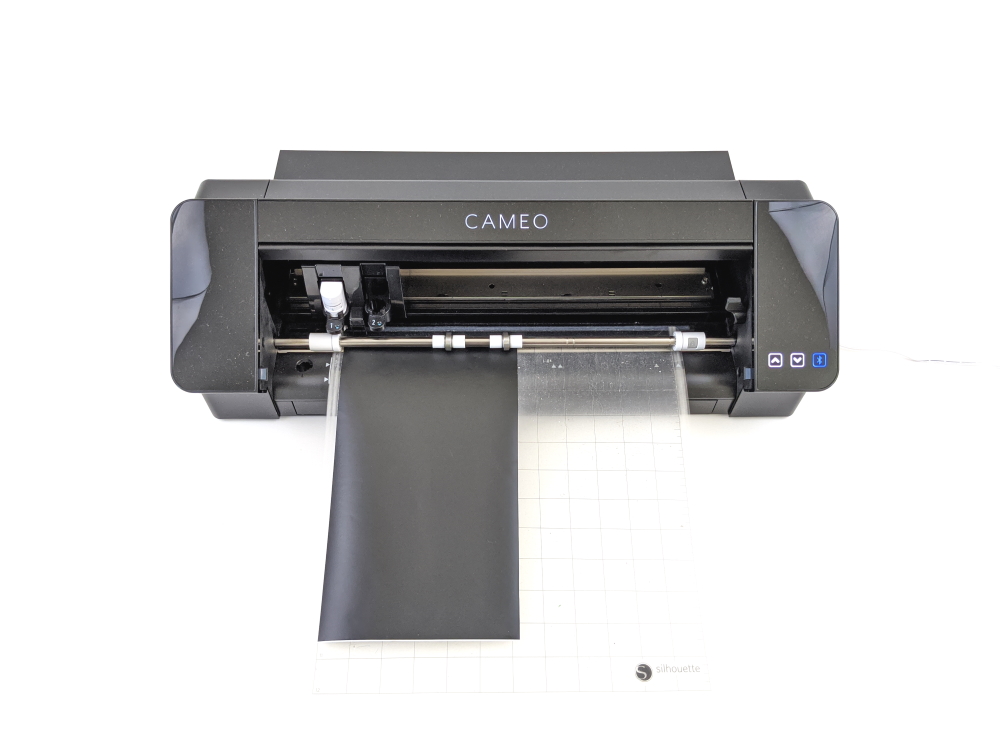
Click “Send” in the design studio to start cutting.
Press the “down” arrow on the Cameo 4 touch panel when your machine has finished cutting your design to remove the cutting mat from the machine.
Step Two: Preparing Your Toy Bin Label:
Remove your Adhesive Vinyl from the cutting mat – go slow so it doesn’t curl.
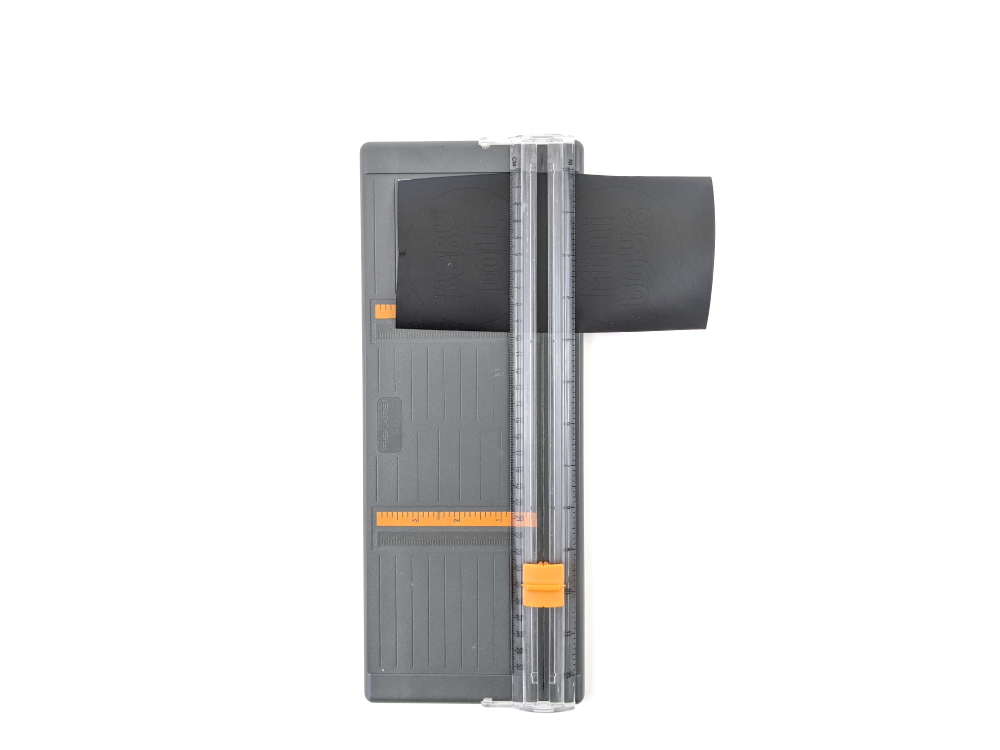
Trim your vinyl for each circle.
Use your fingers or a weeding tool to remove the excess vinyl. Be sure to leave your design on the white backing sheet.

Step Three: Creating Your Toy Bin Label:
Place a piece of transfer tape over your toy bin label.
Use the scraping tool and scrape the top of the transfer tape to make sure the design adheres to it.
Gently pull transfer tape up away from the backing sheet and make sure the entire label lifts with it.
Center your design on your clip-on bin label and press it down from left to right.
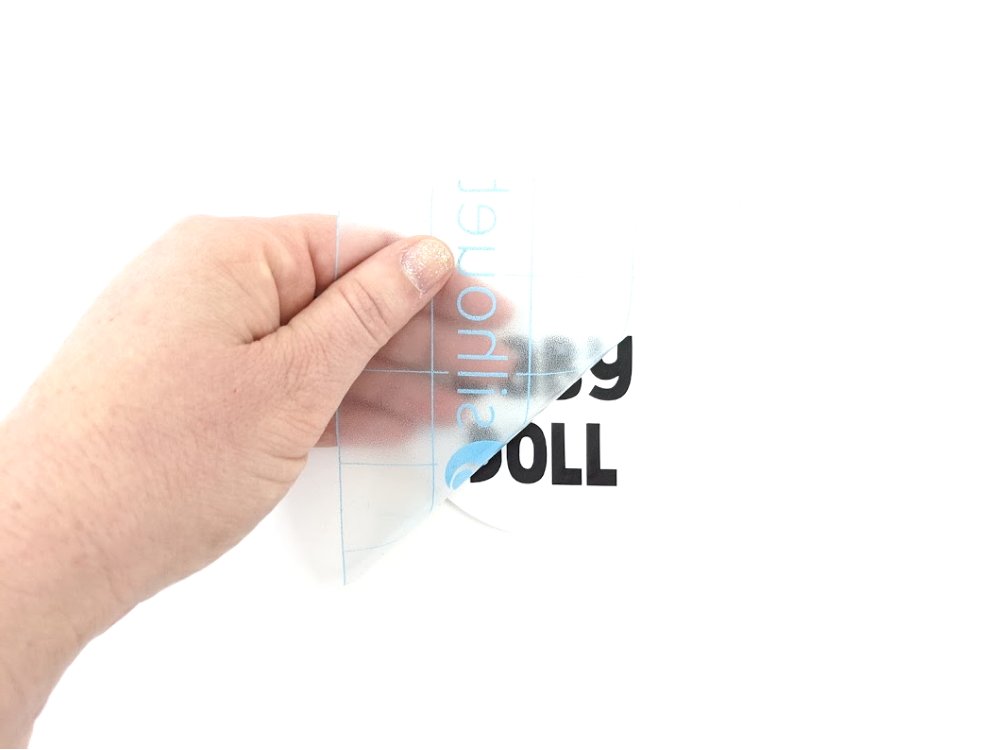
Slowly remove the transfer tape. Tip: pull from a corner and not the side to make sure each part of the design transfers completely to your label.
I love these types of projects. They are quick and easy but help keep everything organized in a super cute way.

Check out these other fun organizing craft projects below:
Rose Gold Paper Clip Bowl Tutorial


You May Also Like

DIY Mother’s Day Keychain
Magical Name Decals