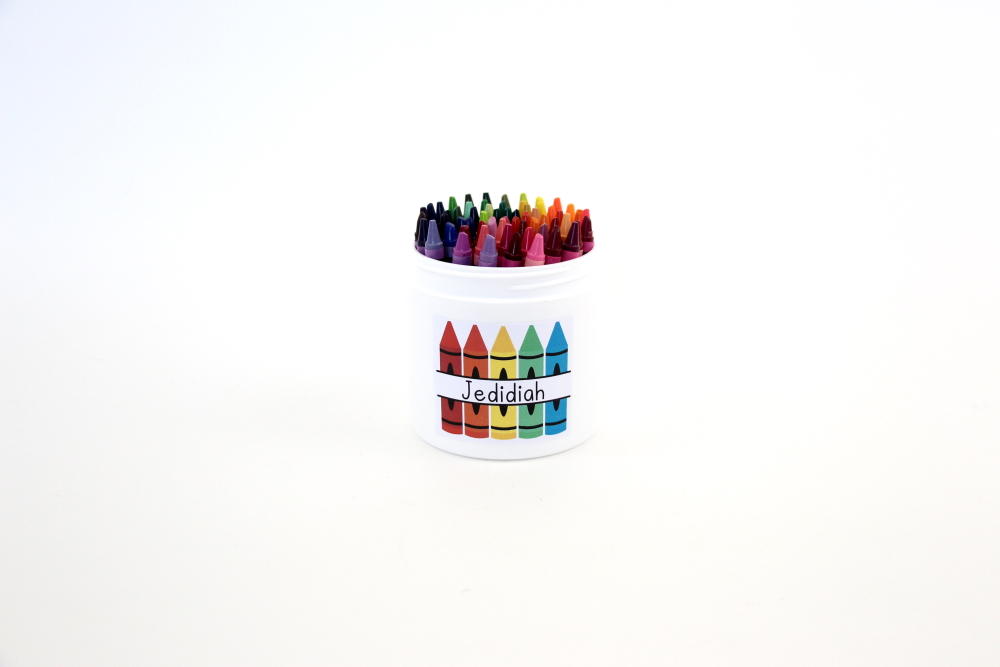
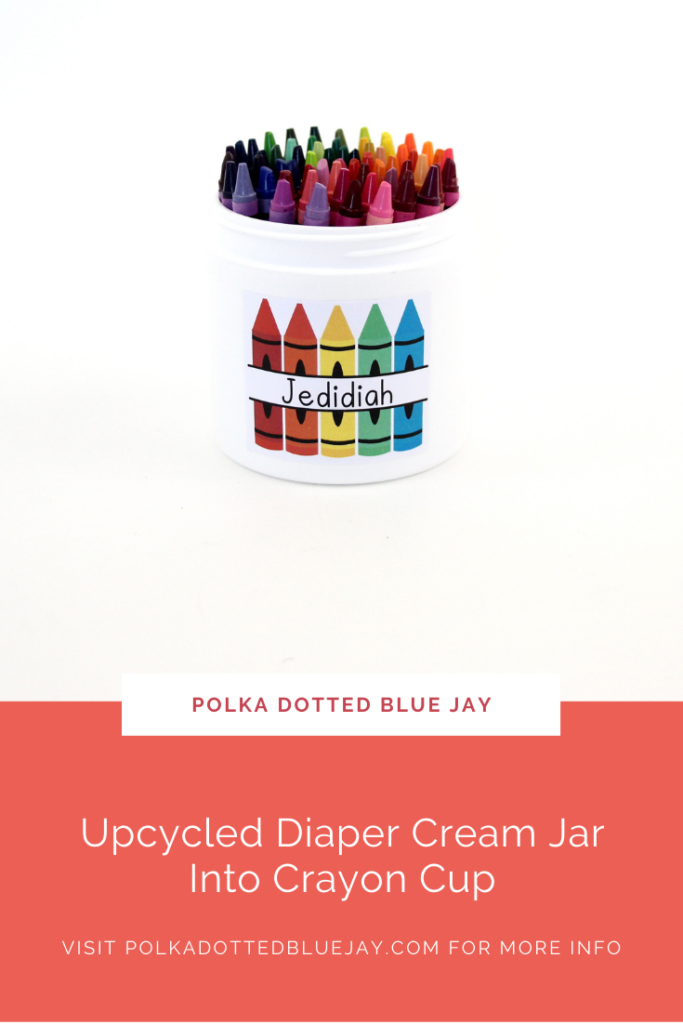
Upcycled Diaper Cream Jar Into Crayon Cup
| This post may contain affiliate links, which means I may receive a small commission, at no cost to you, if you make a purchase through a link. |
I love re-using containers that would normally find their way into our recycling bin and made this upcycled diaper cream jar into a crayon cup. We have been doing a lot of coloring in our house for the last year and I love having art supplies where Jed can get to them but I also want to keep them organized.
What better way to celebrate Earth Day this year than by turning an empty diaper cream jar into a crayon cup for us to keep using.
Estimated Time: 15 Minutes
Skill Level: Beginner
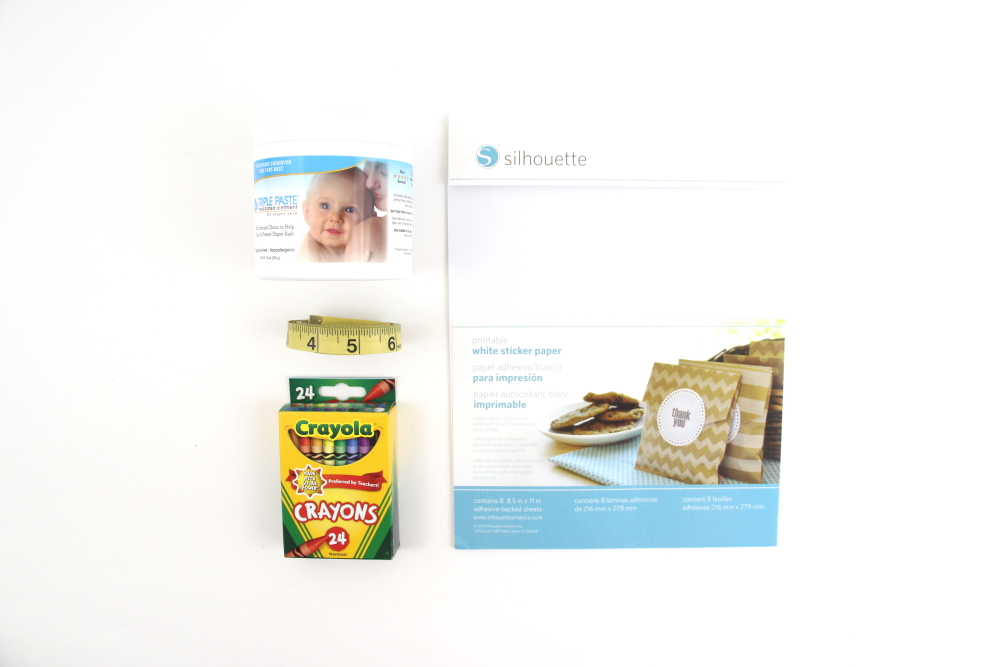
Supplies Needed:
- Silhouette CAMEO® 4
- Silhouette Cutting Mat
- Silhouette Studio
- Crayon Design
- Favorite Teacher Font
- Silhouette Sticker Paper – White
Step One: Design Your Crayon Sticker:
Open Silhouette Studio® on your computer.
Select the Page Setup Window and adjust your cutting mat size to 12×12 (or the sized mat you are using) but the media size to letter.
Add the registration marks so you can use the print and cut feature.
Purchase your Crayon Design and the Favorite Teacher Font from the Silhouette Design Store and then open them in Silhouette Studio. Click File>Library>Library>Recent Downloads>Select the downloaded Crayon design.
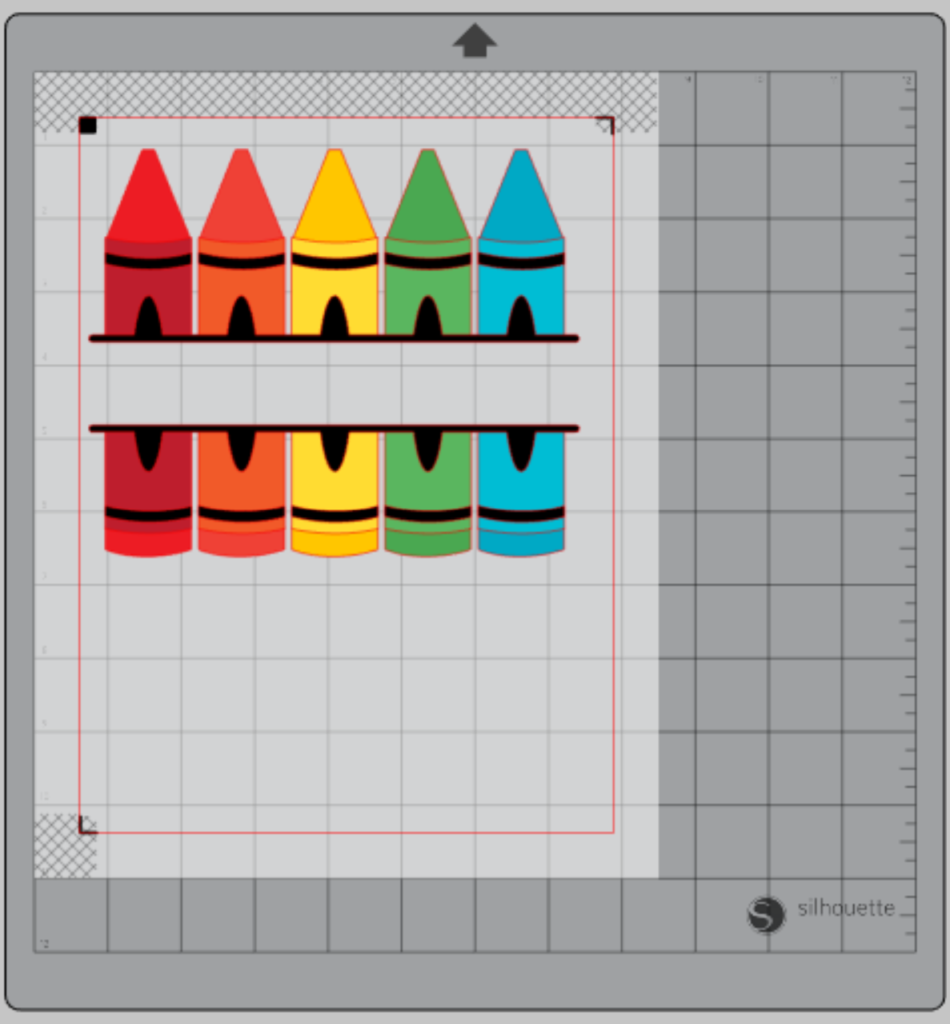
Use the font option to type your name within the design and fill it with color. Center your name within your design using the align center tool.
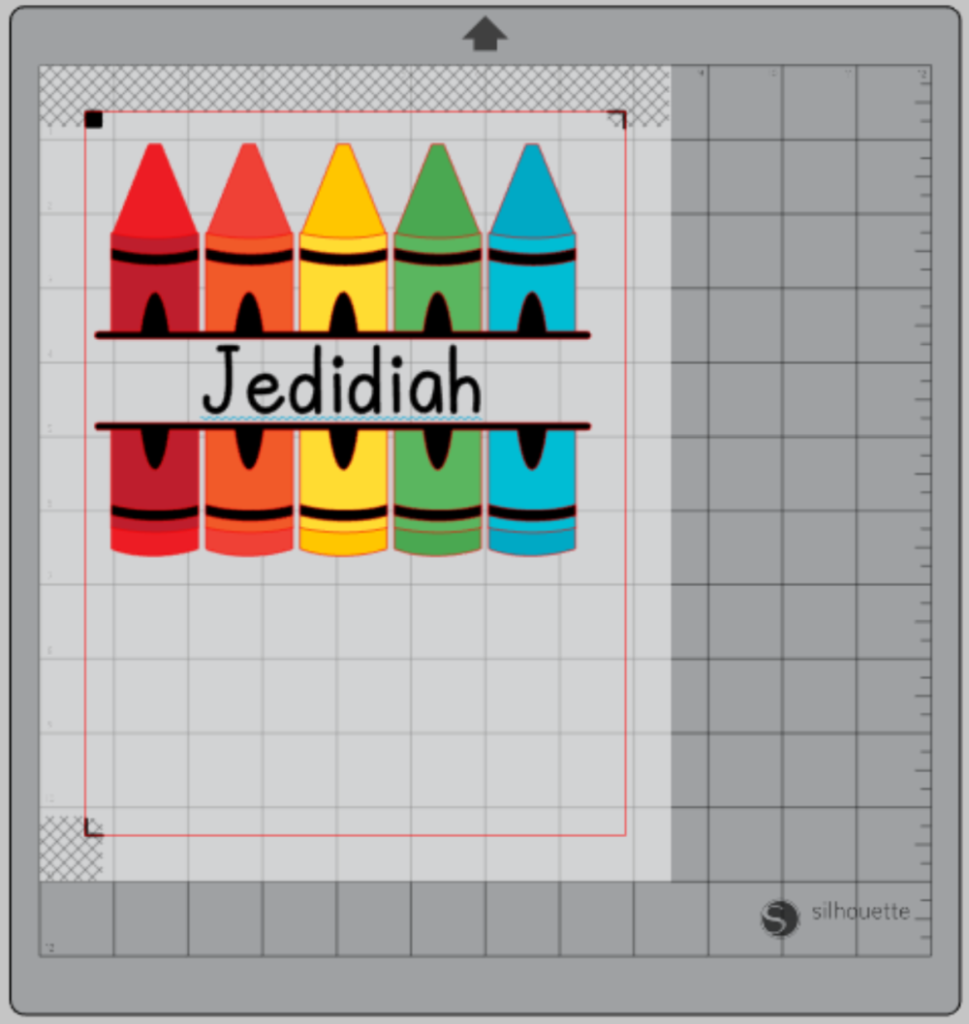
Create a box around your design using the line tool. This will be what your Cameo cuts to create your sticker.
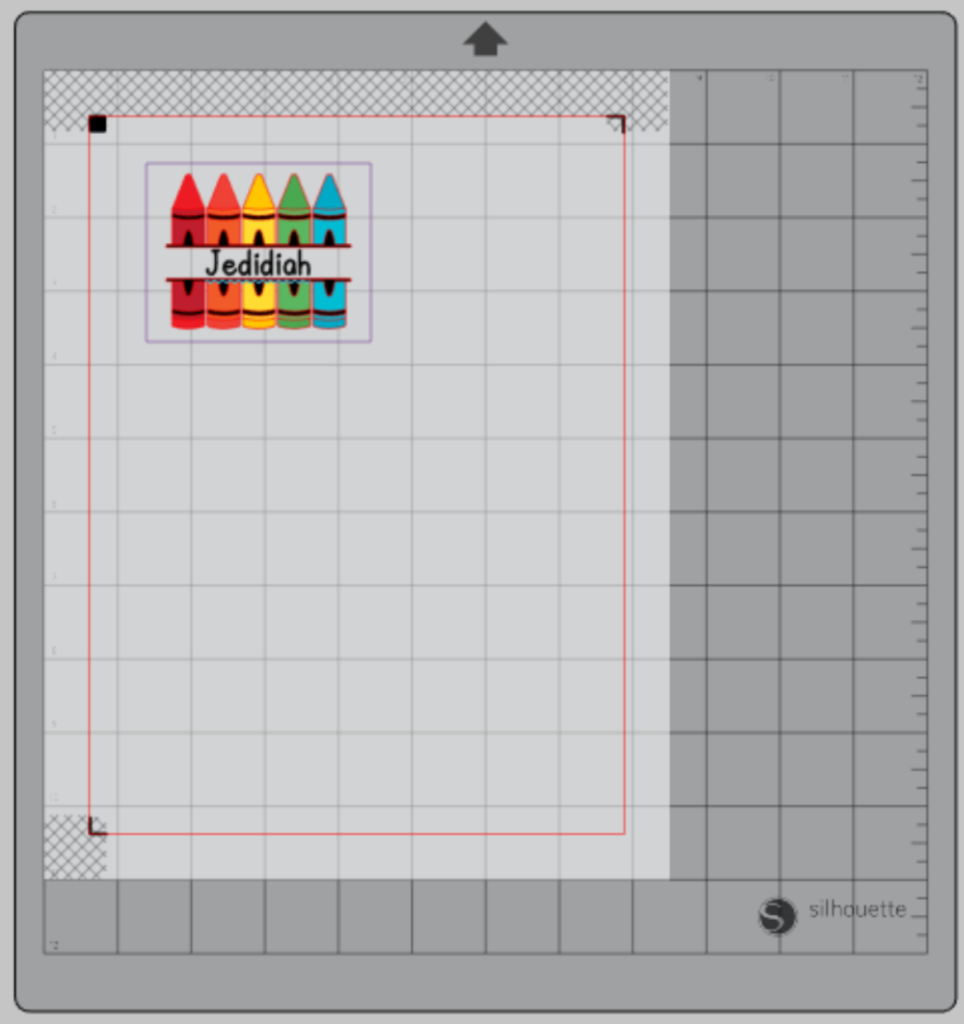
Group all your elements together and adjust the size to the actual size you want for your crayon cup.
Step Two: Printing Your Design:
In your Silhouette software, click “File” and “Print” – just like you would print a Word document.
Be sure to test your printer so you load your sticker sheets correctly. I always like to do a test sheet and write “this side up” on it before I use my actual materials.
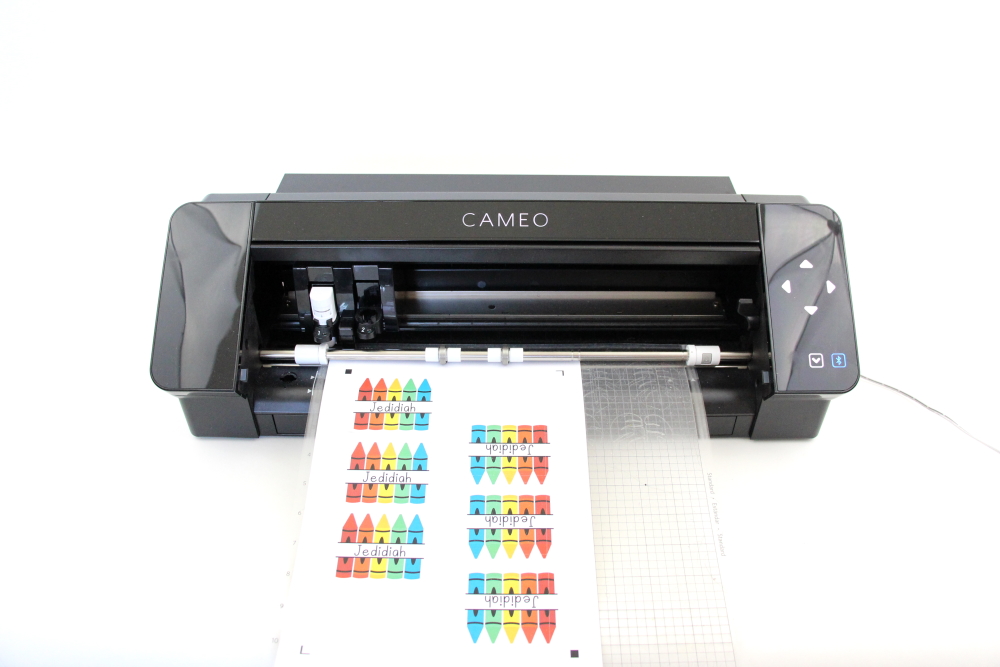
Step Three: Cut Out Your Sticker:
Turn on your Silhouette CAMEO® 4.
Attach your printed design with the registration marks to the cutting mat and load it into your machine by lining up your mat with the guidelines and pressing the “up” arrow.
Then, click “send” in the Software and then select the type of sticker paper you are using from the dropdown menu.
Double-check to make sure that only the box part of your design has been selected to cut and the Silhouette CAMEO®4 autoblade had been selected. The autoblade will adjust to cut based on the type of material you selected. Press the “down” arrow when your machine has finished cutting your design to remove the cutting mat from the machine.
Step Four: Make Your Upcycled Crayon Cup:
Remove your sticker paper from the cutting mat.

Add your sticker to the empty diaper cream jar (with the original label removed) and fill it with crayons.
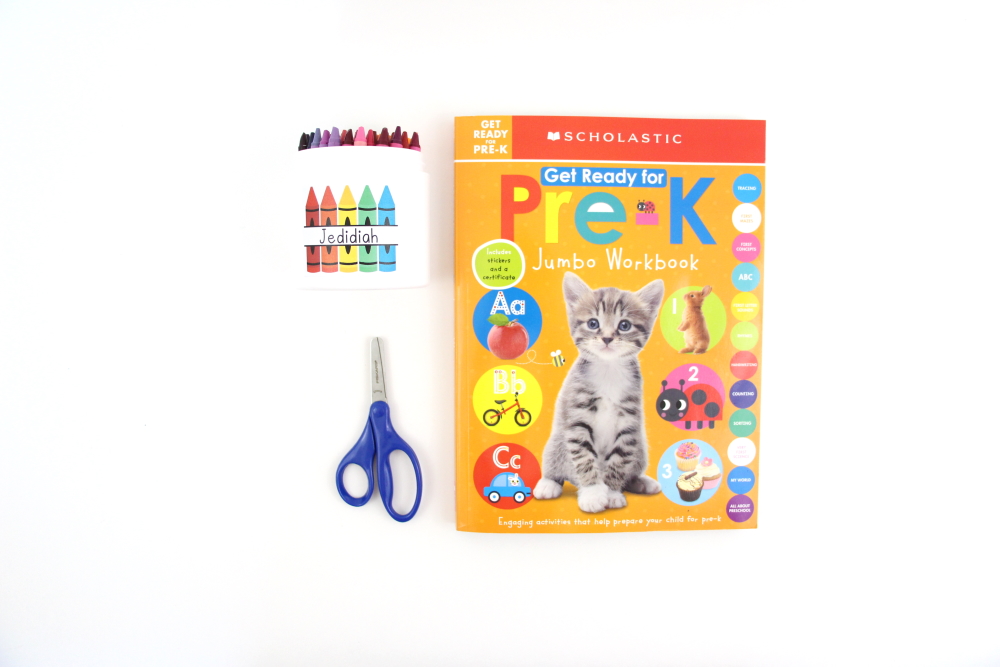
Wouldn’t this be a fun gift for a teacher too?


3 Comments
Pingback:
Pingback:
Pingback: