100 Days of School Mermaid T-Shirt
| This post may contain affiliate links, which means I may receive a small commission, at no cost to you, if you make a purchase through a link. |
Who would have thought that in 2021 we would still be working and celebrating 100 days of school all virtually? When my sweet niece’s teacher announced that this week they would be celebrating 100 days of school, I sprang into action and made a t-shirt for her.
I love making school t-shirts and crafts for my niece. They are such a fun way to help her celebrate milestones during this very weird school year. I think elementary students deserve BIG pizza parties when they are able to have them again. I will keep my fingers crossed for next year and the 100 days of school celebration.
Estimated Time: 20 Minutes
Skill Level: Intermediate
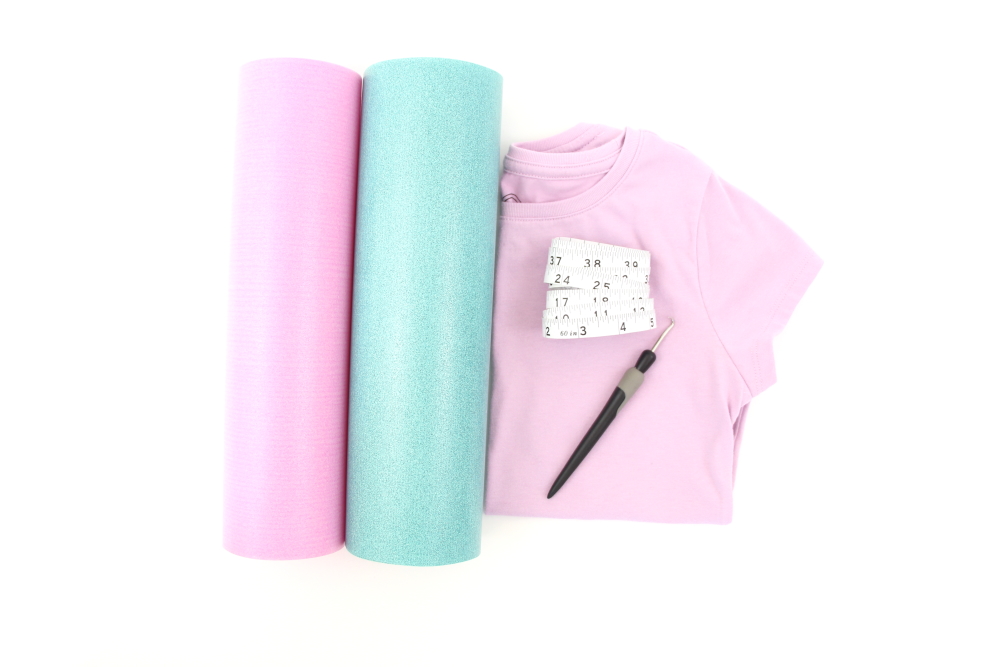
Supplies Needed:
- Silhouette CAMEO®
- Silhouette Cutting Mat
- Weeding Hook
- Silhouette Studio – use the Business Edition
- Heat Transfer Vinyl – Teal and Pink Glitter
- Plain T-shirt
- Iron or heat press
- 100 Mermazing Days of School Mermaid Design
Step One: Creating 100 Days of School Design:
Open Silhouette Studio®.
Select the Page Setup Window and adjust your cutting mat size to 12×12 (or the sized mat you are using).
First, you need to purchase your design from the Silhouette Design Store.
Next, open your design in Silhouette Studio. Click File>Lobrary>Recent Downloads>Select your file.
Measure your t-shirt and re-size your design to the correct space on your 12×12 template – be sure to click and drag to select the whole design to keep everything lined up.

After that, I like to ungroup the design so I can change the colors to match the colors of the vinyl I am using on my project. However, be sure to regroup everything together when you’re done.

You will need to flip your design, so it appears backward for Heat Transfer Vinyl – this is called “mirroring” your design. Highlight your whole design, right-click, and select “flip horizontally” to mirror it.
Select “Send” to prepare to cut.
Follow the prompts in the Software for Heat Transfer Vinyl (or the type you are using for your project) and double-check to make sure your design has been selected to cut.
If you are cutting multiple colors, be sure to use the cut by fill option to only cut one at a time.
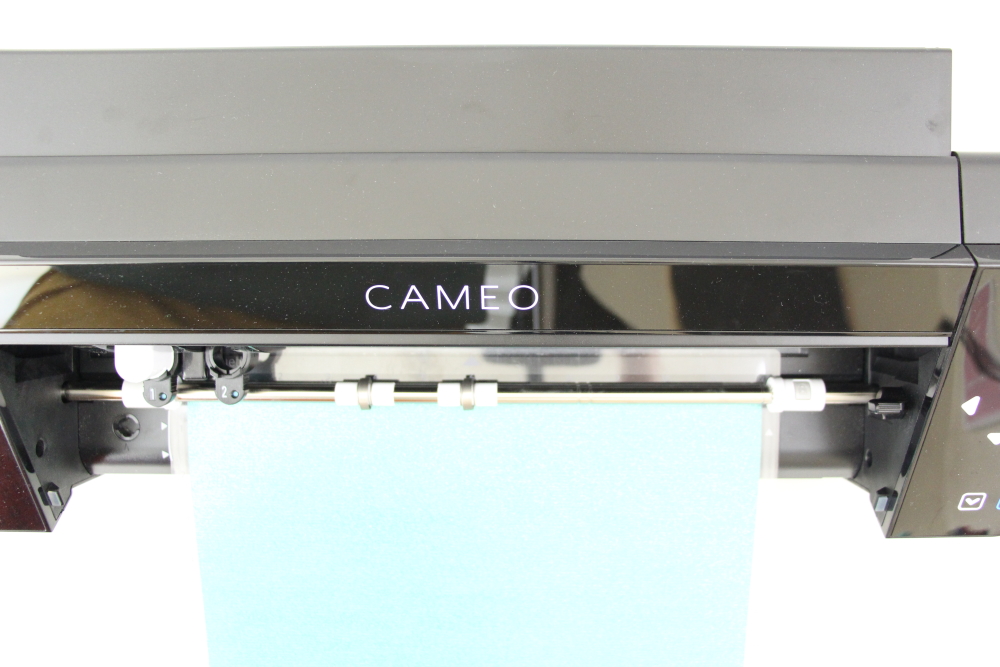
Load your heat transfer vinyl into your Cameo 4 with the color side face down on the mat.
Click “Send”
When your machine has finished cutting, press the down-arrow to remove the cutting mat from the machine.
Repeat for other layers.
Step Two: Preparing Your 100 Days of School Mermaid Decal:
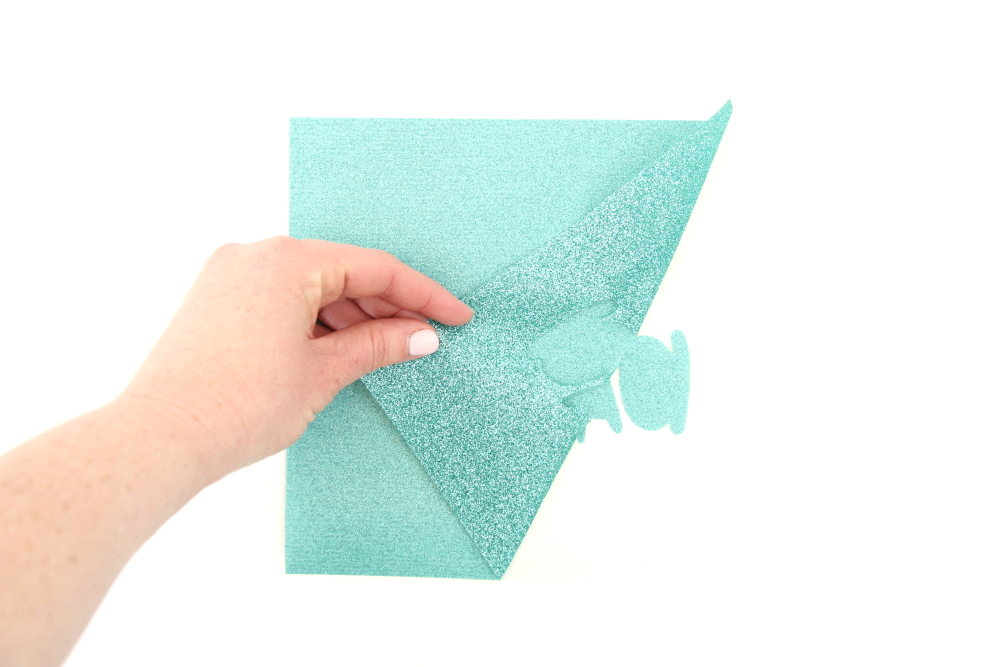
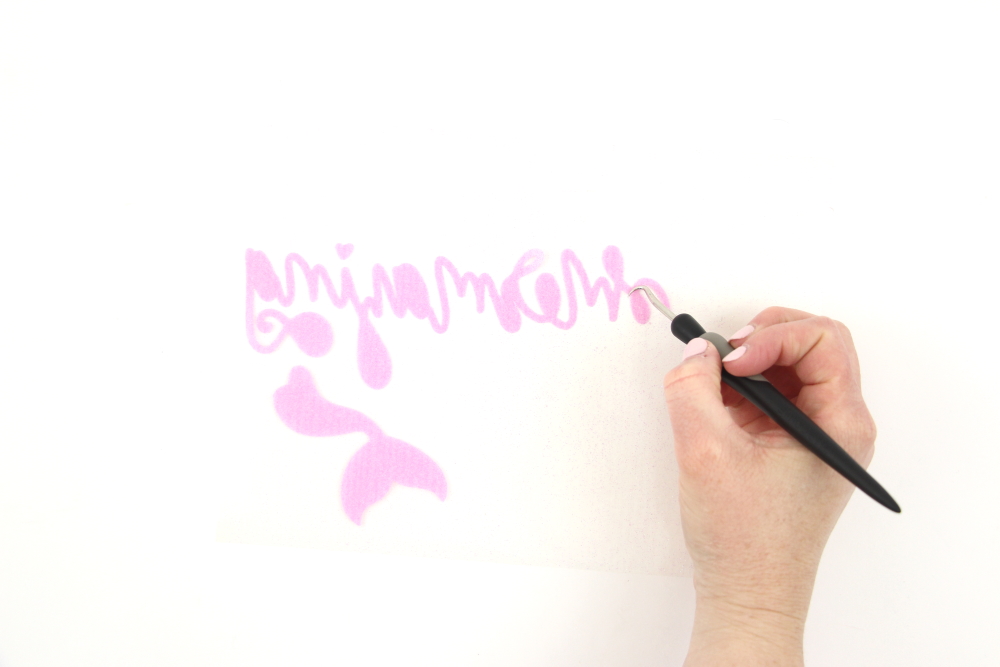
Remove your sheet of Heat Transfer Vinyl from the cutting mat – go slow so it doesn’t curl up or tear.
Use your fingers or a weeding tool to remove the excess vinyl from each color. Be sure to leave your design on the clear carrier sheet.
Step Three: Creating Your 100 Days of School T-shirt:
Pre-heat your t-shirt – use your iron or heat press to warm up the fabric for a better transfer.
Place your design on your t-shirt right side up (this is the reason you mirror your design for cutting).
Heat the design for the recommended time for the HTV you’re using. Use steady pressure.

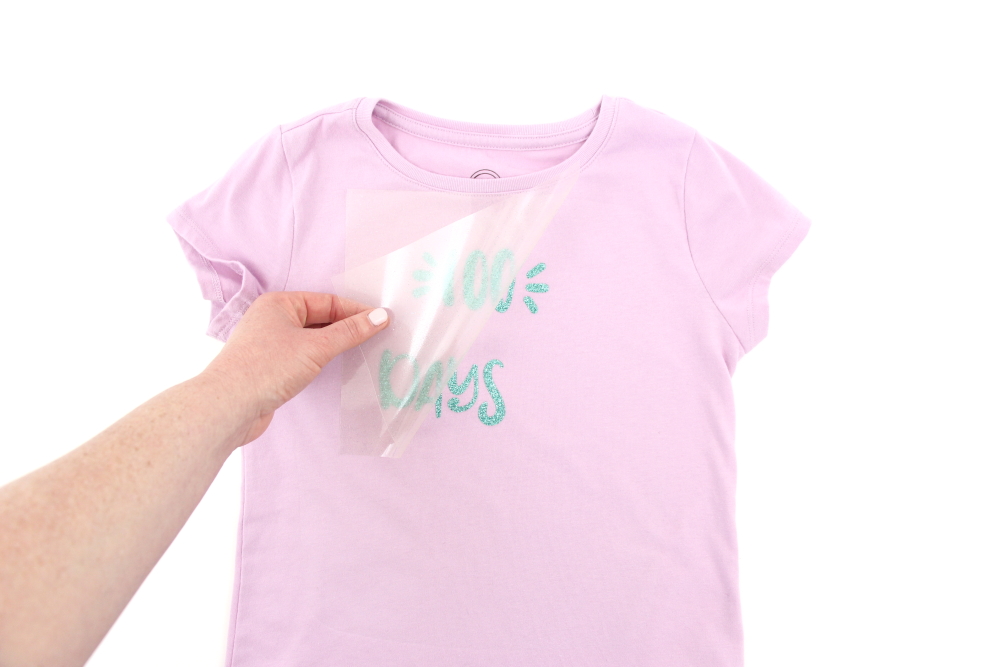
Peel back the clear carrier sheet. Some Heat Transfer Vinyl requires a hot or cold peel – always follow the recommended peel for your heat transfer vinyl. Tip: pull from a corner and not the side to make sure each part of the design transfers completely to your t-shirt.
Add the additional layer and repeat. Be sure that the whole design is covered with a carrier sheet or Teflon sheet so you don’t burn the first layer.

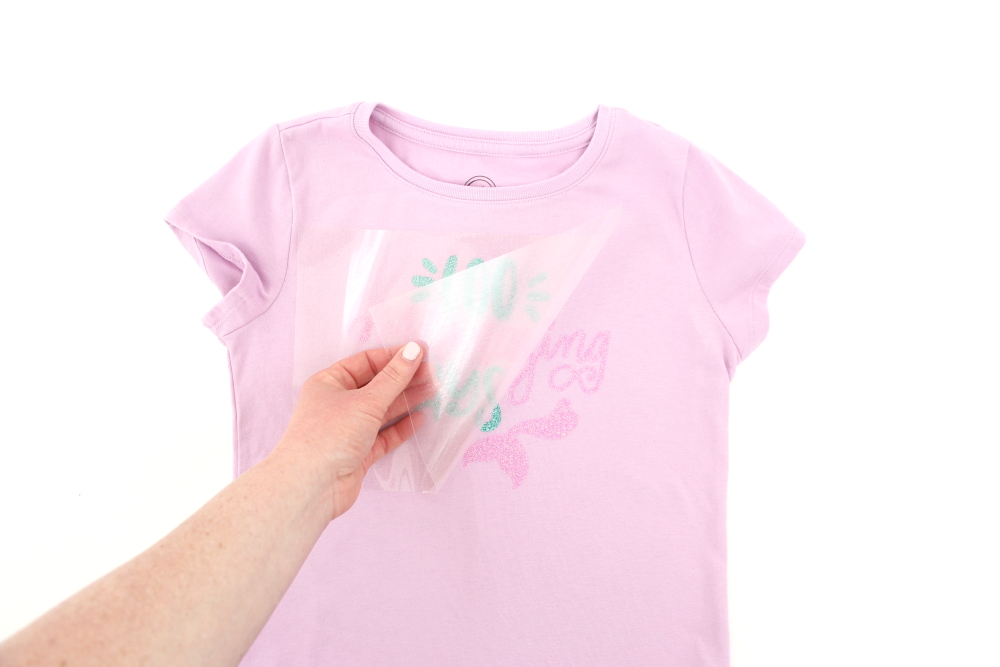
Flip your t-shirt over and give it a 10-second press to activate the adhesive.
After you have applied all the elements of your design and allowed it to cool, your 100 Days of School Mermaid T-shirt is ready!

Check out these other fun school-themed projects: