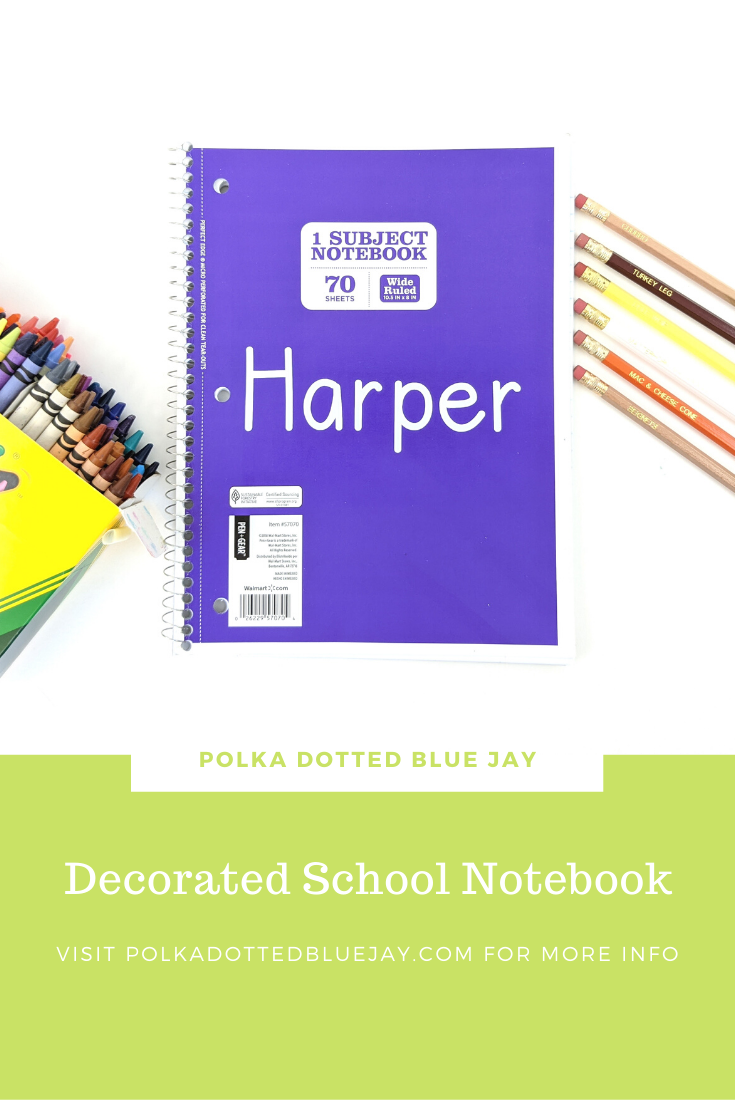
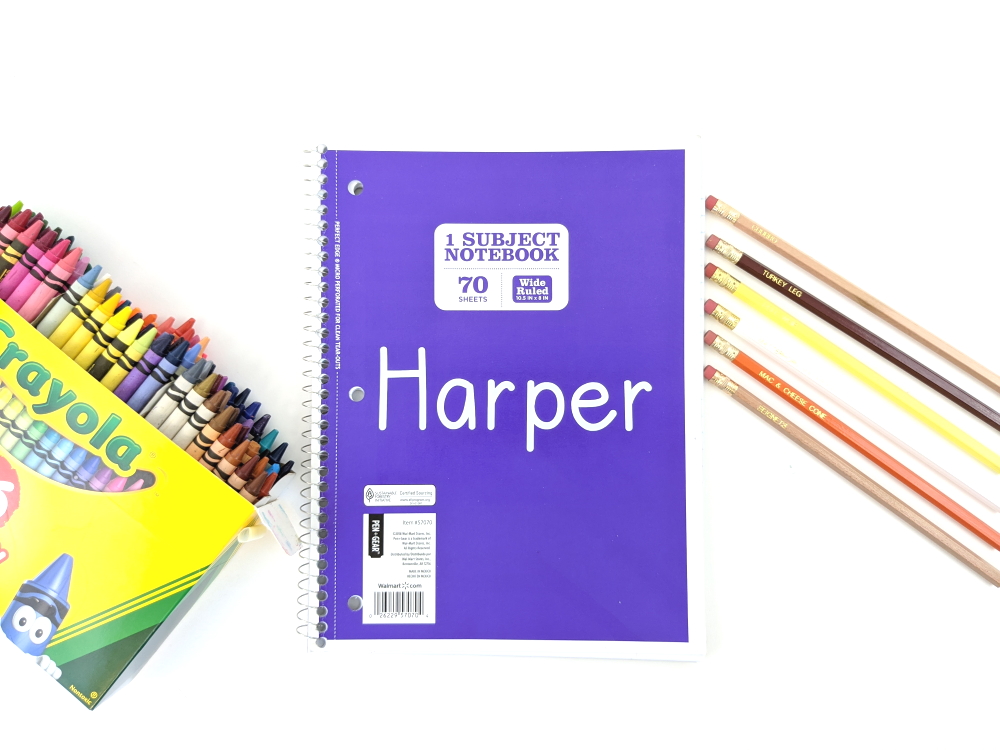
Decorated School Notebook
| This post may contain affiliate links, which means I may receive a small commission, at no cost to you, if you make a purchase through a link. |
My sweet little niece is really having a hard time with this distance learning and not being in a classroom with her teacher and friends. I have been trying to think of simple things to make school more fun and this week I made a decorated school notebook with her name on the front.
Estimated Time: 10 Minutes
Skill Level: Beginner
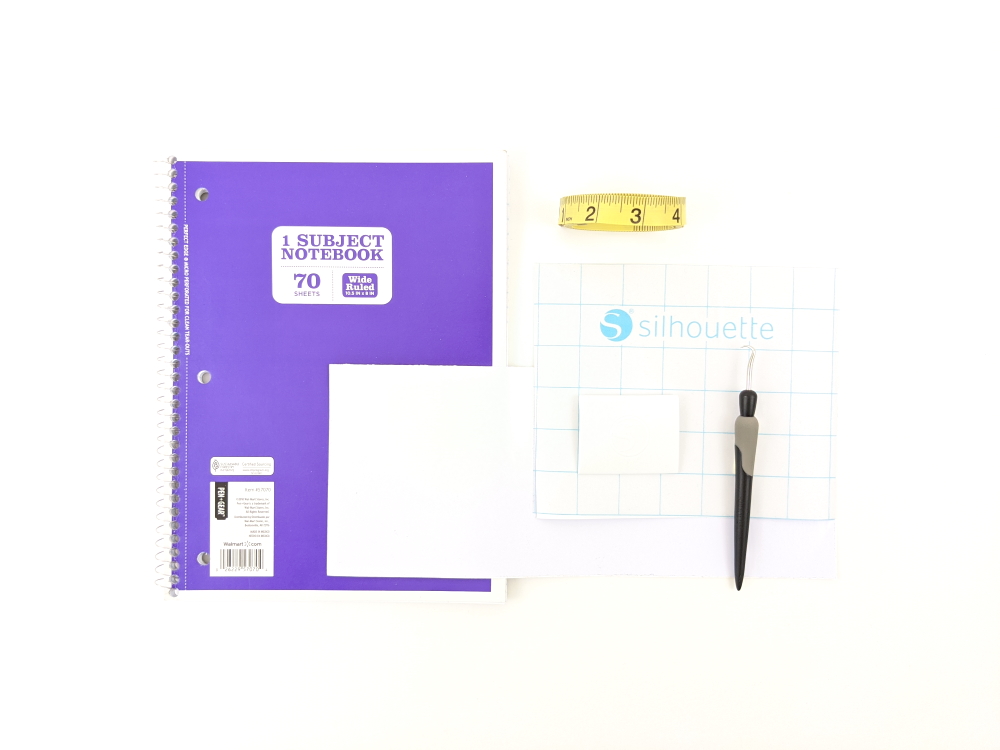
Supplies Needed:
- Silhouette CAMEO®
- Silhouette Cutting Mat
- Weeding Hook
- Silhouette Studio
- “Favorite Teacher” Font
- Adhesive Vinyl – White
- Spiral Notebook
- Transfer Tape
Creating Your Decorated School Notebook Decal:
Open Silhouette Studio®.
Select the Page Setup Window and adjust your cutting mat size to 12×12 (or the sized mat you are using).
Measure your school notebook to determine the size of your decal. – be mindful of the holes. I forgot to take that into account and had to cut a second decal.
Download your font from the Silhouette Design Store and then open in Silhouette Studio. Click File>Library>Library>Fonts>Select your downloaded font.

Click in your design mat to start typing your student’s name. Re-size your design on your 12×12 template – be sure to move the name as a group so it keeps everything lined up.
Attach your Adhesive Vinyl to the cutting mat, color side up, and load into your machine.
Follow the prompts in the Silhouette Software for Adhesive Vinyl and double-check to make sure your design has been selected to cut with your Cameo 4 autoblade (or the type of blade that works with your machine).
Select “Send” to start cutting.
Select “Unload” when your machine has finished cutting your design to remove the cutting mat from the machine.
Preparing Your Decorated School Notebook Decal:
Remove your sheet of Adhesive Vinyl from the cutting mat – go slow so it doesn’t curl up.
Use your fingers or a weeding tool to remove the excess vinyl. Be sure to leave your design on the backing sheet.
Creating Your Decorated School Notebook:
Place a piece of transfer tape over your decal.
Use the scraping tool to make sure the design adheres to the transfer tape.
Gently pull transfer tape up and make sure the entire word lifts with it.
Center your design on your notebook and attach it from left to right.
Use your scraper to make sure the vinyl adheres completely to the notebook.

Slowly remove the transfer tape. Tip: pull from a corner and not the side to make sure each part of the design transfers completely to your notebook.
I hope you have a chance to make a couple of these notebooks for the students in your life, they can all use a little cheering up.
Check out these other fun school-themed craft ideas:
Custom Name Decals for School Thermoses
How to Make a DIY School Spirit Cheer Bow


One Comment
Pingback: