Decorated Cupcake Carrier – How to Fix A Measuring Error With Adhesive Vinyl
| This post may contain affiliate links, which means I may receive a small commission, at no cost to you, if you make a purchase through a link. |
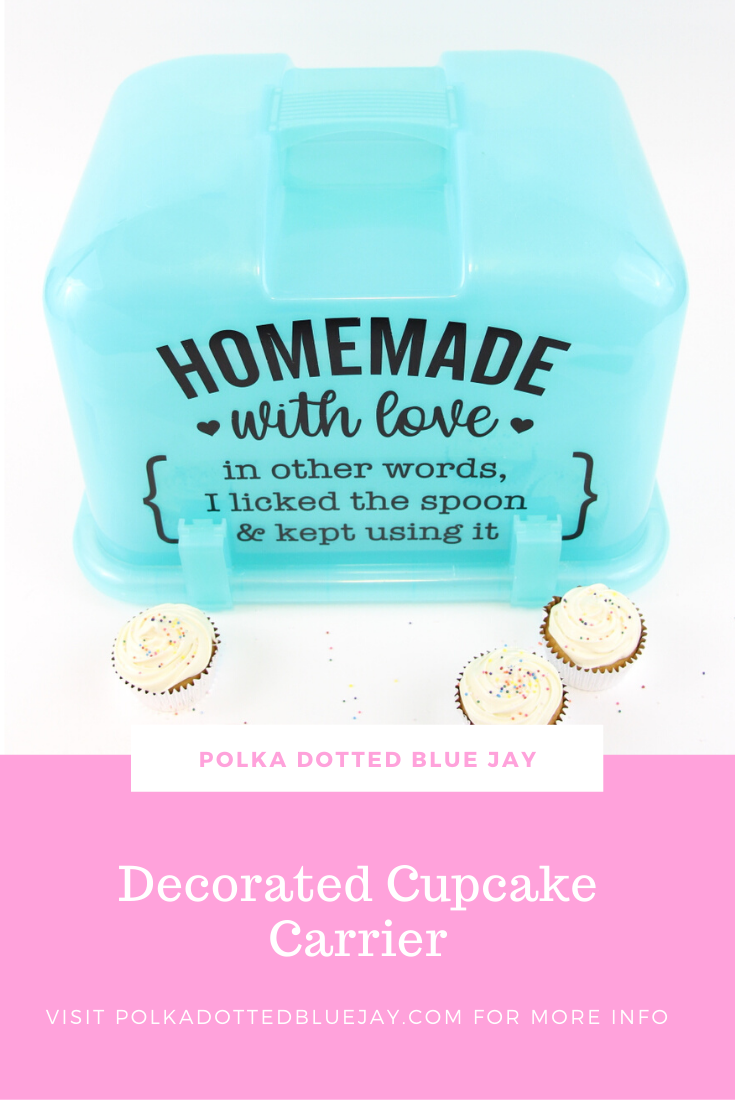
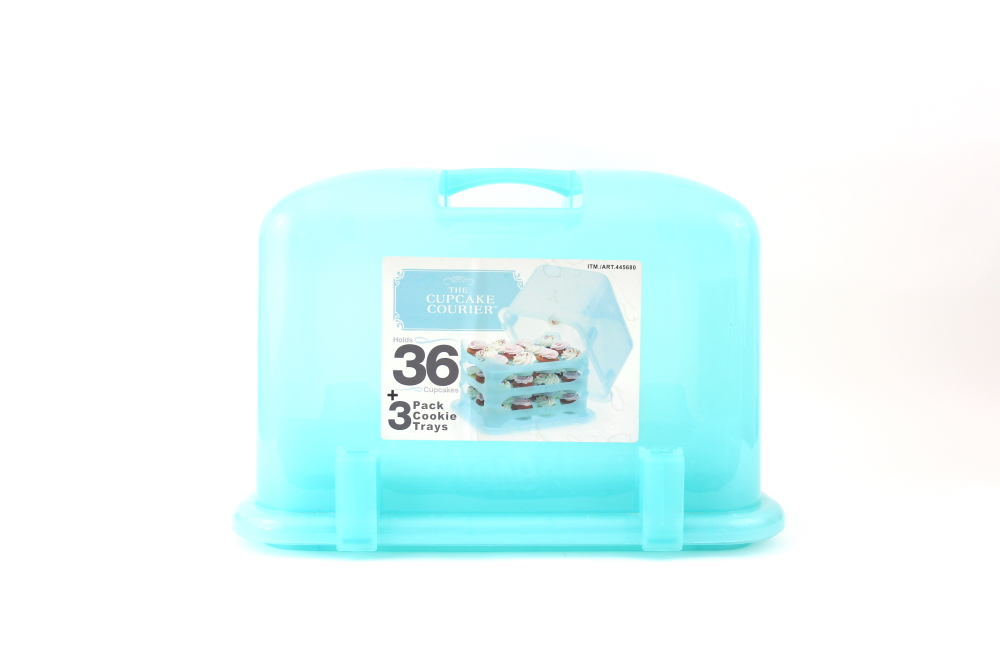
I have a vicious sweet tooth; it’s currently 9:45 pm and I just ate a piece of cake. I am clearly passing along my love of baking to Jedidiah and we have been busy making cookies, cupcakes, and other sweets. It is basically the cutest thing ever. Here’s my decorated cupcake carrier and how I fixed a measuring error with adhesive vinyl.
When I measured the cupcake carrier I didn’t consider the clips that hold the lid closed. My design was sized perfectly to fit on the front of the carrier but when I went to transfer the vinyl, the brackets on the design were right where the clips are. Keep reading to see how I fixed my mistake without having to start over.
Estimated Time: 10 Minutes
Skill Level: Beginner
Supplies Needed:
- Silhouette CAMEO®
- Silhouette Cutting Mat
- Weeding Hook
- Silhouette Studio
- Homemade with Love Design
- Adhesive Vinyl – Black
- Cupcake Carrier
- Transfer Tape
Creating Your Cupcake Carrier Decal:
Step 1: Open up your Silhouette Studio®.
Step 2: Select the Page Setup Window and adjust your cutting mat size to 12×12 (or the sized mat you are using).
Step 3: Download your Homemade with Love Design from the Silhouette Design Store and then open your font in Silhouette Studio. Click File>Library>Library>Recent Downloads>Select your downloaded file.
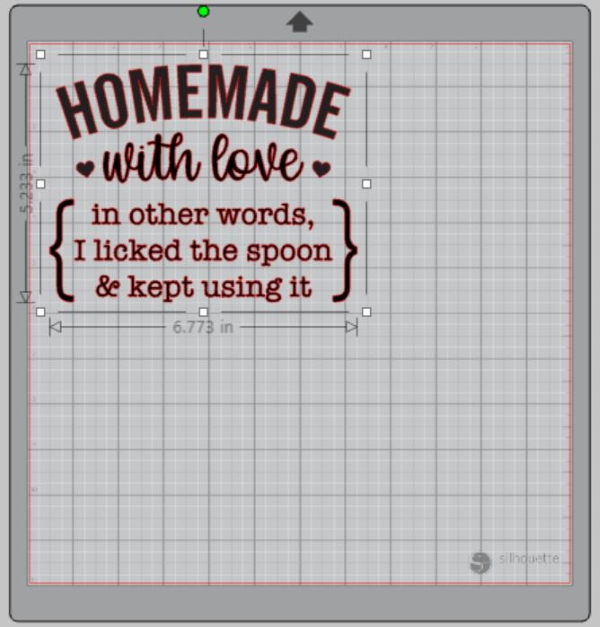
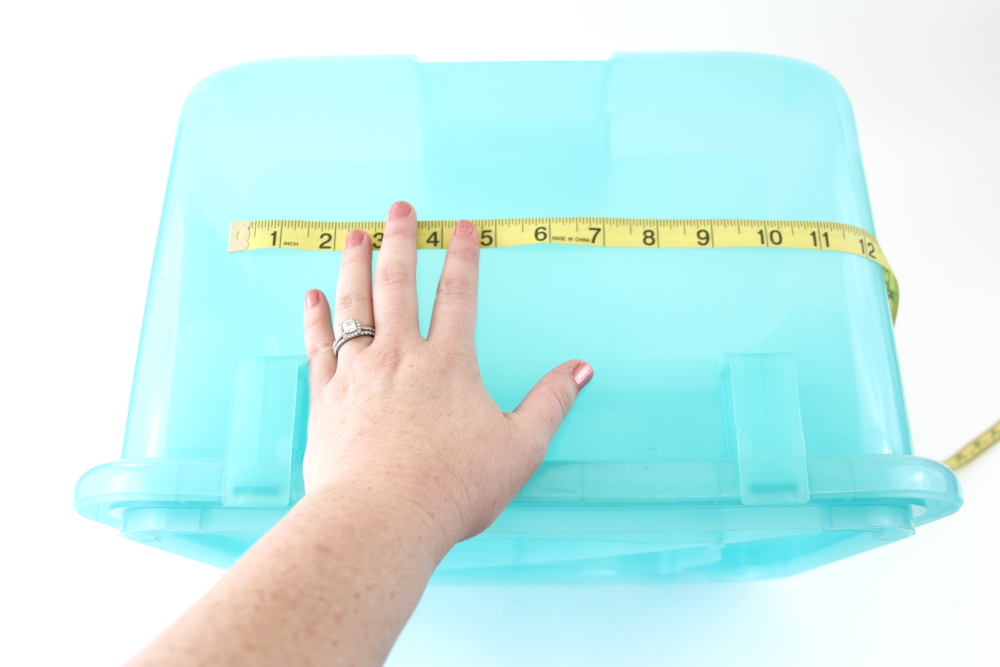
Step 4: Measure your cupcake carrier and re-size your design to the correct space on your 12×12 template – be sure to move the design as a group so it keeps everything lined up.
Step 5: Attach your Adhesive Vinyl to the cutting mat, color side up, and load into your machine.
Step 6: Follow the prompts in the Design Studio to adjust your blade (if using a ratchet blade) for Adhesive Vinyl and double-check to make sure your design has been selected to cut.
Step 7: Select “Send” to start cutting.
Step 8: Select “Unload” when your machine has finished cutting your design to remove the cutting mat from the machine.
Preparing Your Homemade with Love Decal:
Step 1: Remove your sheets of Adhesive Vinyl from the cutting mat – go slow so it doesn’t curl up.

Step 2: Use your fingers or a wedding tool to remove the excess vinyl. Be sure to leave your design on the backing sheet.

Creating Your Homemade with Love Decal:
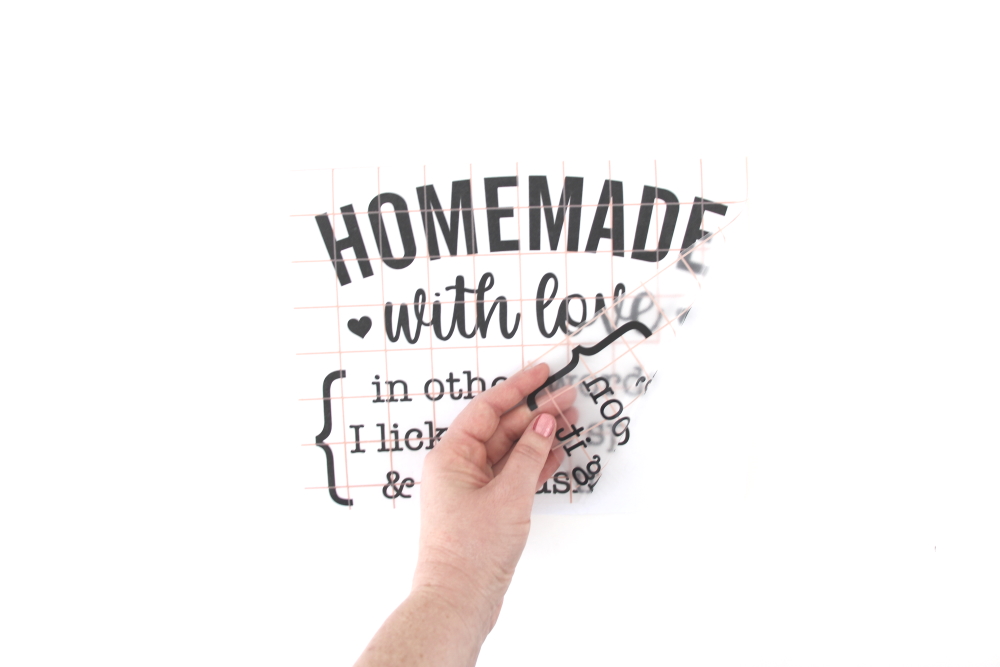
Step 1: Place a piece of transfer tape over your label.
Step 2: Use the scraping tool to make sure the design adheres to the transfer tape.
Step 3: Gently pull transfer tape up and make sure the entire word lifts with it. Be sure to take the dots on your I, they can be tricky.
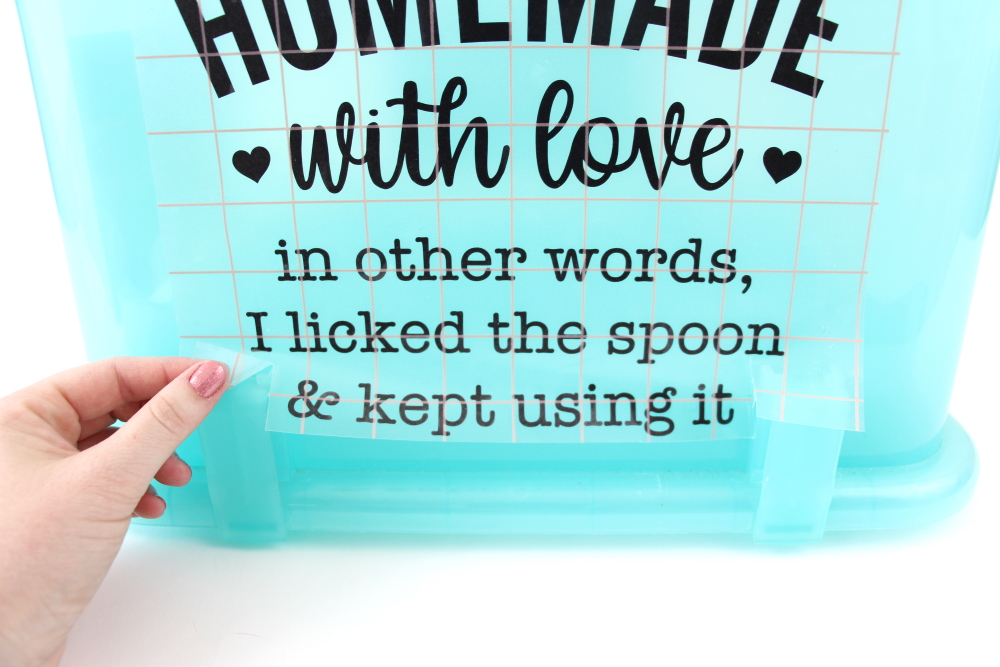
Step 4: Center your design on your cupcake carrier and start attaching it from the top down. Here is where I ran into my problem with the brackets: I simply peeled the bracket off the carrier sheet and placed it on the side of the clip with my fingers. Easy.
Step 5: Make a snip in the carrier sheet to be able to transfer the design in-between the clips and use the scraping tool to smooth the word onto the carrier.
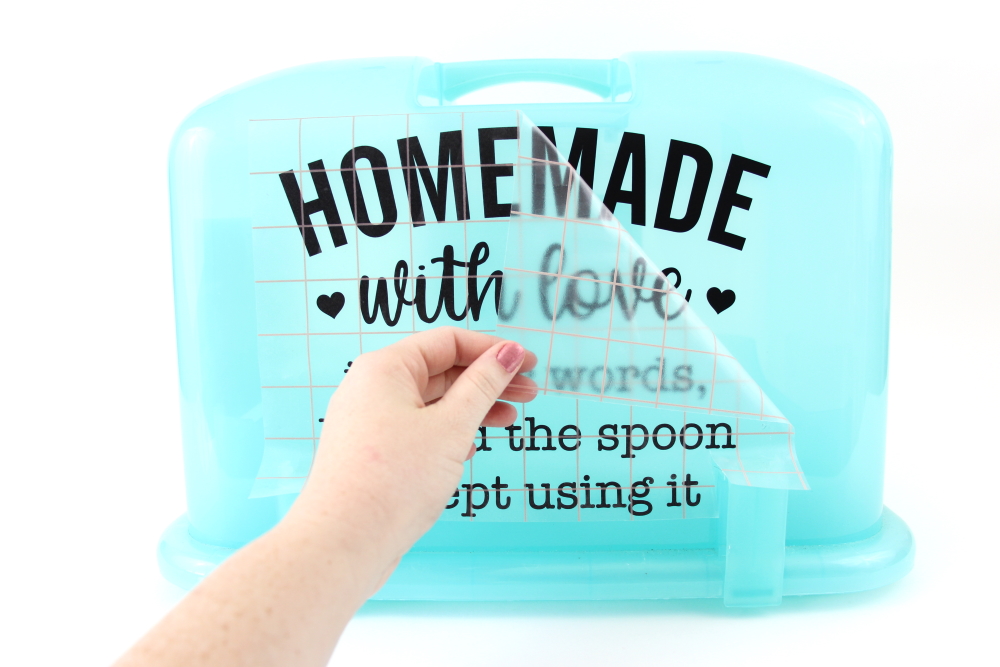
Step 6: Slowly remove the transfer tape. Tip: pull from a corner and not the side to make sure each part of the design transfers completely to your cupcake carrier.
I am so glad that adhesive vinyl is so forgiving, and I could salvage my project and the vinyl. It is one of those lessons that I apparently must learn 100 times. Measure twice before cutting and especially when I don’t use a completely flat surface.
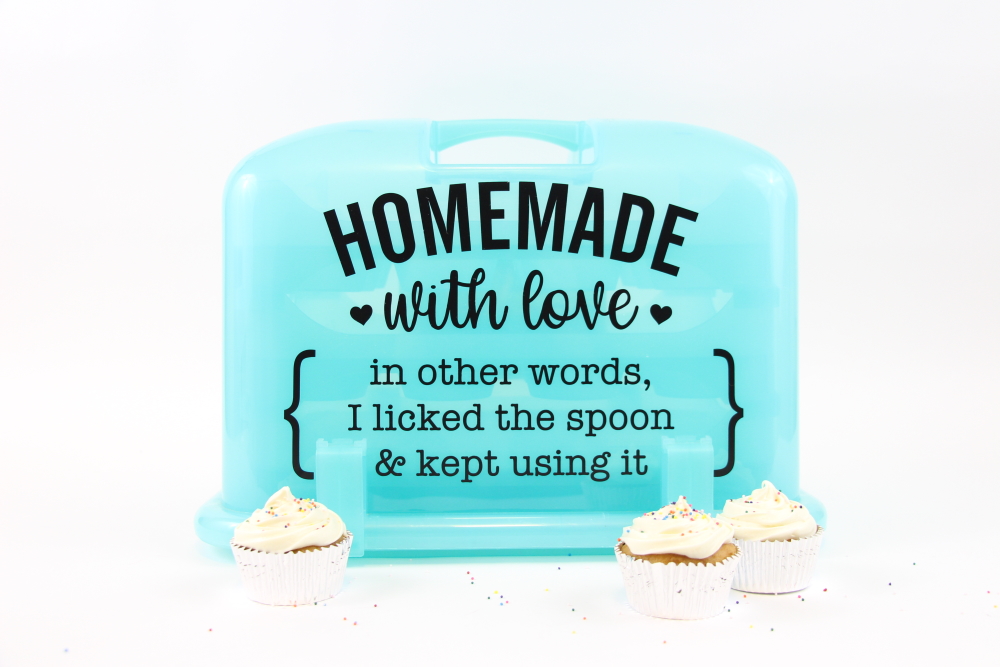
I love how cute the cupcake carrier looks now that it is a little dressed up with some vinyl. Be sure to follow all my cupcake and cookie goodness with #pdbjaysweettooth.