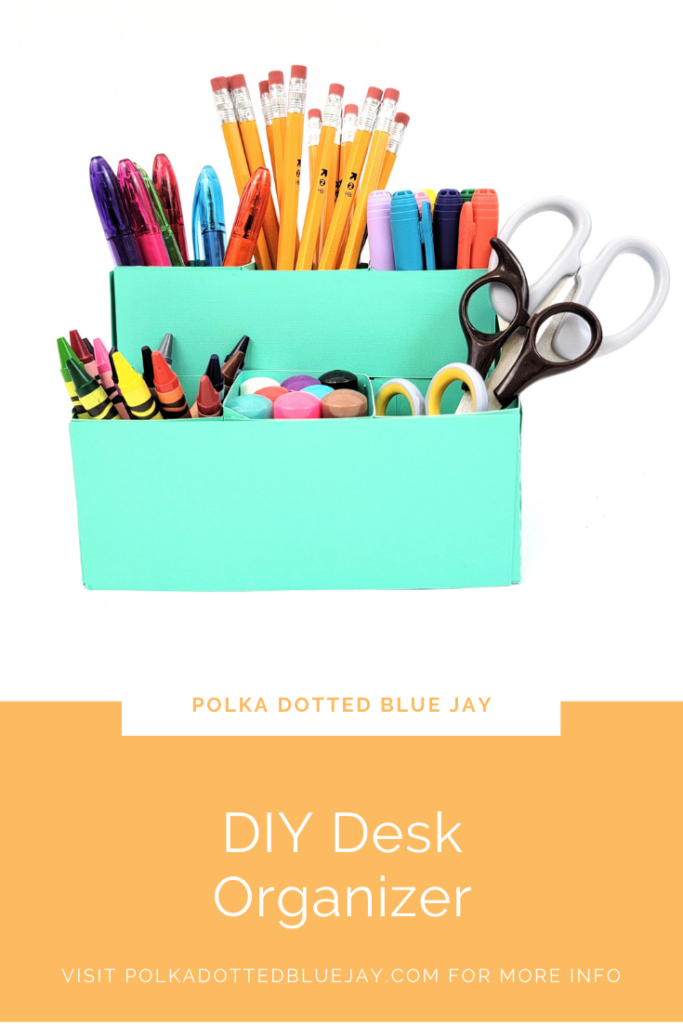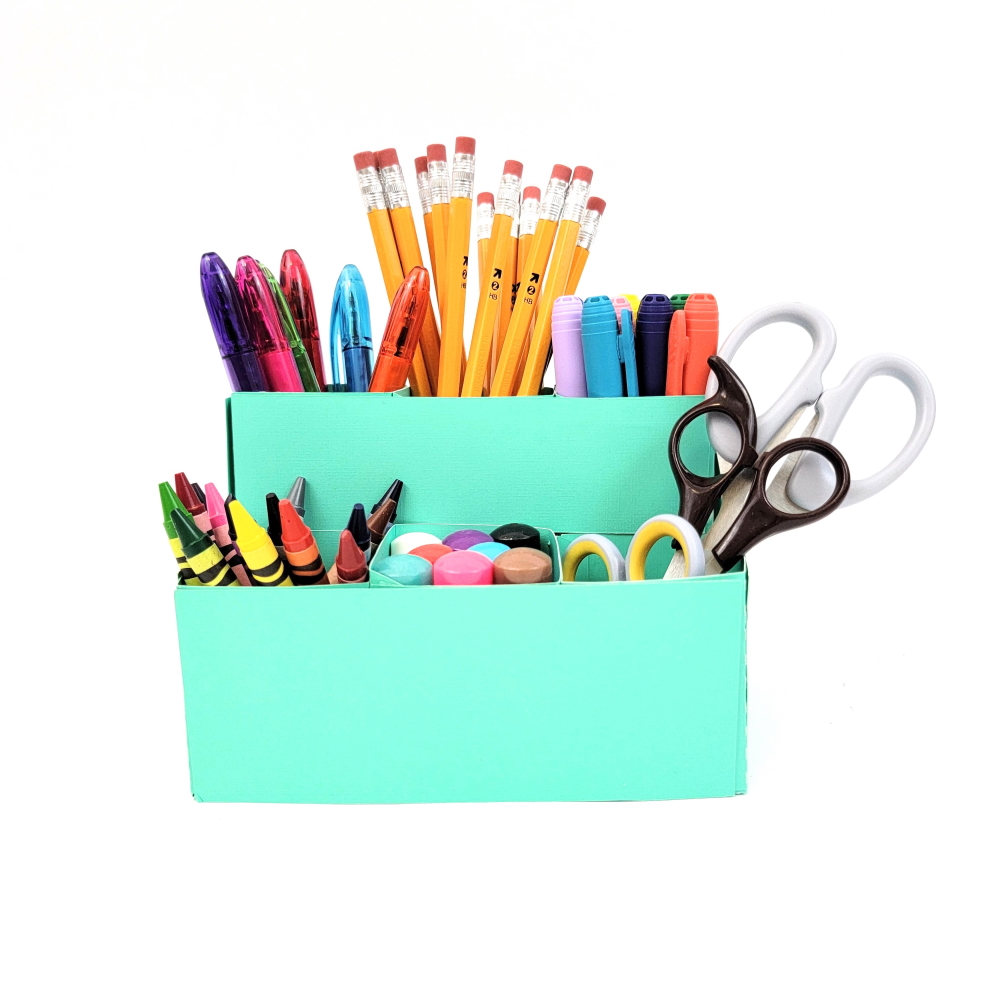
DIY Desk Organizer
| This post may contain affiliate links, which means I may receive a small commission, at no cost to you, if you make a purchase through a link. |
My home office has been a workhorse for the past 22 months; working from home, daycare/preschool for Jed, and my blog office. I was so happy when I came across this DIY desk organizer design in the Silhouette Design Store. My desk goes through a LOT every week and my “this should only last 2 weeks” set up just wasn’t working anymore and I needed some more organizing of my desk supplies.
I love that I can make a DIY desk organizer for myself, Jed, and Houston. They would also make a great gift for a teacher; just add the teacher’s name with some vinyl, paint, or a marker to the front. The tutorial from Lori also shows how to add some patterned cardstock for some extra pizzaz on your desk organizer.
Estimated Time: 20 Minutes
Skill Level: Intermediate
Supplies Needed:
Step One: Create Your DIY Desk Organizer:
Open Silhouette Studio® on your computer.
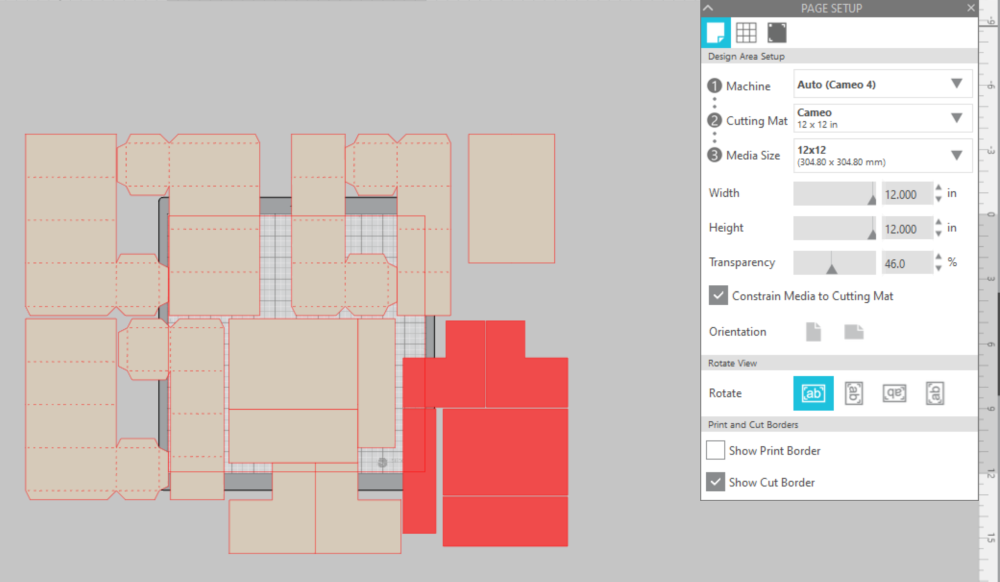
Select the Page Setup Window and adjust your cutting mat size to 12×12 (or the sized mat you are using).
Open your design in your design library (after you buy it).
This design is larger than 12×12 (I used four 12×12 sheets of cardstock) so you will have to ungroup it and cut it out in sections unless you have the Silhouette Cameo Pro. Select each group of designs and move them one at a time into your cutting mat template. Just make sure you select all the elements so your score lines and cuts line up.
How the Desk Organizer Design Opens in Silhouette Studio:
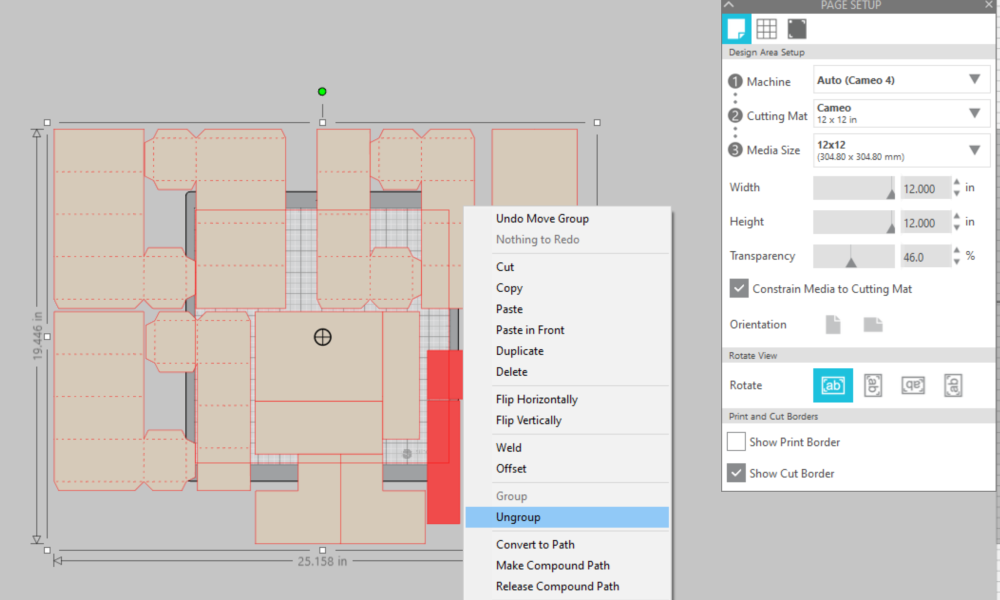
How to Ungroup the Designs:
Highlight all the elements, right click, select “ungroup”
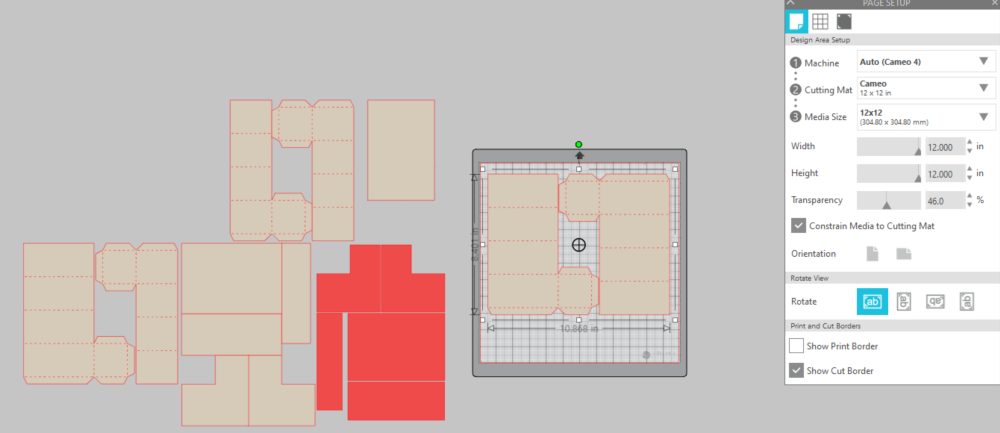
How to Prepare Your Desk Organizer for Cutting:
Select one group of elements and move them onto your cutting mat.
Step Two: Cutting Out Your Desk Organizer Pieces:
Turn on your Silhouette CAMEO® 4.
Attach your cardstock to the cutting mat and load it into your machine by lining up your mat with the guidelines and pressing the “up” arrow.
Then, click “send” in the Software and then select the type of cardstock you are using from the dropdown menu.
Double-check to make sure your design has been selected to cut and the Silhouette CAMEO®4 autoblade had been selected. The autoblade will adjust to cut based on the type of material you selected. I suggest always doing a test cut to make sure it will work with your cardstock – there is a “test” button at the bottom of your screen.
Select “Send” to start cutting.
Press the “down” arrow when your machine has finished cutting your design to remove the cutting mat from the machine.
Repeat this process for each section of your design. If you have the Cameo Pro you can cut it all out at once!
You can also cut multiple colors at one time if you space them out on your cutting mat to match your software layout.
Step Three: Put Your DIY Desk Organizer Together:
Remove your sheet of cardstock from the cutting mat – go slow so it doesn’t curl up.
Remove all your paper pieces from the cutting mat and organize them.
First, add a small amount of glue or adhesive to each of the boxes and fold them on the score lines.
Repeat for each box.
Add the “cover” pieces to your organizer to give it a polished finish and then embellish how you would like.
Here is a great video by the designer, Lori Whitlock, demonstrating how to assemble the pieces:
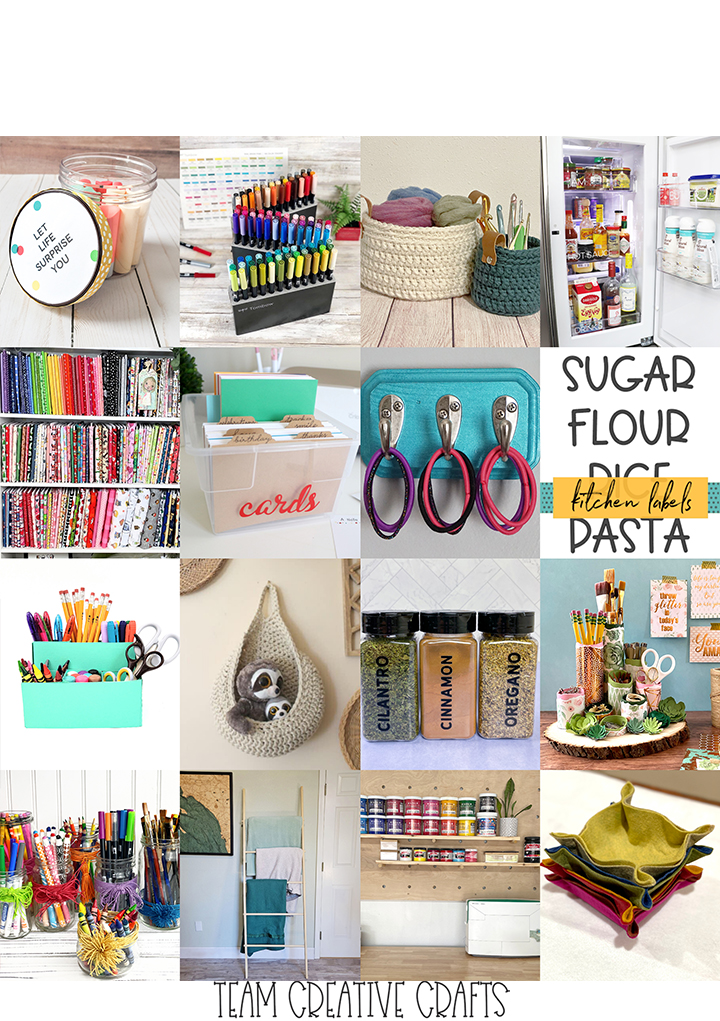
Easy Fabric Storage Ideas with Dollar Tree Supplies by Laura of Me and My INKlings
Shimmering Hair Tie Storage Hanger created by Lindsay of Artsy-Fartsy Mama
Organize your Refrigerator with easy to read labels from Laura of Laura’s Crafty Life
Create colorful DIY Felt Trays with a tutorial from Smitha at Smiling Colors
Upcycled Chapstick Organization is easy and super cute by Shani of Sunshine and Munchkins
A brilliant storage solution with a DIY Blanket Ladder from Justine of Little Dove
Stylish Crocheted Storage Baskets with Free Patterns by Erica of 5 Little Monsters
DIY Pegboard Garage Storage for a Shared Workspace from Kelsey at Poofy Cheeks
Creative Storage Solutions for your Craft Studio by Beth of Creatively Beth
Organize your Greeting Cards with a complete tutorial from Liz of Liz on Call
Create a DIY Desktop Organizer with Upcycled Items from Kimberly of Crafting Cheerfully
Get your Kitchen Organized in 2022 with a set of Labels from Ginger at Ginger Snap Crafts
Crochet a Wall Basket for trendy storage with a free pattern from Heather of Homemade
Organizing your Spices just got easier with a collection of Labels from Teresa at Simply Made Fun
Make a Fun Desk Organizer with step-by-step directions from Elise of Polka Dot Blue Jay
Give Jars an Easy Upcycle into Colorful Craft Storage by Laura of Me and My INKlings