How to Make a DIY 4th of July T-Shirt with Heat Transfer Vinyl
| This post may contain affiliate links, which means I may receive a small commission, at no cost to you, if you make a purchase through a link. |
There’s nothing like cranking out a last-minute craft project the day before a holiday, am I right? Well, last night I decided to make a DIY 4th of July t-shirt with heat transfer vinyl for Jedidiah and I am obsessed with how it turned out.

The 4th of July has always been my favorite holiday. I can remember being in elementary school and all the other kids saying Christmas was their favorite and being shocked when I said how much I love the 4th of July. I would have even pursued a career in pyrotechnics if I had been able to do the math and chemistry – I have always struggled with math and that’s why it is hilarious that I work in accounting. Thank heavens for spreadsheets.
What’s even more shocking is that fireworks are illegal where I live in southern California! The only place to see fireworks is at a city-sponsored event or at an amusement park – any excuse to get myself to Disneyland. No sparklers or backyard fireworks for me – but you better believe I fill confetti poppers with glitter and run around like a crazy person.
This DIY 4th of July t-shirt was so easy to make with minimal supplies.
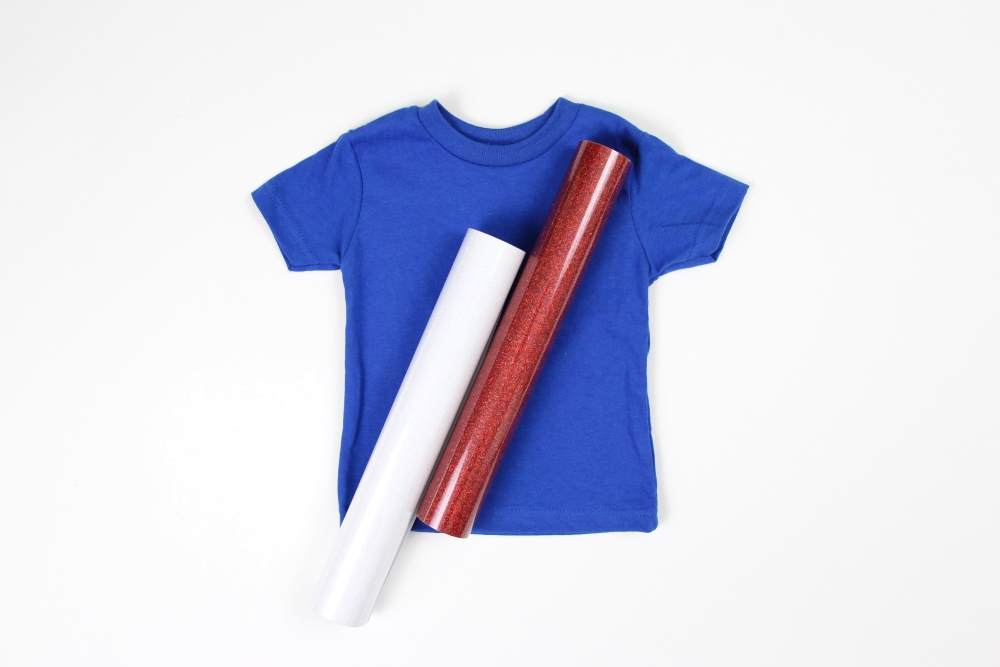
Supplies
Silhouette Cameo
Cutting mat
Blue t-shirt
Red glitter heat transfer vinyl
White glitter heat transfer vinyl
Iron and ironing board or heat press
Clean towel
Purchase the design of your choice. I decided on this design and did a little modifying. I also couldn’t decide if I wanted a white or red design, so I cut out both and then laid them on the shirt to see which one/which combination I liked the best.
Step One: Creating Your Design
1. Open up your Silhouette Studio®.
2. Select the Page Setup Window and adjust your cutting mat size to 12×12 (or the sized mat you are using).
3. Download/open your word art (I used Design ID #203740 from the Silhouette Design Store).
4. I wanted to remove the “happy” banner, so I selected my design, clicked “object” from the mail toolbar and then “ungroup”. This allows each piece of the design to be moved/removed independently.
5. Re-group the design by selecting the whole thing (click and drag), select “object” again, and then “group”
6. Adjust the size of the design.
7. To make a heat transfer design you need to flip your design over so that it cuts backwards – don’t worry, it will be right-side-up when you iron it. To do this, select your whole design again and select “object” then “mirror” and “horizontally”.
7. Attach your Heat Transfer Vinyl (HTV) to the cutting mat, color side down, and load into your machine.
8. Follow the prompts in the Design Studio to adjust your blade (if using a ratchet blade) for Heat Transfer Vinyl (be sure to select the correct texture) and double check to make sure your design has been selected to cut.
9. Select “Send” to start cutting.
10. Select “Unload” when your machine has finished cutting your design to remove the cutting mat from the machine.
11. If you’re doing a dual color design like I am, repeat steps 7-10 with the other color.
Step Two: Preparing Your Design
1. Remove your sheet of vinyl from the cutting mat
2. Use your fingers or a wedding tool to remove the excess vinyl. Be sure to leave your design on the clear carrier sheet.
3. Carefully remove the centers of the letters and graphics. The letters can be delicate, so take your time.
4. I decided to do a dual color design so I only left “Fourth” and “July” in red and then did the remaining design in white. That way I could line the designs up perfectly.
Step Three: Creating Your DIY 4th of July T-Shirt
1. Heat up your iron or heat press. I use my clothes iron with medium heat and NO steam.
2. Place your t-shirt on your ironing board and make sure it is flat.
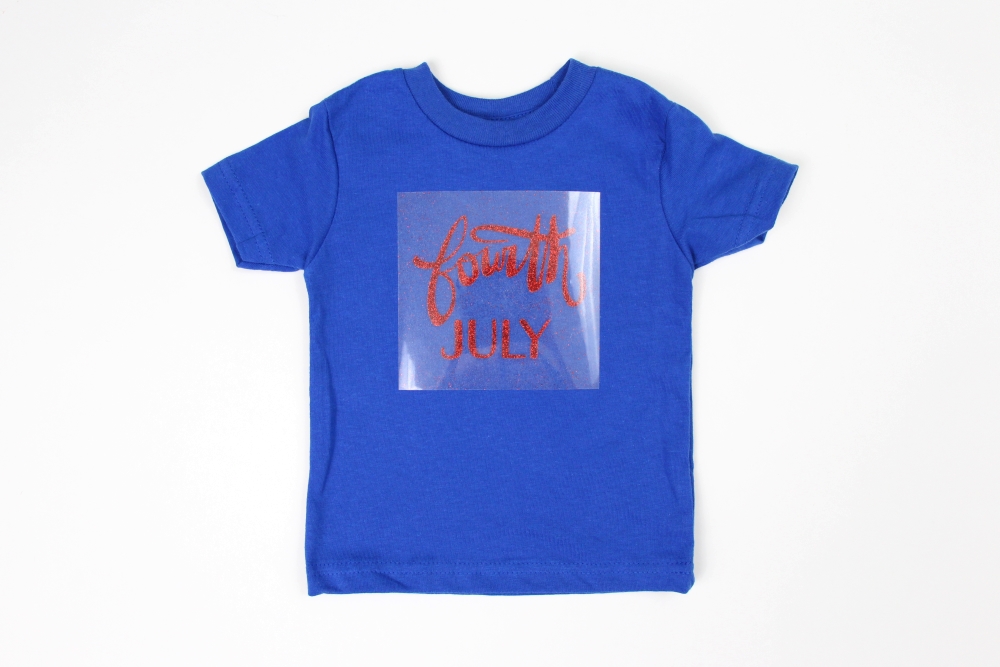
3. Place your weeded glitter design face up on top of the t-shirt. I started with my red “Fourth” and “July” design.
4. Cover your design with a clean towel and apply firm pressure with your iron.
5. Spot test your design to see if it sticks to your t-shirt when you pull up on the clear carrier sheet.
6. Once your design has transferred, remove the clear carrier sheet and discard.
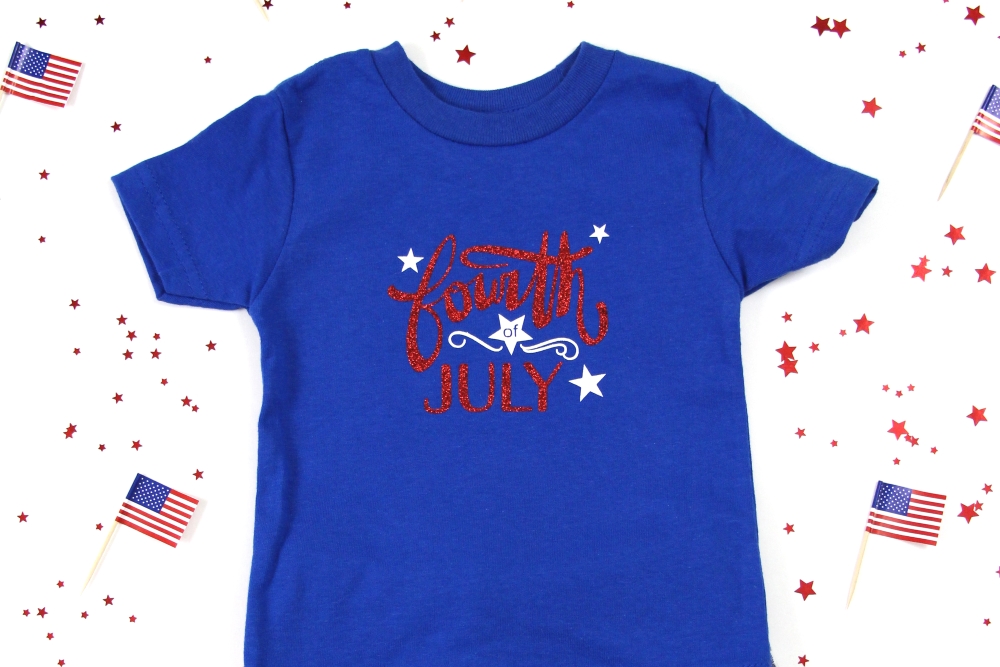
7. Repeat with your white glitter design. Be sure the clear sheet from the white covers your red glitter or the heat from the iron could damage your red words.
I can’t wait to celebrate 4th of July with my little firecracker – he will look so festive!
Tell me how you celebrate the 4th of July in the comments – I love hearing new fun ideas!