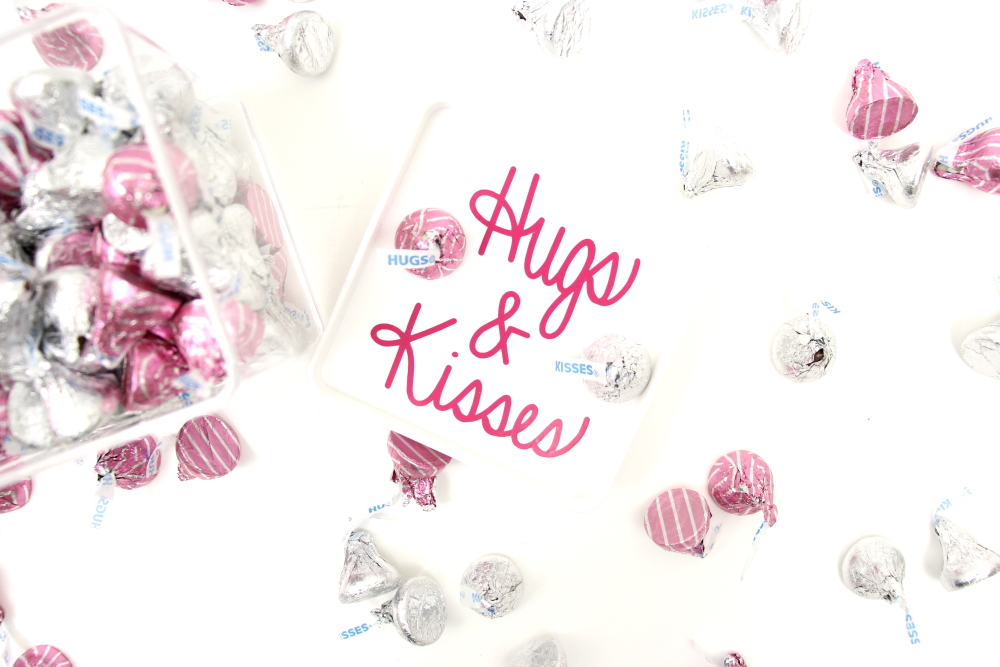
Hugs and Kisses Free Cut File and Candy Jar
| This post may contain affiliate links, which means I may receive a small commission, at no cost to you, if you make a purchase through a link. |
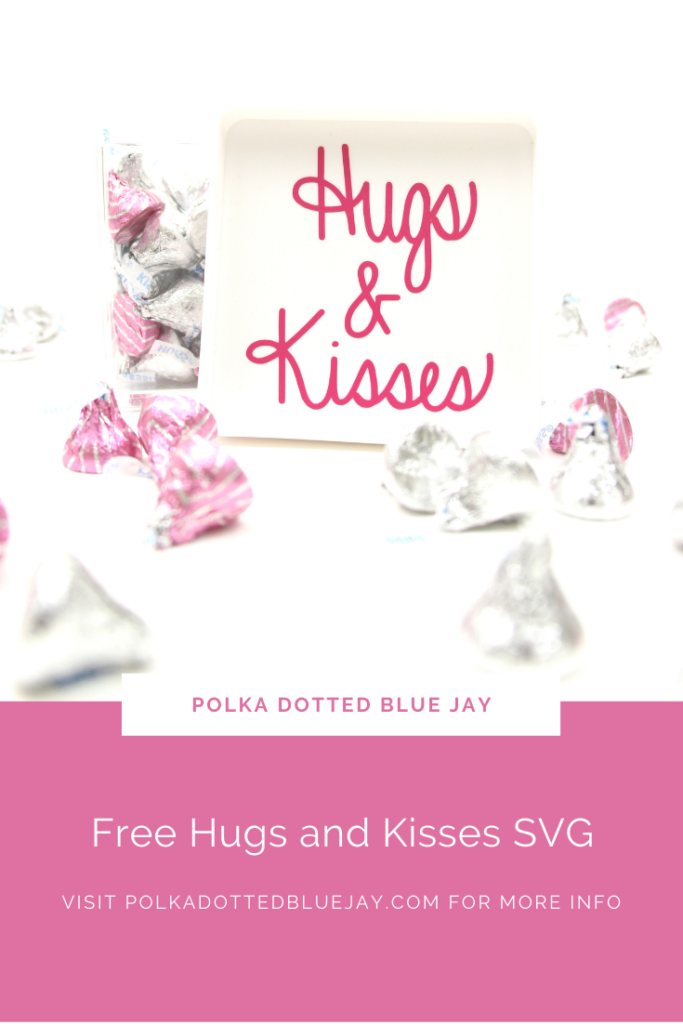
One of my goals for this year is to share more of my hand-lettered cut files with you in the freebie library. Up first: this Hugs and Kisses cut file I used to make a fun Valentine’s Day candy jar.
I always feel a little gloomy after all the Christmas decorations come down. Being able to work on Valentine’s Day projects certainly helps give me something to look forward to; especially when I get to use all the fun Valentine’s Day candy with my Hugs and Kisses cut file.
Estimated Time: 10-15 Minutes
Skill Level: Beginner
Supplies Needed:
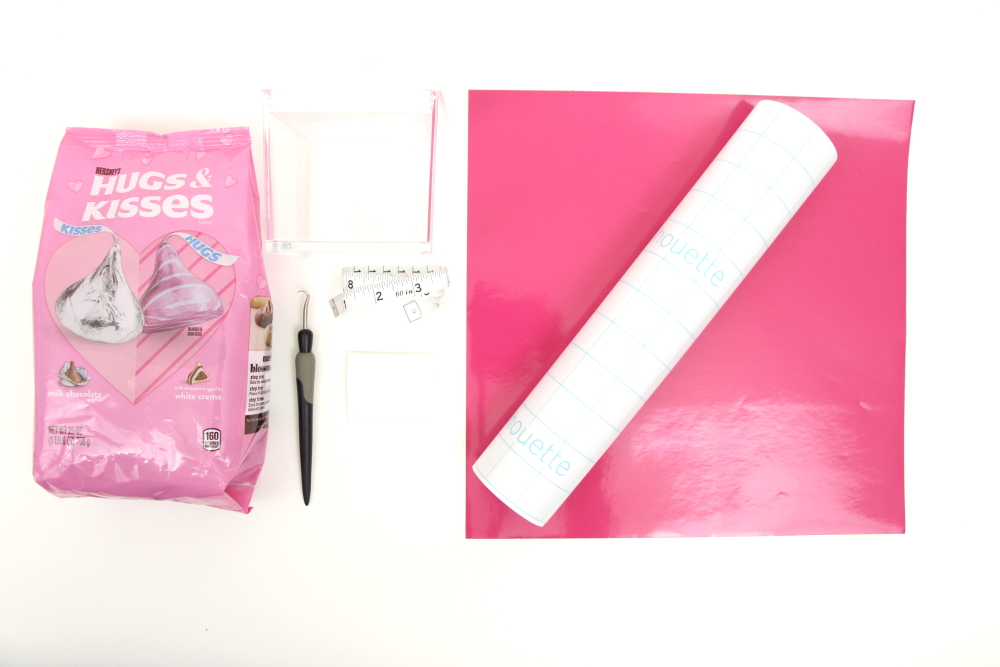
- Silhouette CAMEO® 4
- Silhouette Cutting Mat
- Weeding Hook
- Silhouette Studio
- Adhesive Vinyl
- Transfer Tape
- Clear Acrylic Container
- Hugs and Kisses SVG
- Candy
How To Get The Hugs and Kisses SVG:
Click here to subscribe to the free cut file library and Polka Dotted Blue Jay newsletter.
Once subscribed you will get a welcome email with a link to the freebie library and the password to get access to the files.
Find the Hugs and Kisses file and click the image to download it to your computer.
If you’ve already subscribed, check your inbox for a newsletter email, the link and password are always included.
Step One: Create Your Silhouette Decal:
Open Silhouette Studio®.
Select the Page Setup Window and adjust your cutting mat size to 12×12 (or the size mat you are using).
Measure the top of your container.
Click File>Open>Double click your Hugs and Kisses file.
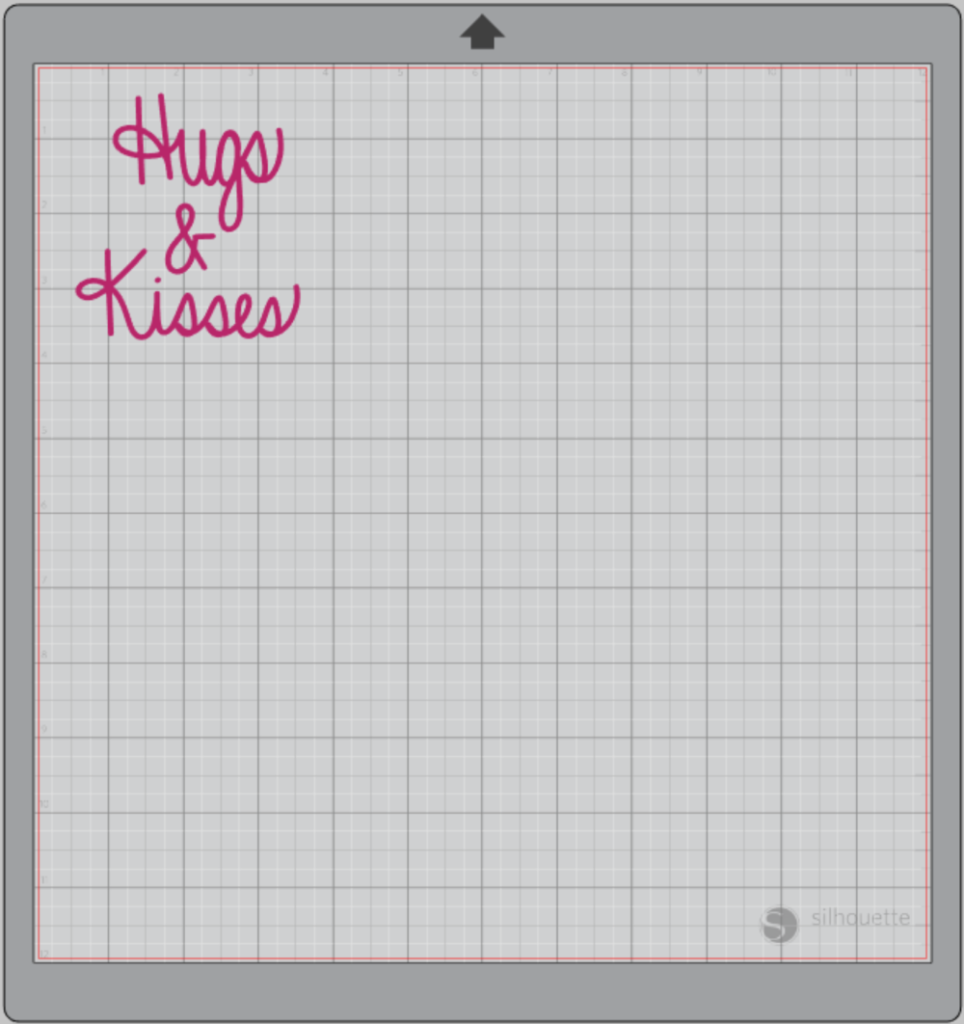
Resize to fit your container.
Step Two: Cut out your Hugs and Kisses Design:
Turn on your Silhouette Cameo 4.
Attach your Adhesive Vinyl to the cutting mat, color side up, and load into your machine by lining up the mat on the guidelines and pressing the “up” arrow on the touch panel.
Follow the prompts in the software for Adhesive Vinyl and double-check to make sure your design has been selected to cut.
Click “Send” in the design studio to start cutting.
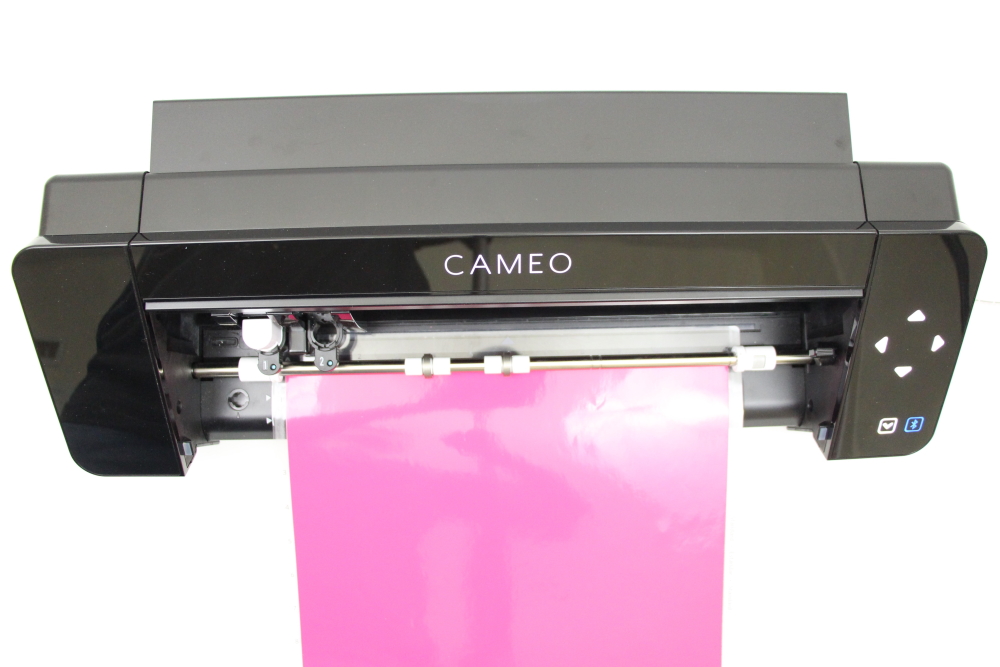
Press the “down” arrow on the Cameo 4 touch panel when your machine has finished cutting your design to remove the cutting mat from the machine.
Step Three: Create Your Hugs and Kisses Candy Jar:
Remove your Adhesive Vinyl from the cutting mat – go slow so it doesn’t curl up.
Use a paper trimmer to cut away the vinyl you won’t be using; don’t waste any valuable vinyl.
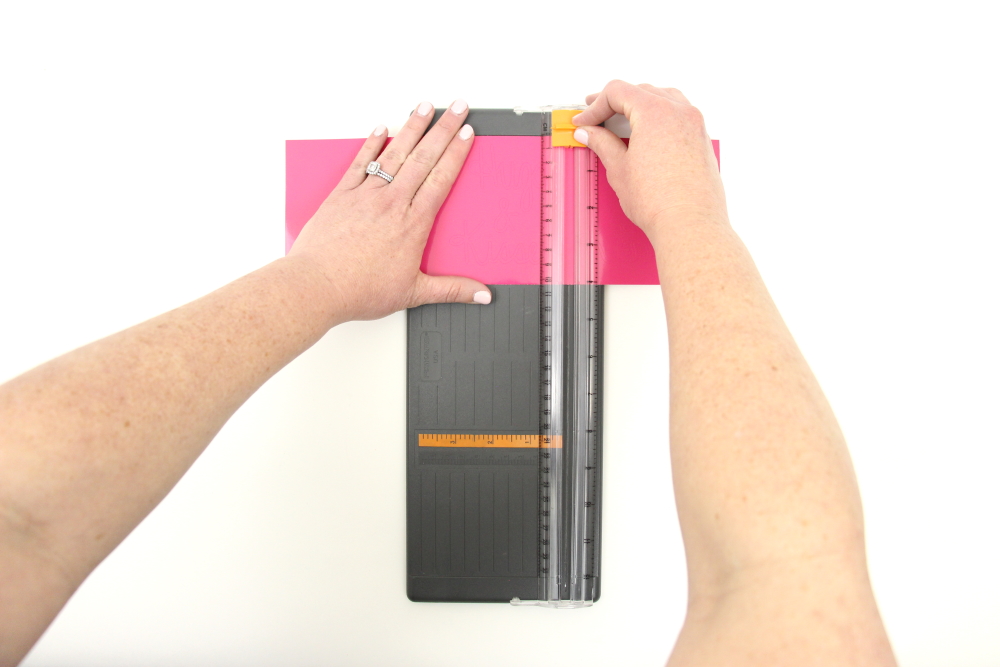
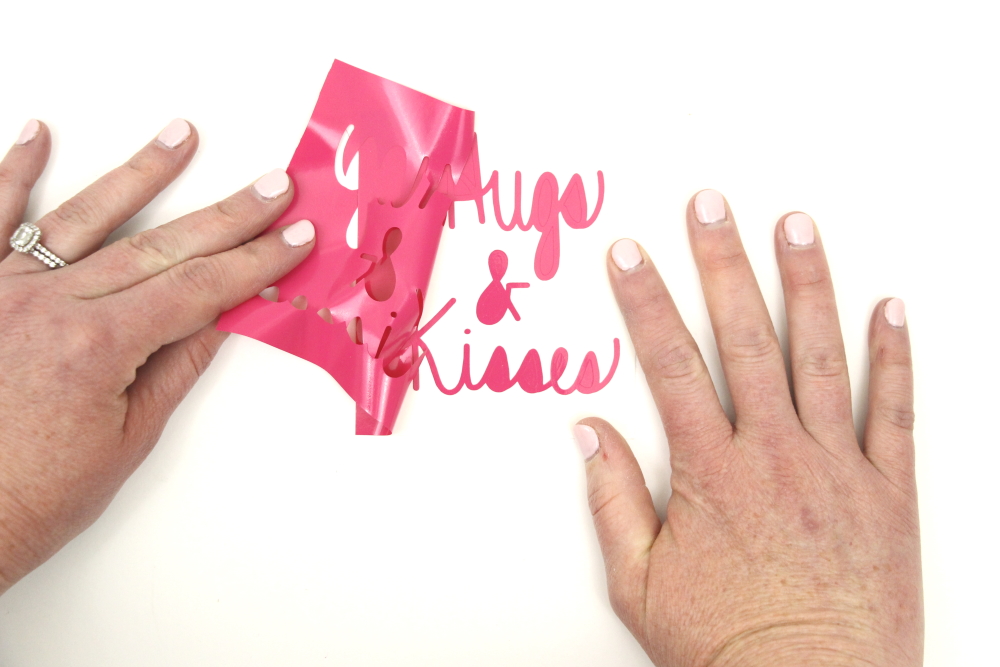
Peel away the excess vinyl with your fingers or a weeding tool. Be sure to leave your design on the white backing sheet and get be sure to get the vinyl out of the loops and middles of your letters.
Place a piece of transfer tape over your design.
Scrape the top of the transfer tape with the scarping tool to make sure the design adheres to it.
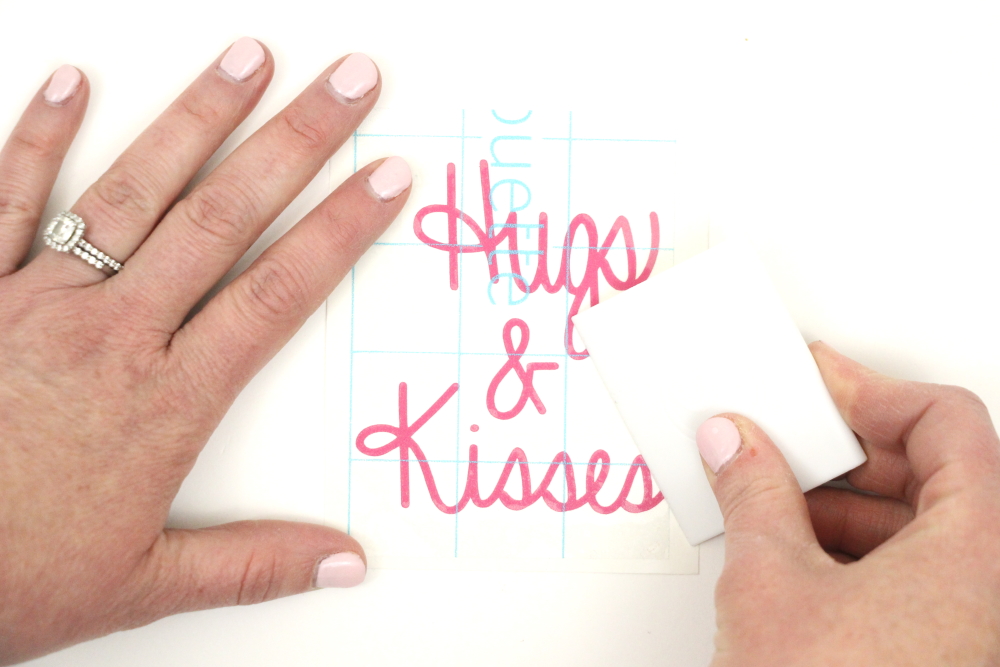
Gently pull transfer tape up away from the backing sheet and make sure the entire design lifts with it.
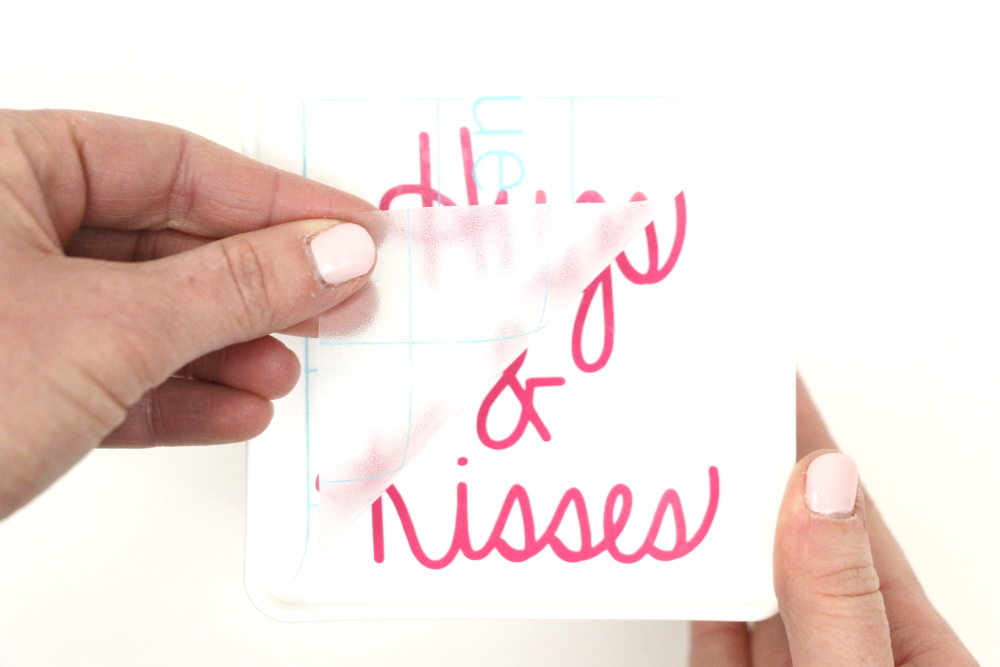
Center your decal on your container and press it down from left to right.
Slowly remove the transfer tape from your design. Tip: pull from a corner and not the side to make sure each part of the design transfers completely to your container.
I can’t wait to see what you make with your Hugs and Kisses cut file. Be sure to tag me on social media @pdbjay and use #pdbjaydotties so I can see your project!

Check out these other Valentine’s Day projects below:
