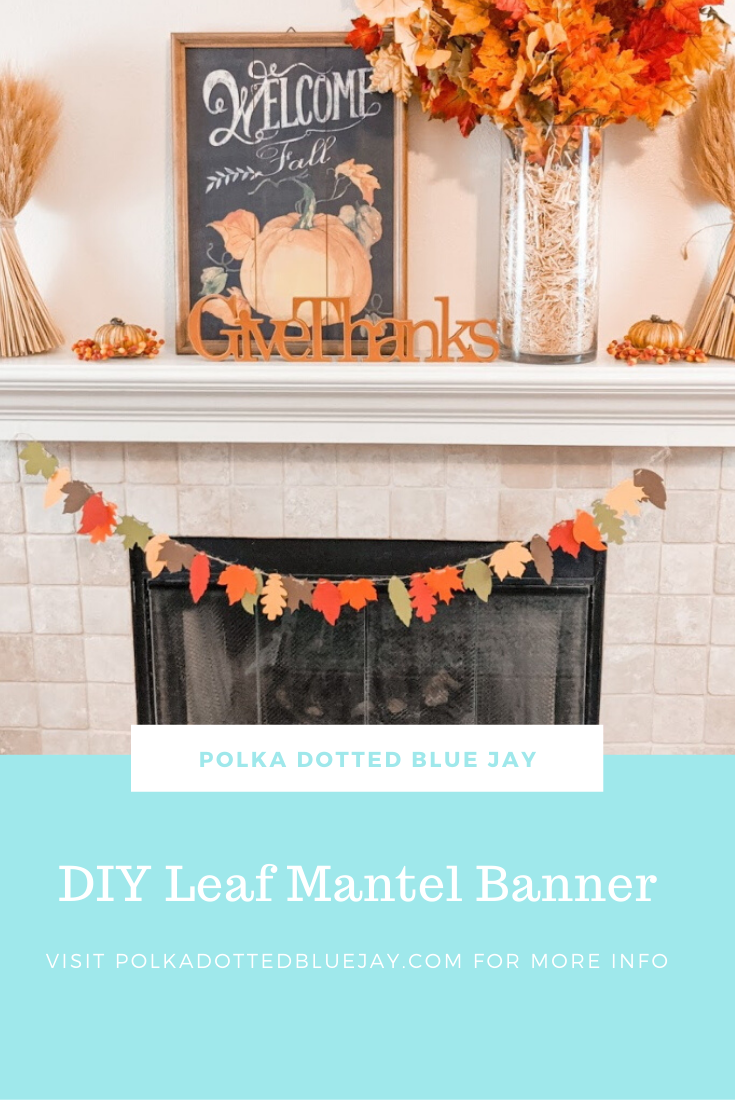
DIY Leaf Mantel Banner
| This post may contain affiliate links, which means I may receive a small commission, at no cost to you, if you make a purchase through a link. |
This DIY Leaf Mantel Banner tutorial is a sponsored post written by me on behalf of Silhouette America®. All opinions are 100% mine.
I love decorating our family room mantel for each holiday and I have slowly been building up a collection of favorite fall decorations to use year after year in our home. This year, however, I knew I wanted to add some DIY elements to our decorations and have some fun with my Silhouette Cameo. I started with this Leaf Mantel Banner and now I can’t wait to make some more.
Estimated Time: 30 Minutes
Skill Level: Beginner
Supplies Needed:
- Silhouette CAMEO®
- Silhouette Cutting Mat
- Silhouette Studio
- “Leaf Banner” Design from the Silhouette Design Store
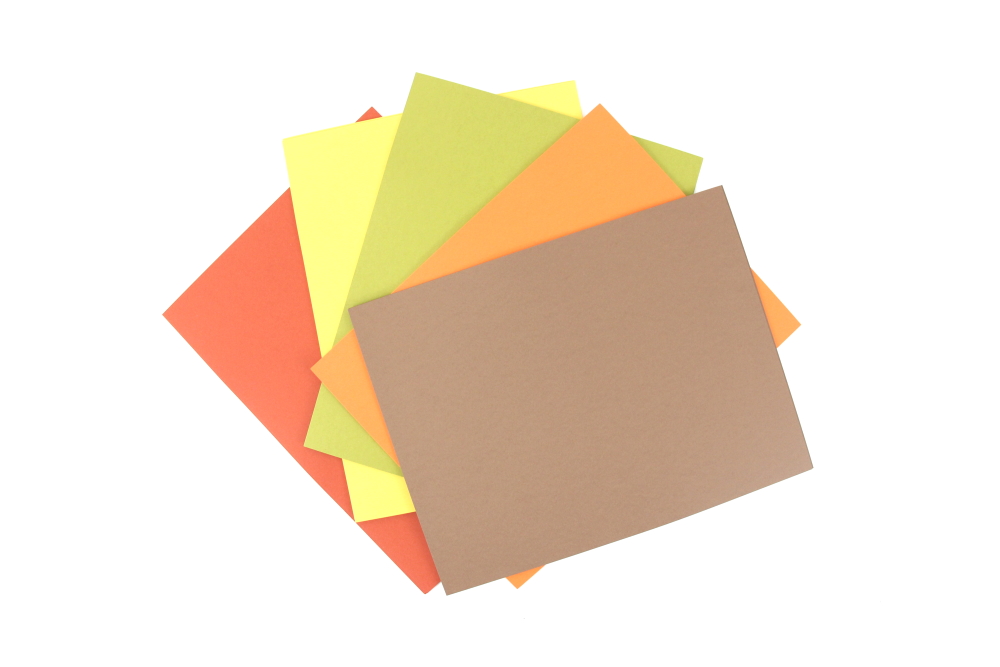
- Cardstock – Rust, Yellow, Green, Orange, and Brown
- Twine or Ribbon
- Large Sewing Needle
Creating Your Design:
Step 1: Open Silhouette Studio®.
Step 2: Select the Page Setup Window and adjust your cutting mat size to 12×12 (or the sized mat you are using).
Step 3: Download your design from The Silhouette Design Store and then open in Silhouette Studio. Click File>Library>Library and select your downloaded file.
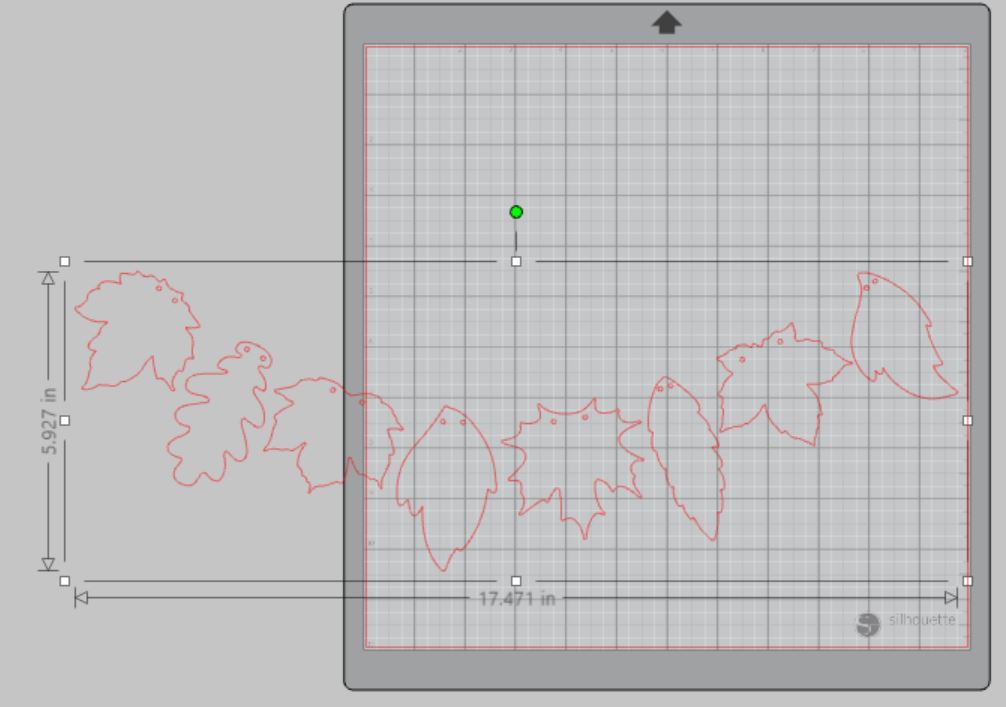
Step 4: Measure your mantel and re-size your design to the size leaves you would like – be sure to move the design as a group so it keeps everything lined up. You can do this by clicking and dragging to cover the whole design and then moving as one piece. It is ok if they extend past the edges of the cutting mat.
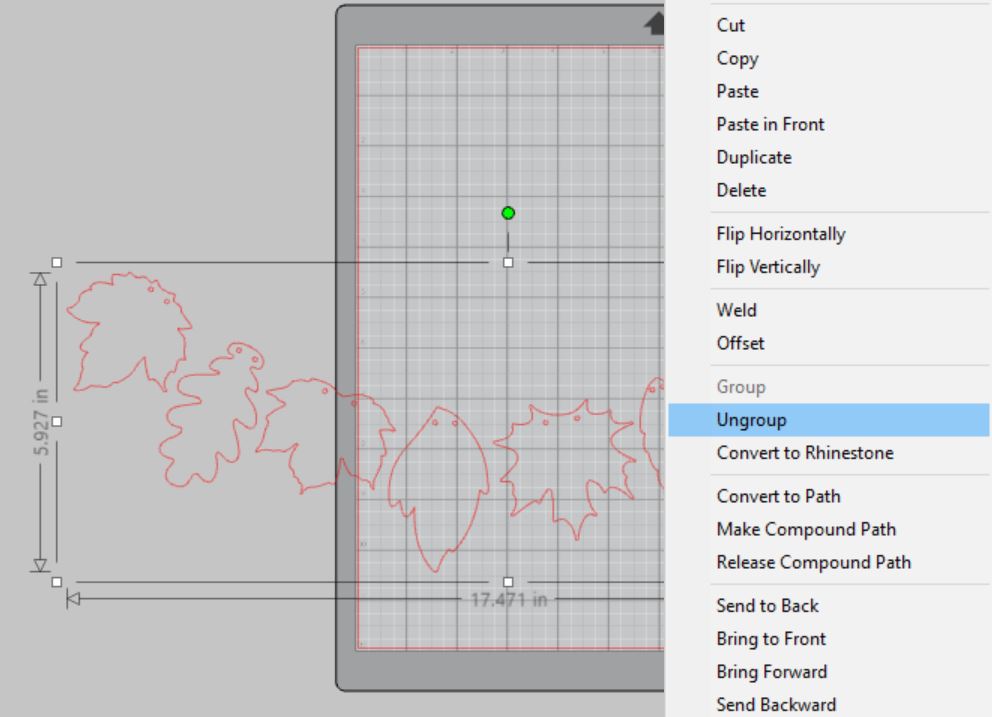
Step 5: Ungroup your design so you can edit each part individually. Right click on your design and select “ungroup” from the menu.
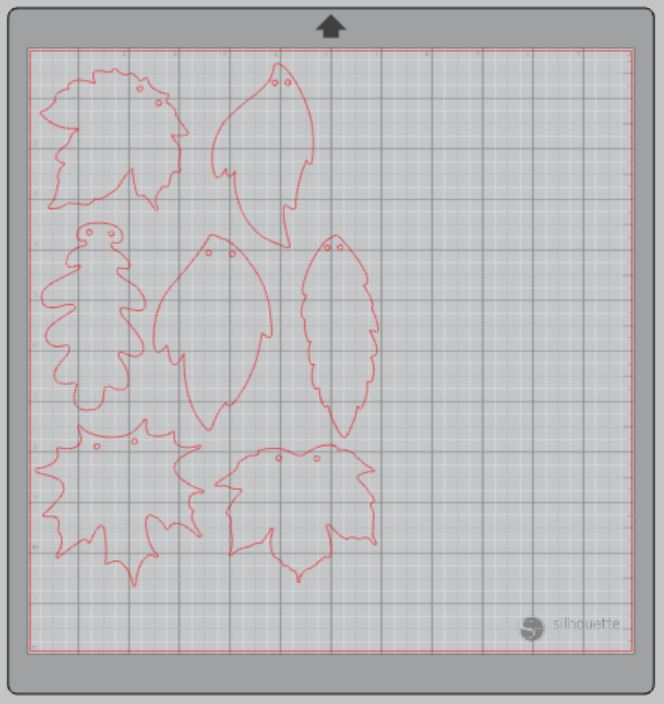
Step 6: Rearrange the leaves to fit within the size of your cardstock. I used 8×10 cardstock on my 12×12 cutting mat.
Step 7: Select “Send” to prepare to cut.
Step 8: Follow the prompts in the Design Studio to adjust your blade (if using a ratchet blade) for Cardstock (be sure to specify the type of cardstock you’re using) and double-check to make sure your design has been selected to cut.
Step 9: Place your cardstock on the cutting mat and load into your Cameo.
Step 10: Click “Send”
Step 11: Select “Unload” when your machine has finished cutting your leaves to remove the cutting mat from the machine.
Step 12: Repeat for each color of cardstock
Preparing Your Banner:
Step 1: Remove your sheets of cardstock from the cutting mat – go slow so it doesn’t curl up or tear.
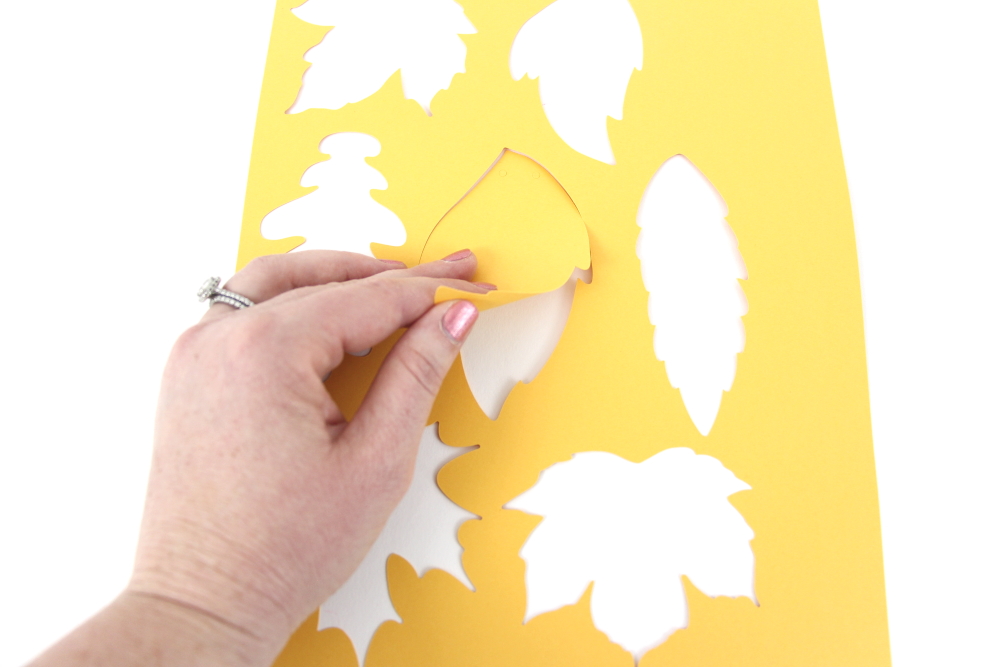
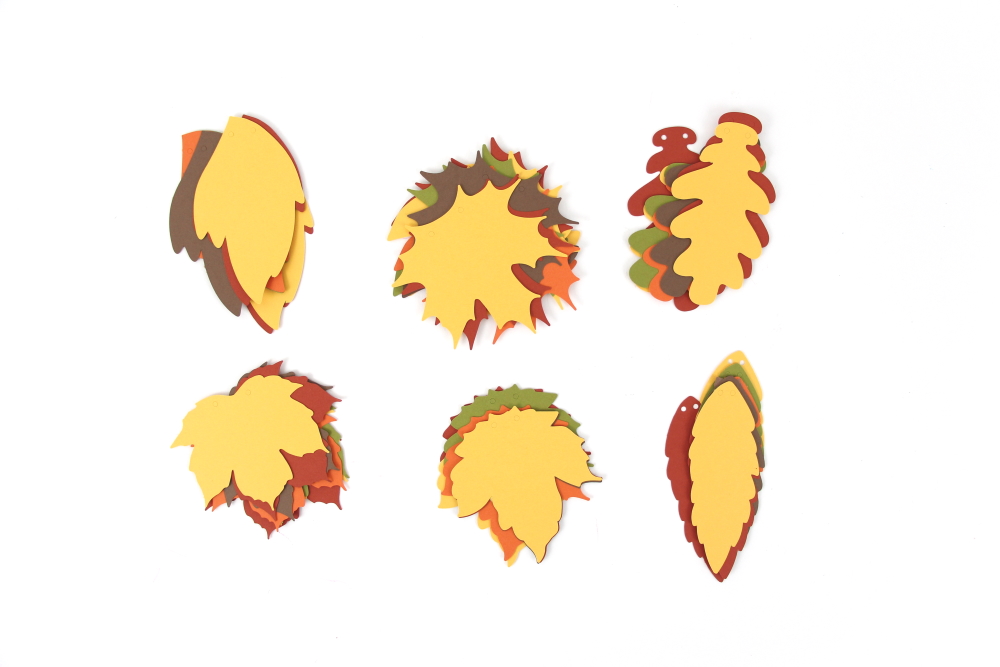
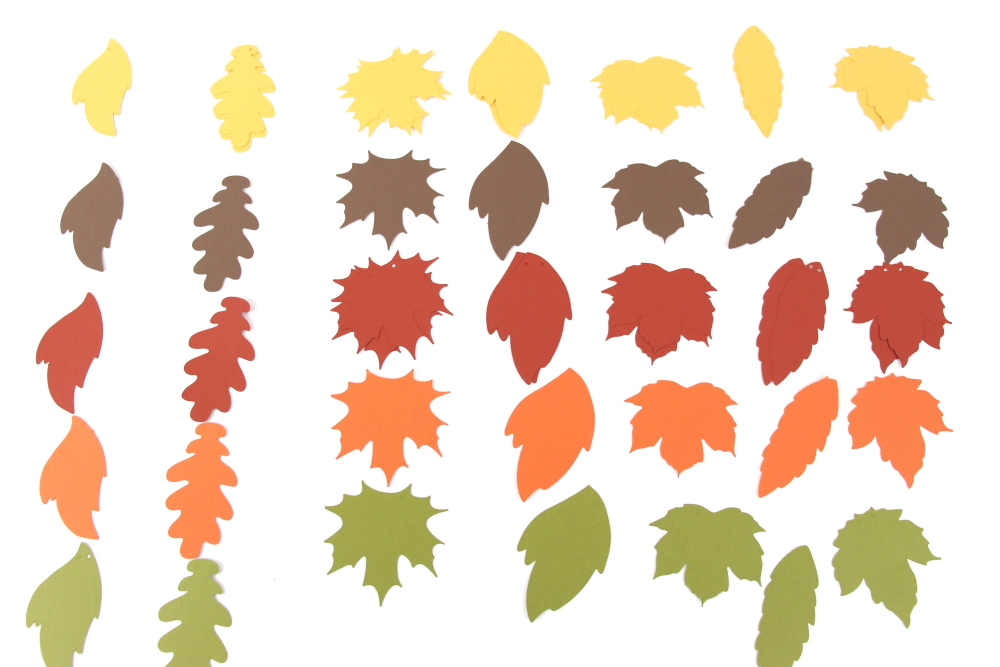
Step 2: Remove each leaf from the cardstock and set the rest to the side.
Step 3: Make piles of the leaves and then lay them out in the color order you would like for your banner – it will make it easier to assemble.
Creating Your Leaf Mantel Banner:
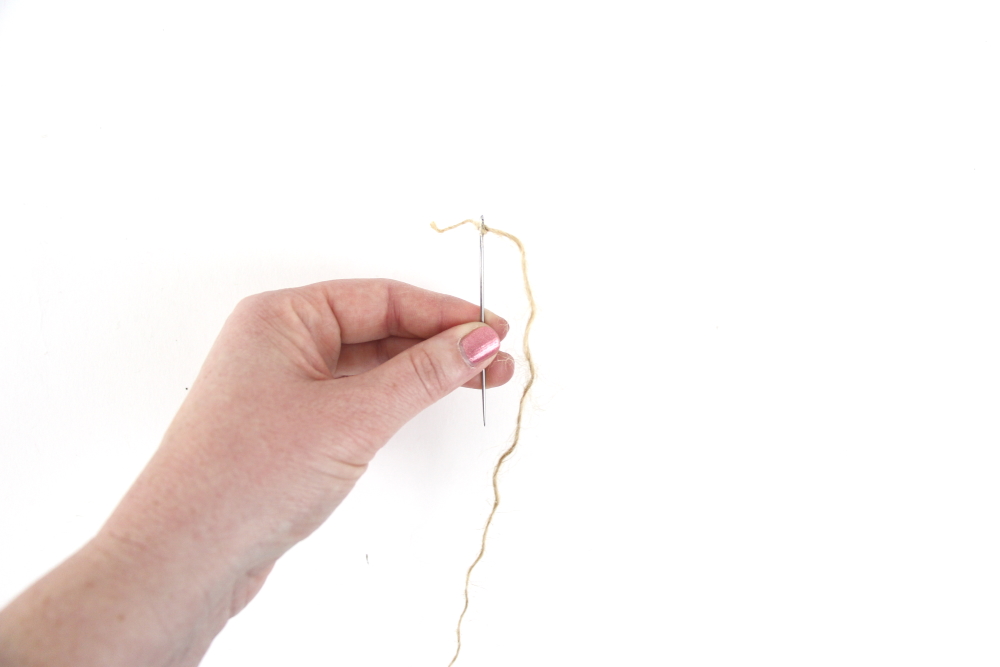
Step 1: Thread your needle with your twine or ribbon (no need to tie in a knot).
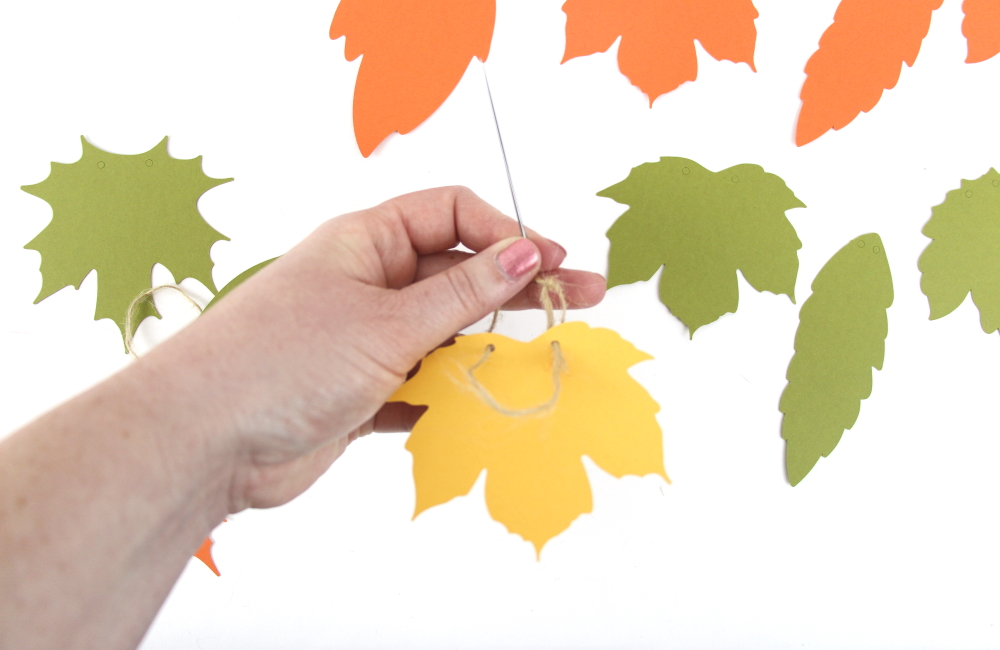
Step 2: Weave the twine through the holes in the tops of the leaves. Be sure to stay consistent with your over/under technique so your banner doesn’t twist.
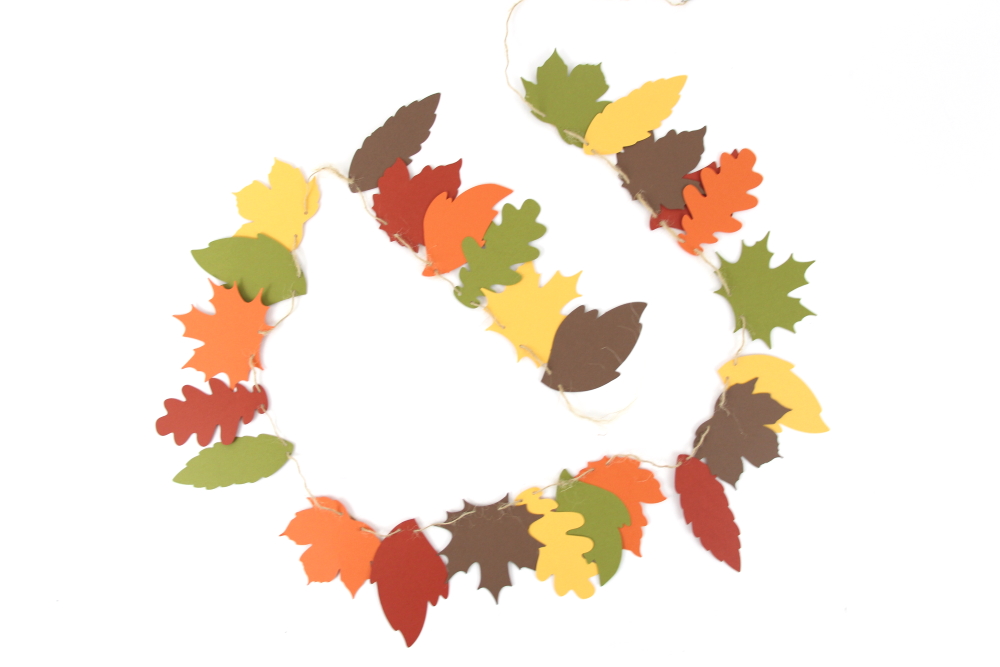
Step 3: Hang your finished banner on your mantel or any other place that needs a little fall décor. Don’t have a fireplace? Drape it across your TV stand or in your entryway!
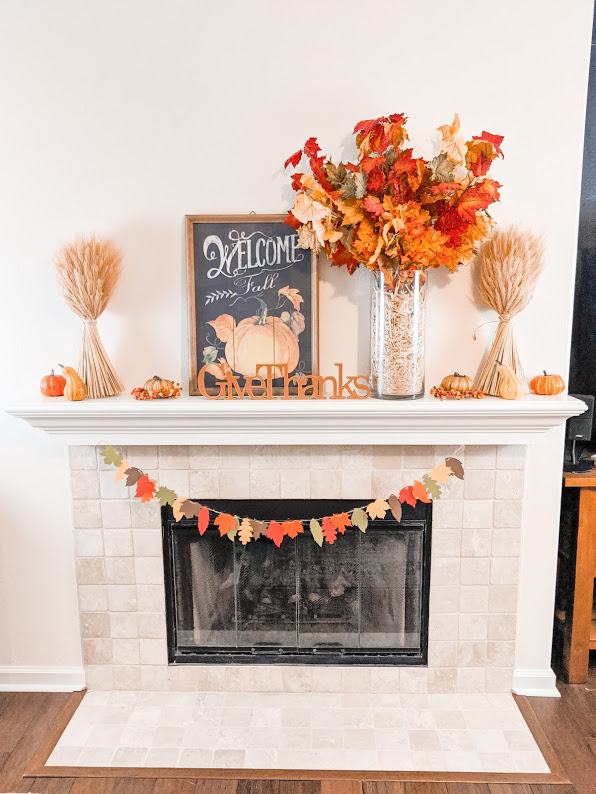
I love how easy it was to make this banner and I am thinking it would be fun to write things we are thankful for on each leaf with Jedidiah when he gets older. Wouldn’t that be so cute?
This leaf mantel banner has definitely made me want to use my Cameo for more cardstock crafts. Bring on the holiday crafting!


