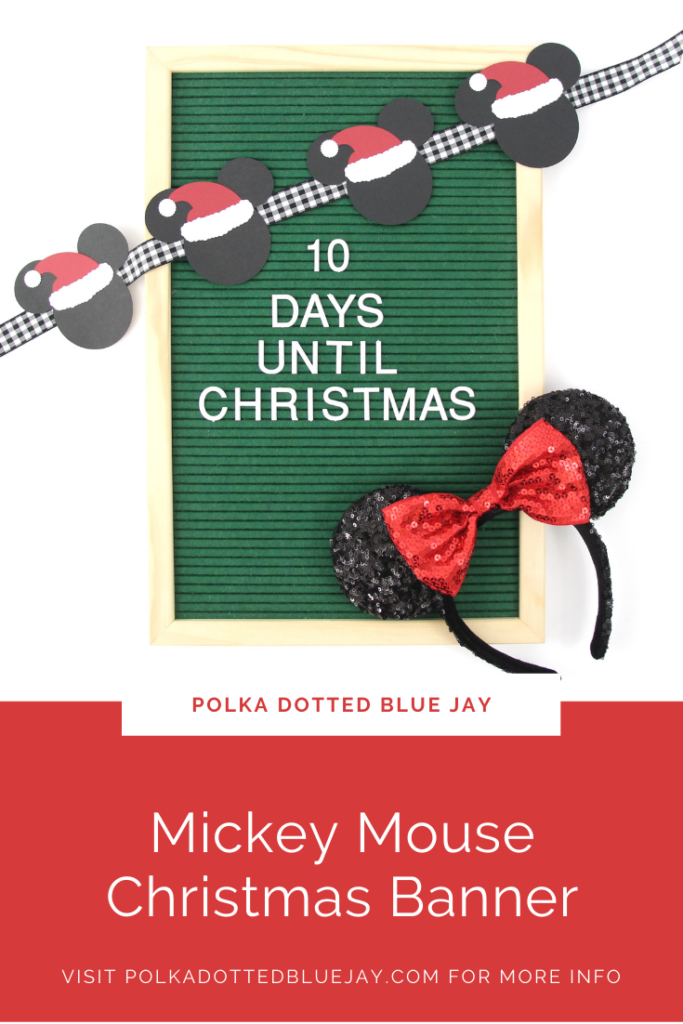
Mickey Mouse Christmas Banner
| This post may contain affiliate links, which means I may receive a small commission, at no cost to you, if you make a purchase through a link. |
I absolutely loved making Mickey cupcakes this week and as I was crafting I knew I needed to make a Mickey Mouse Christmas Banner too. I used the same-sized Mickeys and swapped the washi tape/toothpick for some double-sided tape and ribbon to make my Mickey Mouse Christmas Banner.
Can you imagine surprising your kids for Christmas with this Mickey Mouse Christmas Banner on your tree or hanging in the kitchen? My heart starts getting so excited for the families that are planning a trip to the park as part of their Christmas (hooray for consumable gifts!). Make some (or buy some) Mickey waffles, hang your banner, and, even if you’re not planning on a Disney visit, have a magical morning.
Estimated Time: 20 Minutes
Skill Level: Beginner
Supplies Needed:
- Silhouette CAMEO® 4
- Silhouette Cutting Mat
- Weeding Hook
- Silhouette Studio
- Santa Hat Design
- Black Mickey Shaped Cut Out – I created my own in Silhouette Studio with 3 circle shapes
- Red Cardstock
- White Cardstock
- Black Cardstock
- Ribbon
- Craft Glue

Step One: Design Your Mickey Mouse Christmas Banner:
Open Silhouette Studio® on your computer.
Select the Page Setup Window and adjust your cutting mat size to 12×12 (or the sized mat you are using).
Create your Mickey shapes and Santa hat elements.
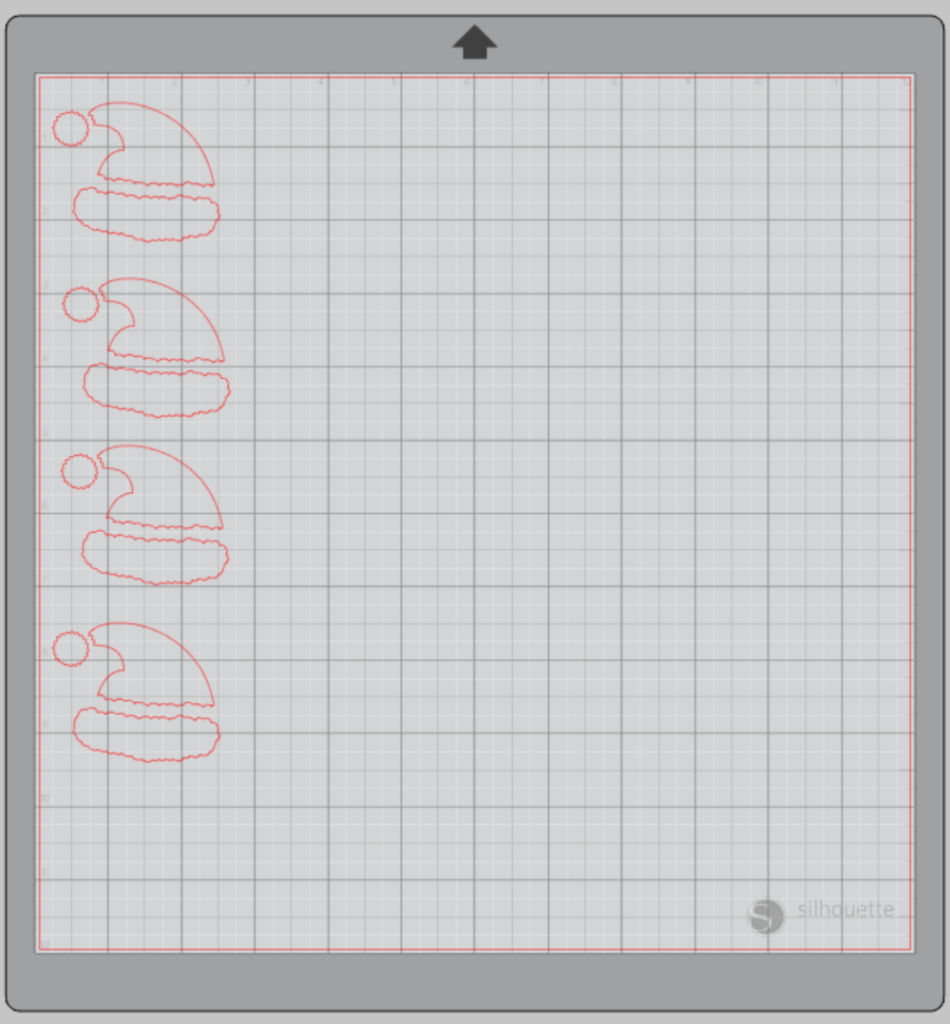
Step Two: Cutting Out Your Banner Pieces:
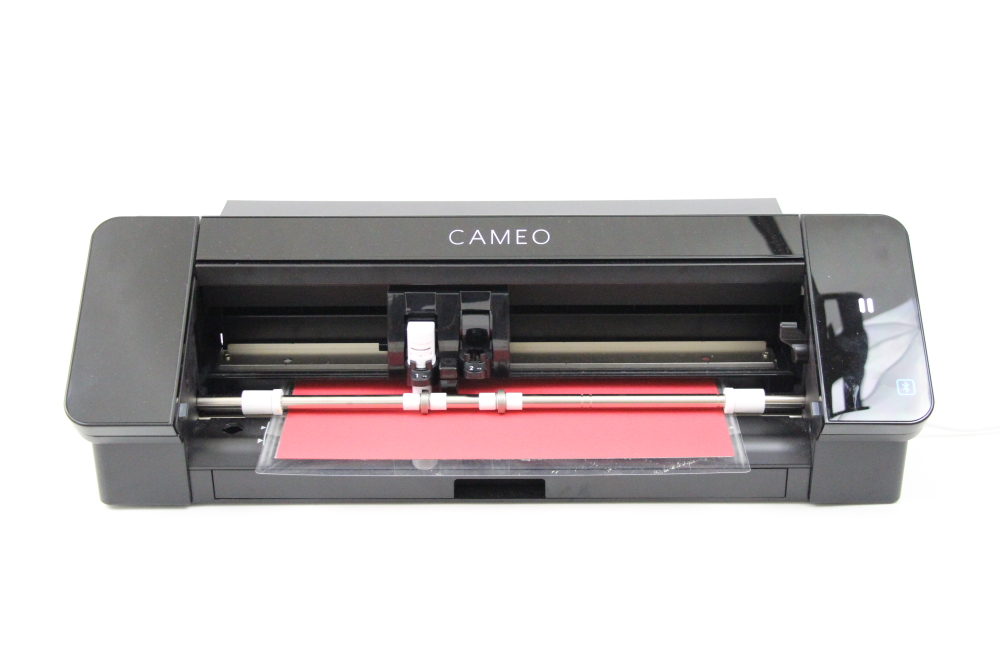
Turn on your Silhouette CAMEO® 4.
Attach your cardstock to the cutting mat and load into your machine by lining up your mat with the guidelines and pressing the “up” arrow.
Then, click “send” in the Software and then select the type of cardstock you are using from the dropdown menu.
Double-check to make sure your design has been selected to cut and the Silhouette CAMEO®4 autoblade had been selected. The autoblade will adjust to cut based on the type of material you selected. I suggest always doing a test cut to make sure it will work with your cardstock – there is a “test” button at the bottom of your screen.
Select “Send” to start cutting.
Press the “down” arrow when your machine has finished cutting your design to remove the cutting mat from the machine.
Repeat this process for each color of cardstock and element. You can also cut multiple colors at one time if you space them out on your cutting mat to match your software layout.
Step Three: Make Your Mickey Mouse Christmas Banner:
Remove your sheet of red cardstock from the cutting mat – go slow so it doesn’t curl up. The wrappers should easily separate from the cardstock.
Remove all your paper pieces from the cutting mat and organize – Mickey head, pom pom, hat, and fur trim
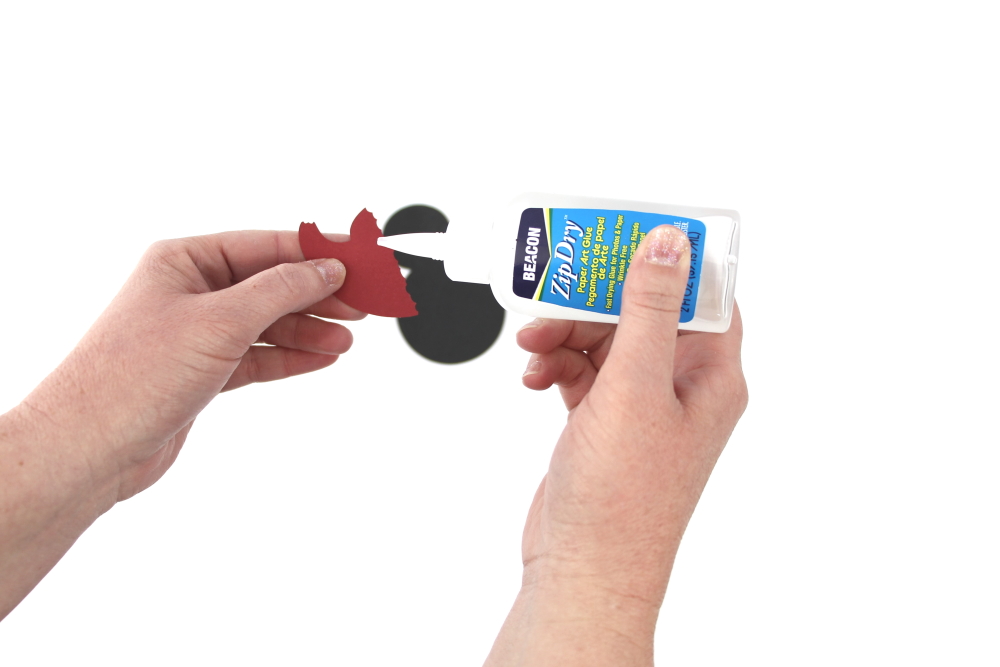
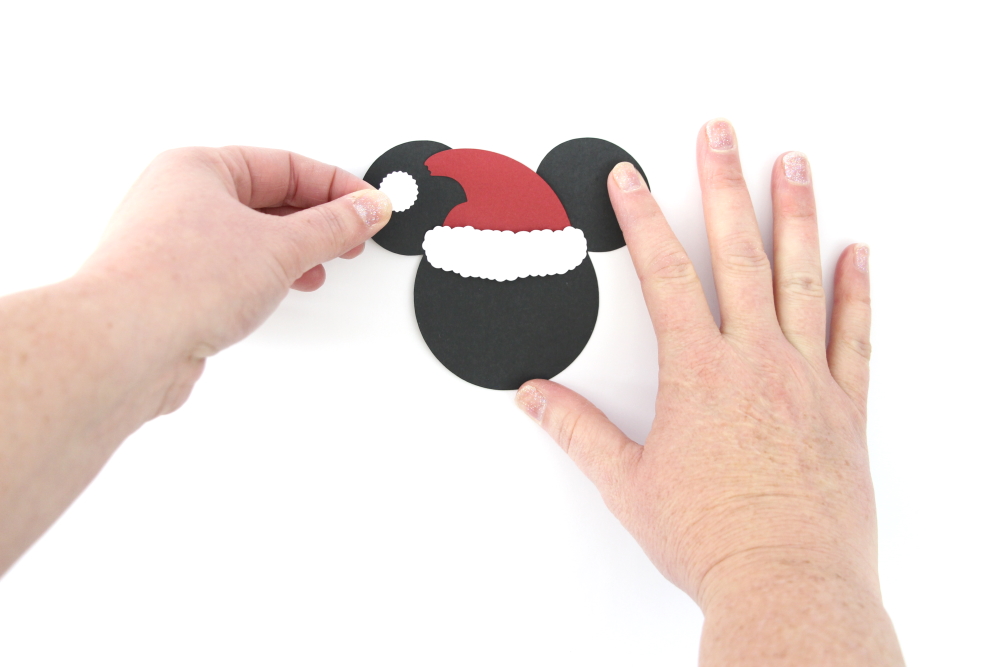
First, add a small amount of glue or adhesive to the bottom of the hat and attach it to your Mickey.
Repeat for fur trim and pom pom.
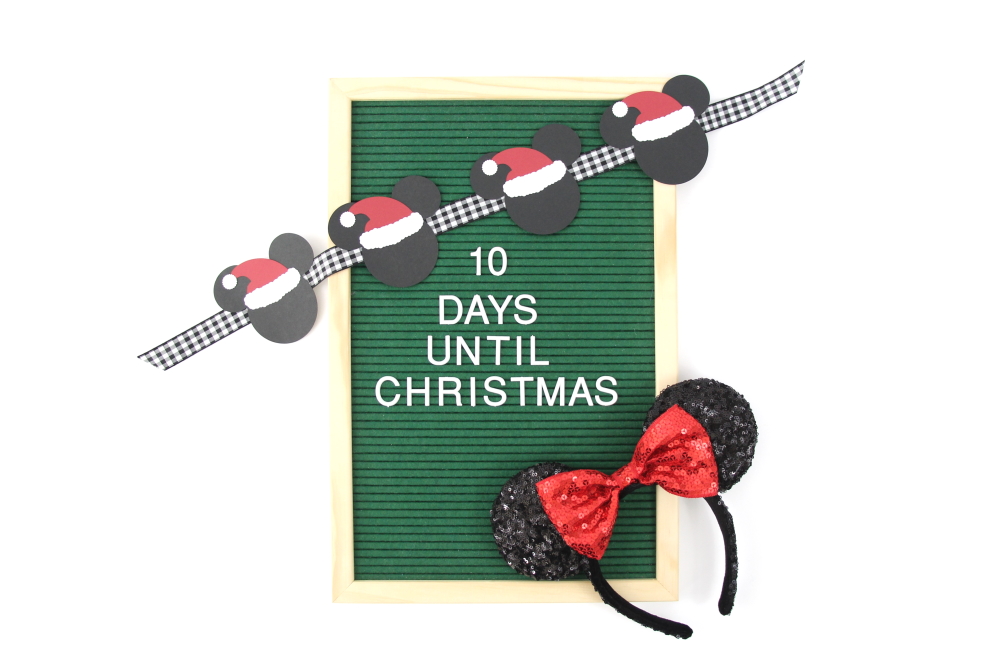
Attach your decorated Mickeys to a piece of ribbon. I used a little double-sided tape so it wouldn’t be permanent.
This Mickey Mouse Christmas Banner is perfect for decorating a Disney brunch or a dessert party with matching Mickey cupcakes. Be sure to tag me if you use this idea for a project. I would love to see it!