DIY Christmas Ornament – Silhouette Holiday Ornament Kit
| This post may contain affiliate links, which means I may receive a small commission, at no cost to you, if you make a purchase through a link. |
This HOLIDAY ORNAMENT KIT tutorial is a sponsored post written by me on behalf of Silhouette America®. All opinions are 100% mine. This post may contain affiliate links, which means I may receive a small commission, at no cost to you, if you make a purchase through a link.
I don’t know about you, but right now I am really craving some holiday cheer, cooler weather, and fun Christmas projects. Lucky for me, Silhouette is running a Christmas in July sale and has a fun Holiday Ornament Kit. Keep reading to see how I added some sparkle to the design and made my own DIY Christmas ornament.
Estimated Time: 30 Minutes
Skill Level: Intermediate
Supplies Needed:
- Silhouette CAMEO®
- Silhouette Cutting Mat – I recommend using the Light Tack mat for cardstock
- Silhouette Studio
- Holiday Ornament Kit – It has everything you need: designs, bulbs, paper, etc.
- Glitter
- Glue
- Foam brush
- Small Tweezers
Step One: How to Make a DIY Christmas Ornament:
Open your Holiday Ornament Kit and remove the card with the 10 free designs code. Use a coin to scrape off the ink to reveal your reward code on the back of the card.
Follow the directions on the card to access and download your free designs for the Holiday Ornament Kit.
Open Silhouette Studio® on your computer and sign in. Your free designs should sync to your account.
Next, select the Page Setup Window and adjust your cutting mat size to 12×12 (or the sized mat you are using).
Open the free ornament design you would like to use in Silhouette Studio. Click File>Library>Library>Recent Downloads>Select the design.
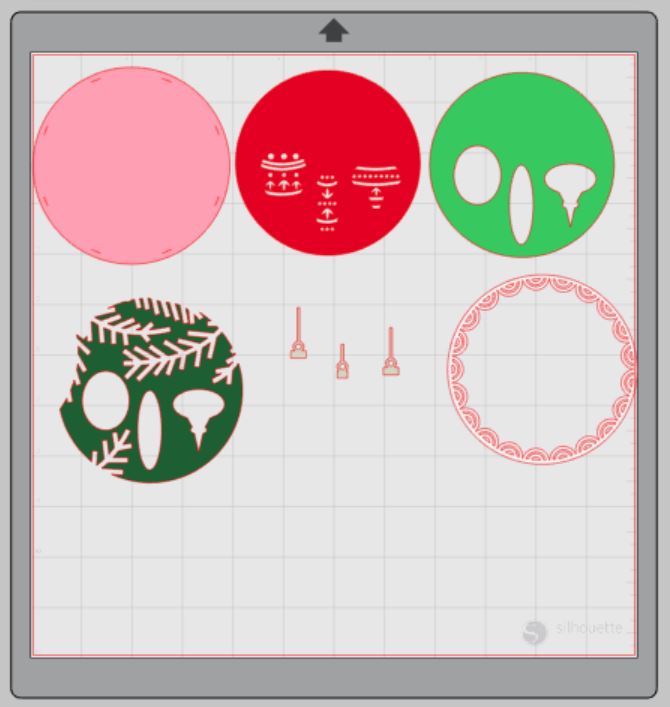
The design will automatically format all the paper pieces in layers and makes it easy to cut with the included cardstock. You can also use whatever colors you would like and change the fill color of the design to match your color palette.
I rearranged my pieces so I could cut them all at the same time.

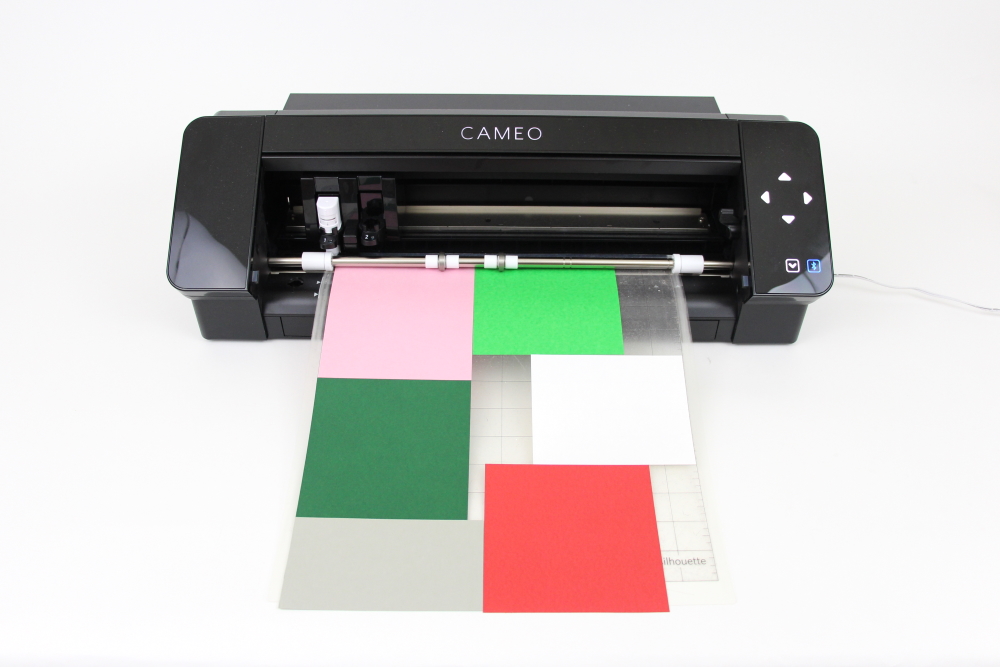
Turn on your Silhouette CAMEO®4.
Attach your cardstock to the cutting mat. I trimmed my pieces so everything would fit on one mat.
Load your mat with the cardstock into the machine by lining up your mat with the guidelines and pressing the “up” arrow.
Next, click “send” in the Design Studio and then select the type of cardstock you are using from the dropdown menu. I selected “Cardstock, Plain”
Doublecheck to make sure your design has been selected to cut and the Silhouette CAMEO®4 Autoblade had been selected. The Autoblade will adjust to cut based on the type of material you selected.
Select “Send” to start cutting.
Press the “down” arrow when your machine has finished cutting your design to remove the cutting mat from the machine.
Step Two: Preparing Your DIY Christmas Ornament:
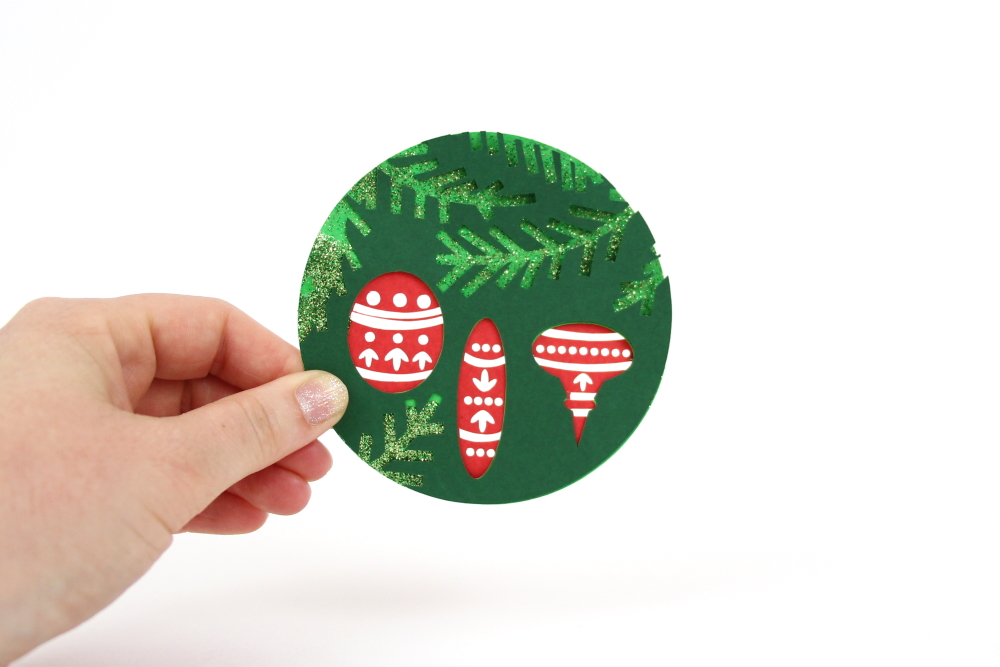
Remove your sheet of cardstock from the cutting mat – go slow so it doesn’t curl up.
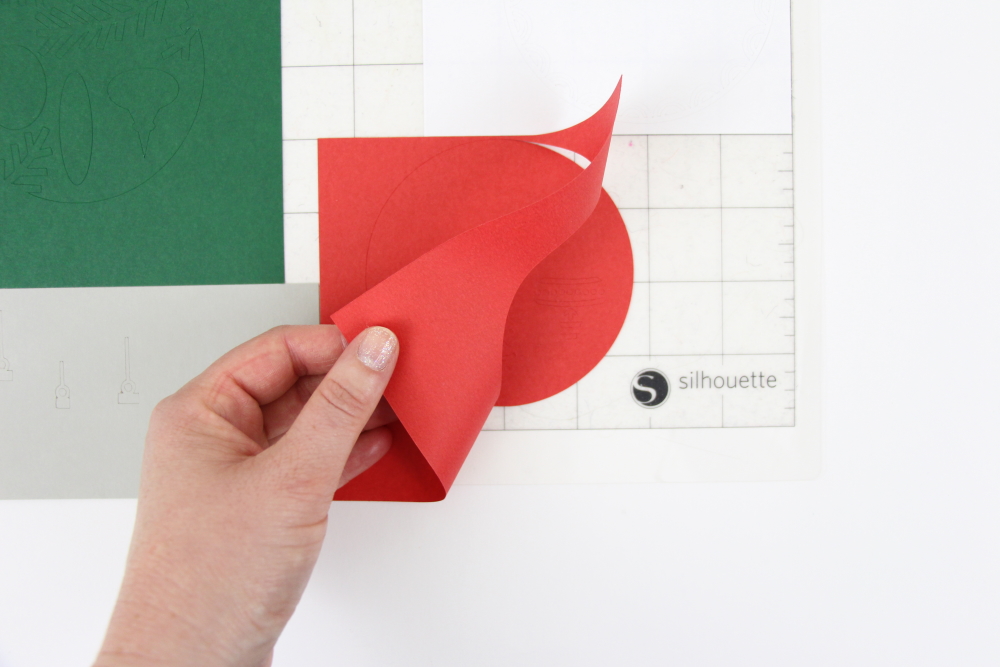
Use your fingers or a small pair of tweezers to remove the excess cardstock.
Repeat for each color of cardstock.
Step Three: Creating Your DIY Christmas Ornament:
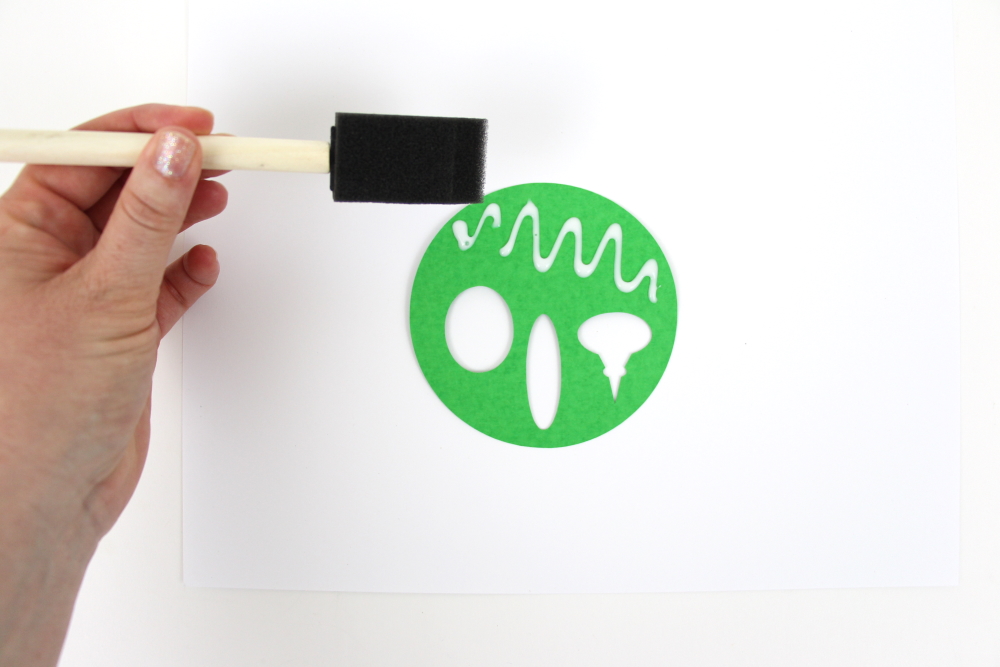
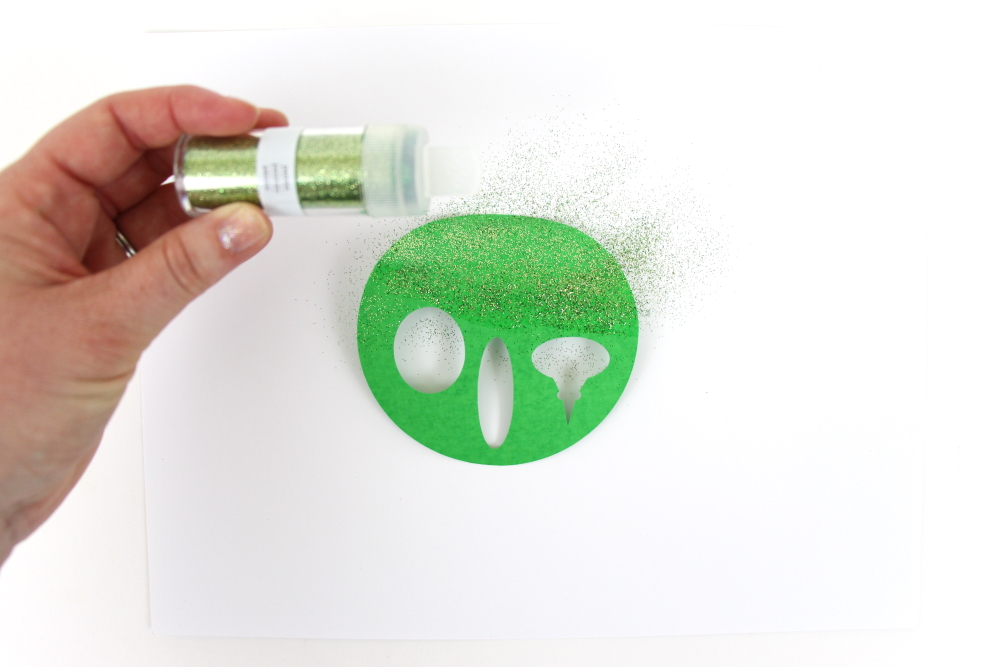
If you want to add glitter to two of your layers, do that first so it has time to dry. I added glue to my cardstock and brushed it with my foam brush to make an even coat and then sprinkled my glitter on top.
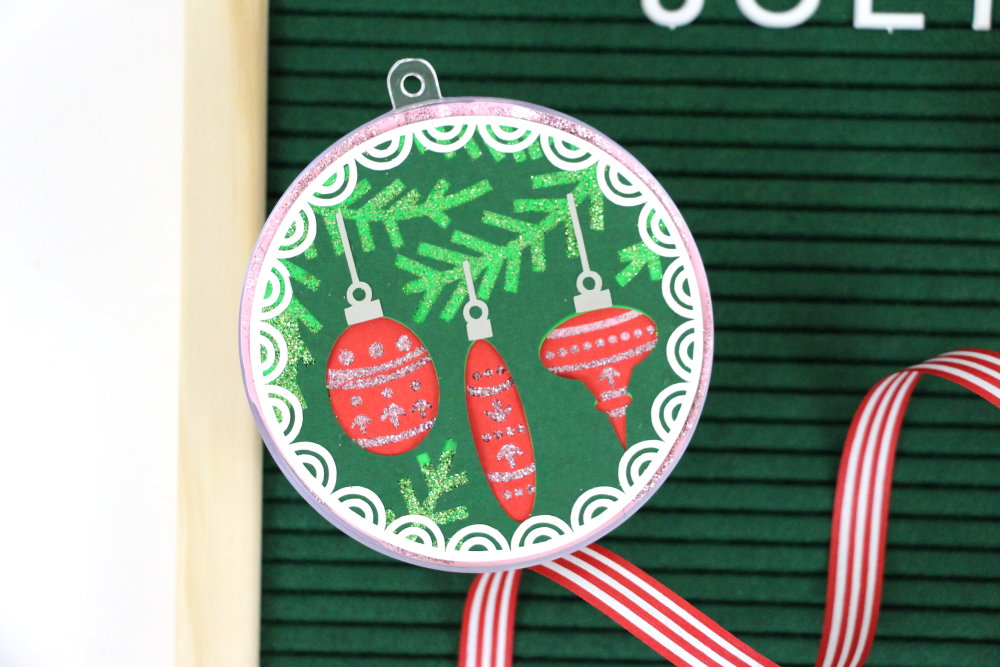
Layer each color on top of one another. My ornament had pink on the bottom, then red, light green, dark green, and white.
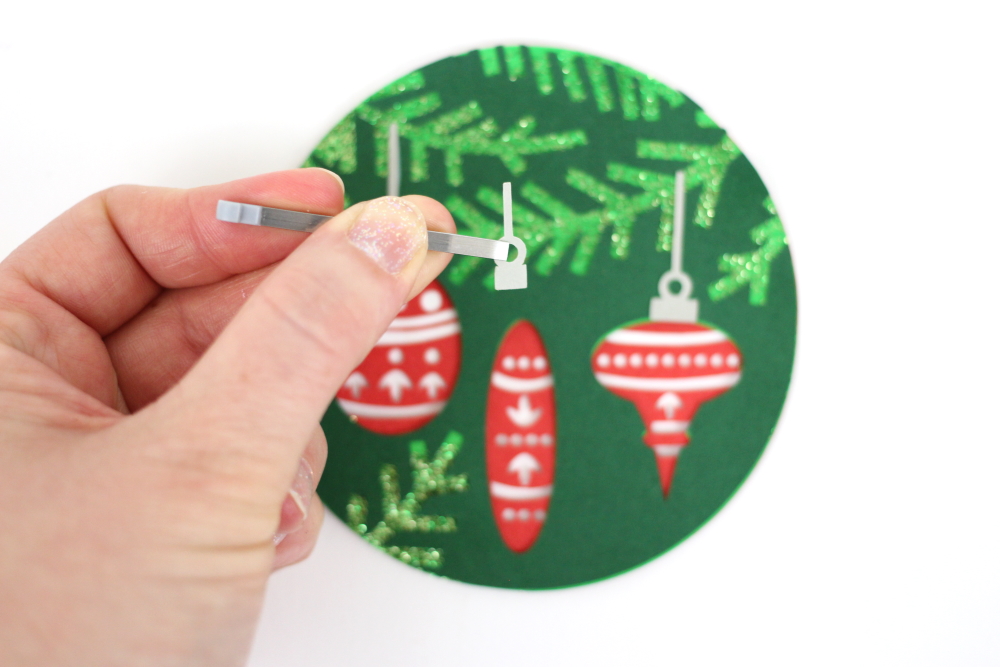
Then add the small silver ornament toppers. I used my small tweezers to place these on my design.
Finally, you can insert it into your clear ornament from the kit and hang on your tree.
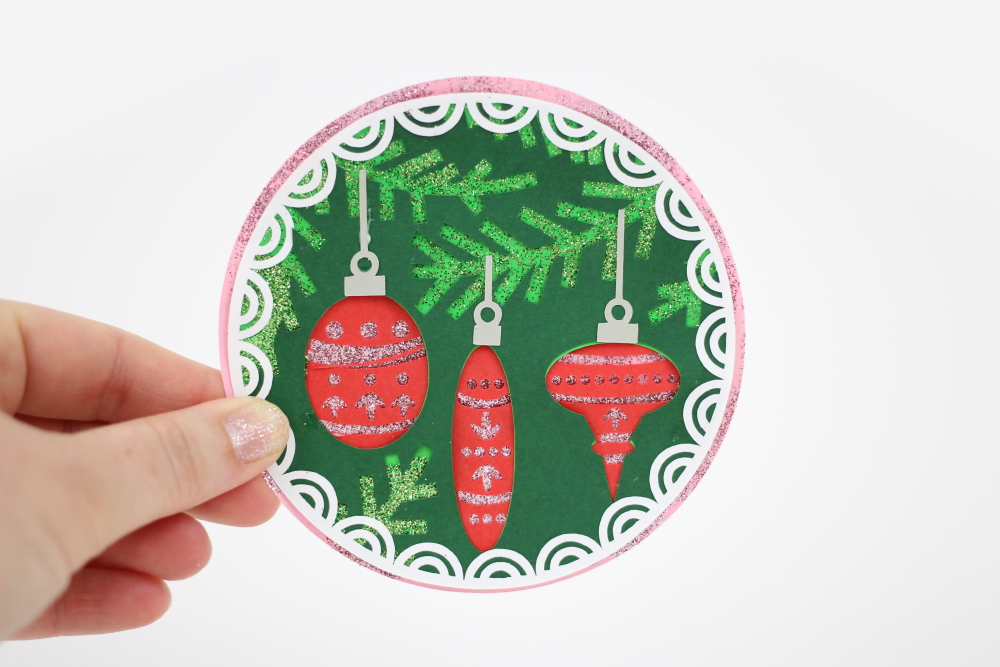
I love the option of making my own DIY Christmas Ornaments. Just think of all the fun ways you can customize them with fun colors and other elements to match your personal decorating palette.
Tell me which one of the free designs included with the Silhouette Holiday Ornament Kit is your favorite in the comments!

Here are some other fun Christmas posts:
How to Wrap Christmas Presents