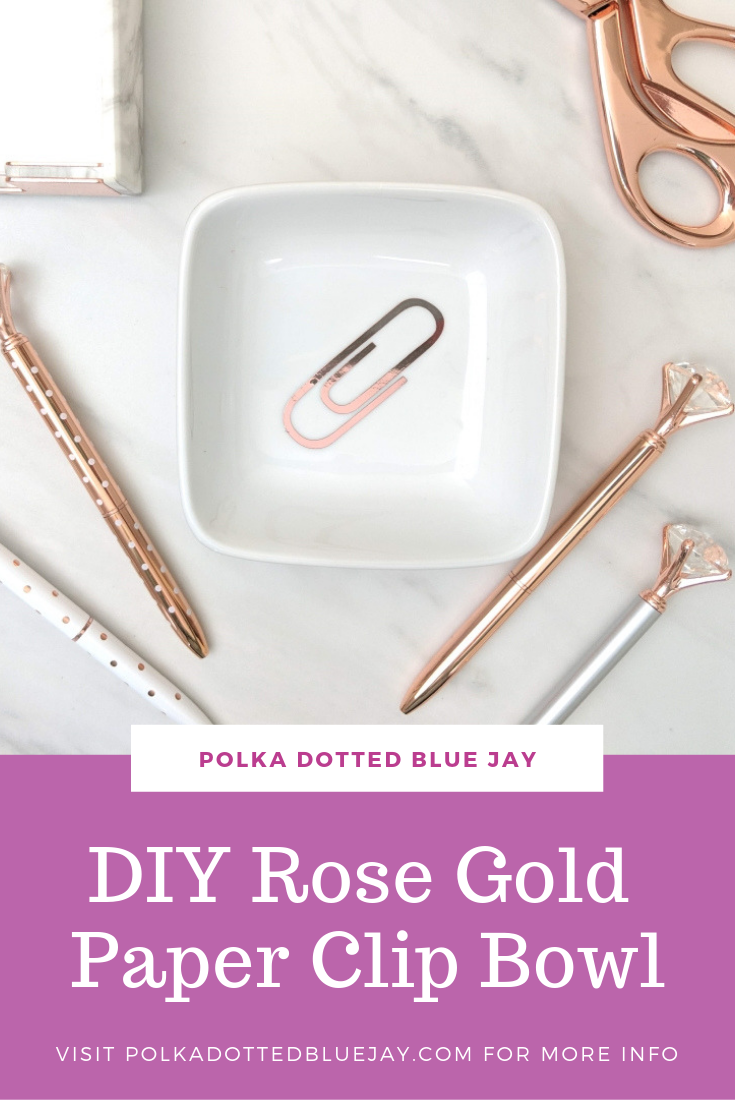
DIY Rose Gold Paper Clip Bowl Tutorial
| This post may contain affiliate links, which means I may receive a small commission, at no cost to you, if you make a purchase through a link. |
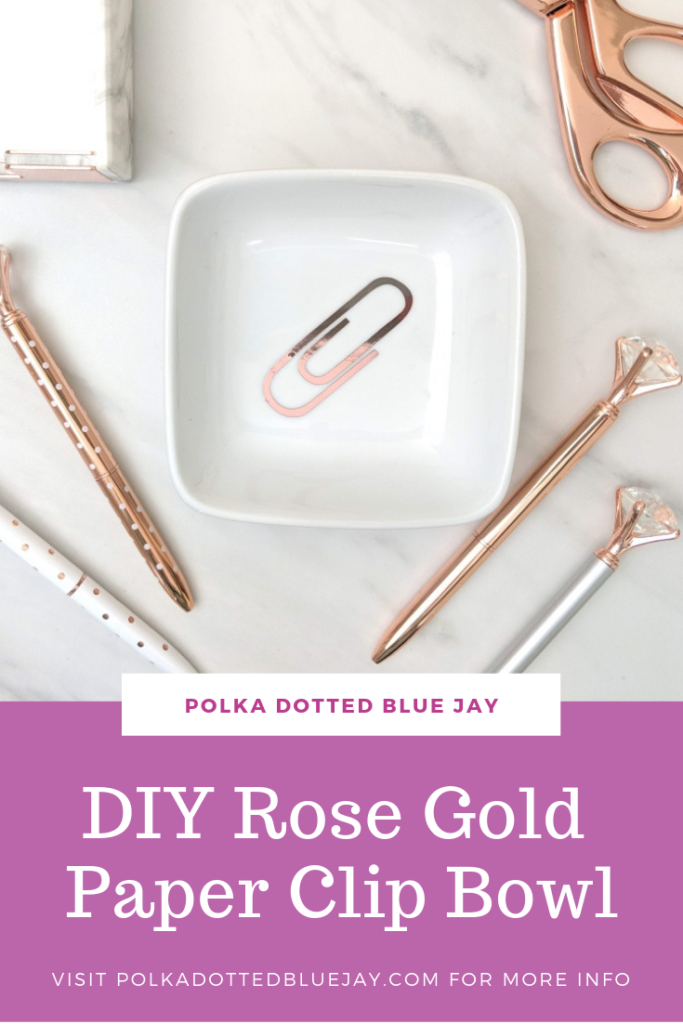
Hi friends! Has anyone else been watching Tidying Up with Marie Kondo? I have reached a crisis point where I want to get rid of absolutely everything and then panic when I think of my craft supplies. I’ve done a pretty good purge and now I am using all the boxes and trying to make some better storage decisions, including this DIY Rose Gold Paper Clip Bowl.
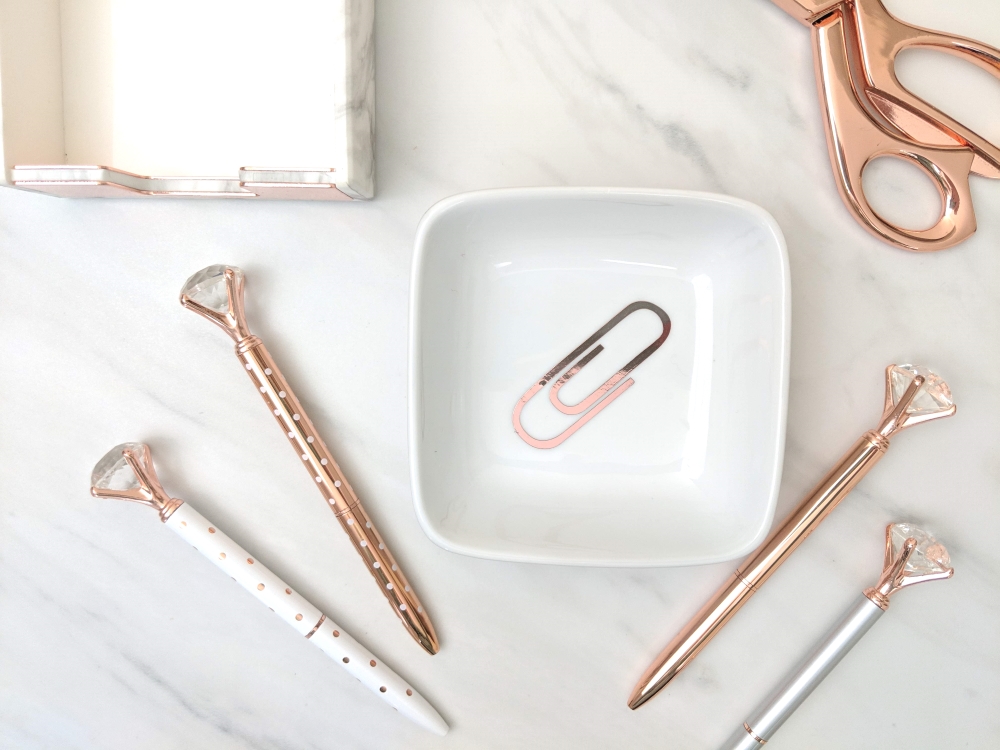
I use these tiny dip bowls from Target for craft projects constantly; they’re only $2 and always in stock. These monogrammed dishes were this Christmas’ gift from Elise and so much fun to make.
My work desk is white and oh so pretty but my run of the mill office organizers are, well, ugly. So I grabbed one of the bowls from my “vinyl blanks” shelf and made a cute rose gold bowl for my paperclips. *What are vinyl blanks? They are items that you can easily put vinyl on: a blank t-shirt, a blank mug, a blank jar.
Estimated Time: 10 Minutes
Skill Level: Beginner
Supplies Needed:
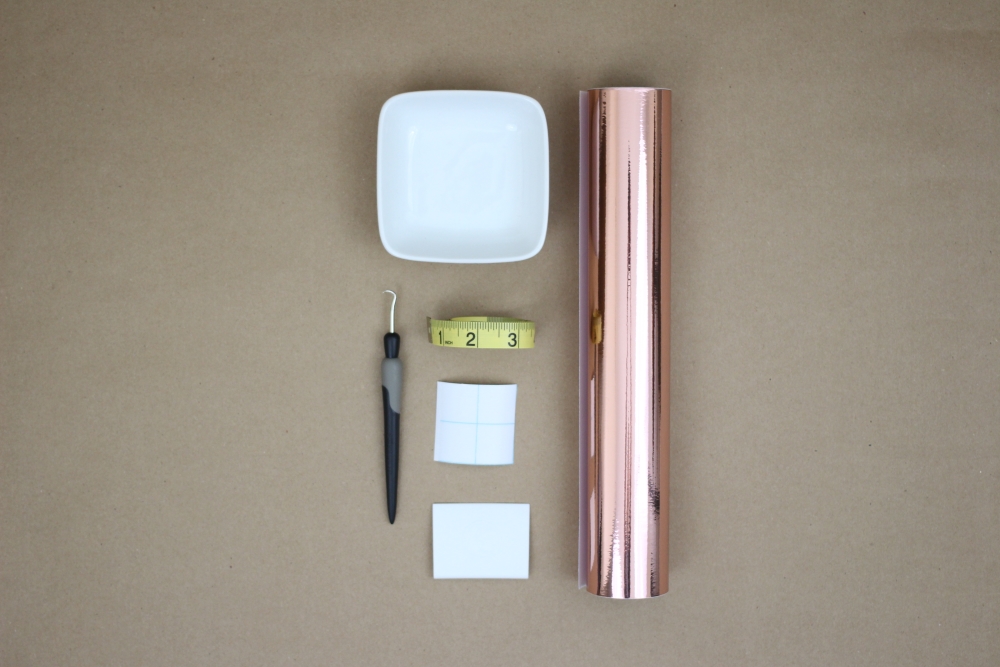
Design # 273318 from the Silhouette Design Store
Permanent Adhesive Vinyl – Rose Gold
Creating Your Design:
- Open up your Silhouette Studio®.
- Select the Page Setup Window and adjust your cutting mat size to 12×12 (or the sized mat you are using).
- Download your design from the Silhouette Design Store and then open your word art in Silhouette Studio. Click File>Library>Downloaded Designs>Select your downloaded file.
- Select the design and click Object>Ungroup.
- Delete the elements you don’t want on your bowl. I removed the binder clip.
- Measure your dip bowl and re-size your design to the correct space on your 12×12.
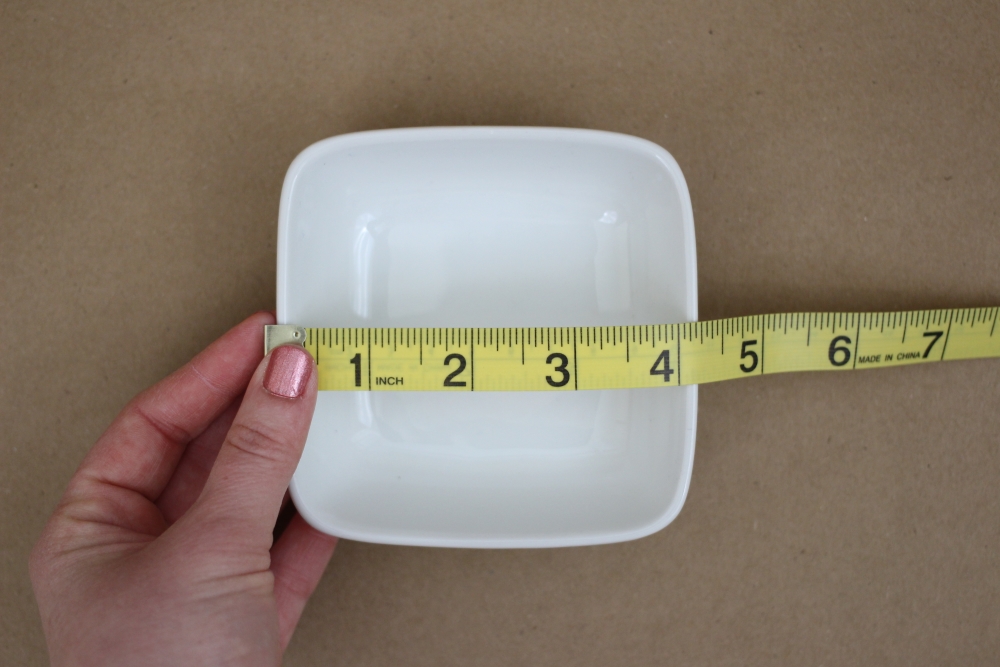
- Attach your Adhesive Vinyl to the cutting mat, color side up, and load into your machine.
- Follow the prompts in the Design Studio to adjust your blade (if using a ratchet blade) for Adhesive Vinyl and double check to make sure your design has been selected to cut.
- Select “Send” to start cutting.
- Select “Unload” when your machine has finished cutting your design to remove the cutting mat from the machine.
Preparing Your Design:
- Remove your sheets of Adhesive Vinyl from the cutting mat – go slow so it doesn’t curl up.
- Use your fingers or a wedding tool to remove the excess vinyl. Be sure to leave your design on the backing sheet.
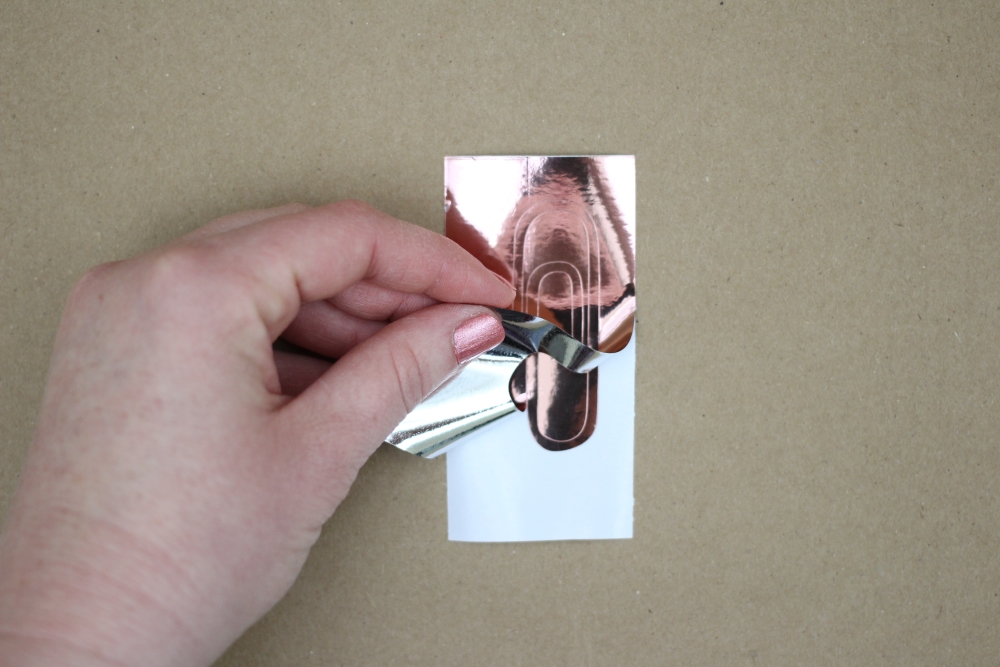
- Carefully remove the centers of the paperclip.
Creating Your Rose Gold Paperclip Bowl:
- Place a piece of transfer tape over your design.
- Use the scraping tool to make sure the design adheres to the transfer tape.
- Gently pull transfer tape and make sure the entire design lifts with it.
- Place your design in the bottom of the bowl.
- Use the scraping tool or your fingers to smooth the design onto the bowl.
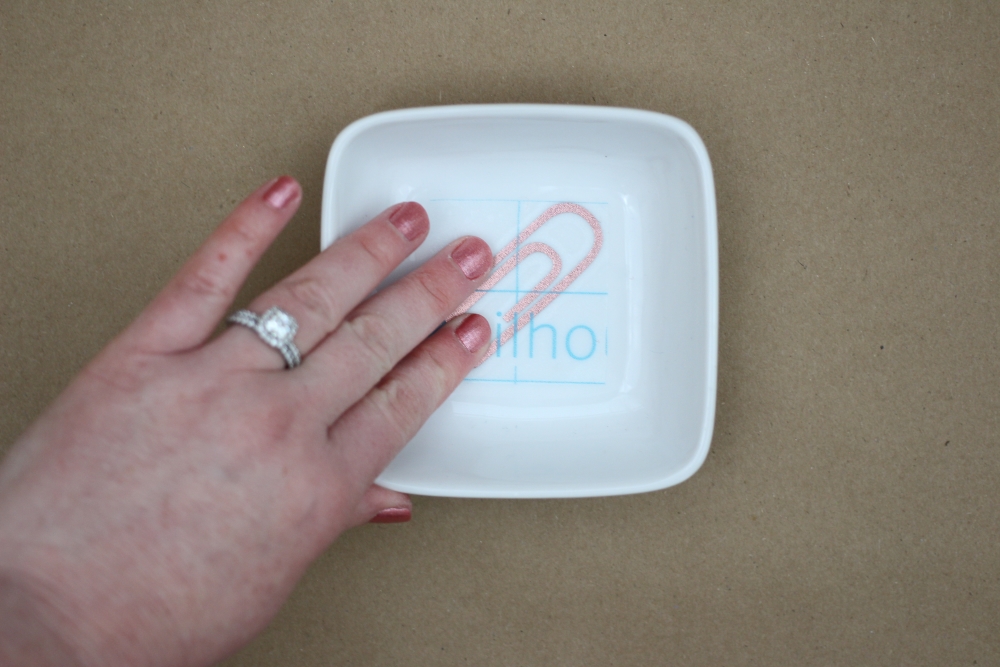
- Slowly remove the transfer tape.
I am in love with this little rose gold paperclip bowl on my desk – it brings me so much more joy than the black, plastic, paperclip holder I have had for so long. And, if you have to work in a cubicle every day, you have to infuse a little joy where you can in your workspace!
