DIY Back to School Gift – Teacher Pencil
| This post may contain affiliate links, which means I may receive a small commission, at no cost to you, if you make a purchase through a link. |
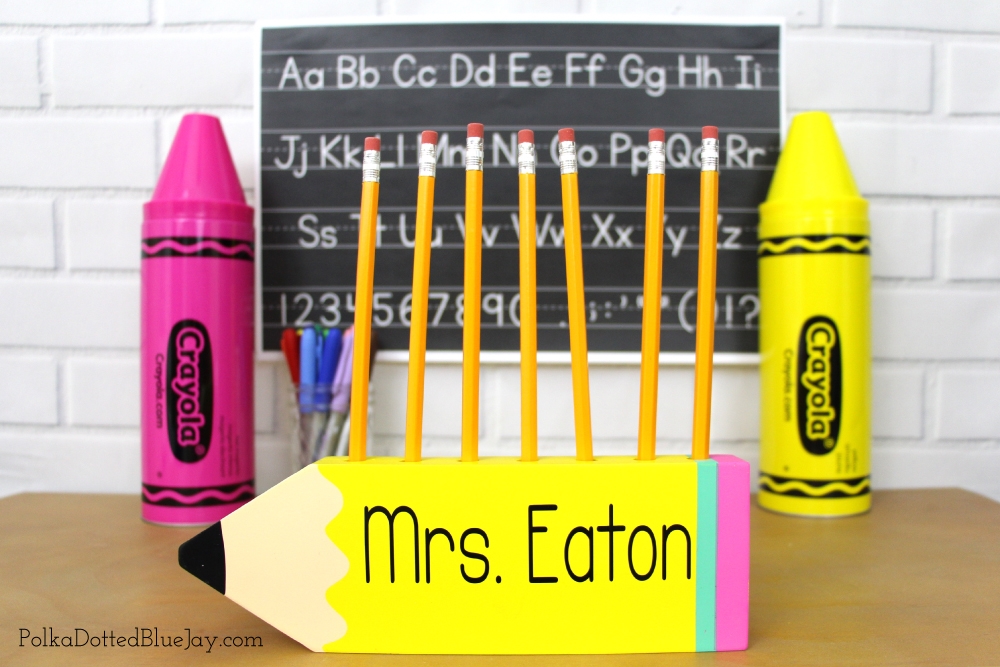
When I saw this adorable wooden pencil at Target I had to grab it up, put a teacher’s name on it, and make a DIY Back to School Gift gift. Keep reading to see how easy this was to make.
I always loved school as a child. That’s why, when I decided to go to college, I wanted to get my degree in liberal arts. I had every intention of becoming a second-grade teacher but changed my major to public relations halfway through my college experience.
I love teachers. I love what they do in the lives of children and I owe several milestones in my own life to teachers who invested and believed in me. It’s no surprise that I love making teacher gifts and fun crafts.
I put a post on Facebook asking any of my teacher friends if they would like my craft projects and I had several people respond. I would rather make “real” crafts that I can gift to people than label with generic names and then have the craft collect dust on a shelf in my office.
Miss Kim takes care of Jedidiah at daycare and said that her mom was a teacher and that she would love a craft project. So I grabbed my adhesive vinyl and my $3 pencil from Target and I got to work.
Supplies Needed:
Silhouette Cutting Mat
Silhouette Cutting Blade
Design – Kinder Font
Permanent Adhesive Vinyl – Black
Wooden Pencil
Creating Your Design:
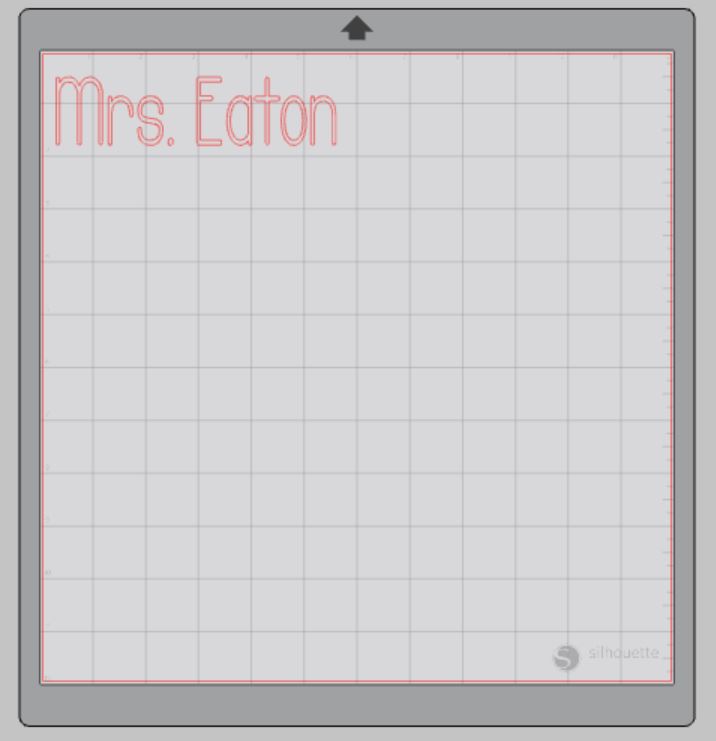
- Open up your Silhouette Studio®.
- Select the Page Setup Window and adjust your cutting mat size to 12×12 (or the sized mat you are using).
- Download your font design from the Silhouette Design.
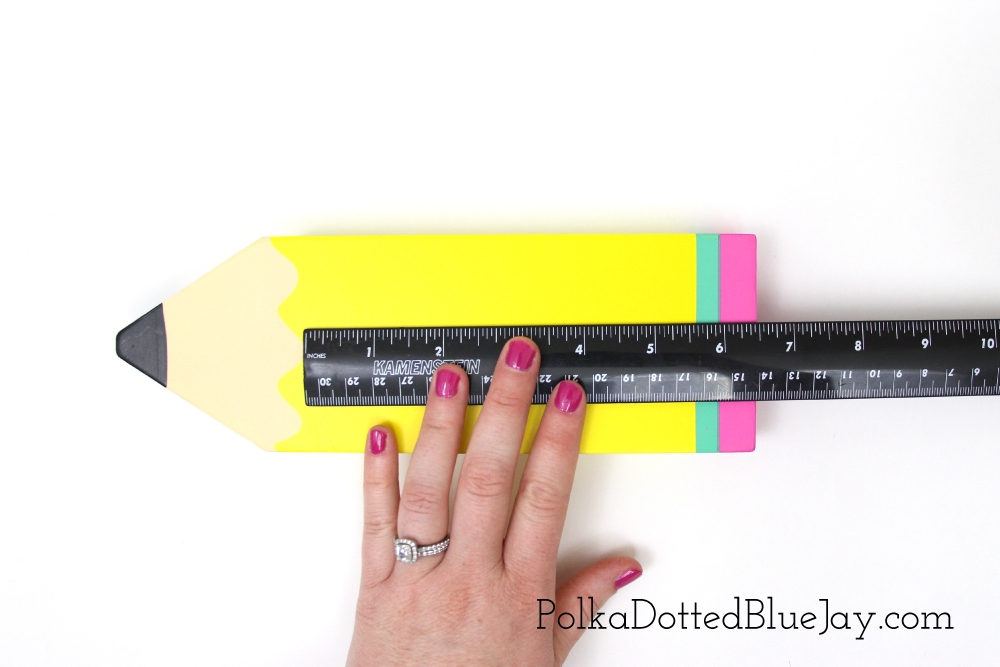
- Measure your pencil to determine the size of your teacher’s name.
- Use the TEXT tool to insert and type your teacher’s name. You will need to select the font from your library (the same way you would select a pre-made design).
- Size your design to fit your pencil.
- Attach your Adhesive Vinyl to the cutting mat, color side up, and load into your machine. I always trim my vinyl to slightly bigger than my design – that way I don’t waste or damage a whole sheet.
- Follow the prompts in the Design Studio to adjust your blade (if using a ratchet blade) for Adhesive Vinyl and double check to make sure your design has been selected to cut.
- Select “Send” to start cutting.
- Select “Unload” when your machine has finished cutting your design to remove the cutting mat from the machine.
Preparing Your Design:
- Remove your sheet of Vinyl from the cutting mat – go slow so it doesn’t curl up.
- Weed the excess vinyl. Be sure to leave your design on the backing sheet.
- Carefully remove the centers of the letters and graphics. The letters can be delicate, so take your time.
Creating Your Teacher Gift Pencil:
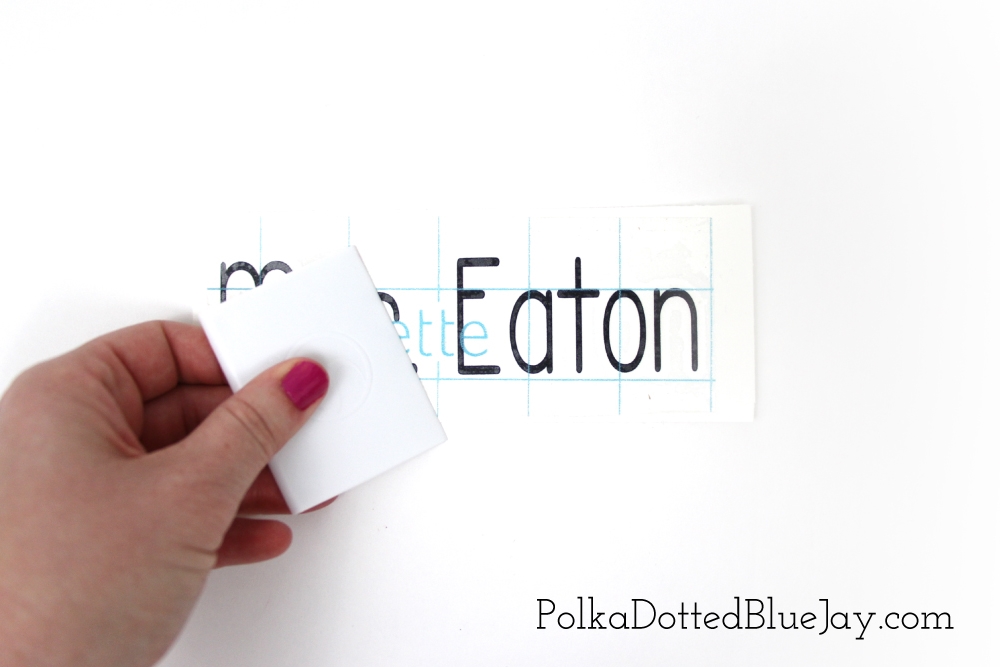
- Place a piece of transfer tape over your design.
- Use the scraping tool to make sure the design adheres to the transfer tape.
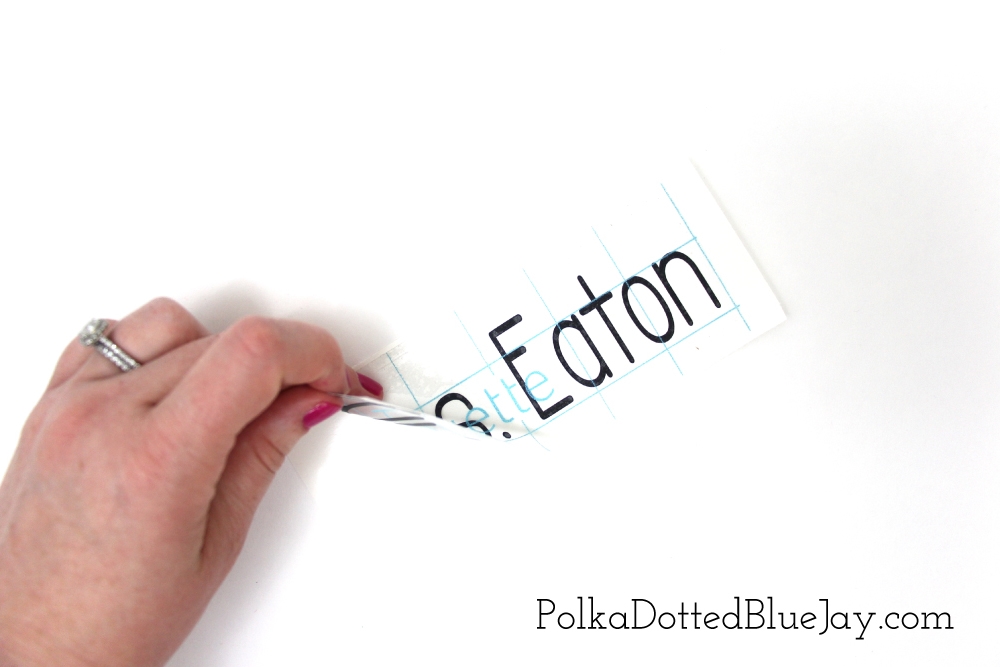
- Gently pull transfer tape and make sure the entire design lifts with it.
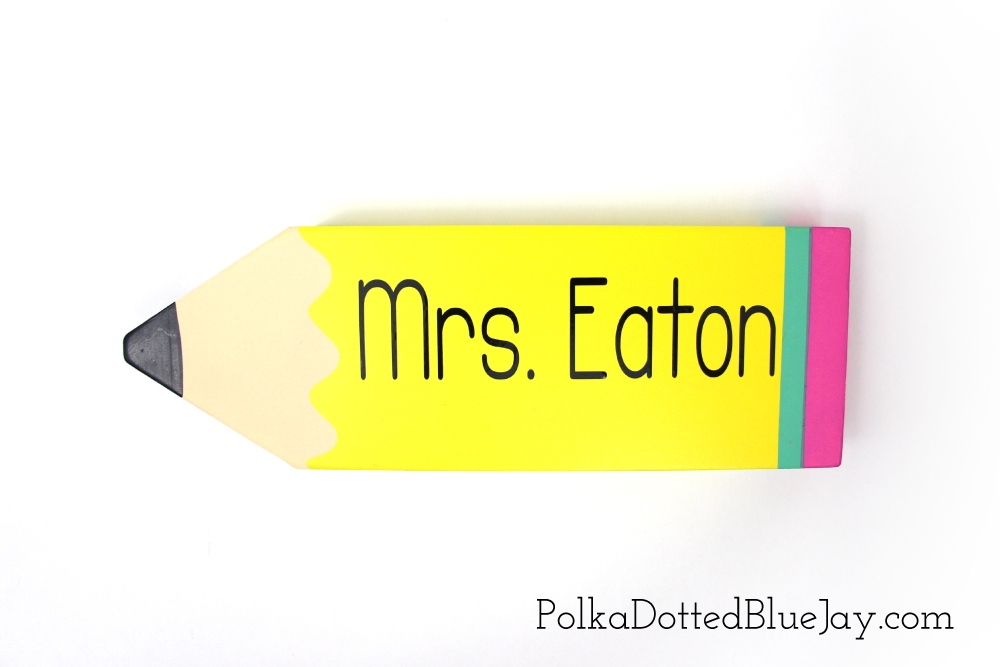
- Place your design on top of the pencil.
- Use the scraping tool to smooth the design onto the pencil.
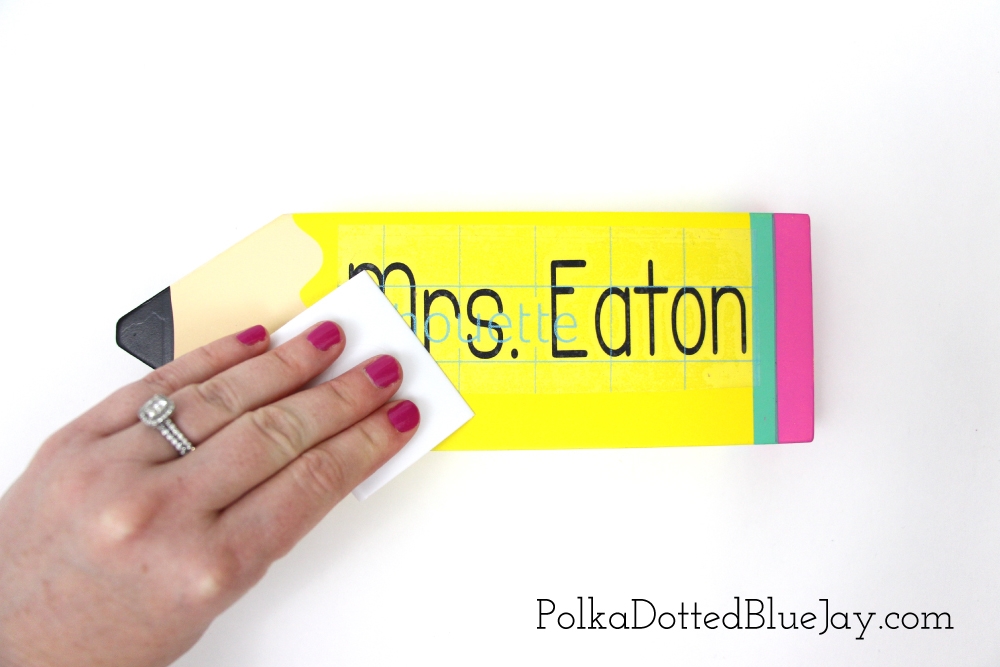
- Slowly remove the transfer tape.
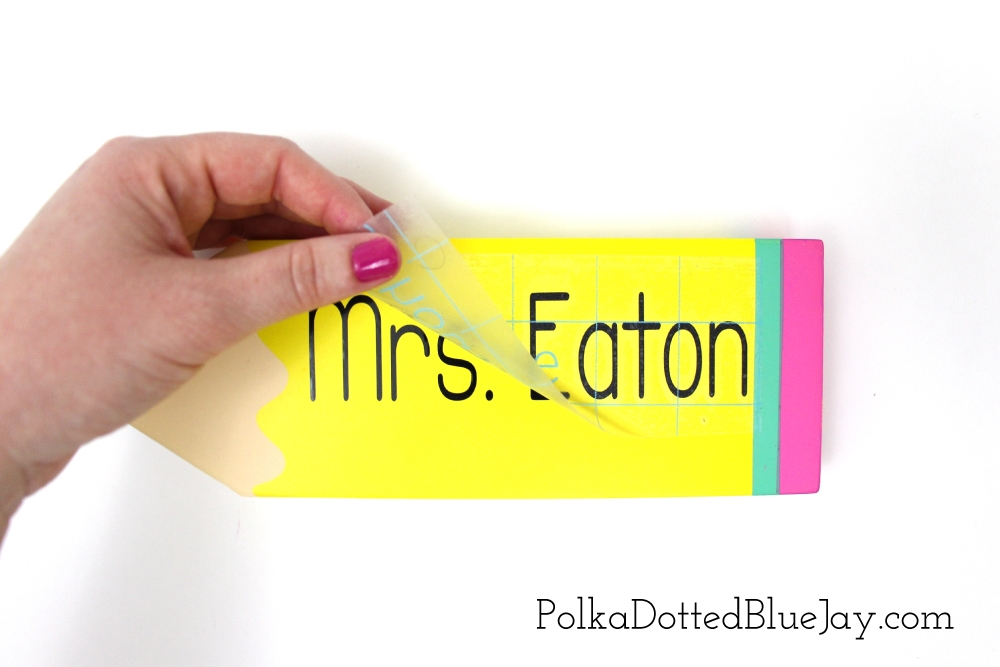
I love that this teacher pencil is decorative and functional – it is also a pen/pencil holder and I think it will be the perfect addition to Mrs. Eaton’s desk.