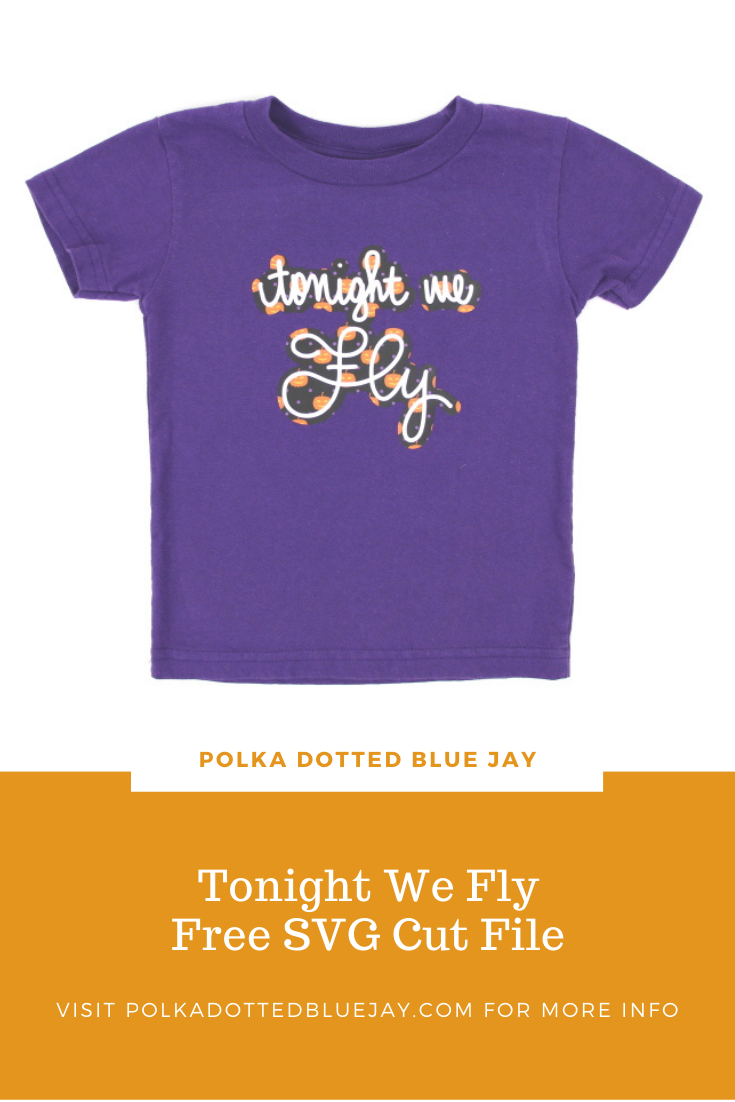
Tonight We Fly Free SVG
| This post may contain affiliate links, which means I may receive a small commission, at no cost to you, if you make a purchase through a link. |
I have been working on learning how to digitize my handwriting and thought it would be fun to make a Halloween t-shirt inspired by Hocus Pocus and share it with you for your own craft projects. I hand-lettered “Tonight We Fly” and you can get the Free SVG Cut File in my freebie library.
Hocus Pocus scared me as a child and gave me nightmares. In my defense, I was in the third grade and those ladies were fierce. I have always been a sissy when it comes to scary movies and, truthfully, it still scares me. I know, I know. But I still think parts are funny; especially when the Sanderson sisters take to the skies and one of them is on a vacuum cleaner.
Use this cut file to make your own Hocus Pocus inspired t-shirt or tote bag. Perfect for trick-or-treating or celebrating at home.
Estimated Time: 30 Minutes
Skill Level: Intermediate
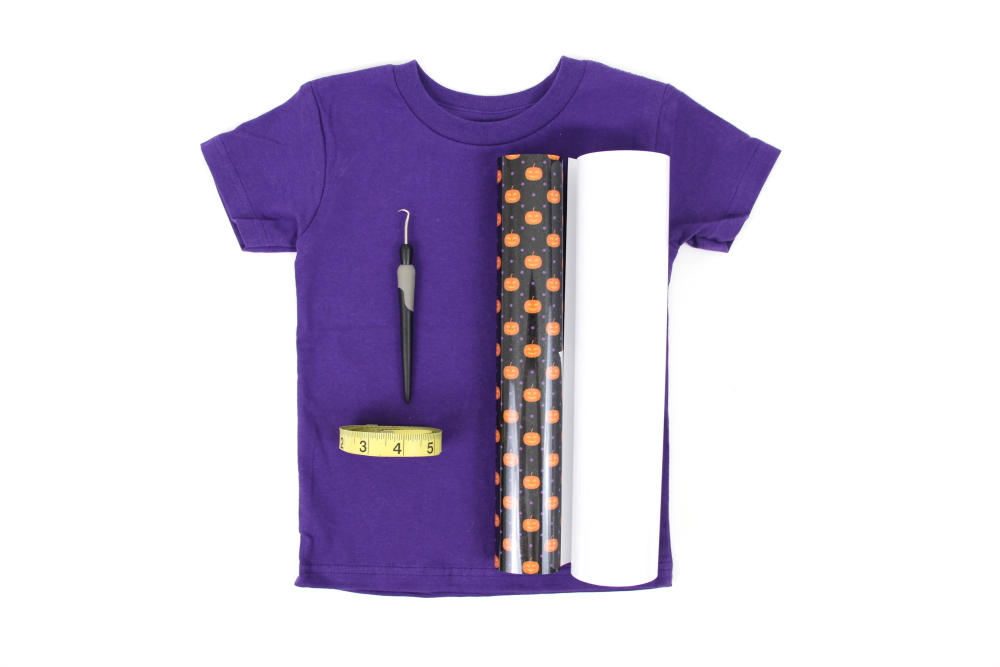
Supplies Needed:
- Silhouette CAMEO®
- Silhouette Cutting Mat
- Weeding Hook
- Silhouette Studio – use the Business Edition to make importing SVGs easy
- Heat Transfer Vinyl – Smooth White
- Polka Dot Pumpkin Patterned Heat Transfer Vinyl
- Plain T-shirt
- Iron or heat press
- Tonight We Fly – Free SVG Cut File
Step One: Creating Your Tonight We Fly T-shirt Design:
Open Silhouette Studio®.
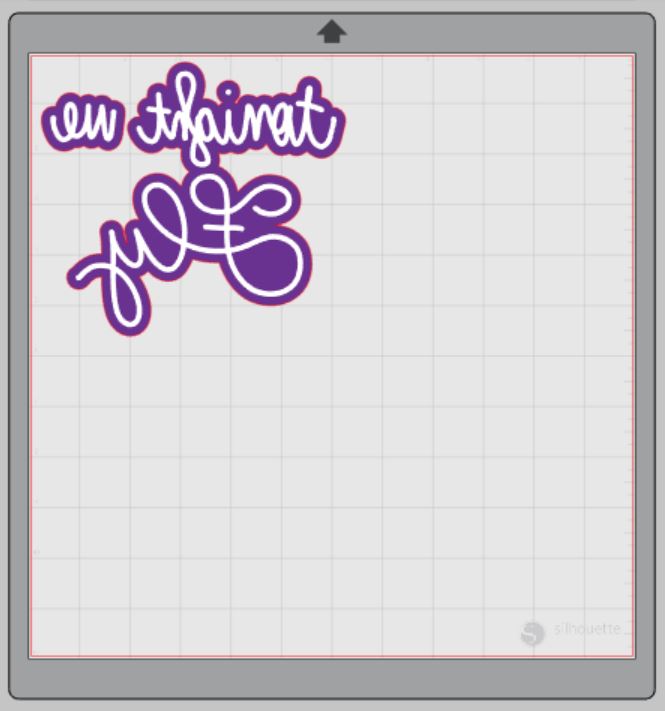
Select the Page Setup Window and adjust your cutting mat size to 12×12 (or the sized mat you are using).
First, you need to download your design from the Polka Dotted Blue Jay Freebie Library. Click this link, enter your name and email, and receive an email with the password to access the whole library to download the file.
Next, open your design in Silhouette Studio. Click File>Open>Select your downloaded file.
Using the Business Edition of Silhouette Studio makes using SVGs easy. No tracing required. I have included the offset outline so you can cut the patterned vinyl and the white layer for your project. If, for example, you don’t want the purple border, you can right-click the design, un-group, and then delete the purple outline.
Measure your t-shirt and re-size your design to the correct space on your 12×12 template – be sure to click and drag to select the whole design to keep everything lined up.
You will need to flip your design, so it appears backward for Heat Transfer Vinyl – this is called “mirroring” your design. Highlight your design, right-click, and select “flip horizontally” to mirror it.
Step Two: Cutting Out Your Tonight We Fly T-shirt Design:
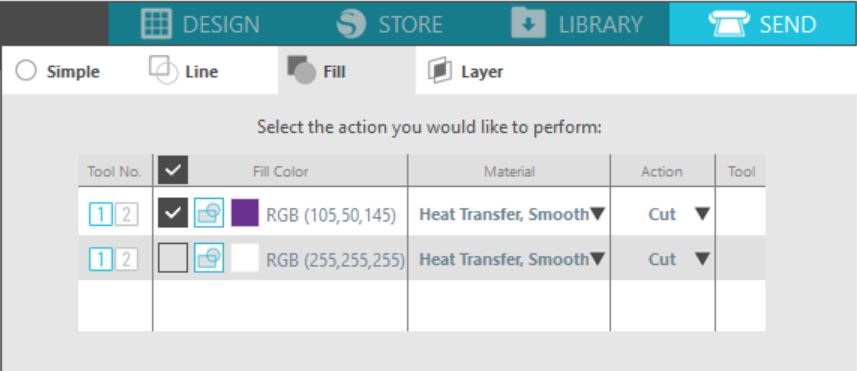
Select “Send” on the top right of your software screen to prepare to cut.
Follow the prompts in the Design Studio to select the type of Heat Transfer Vinyl (or the type of paper/vinyl are using for your project) and double-check to make sure your design has been selected to cut.
Use the “Fill” option to select each color layer one at a time. Click the “fill” option and then select by color. Be sure to make sure your vinyl type is still showing on the drop-down menu next to the color. It is always good to double-check.
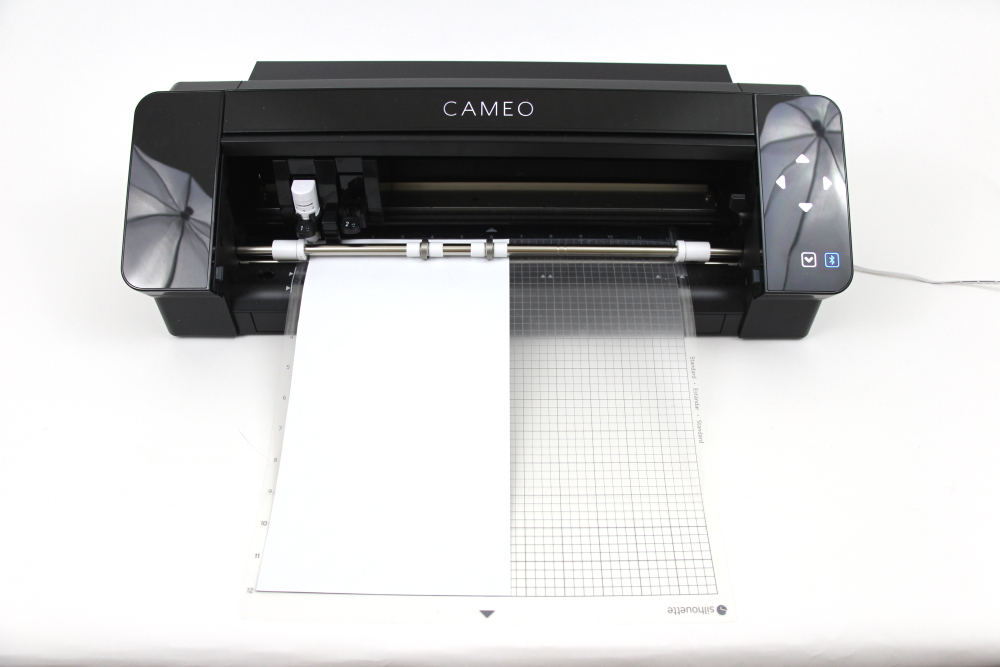
Insert your Polka Dot Pumpkin heat transfer vinyl into your Cameo 4 with the color side face down on the mat (I love that Expressions Vinyl always has cutting information on their product listings – when in doubt, read there to know what to do).
Click “Send”.
Press the down-arrow when your machine has finished cutting your design to remove the cutting mat from the machine.
Load the next layer(s) of heat transfer vinyl and repeat until you have all your elements cut out.
Step Three: Preparing Your Tonight We Fly T-shirt Design:
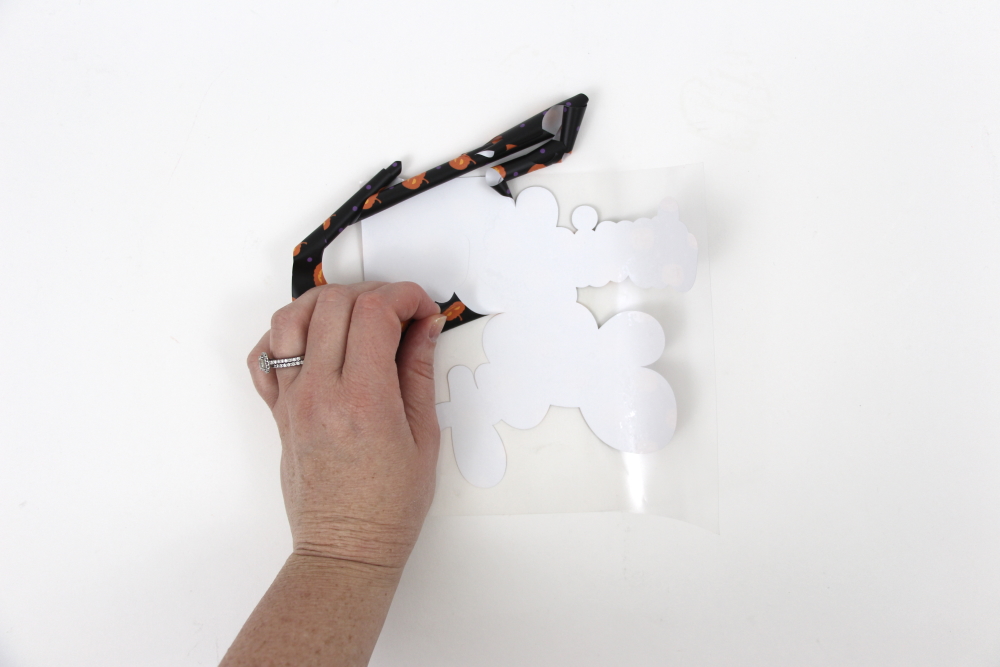
Remove your Heat Transfer Vinyl from the cutting mat – go slow so it doesn’t curl up or tear.
Use your fingers or a weeding tool to remove the excess vinyl from each color. Be sure to leave your design on the clear carrier sheet.
Step Four: Creating Your Tonight We Fly T-shirt:
Pre-heat your t-shirt for about 10 seconds– use your iron or heat press to warm up the fabric for a better transfer.
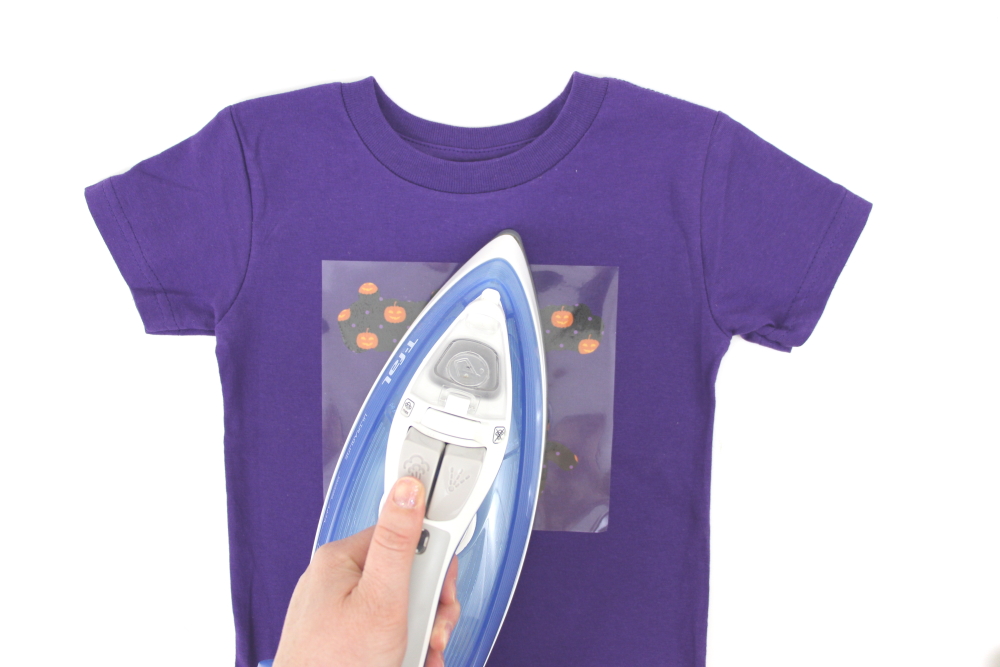
Place the patterned vinyl of your design on your t-shirt right side up (this is the reason you mirror your design for cutting).
Heat the design for the recommended time for the HTV you’re using. Use steady pressure.
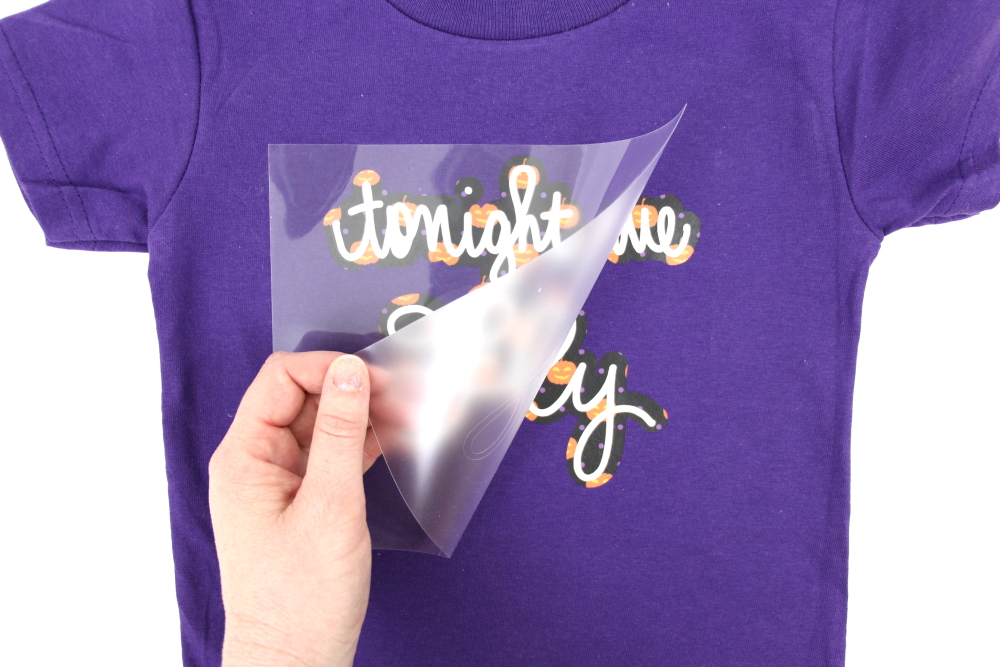
Peel back the clear carrier sheet. Some Heat Transfer Vinyl requires a hot or cold peel – always follow the recommended peel for your heat transfer vinyl. Tip: pull from a corner and not the side to make sure each part of the design transfers completely to your t-shirt.
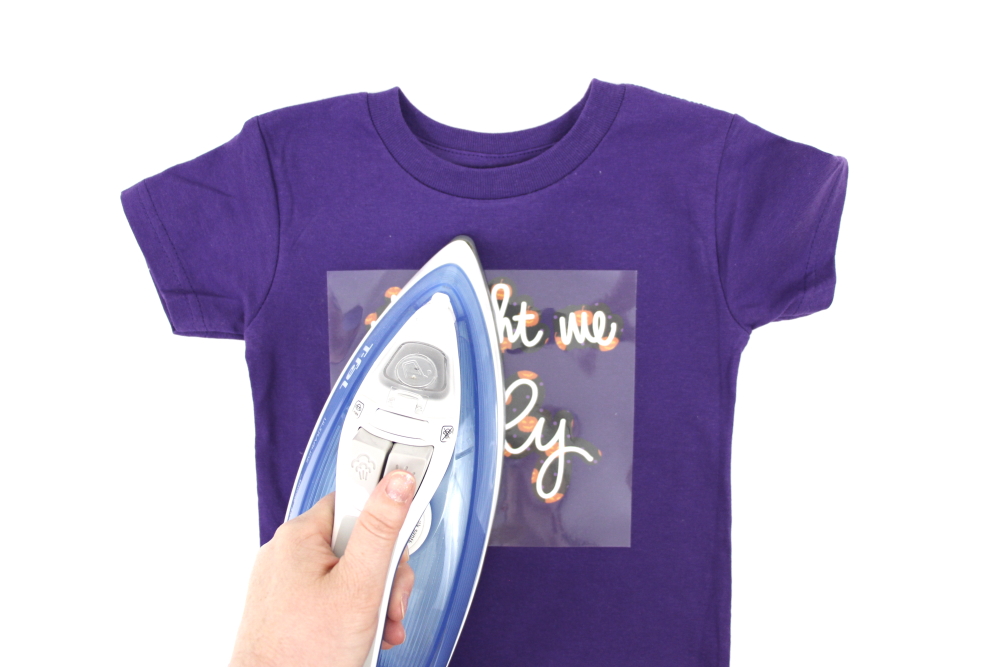
Repeat with the white layer. Be sure the previous layer is covered with the carrier sheet or a Teflon sheet to keep your vinyl from burning.
Flip your t-shirt over and give it a 10-second press to activate the adhesive.
Apply all the elements of your design and allow your vinyl to cool. After that, your Tonight We Fly T-shirt is ready!
I hope you love my hand-lettered Tonight We Fly free SVG as much as I do! Tell me what you will put it on in the comments below and be sure to tag me with your project photos on social media.
Other Halloween-themed projects:
Mike Wazowski Halloween Bucket





12 Comments
Pingback:
Pingback:
Pingback:
Pingback:
Pingback:
Pingback:
Pingback:
Pingback:
Pingback:
Pingback:
Pingback:
Pingback: