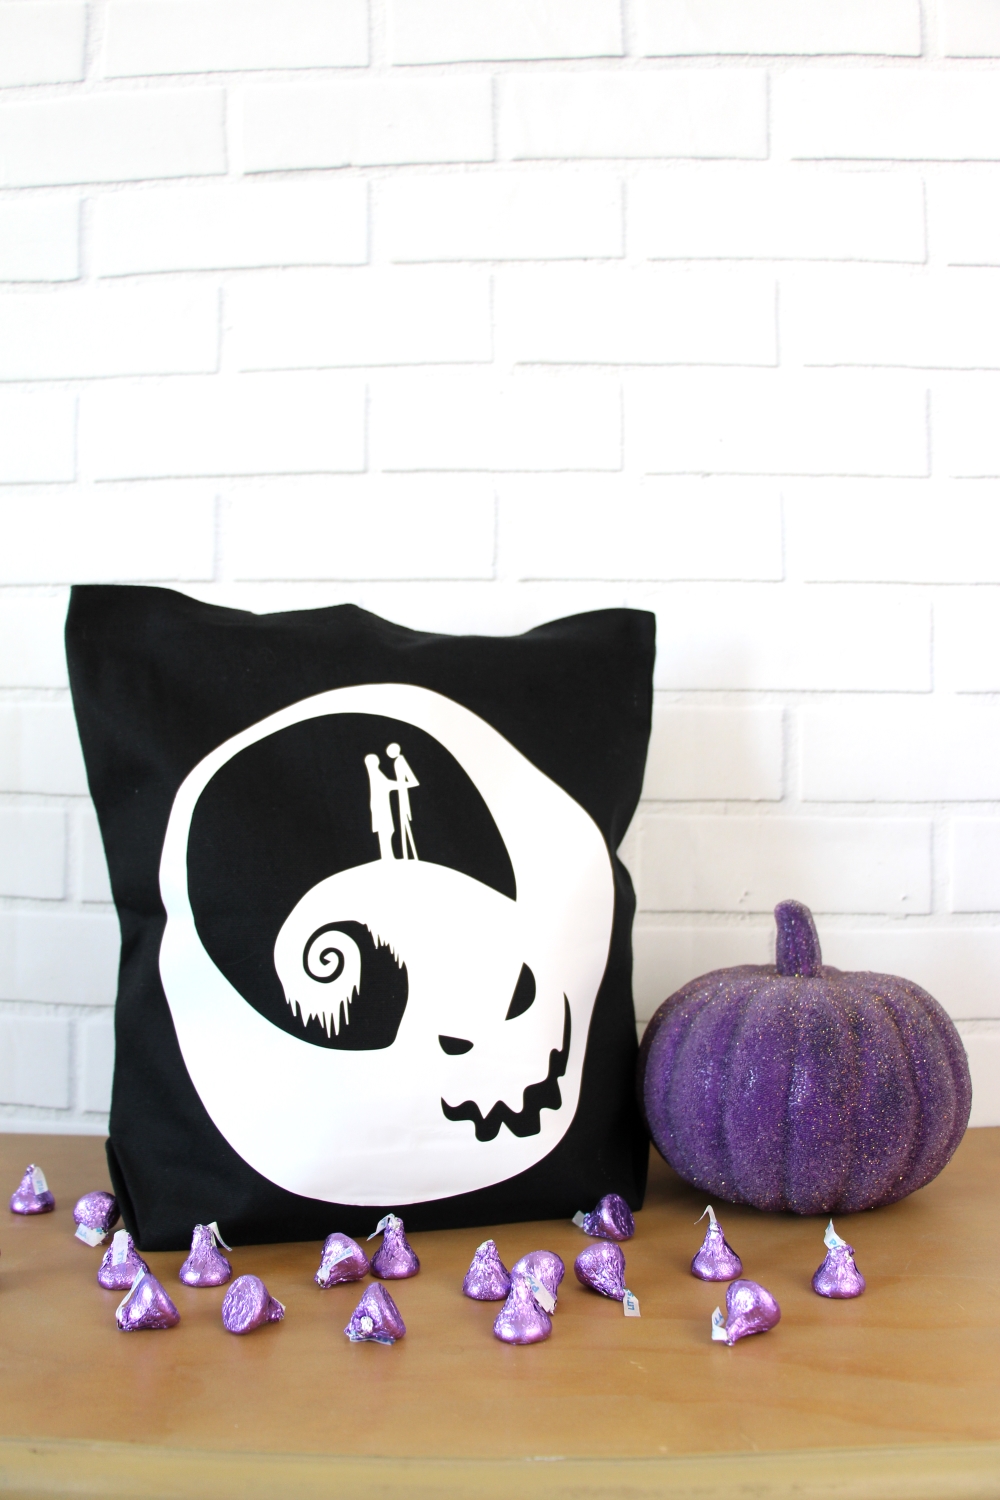
The Nightmare Before Christmas Trick or Treat Bag
| This post may contain affiliate links, which means I may receive a small commission, at no cost to you, if you make a purchase through a link. |
I am a Disney fan through and through, but I have never seen The Nightmare Before Christmas. Truth be told, Tim Burton movies kind of freak me out and I avoid them. I know, I know, how can I be a true Disney fan without seeing this Halloween staple? But that doesn’t keep me from making crafts and a The Nightmare Before Christmas trick or treat bag for my friends who love the movie.
One of our close friends is going to the Hollywood Bowl later this week to see the Nightmare Before Christmas. It is a fun event where the orchestra plays along while the movie is played on a screen. They are having all sorts of fun Nightmare-themed events and I offered to make a tote bag into a The Nightmare Before Christmas trick or treat bag for them.
I remembered last year that I saw this bag from Simply Made Fun and thought it was so perfect. Teresa made her own design, but I headed over to Etsy to buy a cut file that was ready to go.
Supplies:
Black Tote Bag
White Heat Transfer Vinyl
Teflon Sheet
Iron
Weeding Tool
The Nightmare Before Christmas design file
Silhouette Cameo
Step One: Making your design into a cut file:
1. Open your Silhouette Studio Software
2. Click File>Open>Select the Etsy file you saved to your desktop.
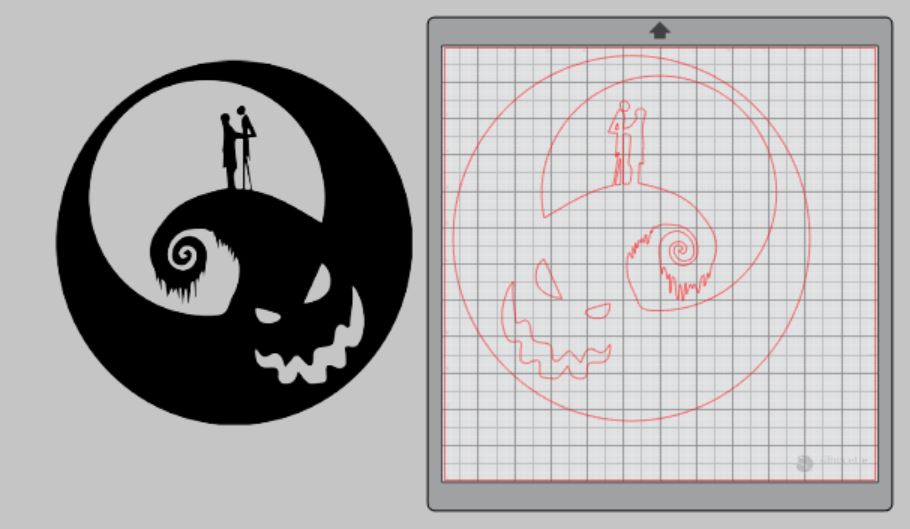
3. Select your design on your screen and then click the tracing icon on the right side of your screen. It looks like a loaf of bread and is the 4th one down.
4. Click “Select Trace Area” and then click and drag your cursor over your logo photo.
5. Release the mouse and click “Trace” from the popup menu.
6. Click and drag your design photo to another location and you have a red outline of your design.
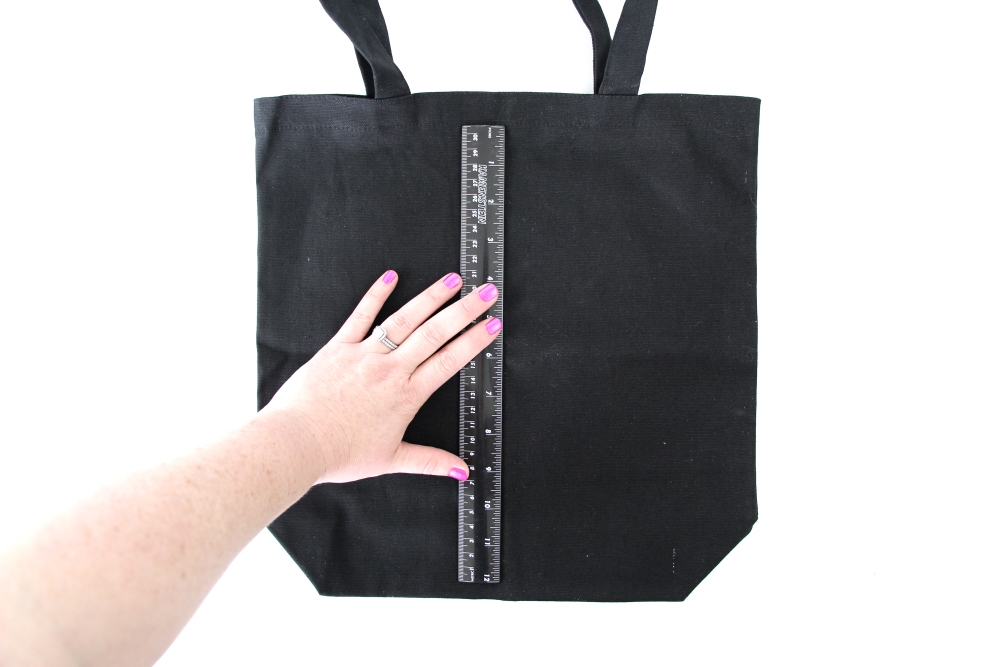
7. Measure your tote bag and adjust the size of the design.
8. To make a heat transfer design you need to flip your design over so that it cuts backward – don’t worry, it will be right-side-up when you iron it to your bag. To do this, select your whole design again and select “object” then “mirror” and “horizontally”.
9. Attach your Heat Transfer Vinyl (HTV) to the cutting mat, color/glitter side down, and load into your machine.
10. Follow the prompts in the Design Studio to adjust your blade (if using a ratchet blade) for Heat Transfer Vinyl (be sure to select the correct texture) and double-check to make sure your design has been selected to cut.
11. Select “Send” to start cutting.
12. Select “Unload” when your machine has finished cutting your design to remove the cutting mat from the machine.
Step Two: Preparing Your Design
1. Remove your sheet of HTV from the cutting mat
2. Use your fingers or a wedding tool to remove the excess vinyl. Be sure to leave your design on the clear carrier sheet.
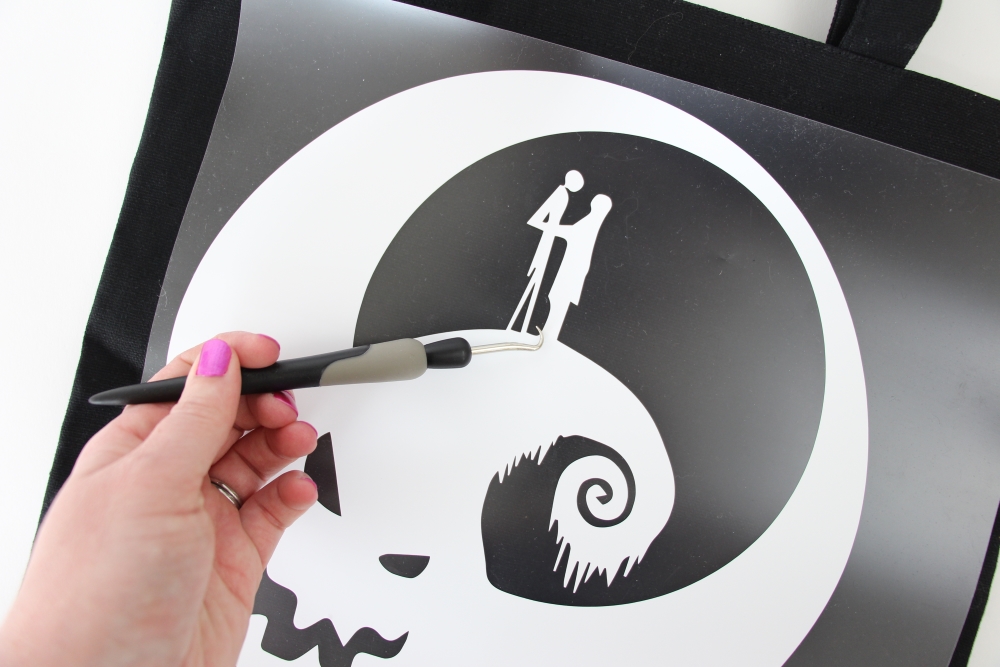
3. Carefully remove the centers of the letters – this is called “weeding”.
Step Three: Creating You’re the Nightmare Before Christmas Trick or Treat Bag
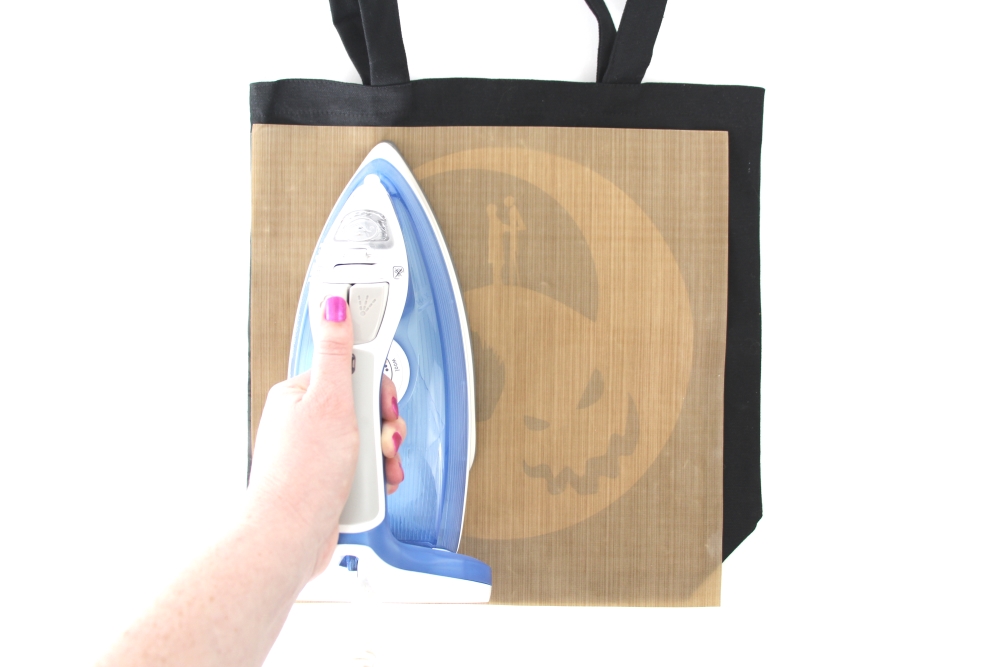
1. Heat up your iron or heat press. I use my clothes iron with high heat and NO steam.
2. Place your tote bag on your ironing board and make sure it is flat. Iron out wrinkles if necessary.
3. Pre-heat your bag so it is a little warm.
4. Place your weeded design face up on the bag.
5. Cover your design with a Teflon sheet and apply firm pressure with your iron. Do not “iron” like you would a pair of pants. This HTV needs firm pressure. I started from the left and worked my way to the right to make sure I covered the whole design.
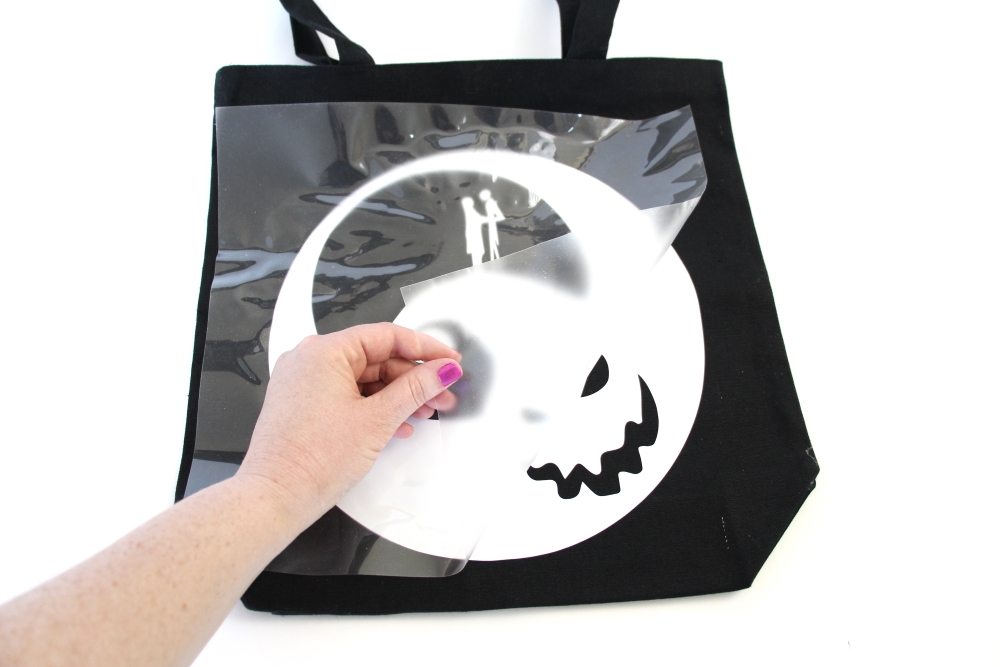
6. Follow the time instructions for your HTV – it can vary by brand.
7. Once your design has transferred, remove the clear carrier sheet and discard.
I think this bag will be so much fun to take to the concert – especially since I know everyone there will be decked out in Nightmare apparel.


One Comment
Pingback: