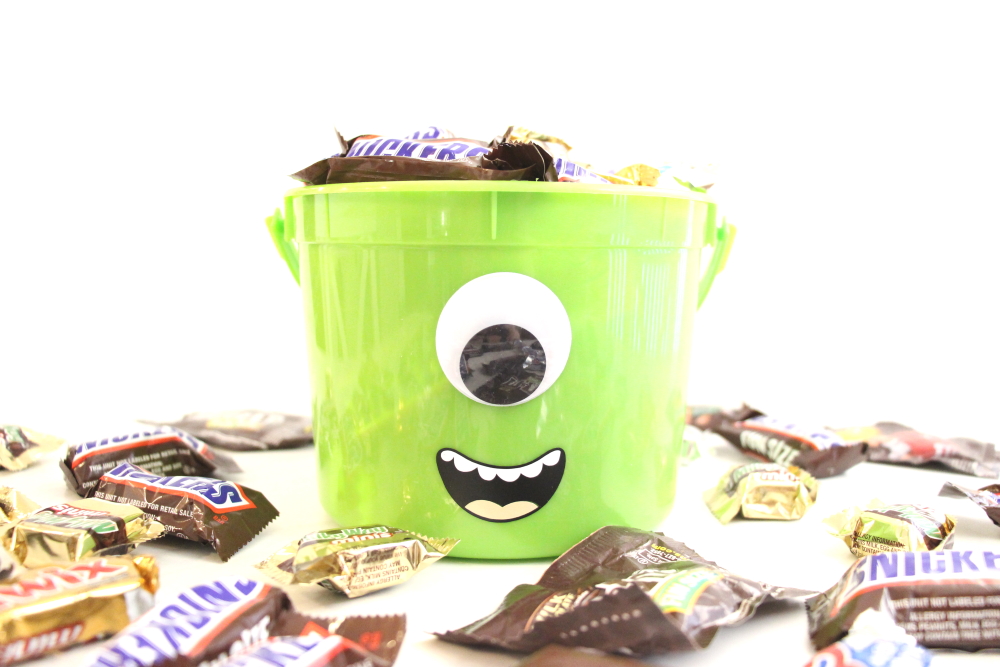
Mike Wazowski Halloween Bucket
| This post may contain affiliate links, which means I may receive a small commission, at no cost to you, if you make a purchase through a link. |
Friends. I have absolutely zero chill when it comes to sharing this post with you. I am so excited to share how to make this Mike Wazowski Halloween Bucket and my experience with layering adhesive vinyl.

If you have been around for any amount of time, you know that I am a huge Disney fan. My husband proposed on Main Street at Disneyland, my Dad was the maître’d at Club 33, and we just took our son for his first visit to Disneyland.
I binge-watched Disney movies during the long months of broken newborn sleep; making sure to indoctrinate Jedidiah early, of course. One of our favorites is Monsters University with Mike Wazowski and James P. Sullivan (Sulley); I think Jedidiah originally loved it for the bright colors and the funny characters.
When the idea for a Mike Wazowski Halloween Bucket popped into my head, I could hardly wait to get to the store to buy the googly eyes. That’s especially funny because his pet name from Celia in Monsters, Inc. was “Googly Bear”. I also have a Sulley bucket too!
Estimated Time: 15 Minutes
Skill Level: Beginner
Supplies Needed:
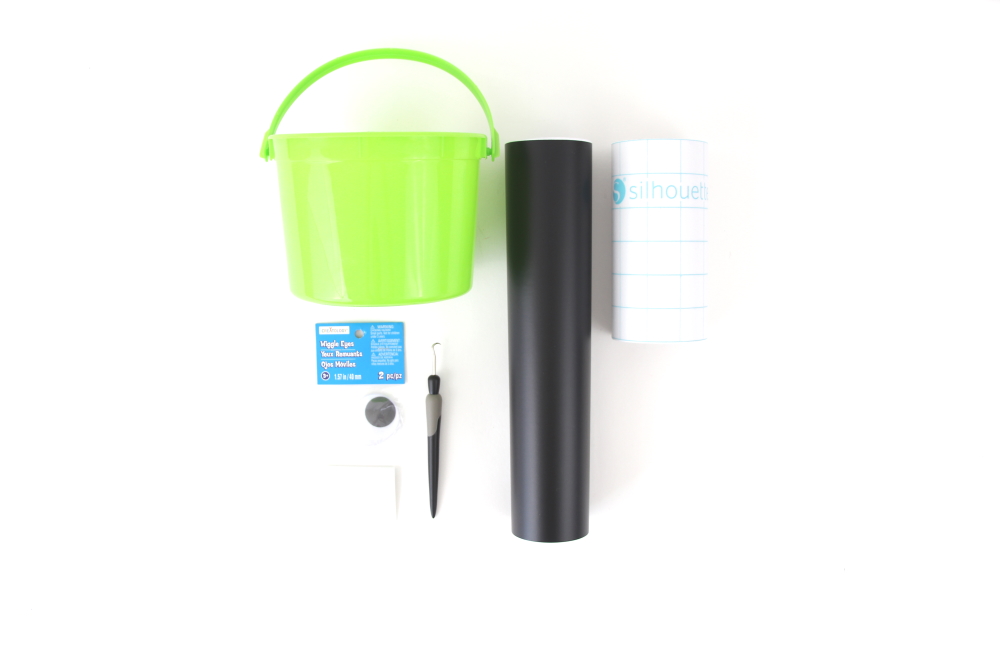
- Silhouette CAMEO®
- Silhouette Cutting Mat
- Silhouette Cutting Blade (Ratchet or Auto Blade for your Cameo)
- Weeding Hook
- Silhouette Studio
- Doodlebat Mouth Font
- Adhesive Vinyl – Black, White, and Tan
- Transfer Tape
- Scraper Tool
- Green Bucket – this link is the exact one I purchased.
- Googly Eyes – I used one 40mm eye
Step 1: Creating Your Mouth Design:
Open up your Silhouette Studio®.
Select the Page Setup Window and adjust your cutting mat size to 12×12 (or the sized mat you are using).
Download your Doodlebat Font from the Silhouette Design Store and then open in Silhouette Studio. Click File>Library>Library>Recent Downloads>Select your downloaded file.
Click on the online Silhouette cutting mat template and type A-Z. I selected the “G” mouth for my bucket, but it is nice to see all the different options.
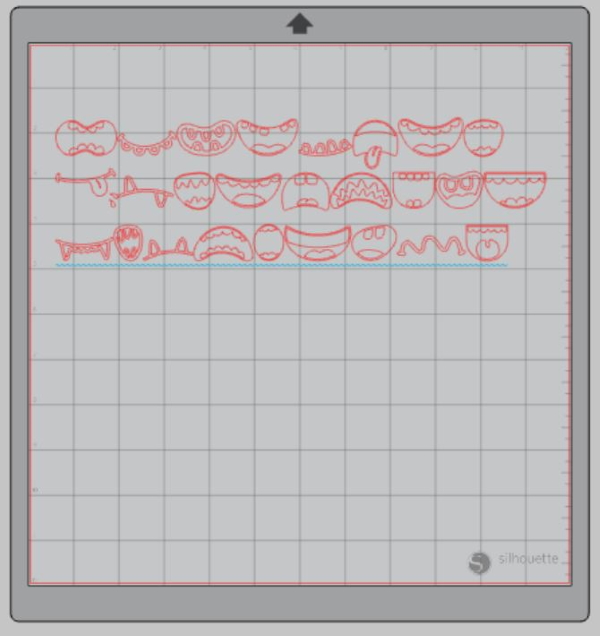
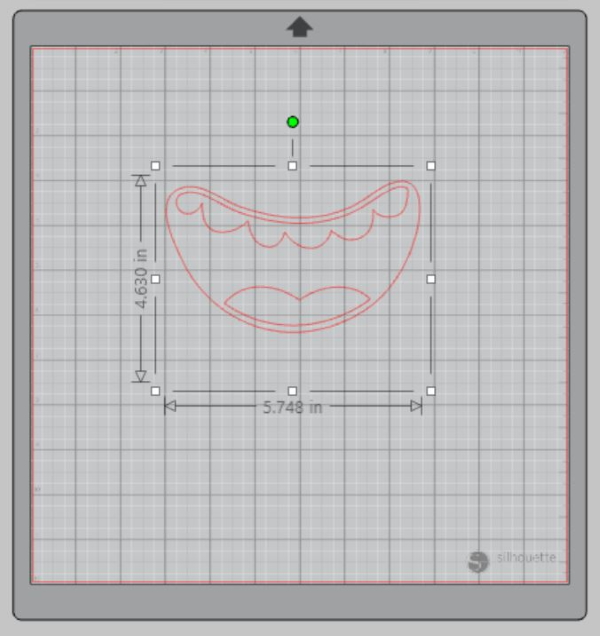
Delete the mouths you don’t want/leave the one you do want.
Click and select the mouth you would like and make two additional copies of it on your mat template (3 total). Copy (Control C) and Paste (Control V) works in Silhouette Studio too!
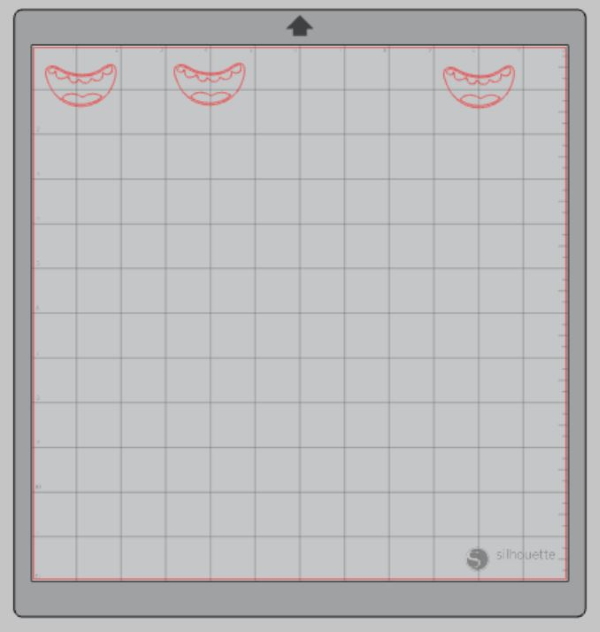
Measure your bucket and re-size your design to the correct space on your 12×12 template – be sure to move the design as a group so it keeps everything lined up. You can do this by clicking and dragging to cover the whole design and then moving as one piece.
Attach your Adhesive Vinyl to the cutting mat, color side up, and load into your machine. You can load all three colors into the machine at the same time; just make sure your physical mat matches the digital mat.
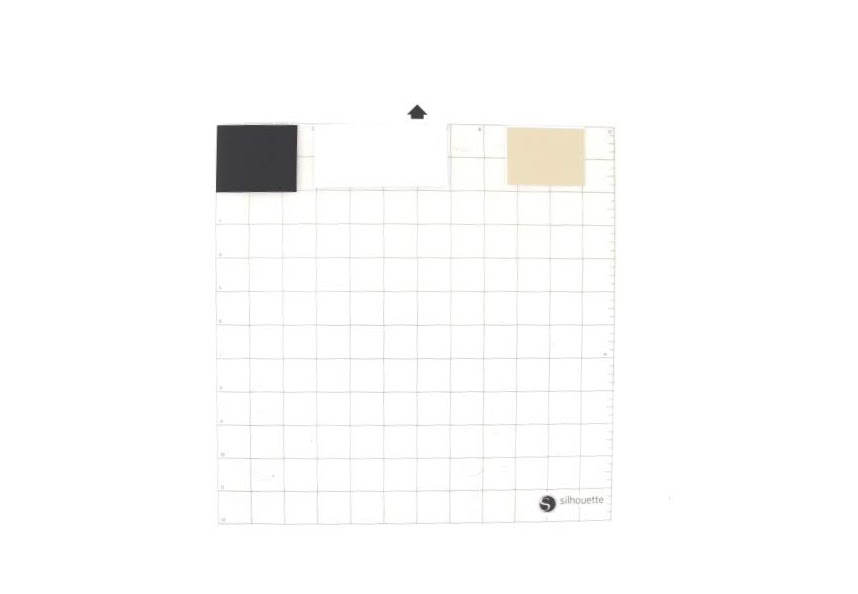
Follow the prompts in the Design Studio to adjust your blade (if using a ratchet blade) for Adhesive Vinyl and double-check to make sure your design has been selected to cut.
Select “Send” to start cutting.
Select “Unload” when your machine has finished cutting your design to remove the cutting mat from the machine.
Step 2: Preparing Your Design:
Remove your sheets of Adhesive Vinyl from the cutting mat – go slow so it doesn’t curl up.
Use your fingers or a weeding tool to remove the excess vinyl. Be sure to leave your design on the backing sheet.
Pro tip: you can color the elements in Silhouette Studio and then select the individual colors to cut one at a time. I skipped this and just cut out three identical mouths in the three colors and weeded each one differently to leave the correct elements in each color.
Step 3: Creating Your Mike Wazowski Halloween Bucket:
Layer the vinyl pieces in this order, one at a time: white teeth, black outline, tan tongue.
Place a piece of transfer tape over each part of your design.
Use the scraping tool to make sure the design adheres to the transfer tape.
Gently pull transfer tape up and make sure the entire design lifts with it.
Place your design on your bucket one piece at a time.
Use the scraping tool to smooth the design onto the bucket.
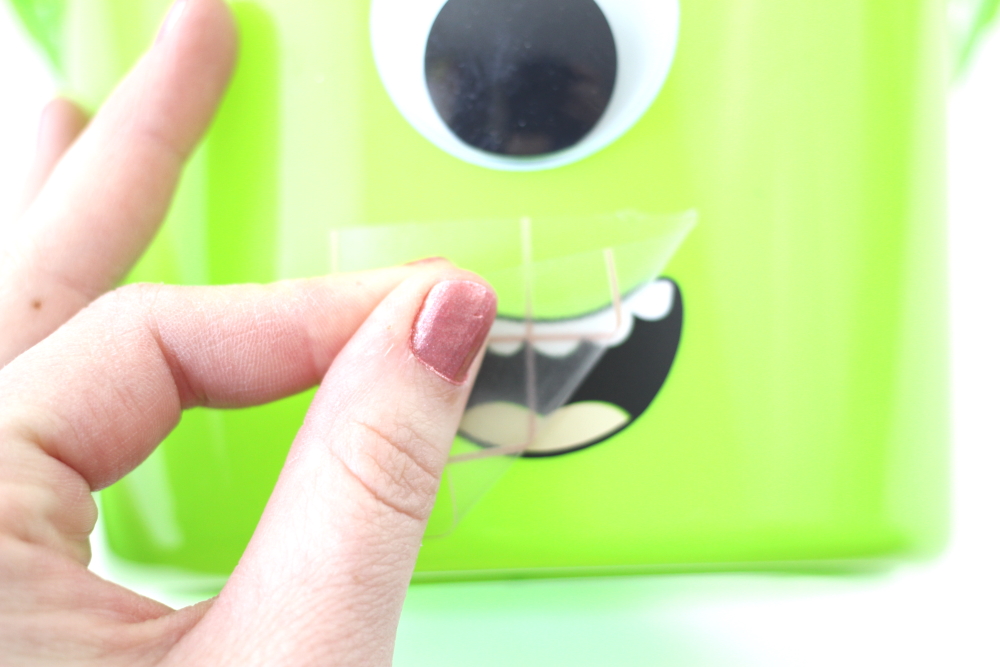
Slowly remove the transfer tape. Tip: pull from a corner and not the side to make sure each part of the design transfers completely to your bucket.
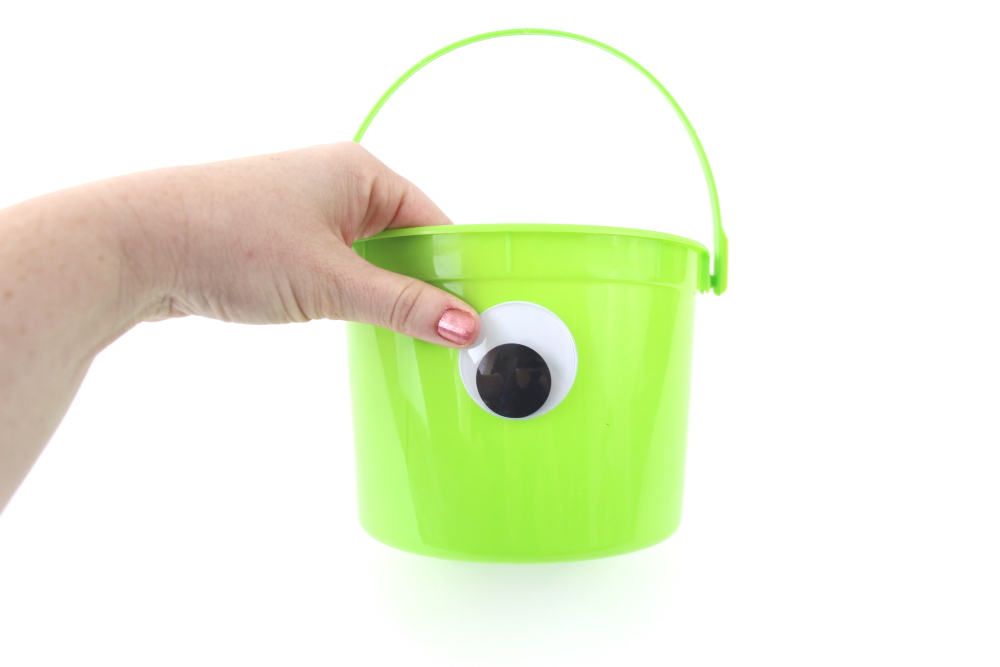
Once you’ve applied your mouth decal you need to add one googly eye above it to make your Mike Wazowski Halloween Bucket (I totally did this in reverse but don’t recommend it). Be sure to see that your eye will stick to the bucket; a bucket is curved, and the eye is not (so the edges may not lay flat). If needed, add a little hot glue to the back of the eye and re-stick to the bucket.
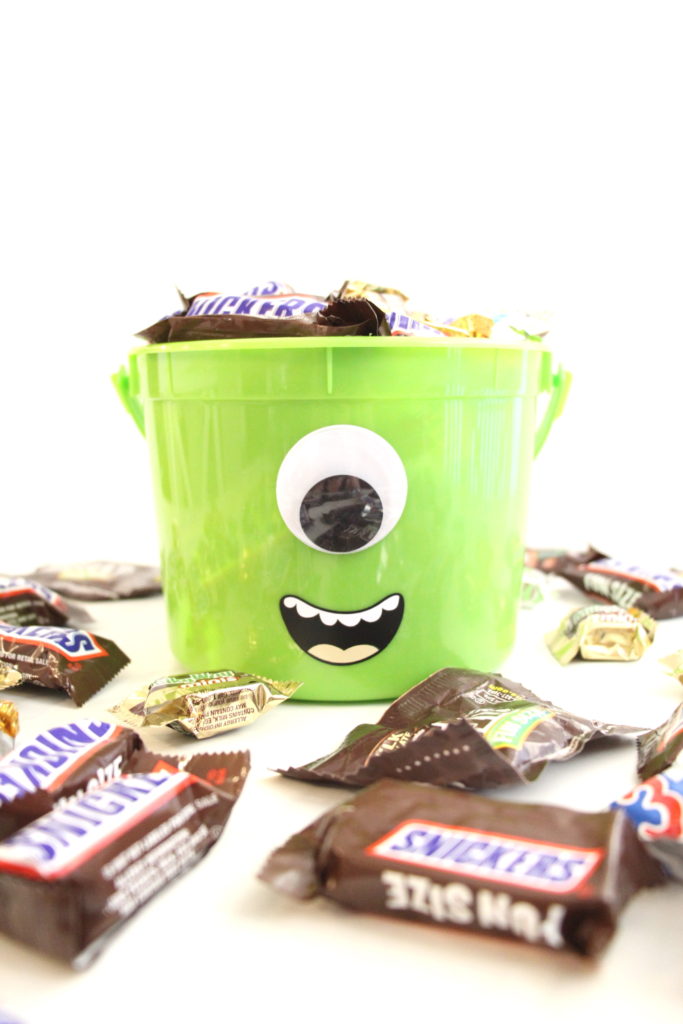
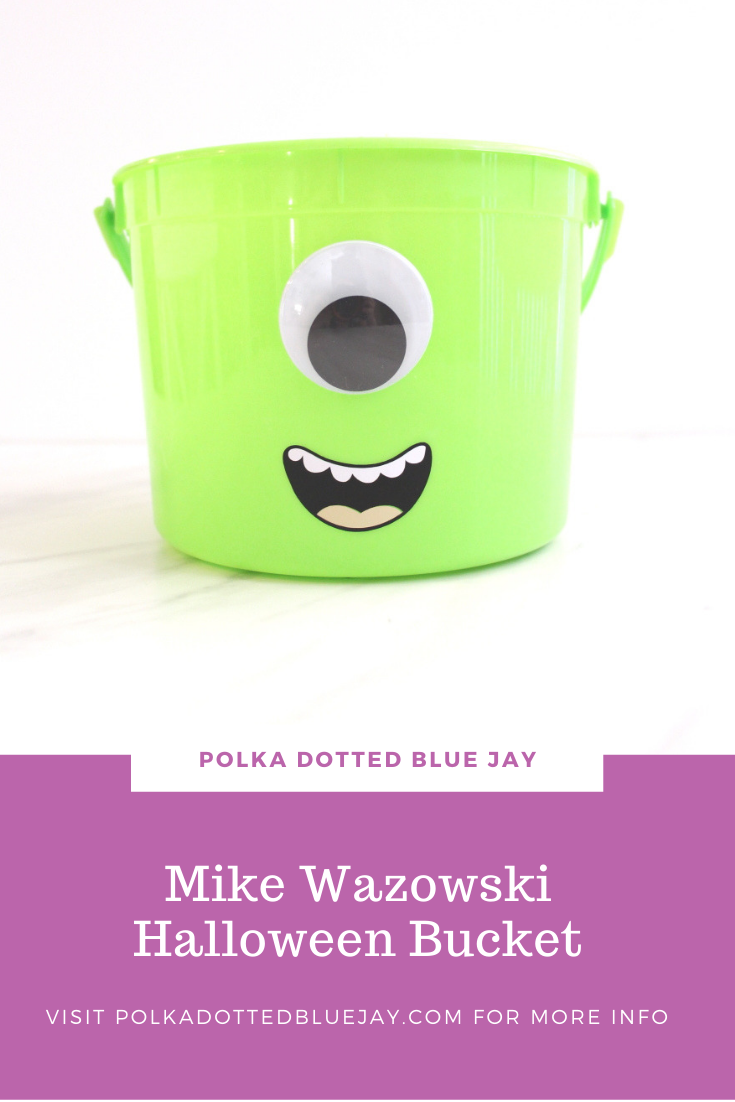
Ta-Da! A super easy DIY Mike Wazowski Halloween Bucket that is perfect for Trick or Treating or as a buddy to your Sulley costume, right? Be sure to check out this post about DIY Monsters Inc. Family Costumes or Monsters Inc. Trick Or Treat Bags.
Please tag me online or send me a link if you make a Mike Wazowski Halloween Bucket or a Sulley Halloween Bucket– I would love to see your creation. Happy scaring, friends!
Check out these other Disney-themed projects:
The Nightmare Before Christmas Tote Bag


2 Comments
Pingback:
Pingback: