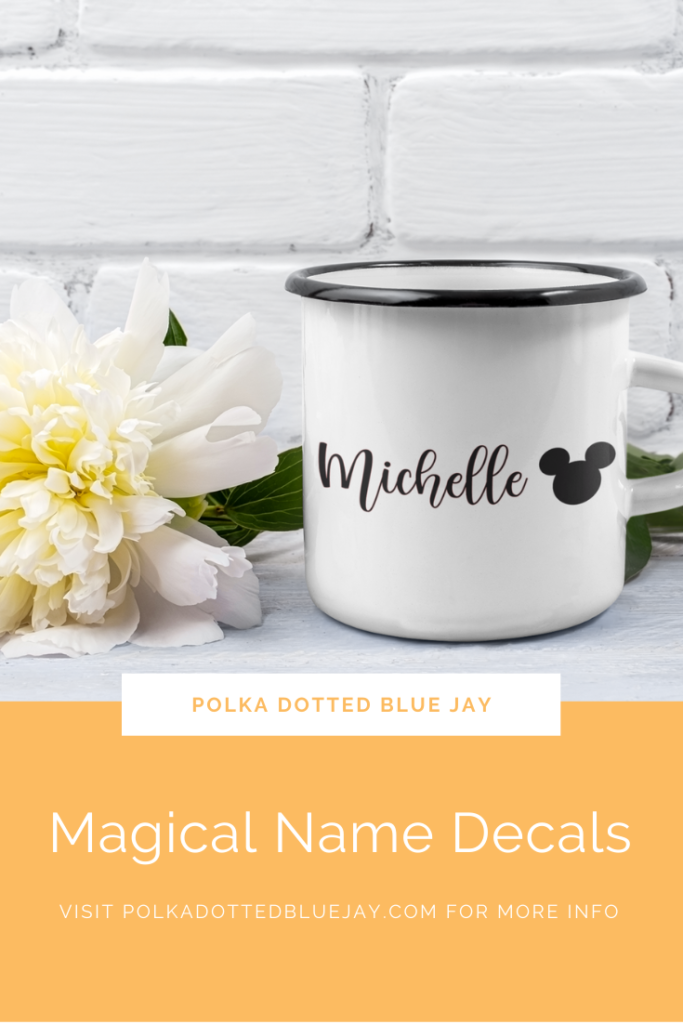
Magical Name Decals
| This post may contain affiliate links, which means I may receive a small commission, at no cost to you, if you make a purchase through a link. |
I had so much fun creating these magical name decals for the Magical Media Retreat I attended in January. They were a part of my marketing that I shared with the other attendees; it is always a good idea to make sure you stand out in a crowd with something fun!
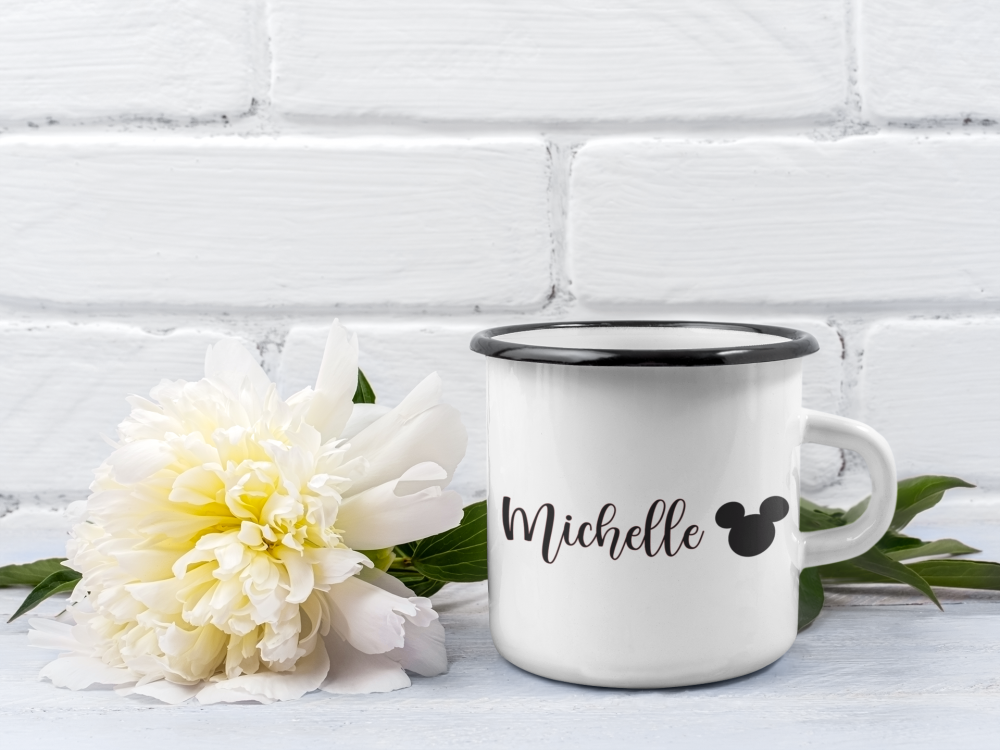
Each magical name decal was for the 25 attendees and I added a Mickey silhouette to each one since the event was in Anaheim and we enjoyed dinner at Naples Ristorante in Downtown Disney. It was a fun way to introduce myself to the other retreat attendees and share a little bit about Polka Dotted Blue Jay and the type of projects I create. There were only two other craft bloggers there (Blanca and Alia) so they helped me explain what “vinyl crafts” were to the non-craft creators.
You can make your own magical name tags by following this easy tutorial with some adhesive vinyl:
Estimated Time: 10 Minutes
Skill Level: Beginner
Supplies Needed:
- Silhouette CAMEO® 4
- Silhouette Cutting Mat
- Weeding Hook
- Silhouette Studio
- Adhesive Vinyl – Black
- Transfer Tape
- Kismet Font
Step One: Create Your Name Decal:
Open Silhouette Studio®.
Select the Page Setup Window and adjust your cutting mat size to 12×12 (or the size mat you are using).
Purchase the Kismet Font from the Silhouette Design Store and open it in the Silhouette Software. Click File>Library>Library> Fonts from the menu>Double click your font.
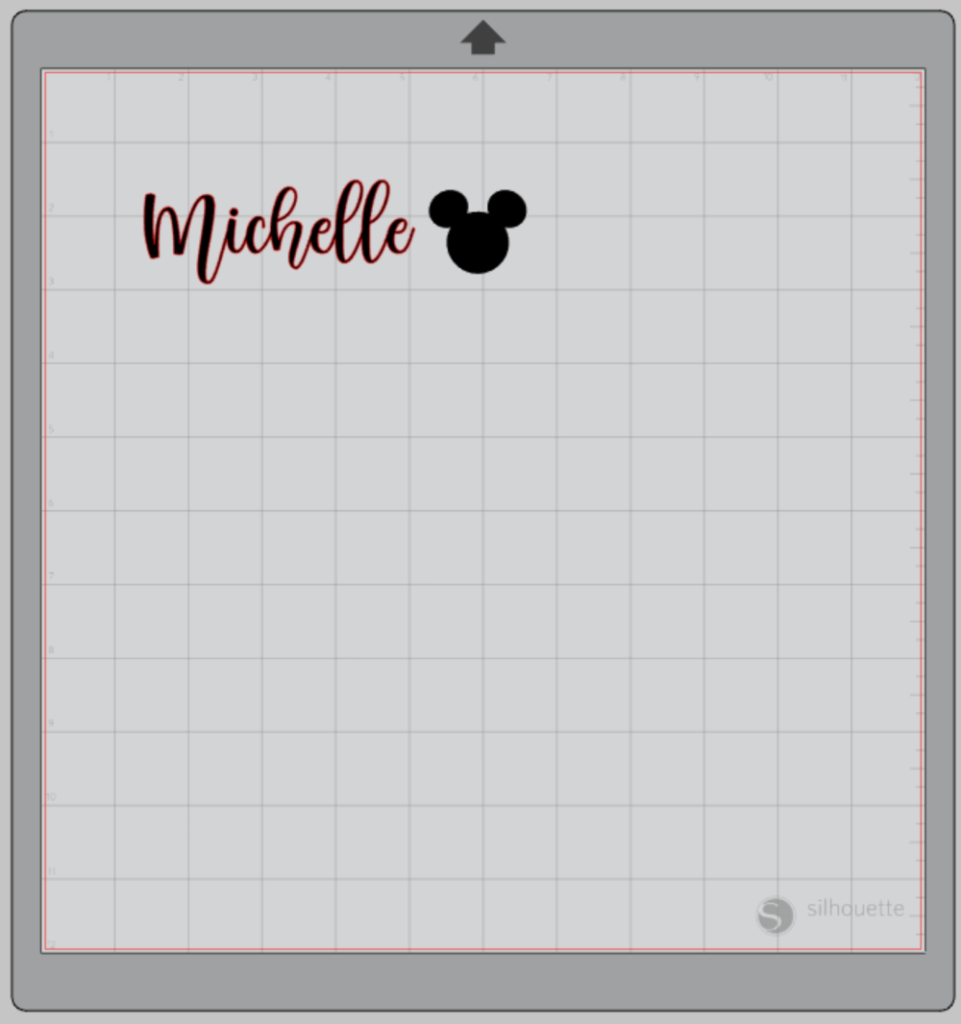
A text cursor will appear in the middle of your mat. Type your name.
Next, add your magical cut file – I made a Mickey-inspired design with the draw tool and merged three circles together.
Step Two: Editing your Name Decal:
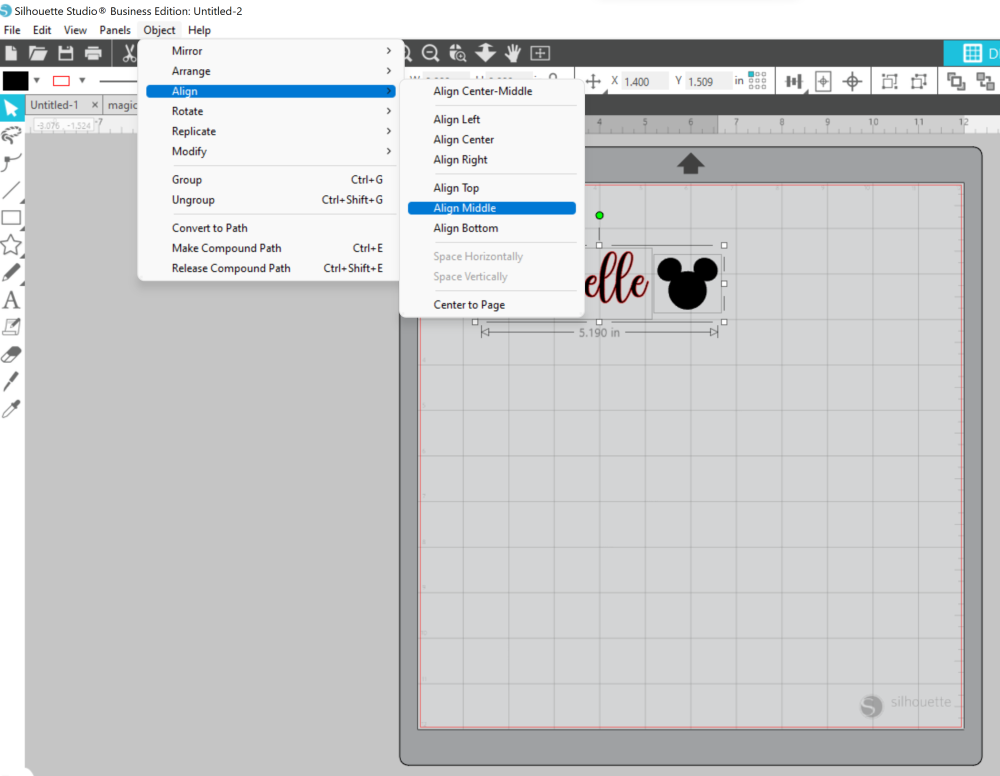
Highlight the whole name design and right-click.
Select “group”.
Right-click on the design again and select “weld” from the menu and watch those pesky lines that cut through your letters disappear!
Align your name and the graphic by highlighting all elements and “align middle”.
Resize your design to fit the item you will be putting it on.
Step Three: Cutting out your Magical Name Decal:
Turn on your Silhouette Cameo 4.
Attach your Adhesive Vinyl to the cutting mat, color side up, and load into your machine by lining up the mat on the guidelines and pressing the “up” arrow on the touch panel.
Follow the prompts in the Design Studio for Adhesive Vinyl and double-check to make sure your design has been selected to cut.
Click “Send” in the design studio to start cutting.
Press the “down” arrow on the Cameo 4 touch panel when your machine has finished cutting your design to remove the cutting mat from the machine.

Step Four: Preparing Your Decal:
Remove your Adhesive Vinyl from the cutting mat – go slow so it doesn’t curl up.
Use a paper trimmer to cut away the vinyl you won’t be using.
Use your fingers or a weeding tool to remove the excess vinyl. Be sure to leave your design on the white backing sheet and get be sure to get the vinyl out of the loops and middles of your letters.

Step Five: Creating Your Magical Name Decal:
Place a piece of transfer tape over your decal.
Use the scraping tool and scrape the top of the transfer tape to make sure the design adheres to it.
Gently pull transfer tape up away from the backing sheet and make sure the entire decal lifts with it.
Center your design on your item and press it down from left to right.
Slowly remove the transfer tape. Tip: pull from a corner and not the side to make sure each part of the design transfers completely.
Add your magical name decal to any surface you want:
Water bottle or tumbler
Notebook
Laptop
Keychain
Coffee Mug
Frame it for your desk
Add it to a child’s bedroom door
Make a Disney-themed activity pack with colored pencils and coloring pages
No matter what you put the decal on, it is sure to help every day feel a little more magical and make you smile.
If you would like more information about the Magical Media Retreat, be sure to check out these posts from the retreat coordinators.
Little Dove’s Magical Media Retreat Recap
Princess Turned Mom’s Retreat Review
The Parentologist’s Behind the Scenes Look at the Magical Media Retreat


One Comment
Pingback: