Black and White Gift Wrap and Print and Cut Gift Tags
| This post may contain affiliate links, which means I may receive a small commission, at no cost to you, if you make a purchase through a link. |
This Black and White Gift Wrap and Print and Cut Gift Tags is a sponsored post written by me on behalf of Silhouette America®. All opinions are 100% mine.
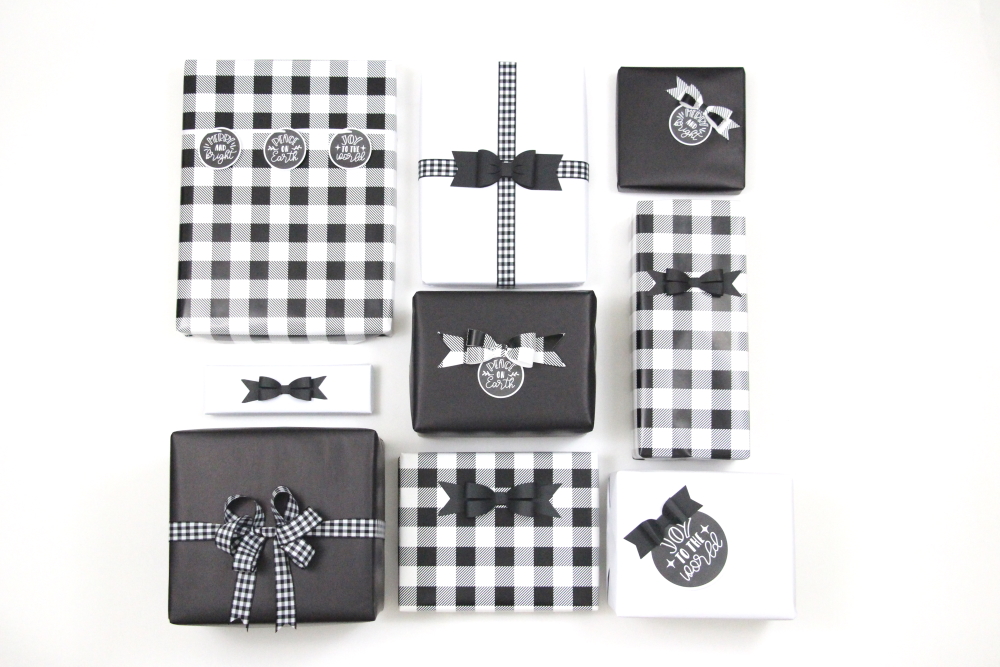
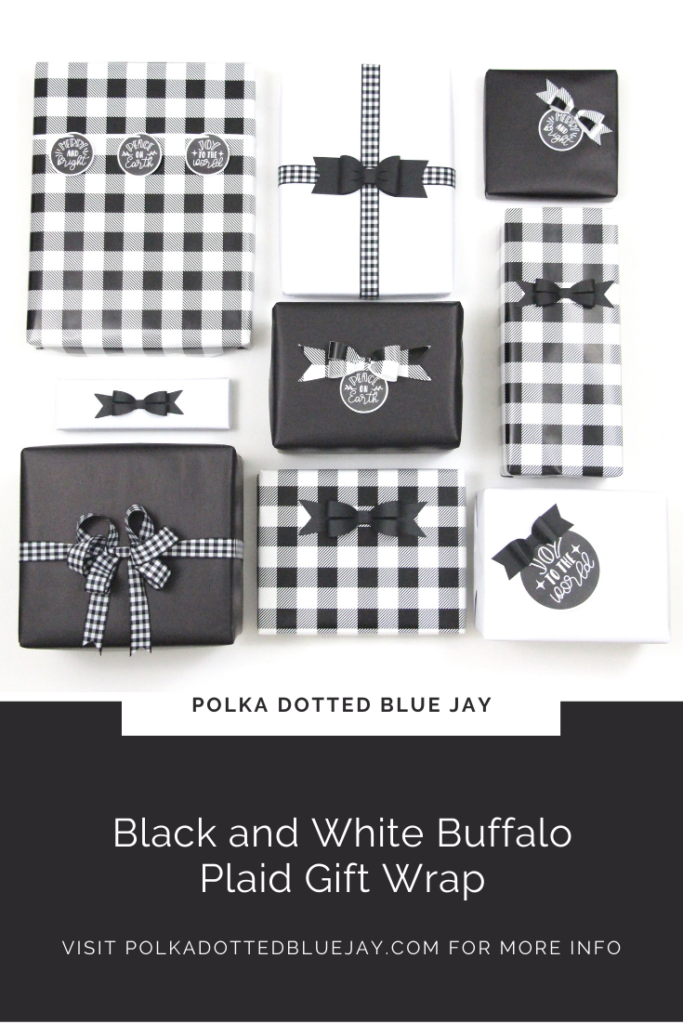
My grandma always picked a theme for her gift wrap every Christmas and I hope this black and white gift wrap would make her proud. I love how simple but striking the black and white gift wrap looks under the tree.
It has been a couple of years since I made my buffalo plaid tablescape for Thanksgiving and I still love black and white buffalo plaid just as much as I did then. So, when I saw these print and cut designs in the Silhouette Design Store, I knew I had to use them as part of my gift wrap.
I always use the gift wrap techniques I learned when I worked at Robinson’s-May. I shared how to wrap presents and how to make ribbon bows. Then I used my Silhouette Cameo 4 to print and cut my gift tags and cut out the cardstock bows.
Estimated Time: 20-30 Minutes
Skill Level: Intermediate
Supplies Needed:
- Silhouette CAMEO® 4
- Cutting Mat – Light Tack
- Software – Silhouette Studio
- Merry and Bright Design
- Joy to the World Design
- Peace on Earth Design
- White Cardstock
- Color Printer
- Wrapping Paper
Step One: Create Your Gift Tags in Silhouette Studio:
Open Silhouette Studio® on your computer.
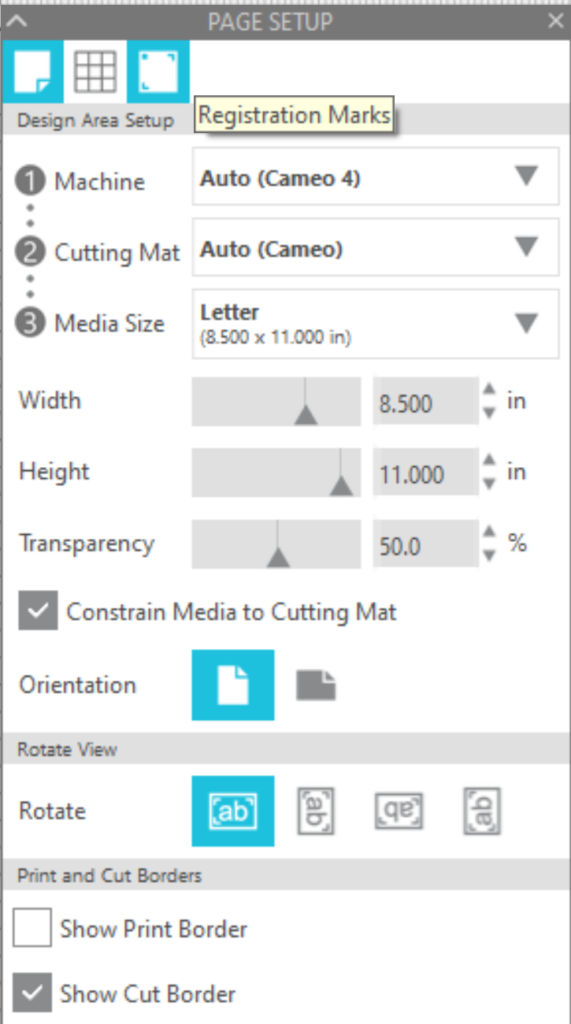
Select the Page Setup Window and adjust your cutting mat size to 12×12 (or the size paper/mat you are using). I use a 12×12 mat but print on letter-sized cardstock so I select “letter” from the drop-down menu.
Add registration marks to your page by clicking this icon with three corners on the page set-up.
Purchase your designs from the Silhouette Design Store and then open your designs in Silhouette Studio. Click File>Library>Library>Recent Downloads>Select the gift tag designs.
Re-size to the size you would like your tag to be. My circles are about 2 inches. Be sure your design fits within the registration marks.
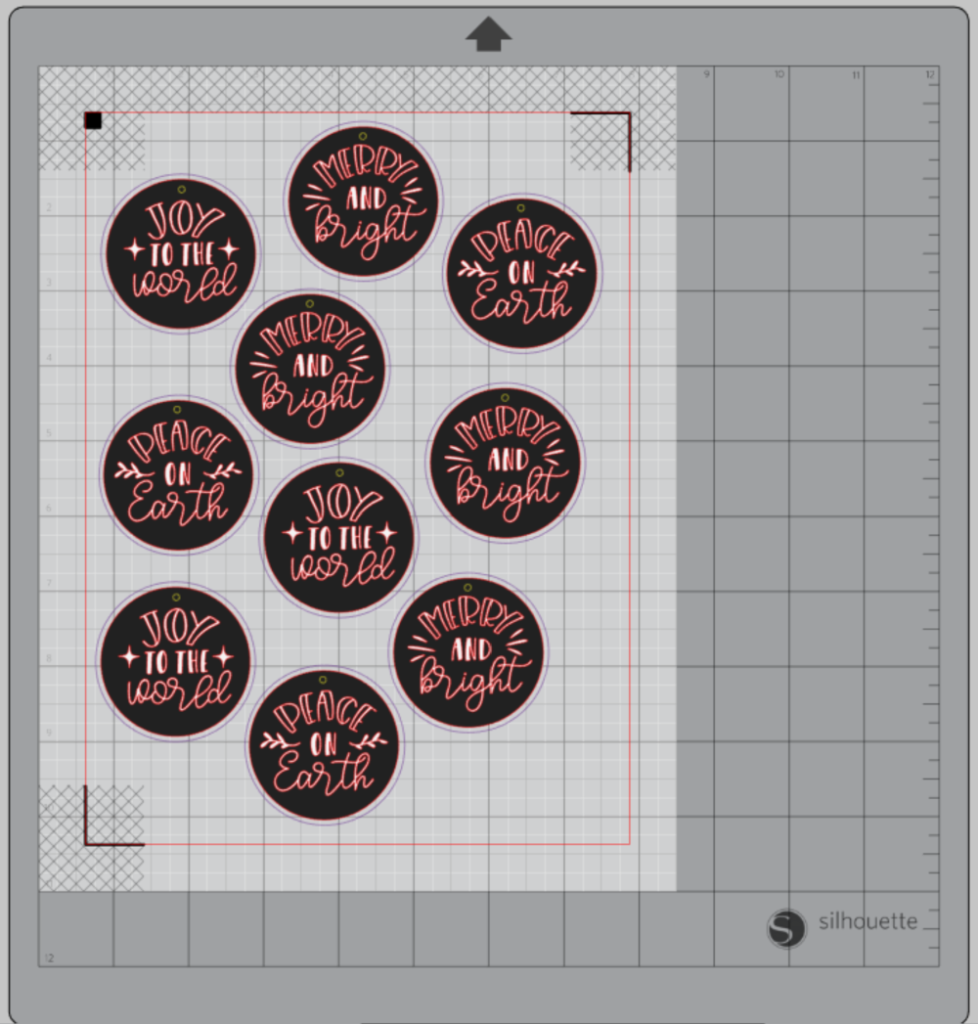
Create an offset of your circle if you would like the white border around your tag; this is called a “kiss cut”. Otherwise, your tag will cut along the black border automatically. Make sure you make this kiss cut line a different color for easy selecting later (mine is purple).
Add a circle to the top of your tag (mine is yellow) or opt to punch out with a hole punch later.
Step Two: Print Your Gift Tags in Silhouette Studio:
Load your cardstock in your home printer.
Send your design to print within the Silhouette Software.
Remove from your printer
Step Three: Cut Your Gift Tags in Silhouette Studio:
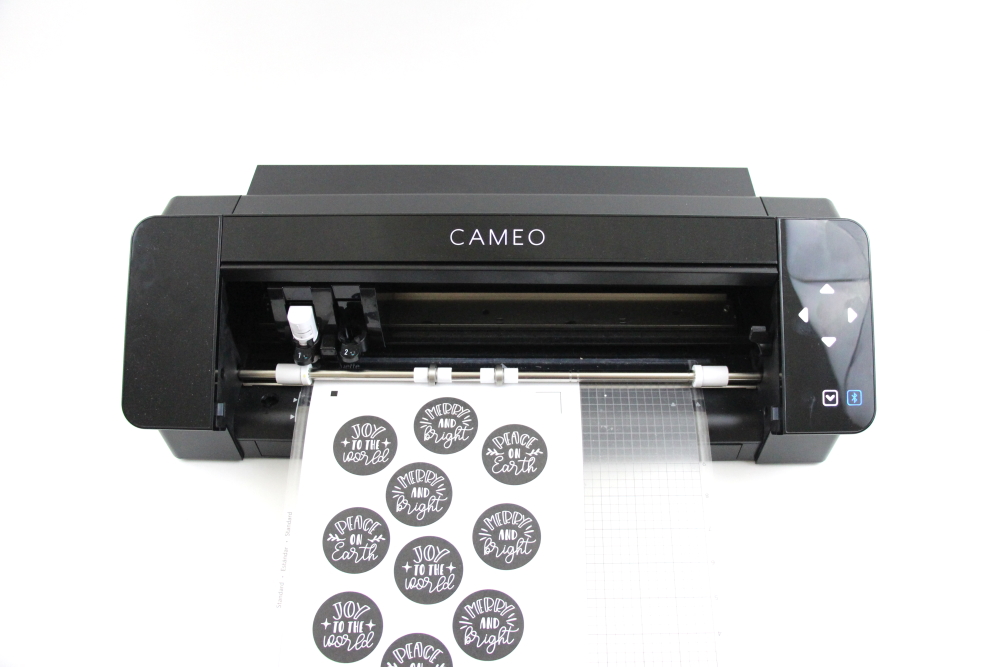
Turn on your Silhouette CAMEO® 4.
Attach your cardstock to the cutting mat and load it into your machine by lining up your mat with the guidelines and pressing the “up” arrow.
Next, click “send” in the Design Studio and then select the type of cardstock you are using from the dropdown menu.
Double-check to make sure your design has been selected to cut and the Silhouette CAMEO®4 autoblade had been selected. The autoblade will adjust to cut based on the type of material you selected.
Make sure you select “cut by line” and only select the kiss cut and small circle you created. You don’t want to cut out the red lines of the letters as you would if you were creating a vinyl project.
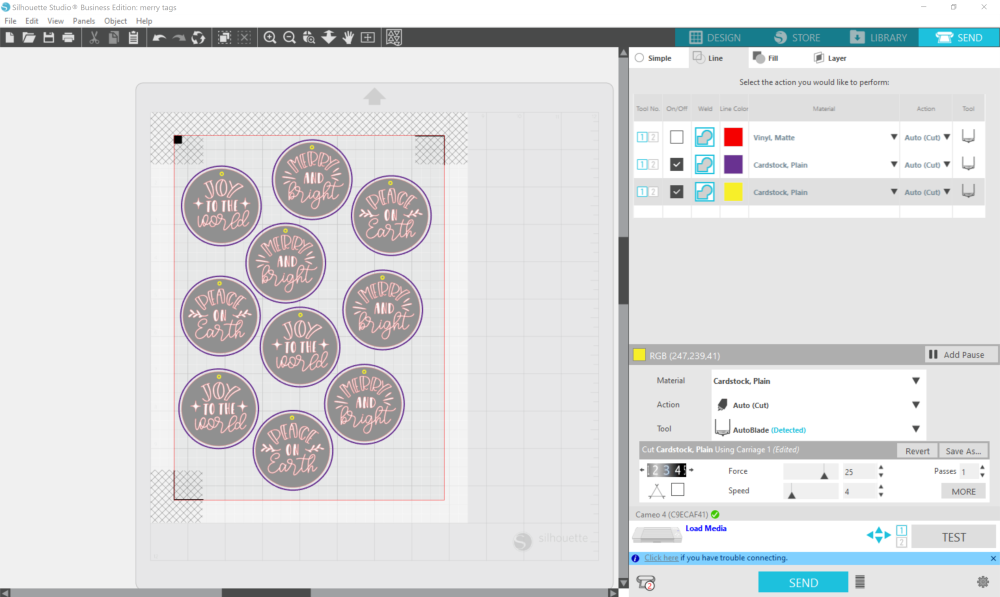
Click “Send” to start cutting. The machine will automatically detect the registration marks and cut out your design.
Press the “down” arrow when your machine has finished cutting your design to remove the cutting mat from the machine.
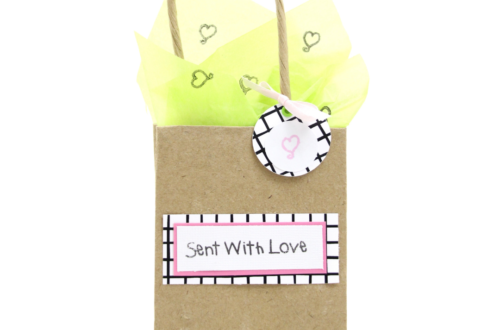
Step Four: Finish Your Black and White Gift Tags:
Remove your cardstock from the cutting mat.
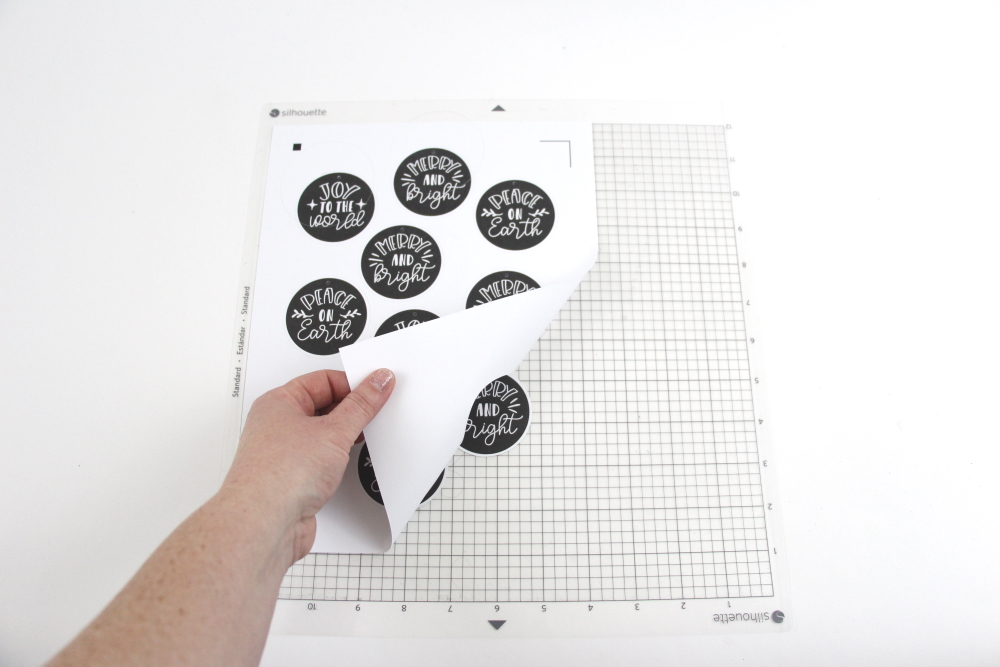
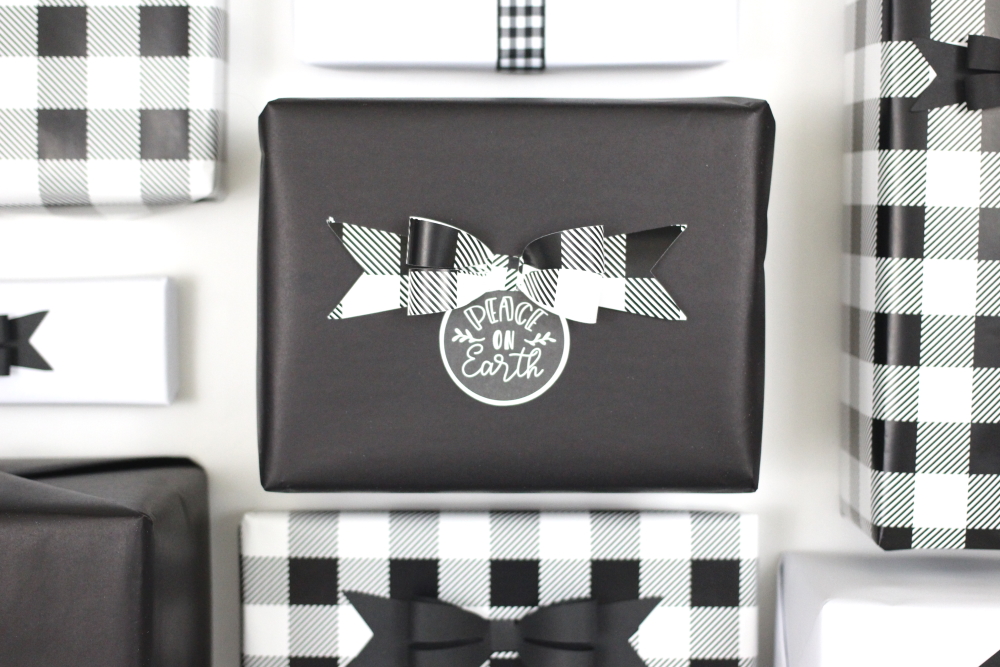
Gently remove the circle tags from the cutting mat and attach them to your gifts.

I used to love to schedule a gift wrap day where I saved all my presents for one day of marathon gift wrapping, hot cocoa, and movies. Now I try to wrap as I buy but I love breaking out my heavy-duty tape dispenser and the double-sided tape.
I would love to hear if you do a theme for your Christmas gifts in the comments – even better if you tag me in a photo on Instagram or Facebook so I can see it!
Click here for other Christmas Posts:


4 Comments
Pingback:
Pingback:
Pingback:
Pingback: