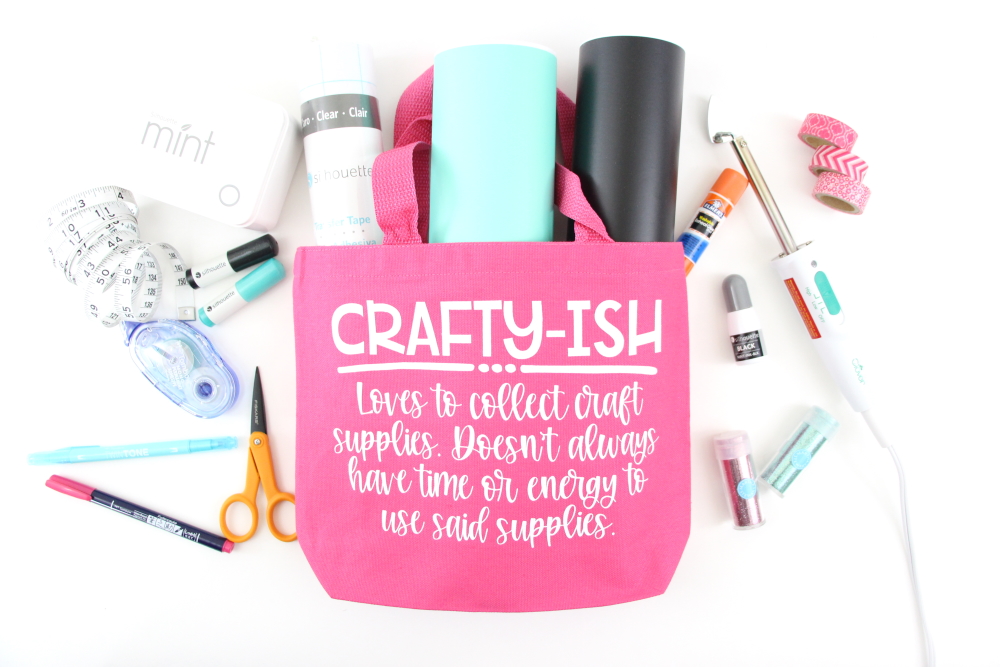
DIY Craft Lady Tote Bag
| This post may contain affiliate links, which means I may receive a small commission, at no cost to you, if you make a purchase through a link. |
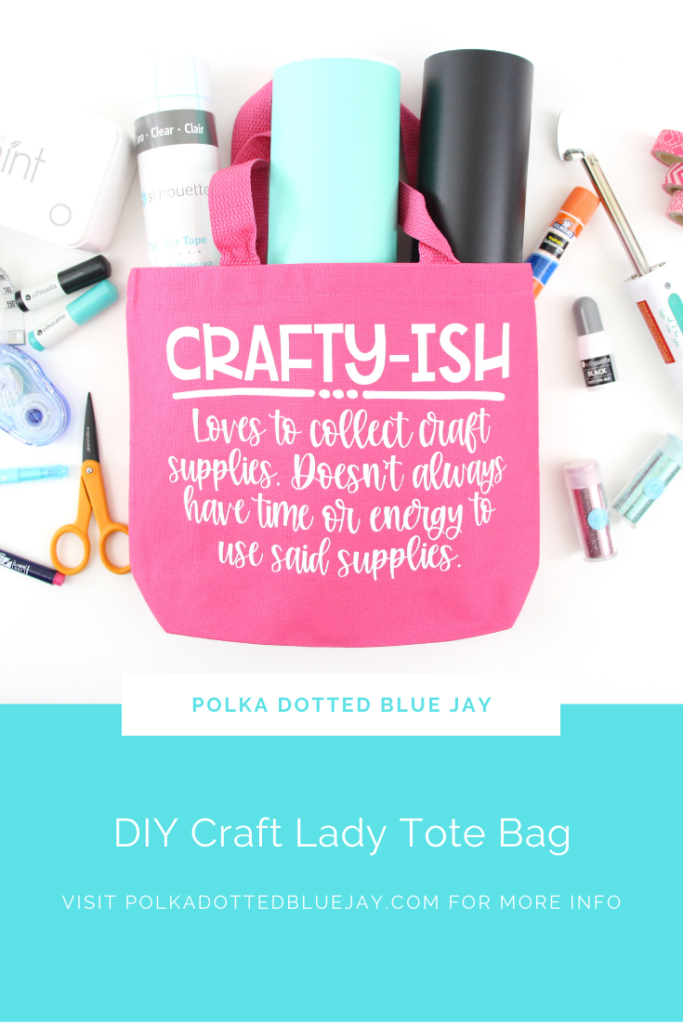
Crafty-ish: when you collect craft supplies but don’t always use them. Make this DIY craft lady tote bag with heat transfer vinyl and be sure to take it with you on your next trip to the craft store!
I am totally guilty of doing this myself: finding craft supplies and being so excited in the store but then letting them sit unused for months in my craft room. Maybe this craft lady tote bag will keep me from doing that in the future?
Estimated Time: 10 Minutes
Skill Level: Beginner
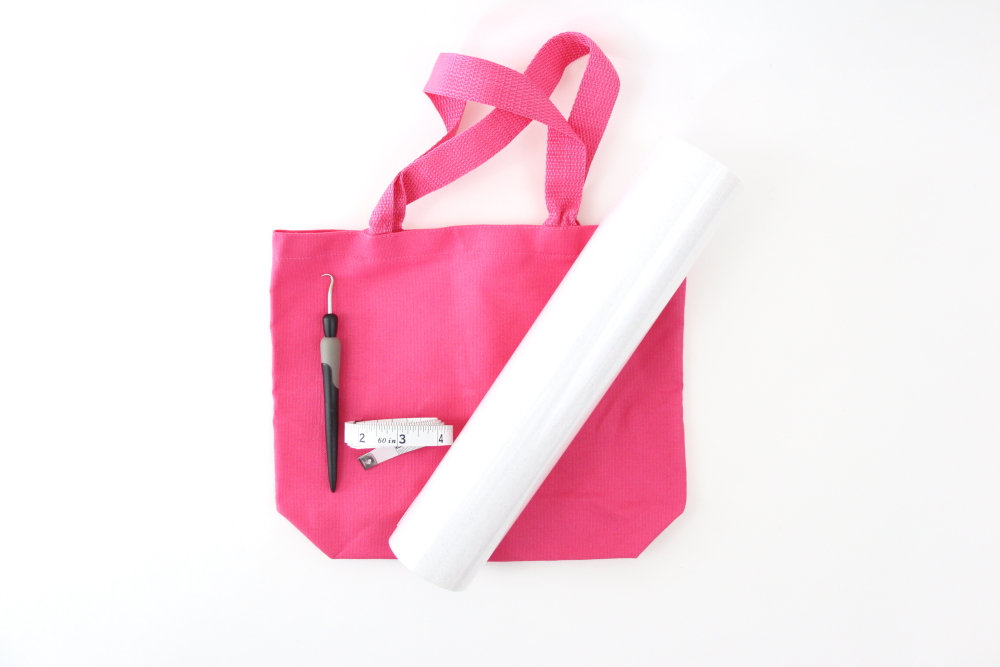
Supplies Needed:
- Silhouette CAMEO®
- Silhouette Cutting Mat
- Weeding Hook
- Silhouette Studio – use the Business Edition
- Heat Transfer Vinyl – White Glitter
- Plain Tote Bag
- Iron or heat press
- Crafty-ish SVG – from Club Chaos
Step One: Creating Your Craft Lady Tote Bag Design:
Open Silhouette Studio®.
Select the Page Setup Window and adjust your cutting mat size to 12×12 (or the sized mat you are using).
First, you need to get your design from Club Chaos. I love being a part of this club and getting access to so many amazing designs.
Next, open your design in Silhouette Studio. Click File>Library>Recent Downloads>Select your file.
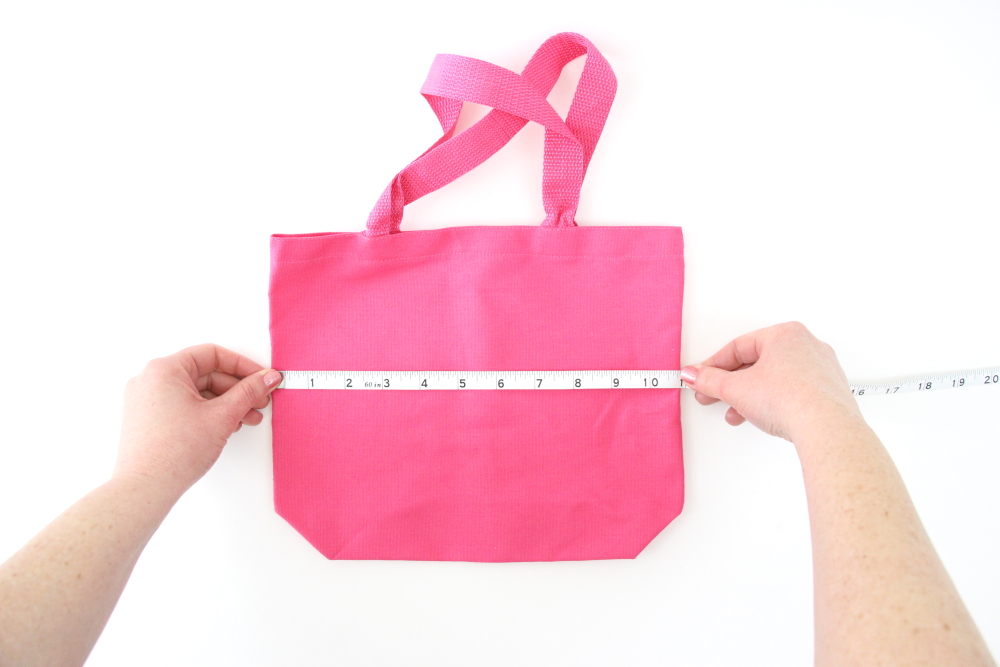
Measure your tote bag and re-size your design to the correct space on your 12×12 template – be sure to click and drag to select the whole design to keep everything lined up.
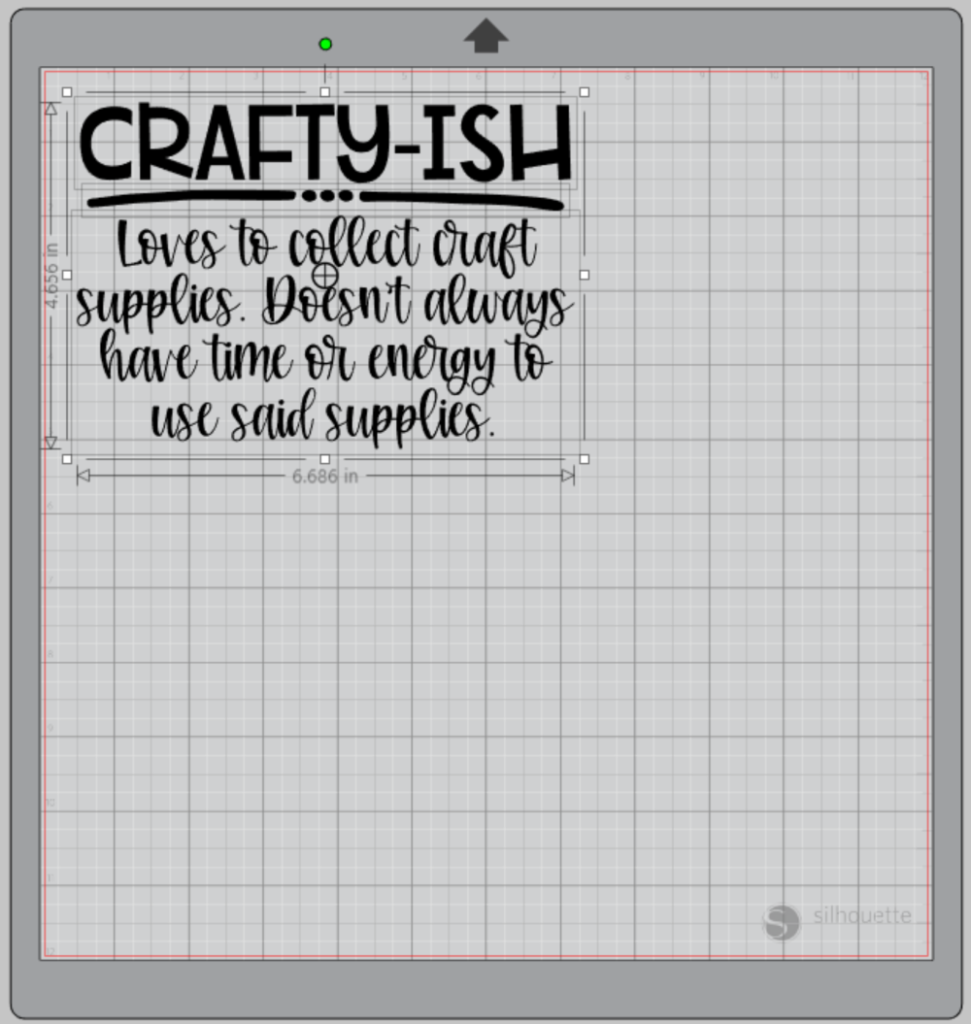
You will need to flip your design, so it appears backward for Heat Transfer Vinyl – this is called “mirroring” your design. Highlight your whole design, right-click, and select “flip horizontally” to mirror it.
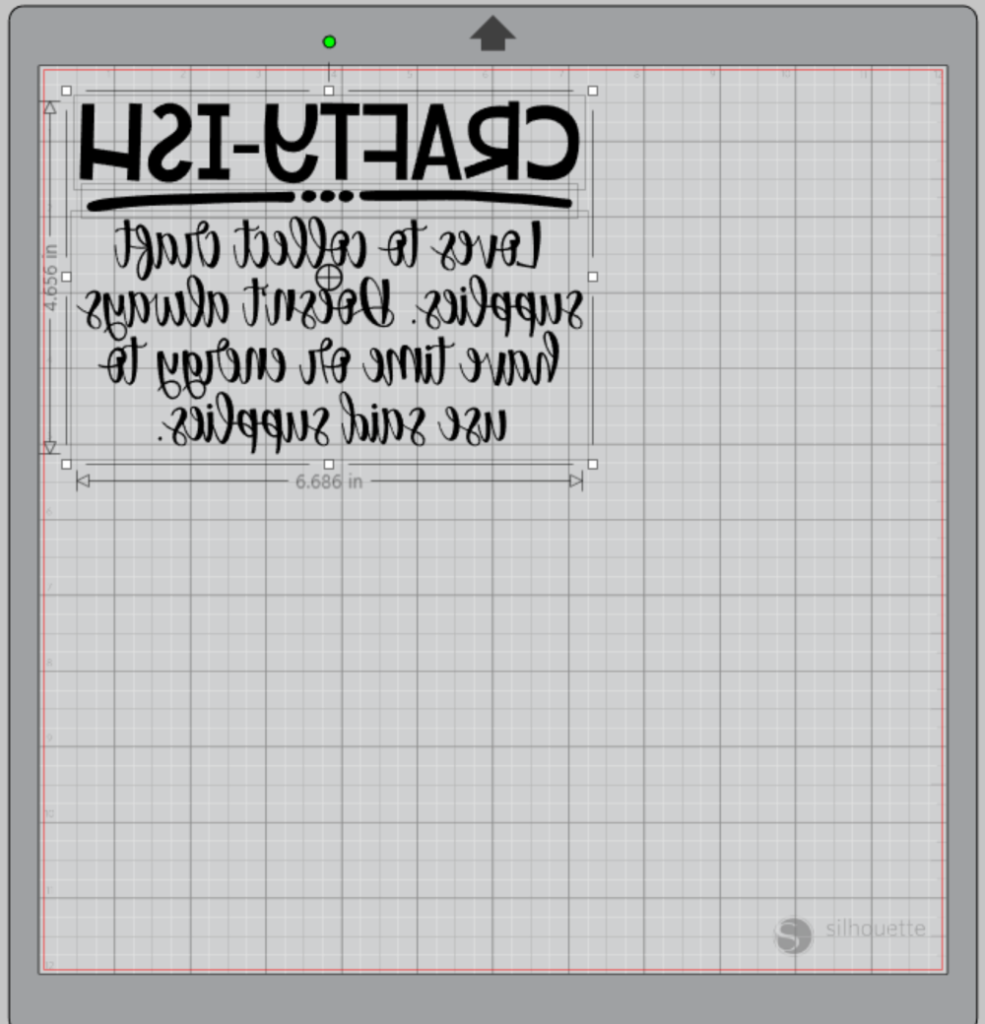
Select “Send” to prepare to cut.
Follow the prompts in the Software for Heat Transfer Vinyl (or the type you are using for your project) and double-check to make sure your design has been selected to cut.
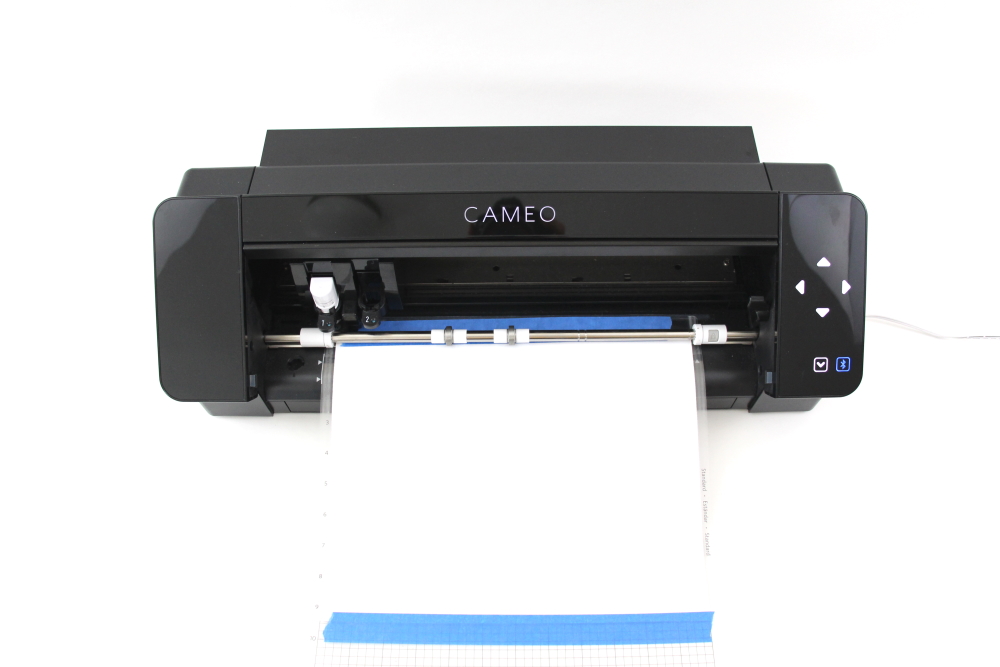
Load your heat transfer vinyl into your Cameo 4 with the color side face down on the mat.
Click “Send”
When your machine has finished cutting, press the down-arrow to remove the cutting mat from the machine.
Step Two: Preparing Your Craft Lady Tote Bag Decal:
Remove your sheet of Heat Transfer Vinyl from the cutting mat – go slow so it doesn’t curl up or tear.
Use your fingers or a weeding tool to remove the excess vinyl. Be sure to leave your design on the clear carrier sheet.
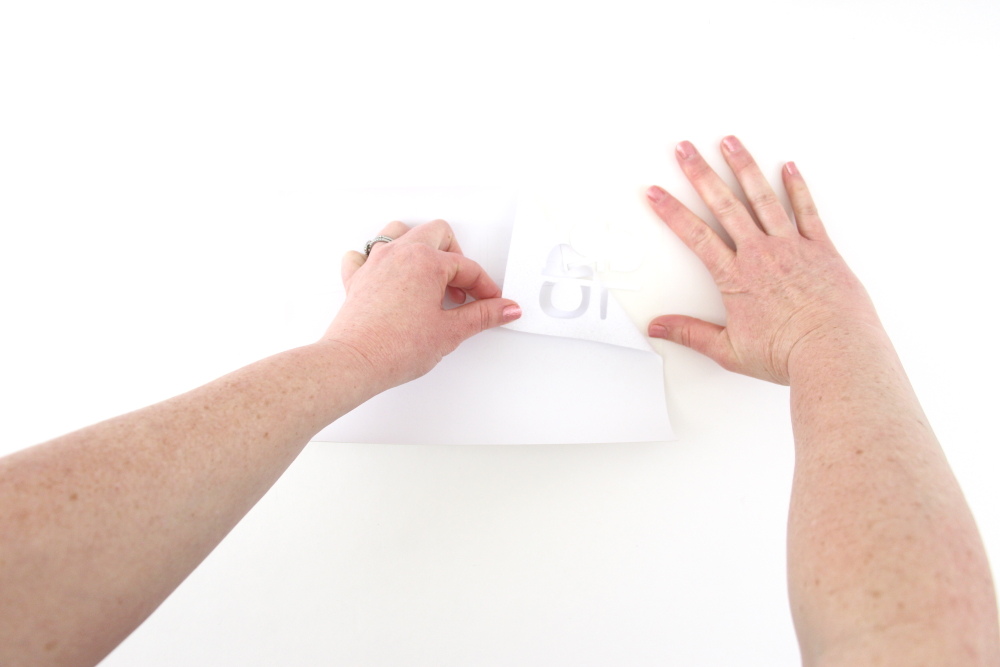
Step Three: Creating Your Craft Lady Tote Bag:
Pre-heat your tote bag– use your iron or heat press to warm up the fabric for a better transfer.
Place your design on your tote bag right side up (this is the reason you mirror your design for cutting).
Heat the design for the recommended time for the HTV you’re using. Use steady pressure.
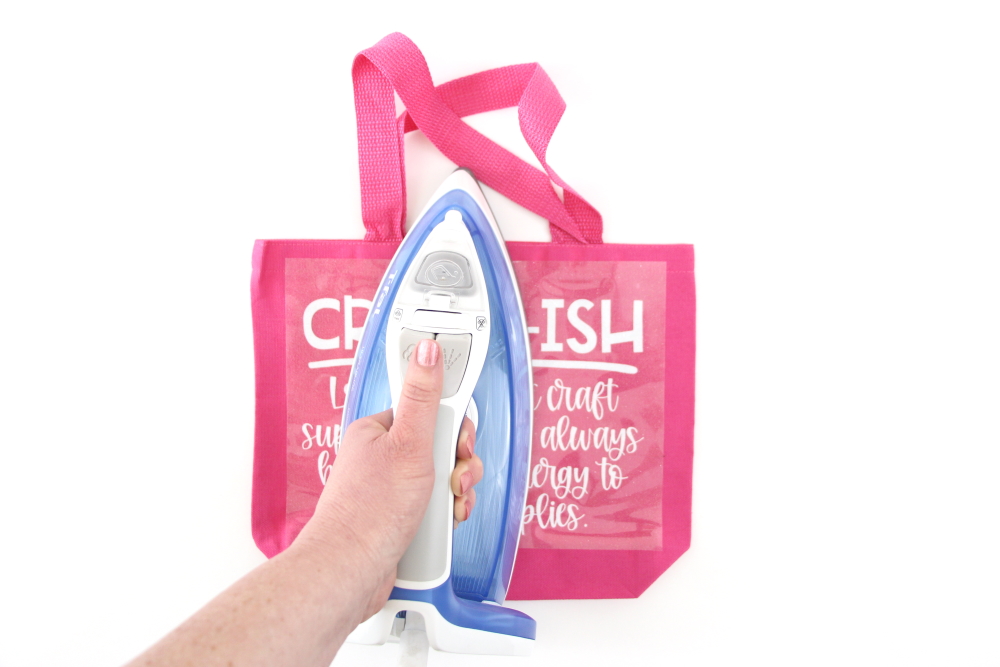
Peel back the clear carrier sheet. Some Heat Transfer Vinyl requires a hot or cold peel – always follow the recommended peel for your heat transfer vinyl. Tip: pull from a corner and not the side to make sure each part of the design transfers completely to your tote bag.
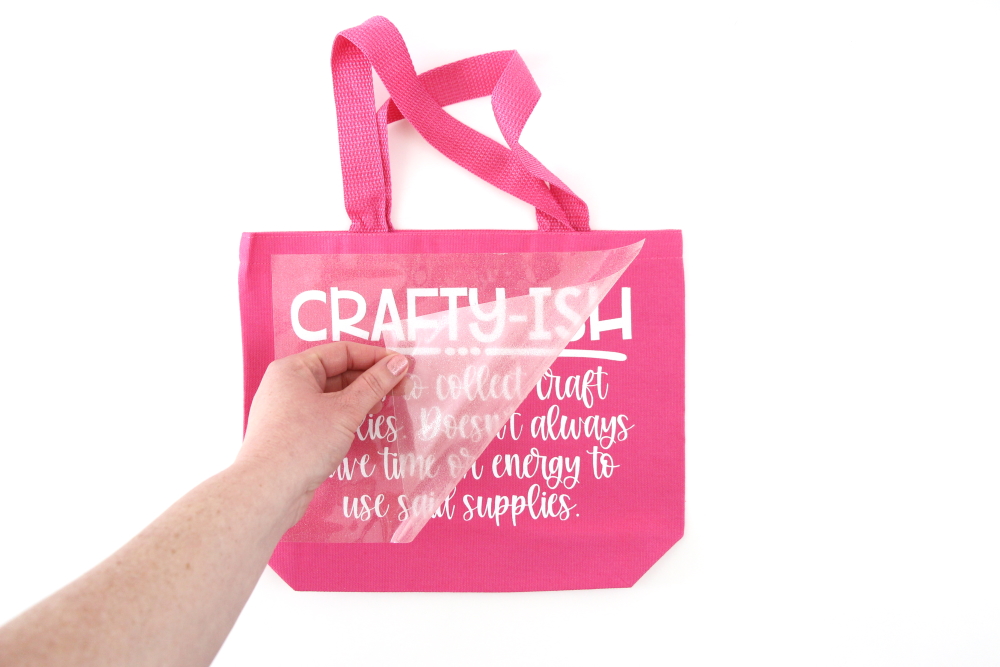
Flip your tote bag over and give it a 10-second press to activate the adhesive.
Your DIY craft lady tote bag is ready to be filled with more fun craft supplies! I am sure your fellow crafters will get a kick out of it if you take it shopping.
Check out these other fun tote bag projects:


One Comment
Pingback: