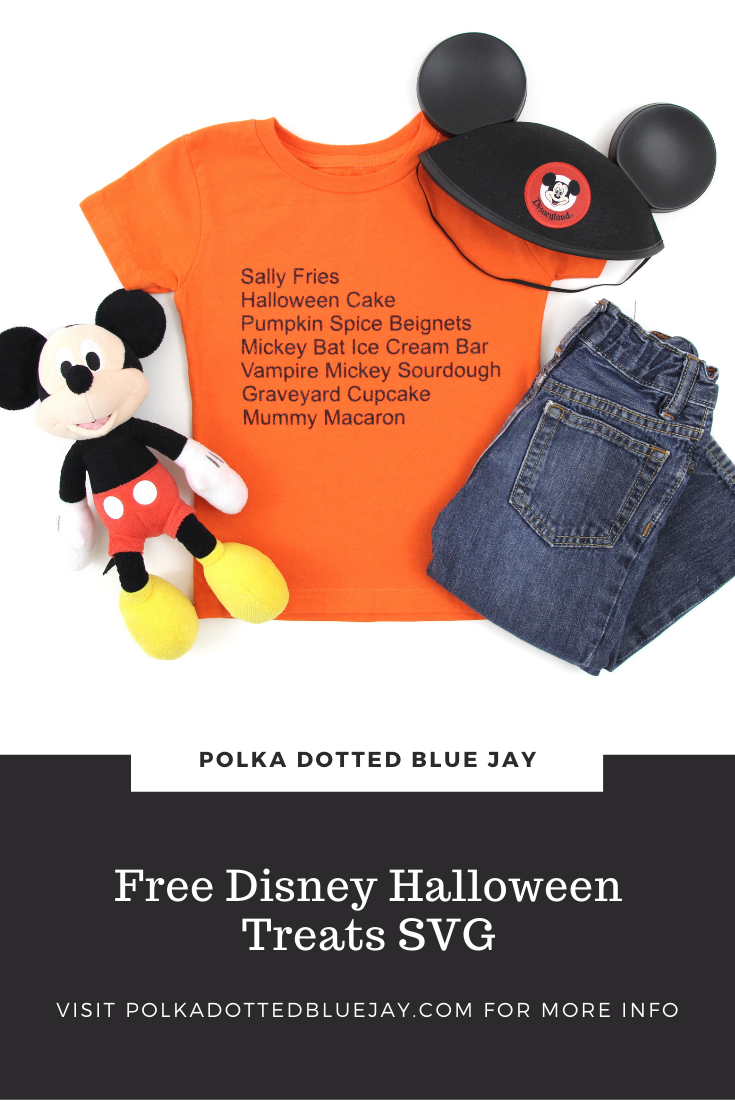
DIY Disney Halloween Treats T-Shirt
| This post may contain affiliate links, which means I may receive a small commission, at no cost to you, if you make a purchase through a link. |
I am missing Disneyland in a bad way, friends. This year was supposed to be my first time as an annual passholder and I am still bummed about it. I am missing the fun, family time, and food. Yes, I can eat Disneyland treats like a boss and in honor of the yummy snacks I will be missing out on, I made this DIY Disney Halloween Treats T-Shirt and Free SVG.
When it comes to Disneyland snacks I will always choose a churro. I mean, it is cinnamon and sugar magic. But I also love a lemon soft serve from California Adventure, a classic Mickey pretzel, or popcorn. I was really excited to get to try a Mummy Macaron from the Disney Halloween Treats list – but I guess I will just have to wait for next year.
Estimated Time: 15 Minutes
Skill Level: Beginner
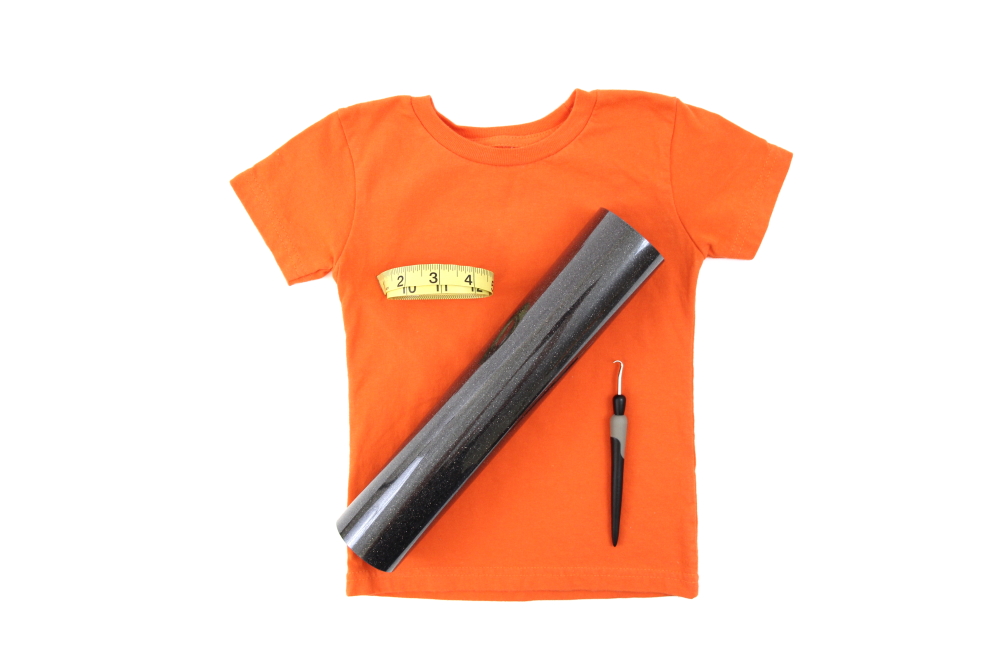
Supplies Needed:
- Silhouette CAMEO®
- Silhouette Cutting Mat
- Weeding Hook
- Silhouette Studio – use the Business Edition to make importing SVGs easy
- Heat Transfer Vinyl – Black Glitter
- Plain T-shirt
- Iron or heat press
- Disney Halloween Treats FREE SVG
Step One: Creating Your Disney Halloween Treats T-shirt Design:
Open Silhouette Studio®.
Select the Page Setup Window and adjust your cutting mat size to 12×12 (or the sized mat you are using).
First, you need to download your design from the Polka Dotted Blue Jay Freebie Library. Enter your name and email and you will receive an email with the library link and the password. Log in, select the Disney Halloween Treats SVG, and save to your computer.
Next, open your Disney Halloween Treats design in Silhouette Studio. Click File>Open>Select your downloaded file.
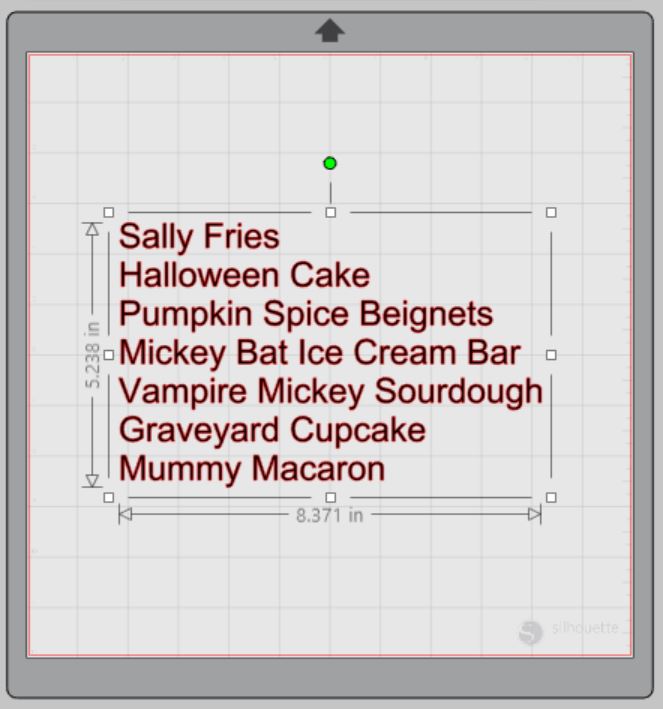
Using the Business Edition of Silhouette Studio makes using SVGs easy. In other words, no tracing required.
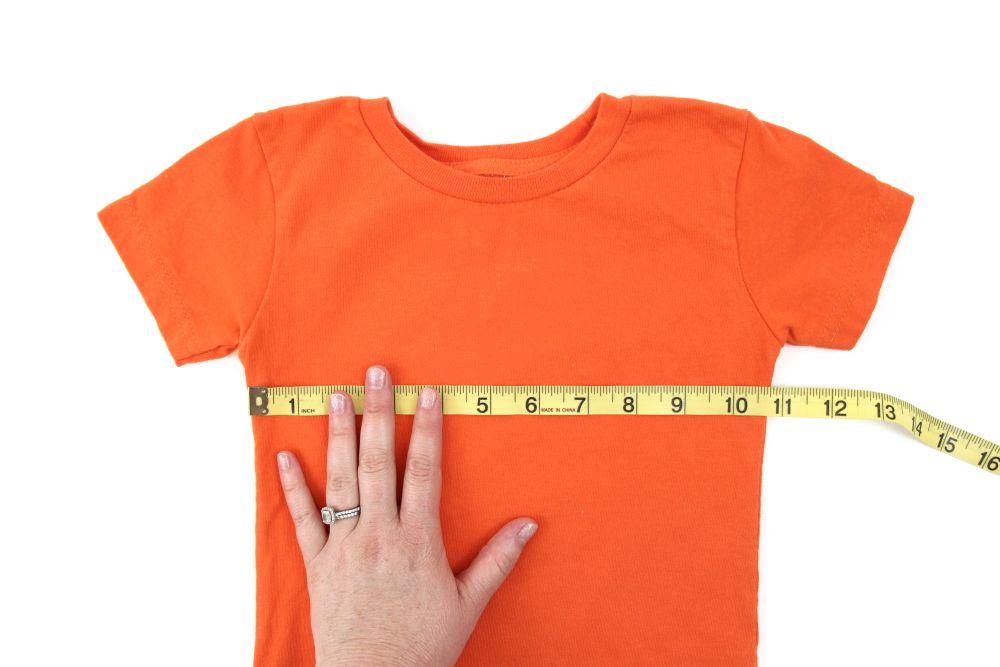
Measure your t-shirt and re-size your design to the correct space on your 12×12 template – be sure to click and drag to select the whole design to keep everything lined up.
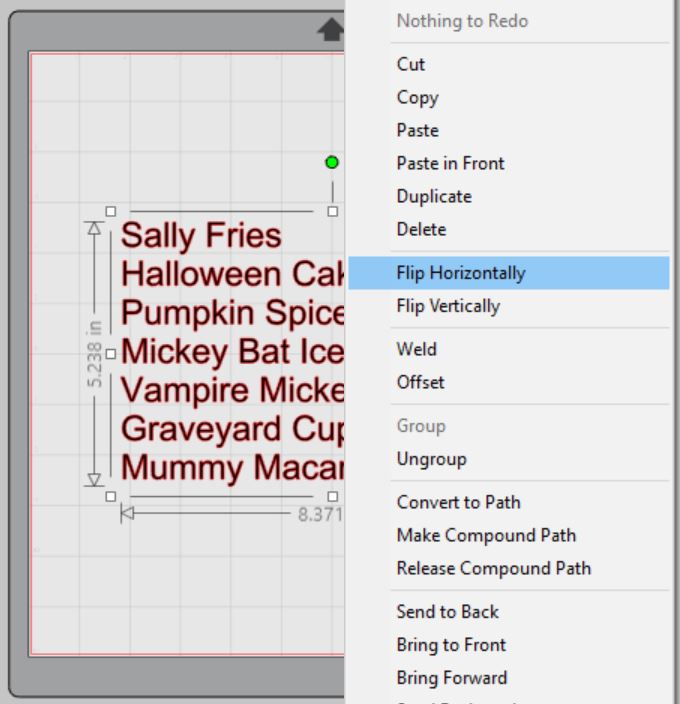
You will need to flip your design, so it appears backward for Heat Transfer Vinyl – this is called “mirroring” your design. Highlight your design, right-click, and select “flip horizontally” to mirror it.
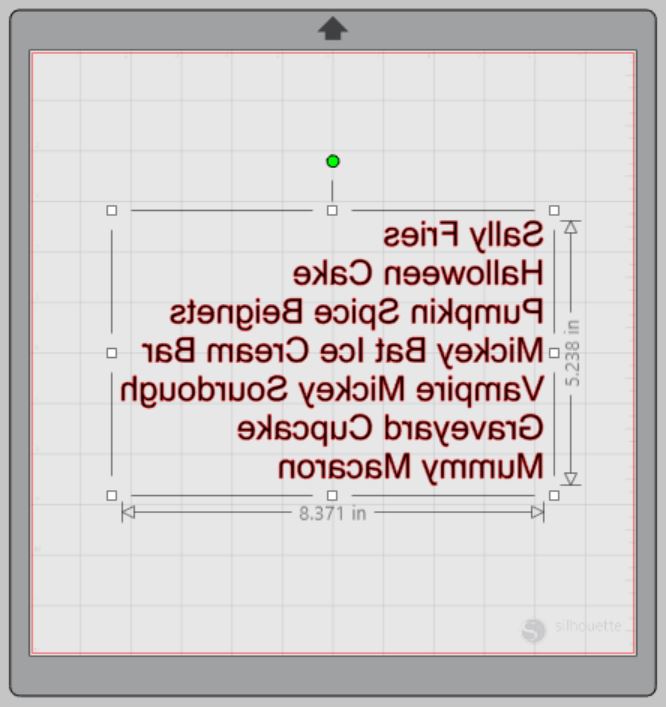
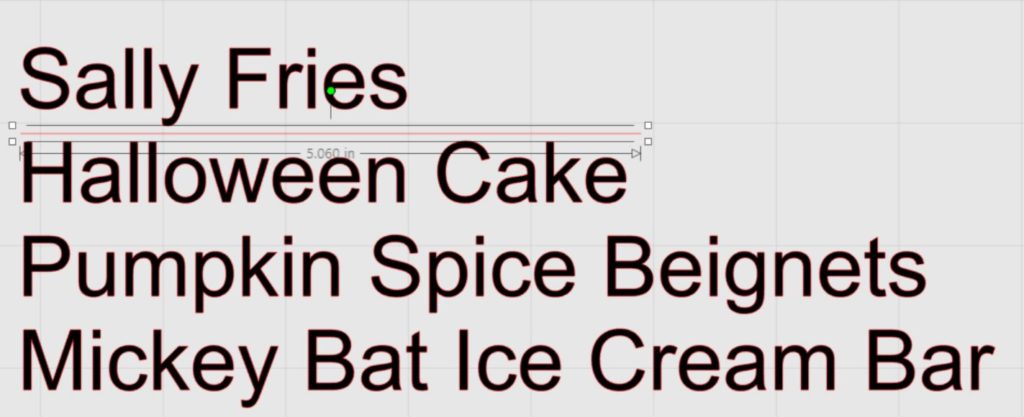
Additionally, when cutting large designs, I always add cut lines or boxes to help me when I weed my design. Instead of having one large piece of vinyl, I can work with several small sections. To add cut boxes, use the line tool and make a line under your treat names (you can also use the box tool but I usually have trouble with them overlapping). I promise this will be worth the effort when you go to weed your Disney Halloween Treats design.
Step Two: Cutting Out Your Disney Halloween Treats T-shirt Design:
Select “Send” in the software (top right corner) to prepare to cut.
Follow the prompts in the Design Studio for Glitter Heat Transfer Vinyl (or the type you are using for your project) and double-check to make sure your design has been selected to cut.
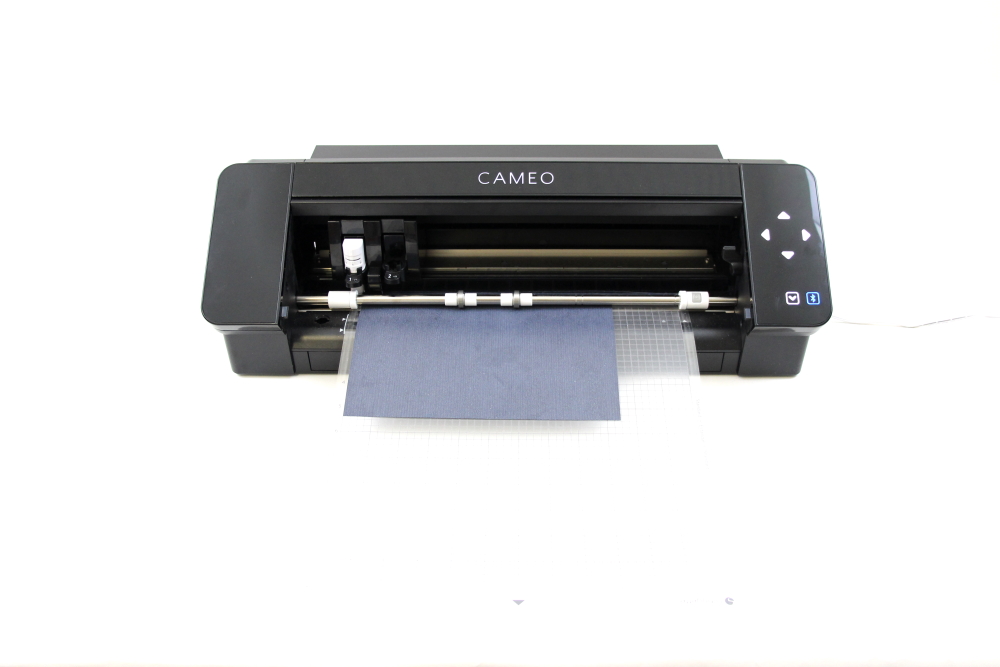
Load your heat transfer vinyl into your Cameo 4 with the glitter side face down on the mat. Tip: Use some painters tape to hold down the edges if it curls up from being on a roll.
Click “Send”
Press the down-arrow when your machine has finished cutting your design to remove the cutting mat from the machine.
Step Three: Preparing Your Disney Halloween Treats T-shirt Design:
Remove your sheet of Glitter Heat Transfer Vinyl from the cutting mat – go slow so it doesn’t curl up or tear.
Use your fingers or a weeding tool to remove the excess vinyl from each color. Be sure to leave your design on the clear carrier sheet.
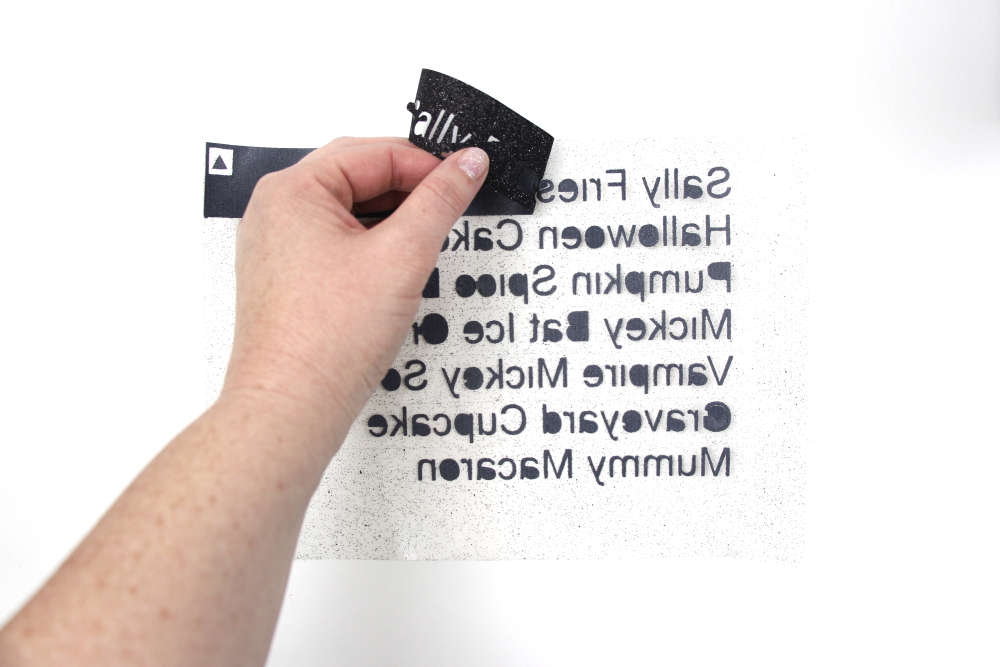
Now you can see how helpful the cut lines/boxes are!
Step Four: Creating Your Disney Halloween Treats T-shirt:
Pre-heat your t-shirt – use your iron or heat press to warm up the fabric for a better transfer.
Place your design on your t-shirt right side up (this is the reason you mirror your design for cutting).
Heat the design for the recommended time for the HTV you’re using. Use steady pressure.
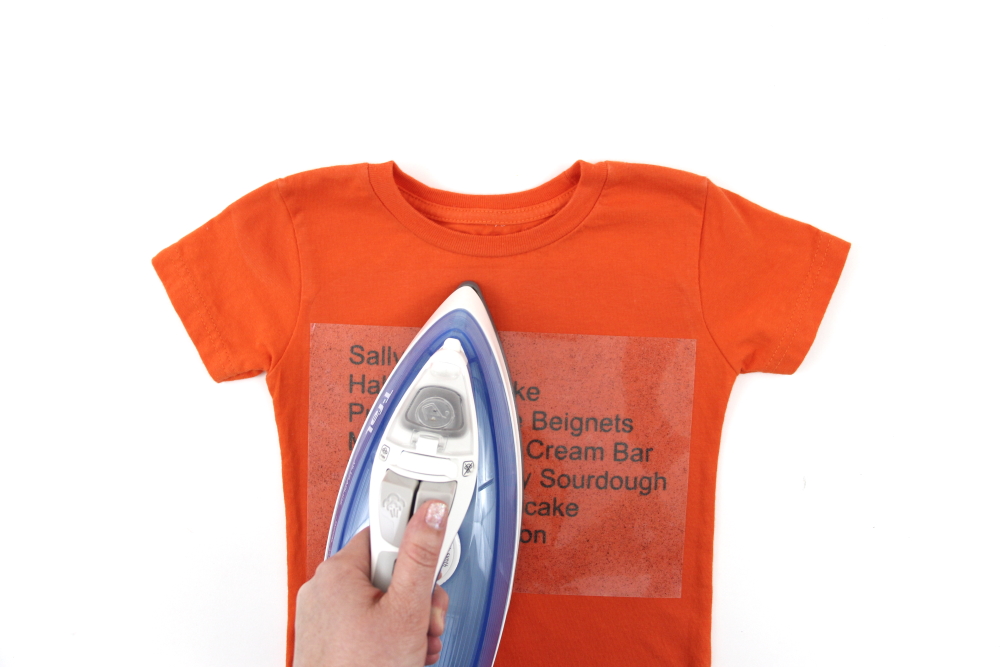
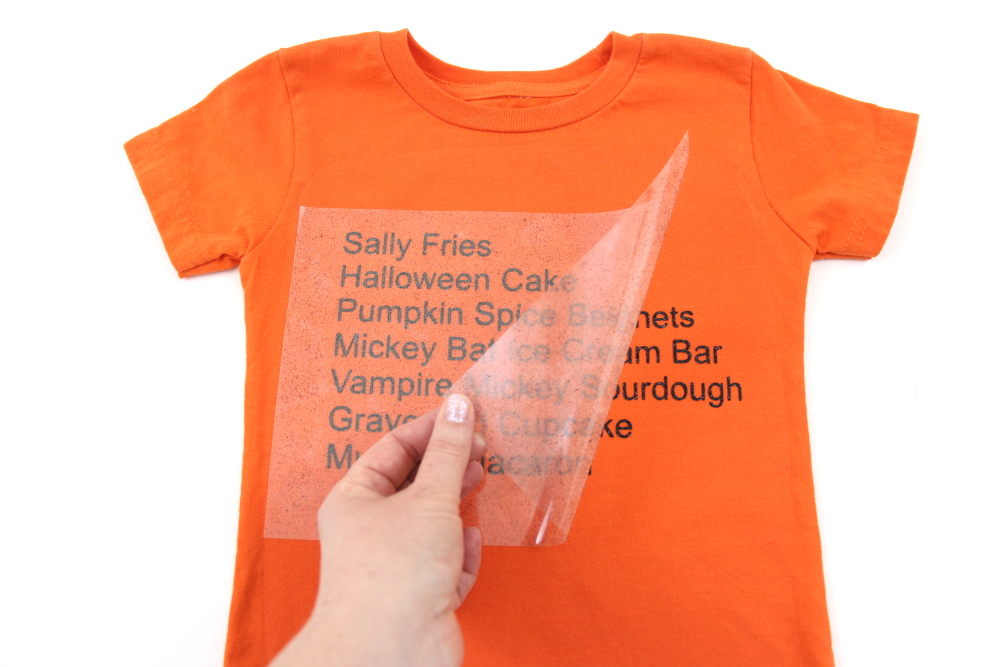
Peel back the clear carrier sheet. Some Heat Transfer Vinyl requires a hot or cold peel – always follow the recommended peel for your heat transfer vinyl. Tip: pull from a corner and not the side to make sure each part of the design transfers completely to your t-shirt.
Flip your t-shirt over and give it a 10-second press to activate the adhesive.
Once you have applied the Disney Halloween Treats design and allowed it to cool, your Disney Halloween Treats T-shirt is ready!
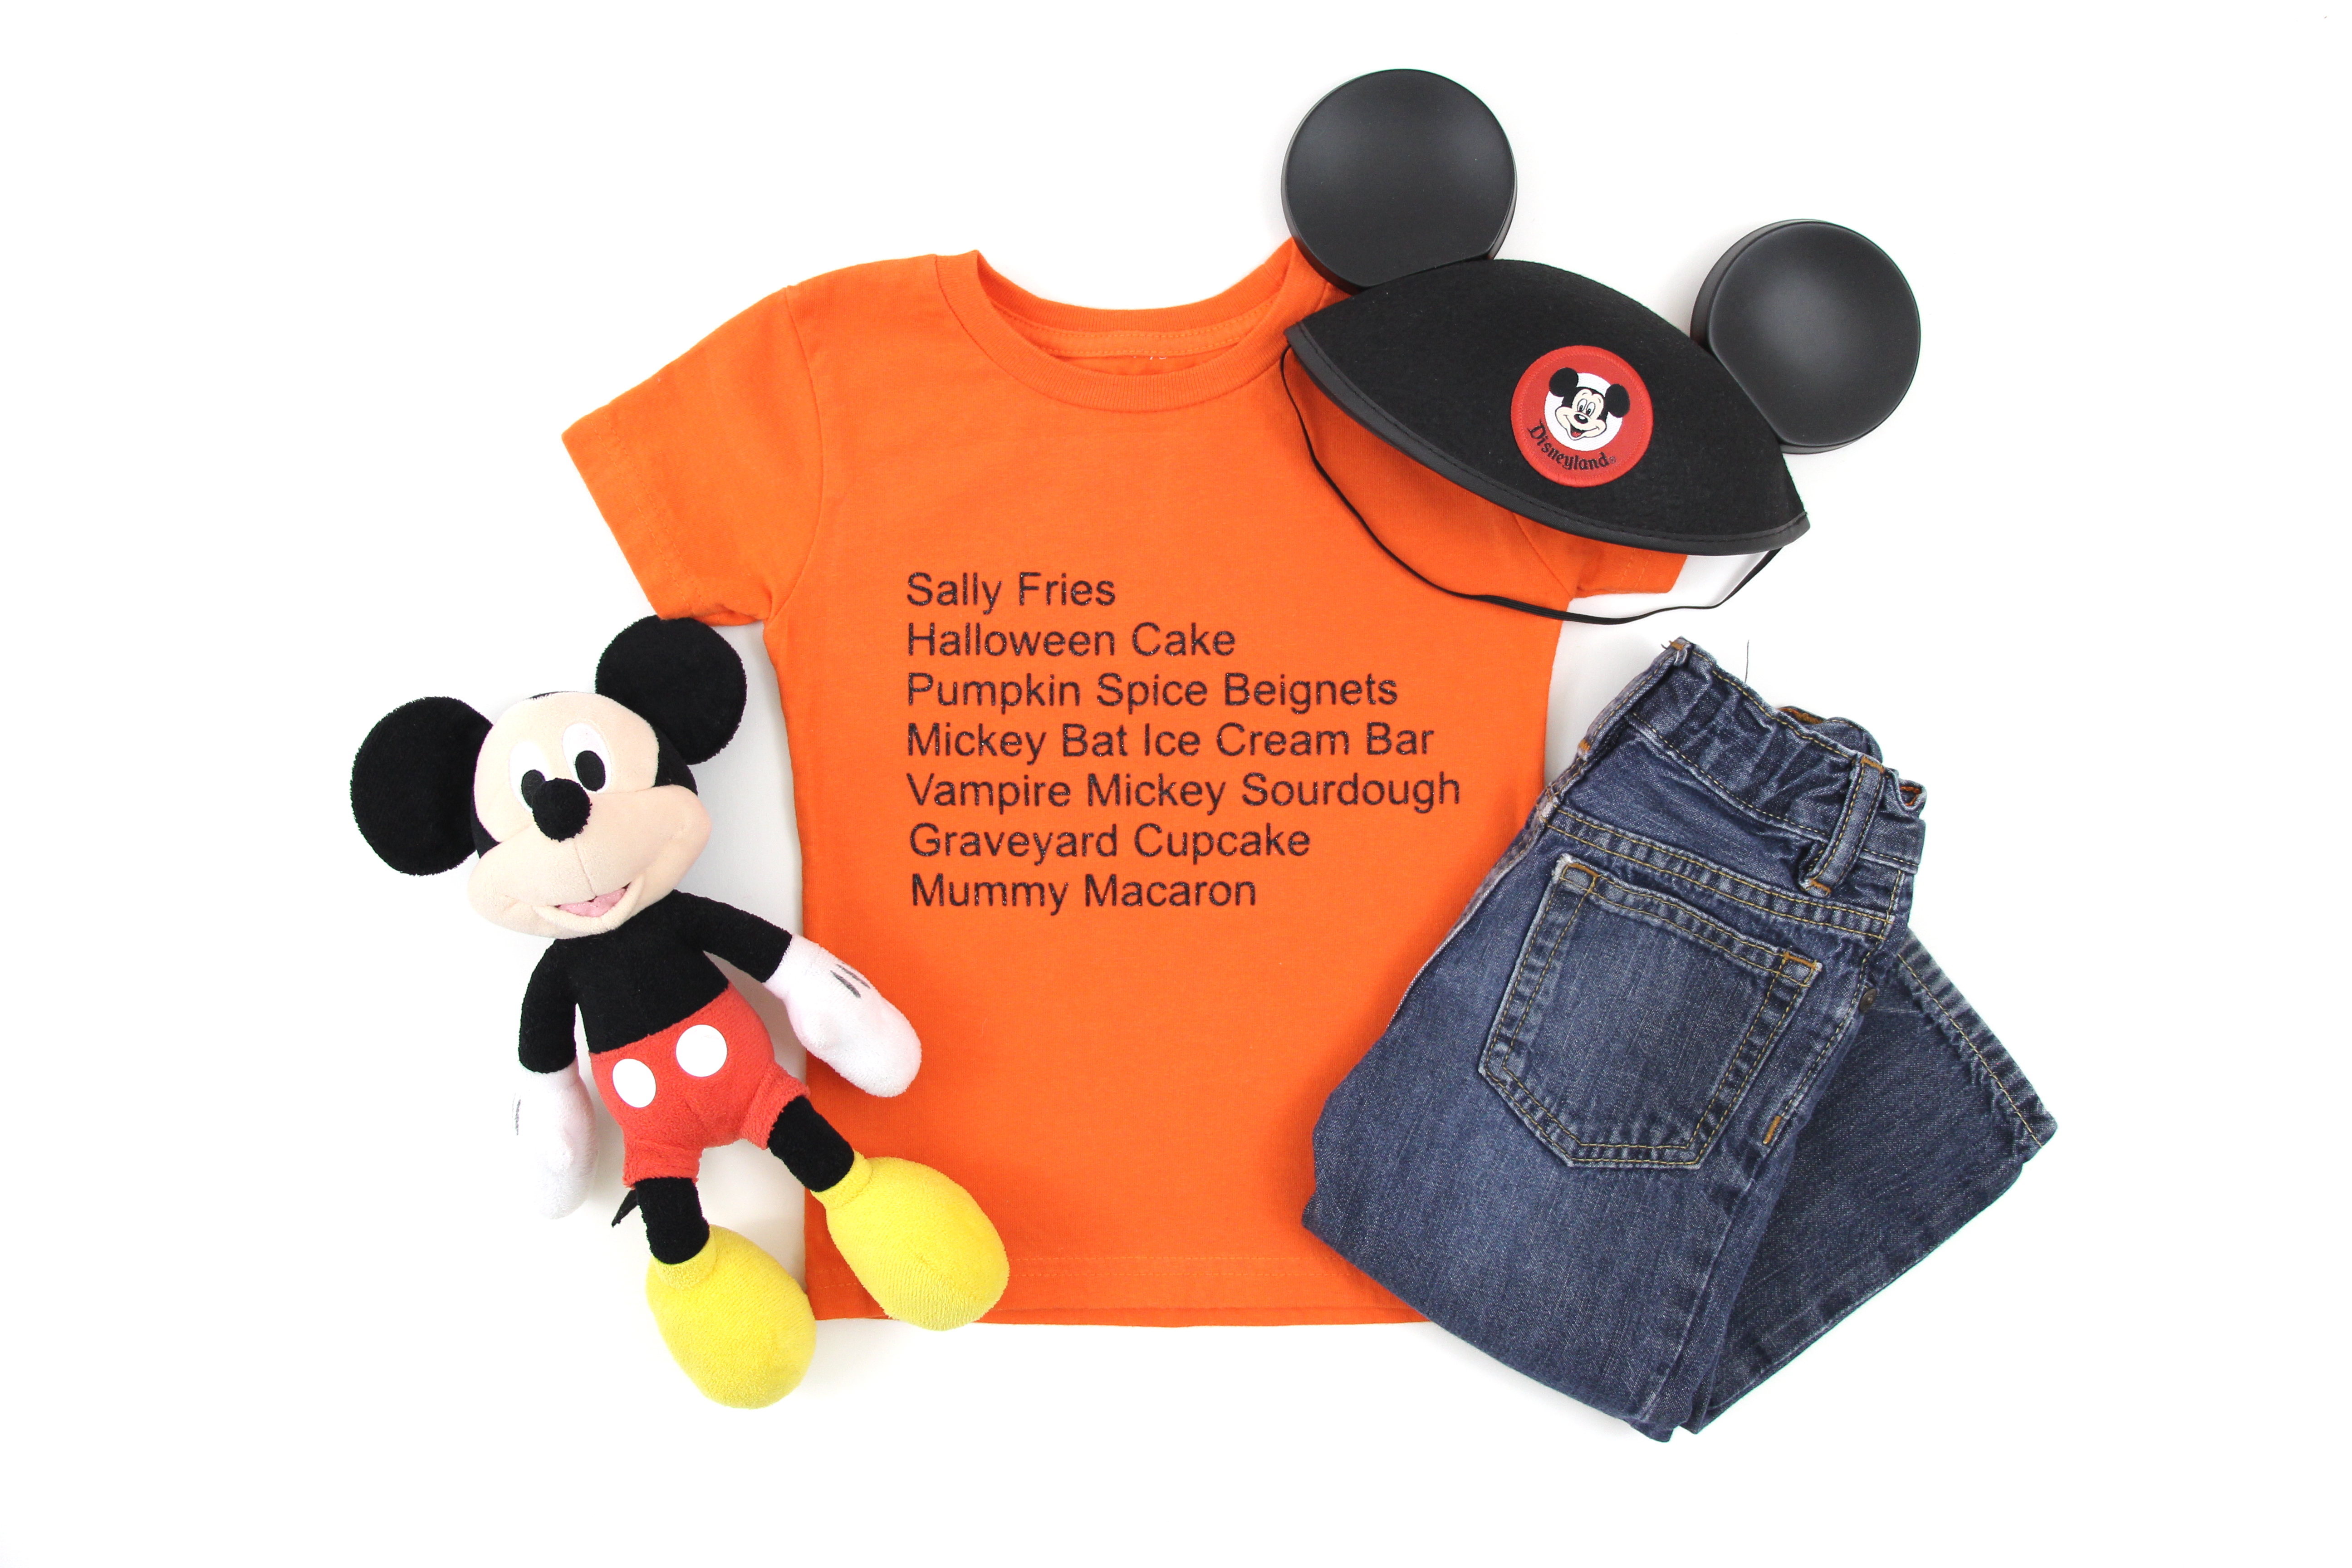
What Disney Halloween Treat would YOU choose from this list? Tell me in the comments.
Other Disney Halloween projects:
The Nightmare Before Christmas Bag
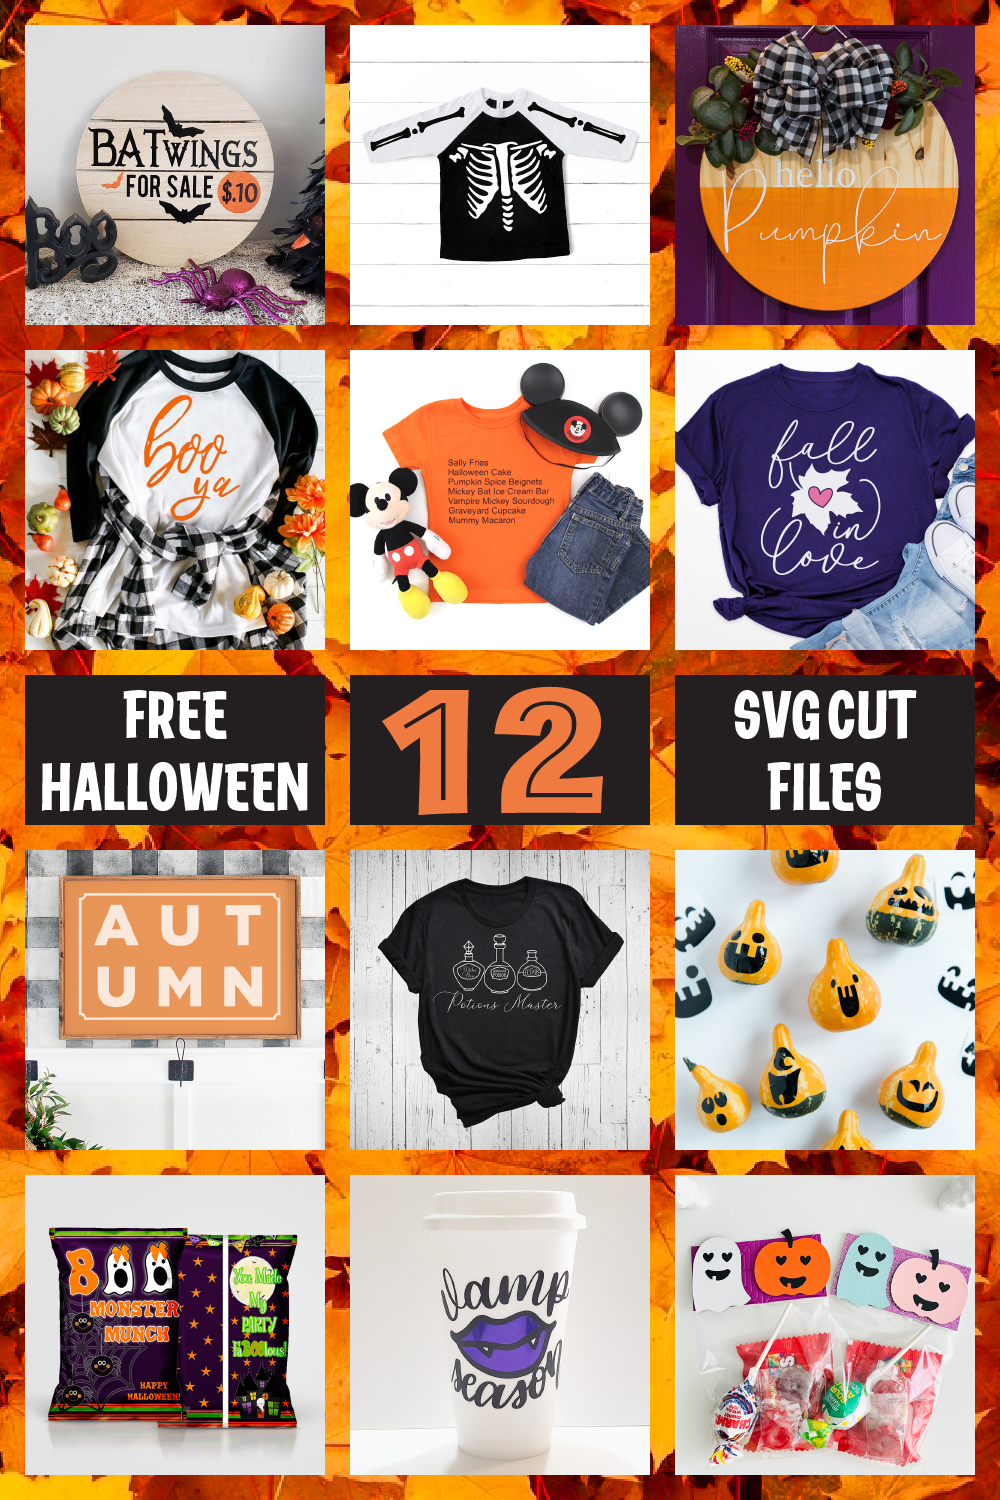
My crafty friends have 11 other FREE cut files for you. Click the links below to get each of these fall/Halloween cut files:
DIY Free Halloween Chipbag Printable


2 Comments
Pingback:
Pingback: