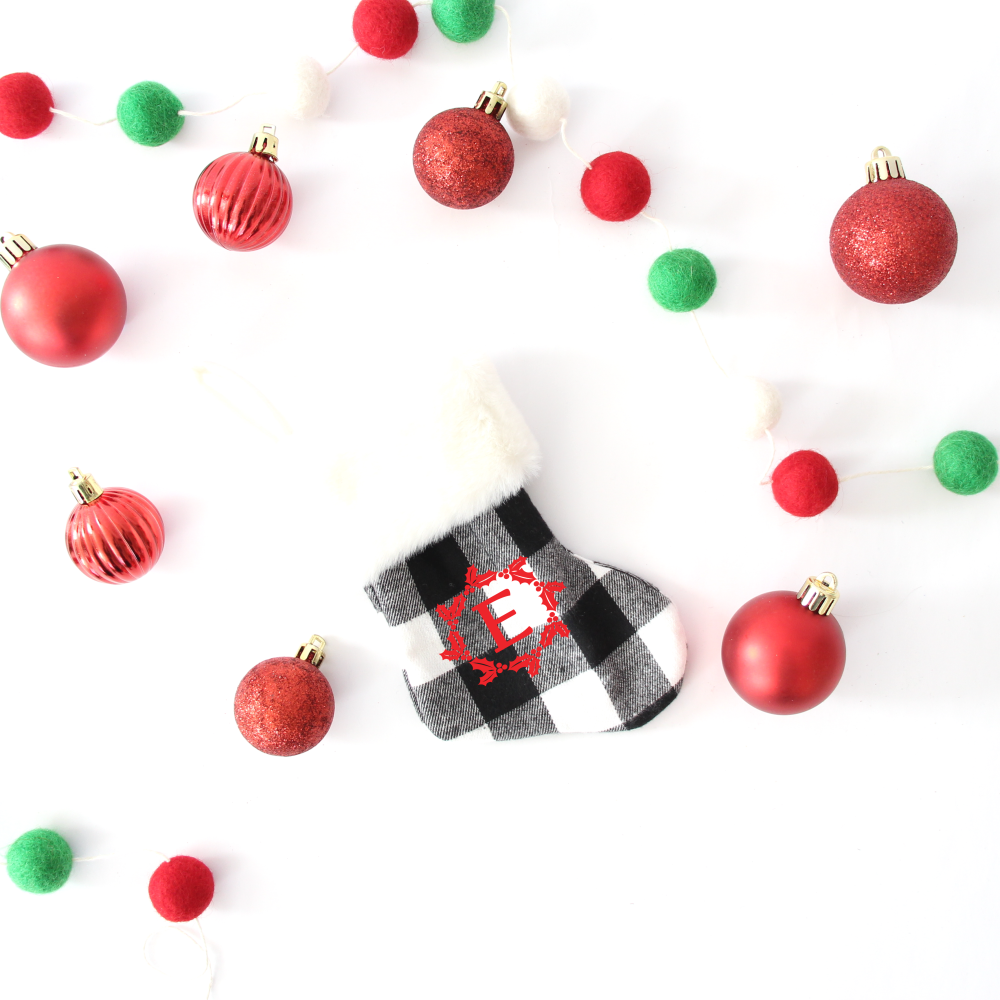
Monogrammed Wreath Stocking
| This post may contain affiliate links, which means I may receive a small commission, at no cost to you, if you make a purchase through a link. |
I love monograms and I really love black and white buffalo plaid for the holidays; so I blended my two loves and made a black and white buffalo plaid monogrammed wreath stocking. This monogrammed wreath stocking would be perfect on my tree, as a utensil holder on a tablescape, or as fun packaging for a gift card.
I love buying designs from the Silhouette Design Store that I can use over and over in different ways and this monogrammed wreath stocking is the third project I have made with this design. It is so fun to be able to customize gifts or even gift wrap.

Estimated Time: 20 Minutes
Skill Level: Intermediate
Supplies Needed:
- Silhouette CAMEO®
- Silhouette Cutting Mat
- Weeding Hook
- Silhouette Studio – use the Business Edition for easy importing and use of SVG files
- Heat Transfer Vinyl – Red
- Buffalo Plaid Mini Stocking
- Iron or heat press
- Monogrammed Wreath Font
Step One: Creating a Monogrammed Wreath Stocking:
Open Silhouette Studio®.
Select the Page Setup Window and adjust your cutting mat size to 12×12 (or the sized mat you are using).
First, you need to purchase and download your design from the Silhouette Design Store.
Next, open your design in Silhouette Studio. Click File>Library>Fonts>Select your file.
Click your screen and type the initial you would like to use in your monogrammed wreath stocking.
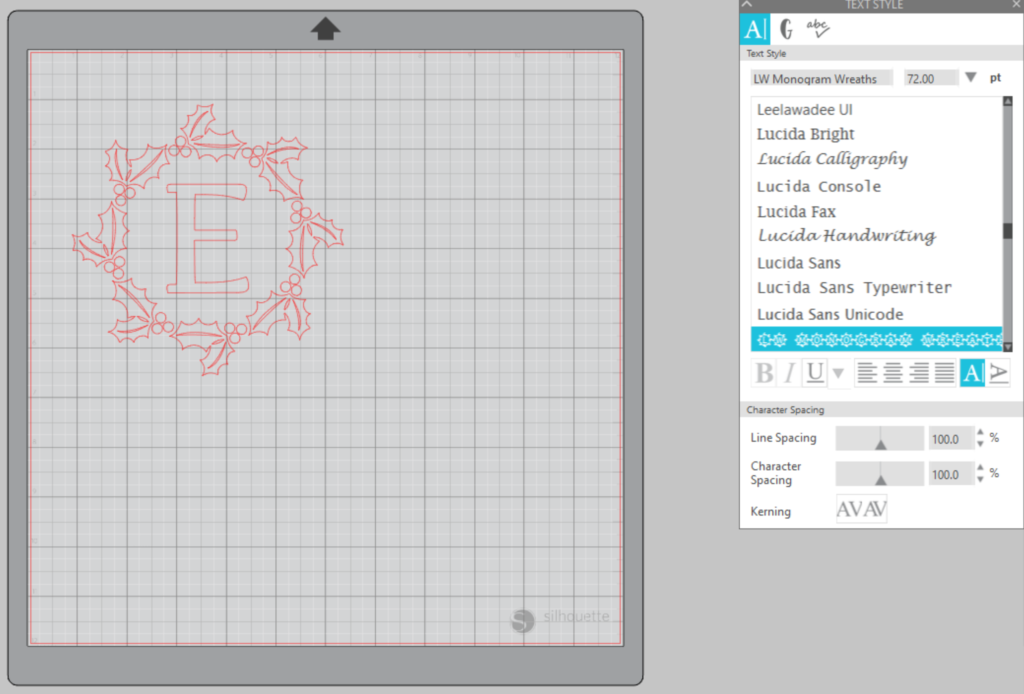
Measure your stocking and re-size your design to the correct space on your 12×12 template – be sure to click and drag to select the whole design to keep everything lined up.
You will need to flip your design, so it appears backward for Heat Transfer Vinyl – this is called “mirroring” your design. Highlight your whole design, right-click, and select “flip horizontally” to mirror it.
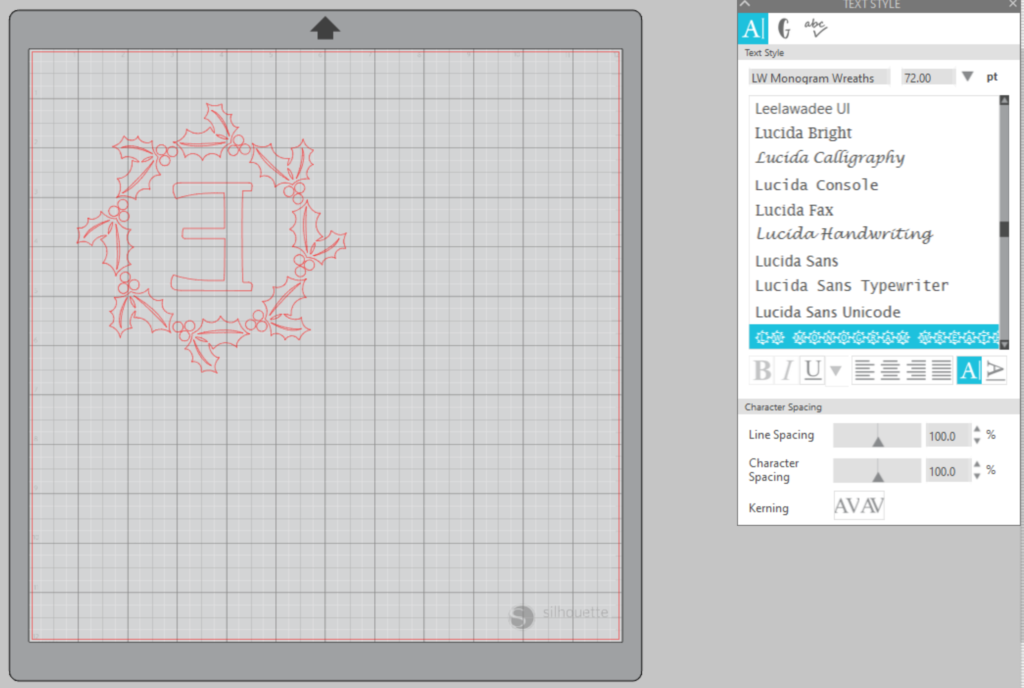
Select “Send” to prepare to cut.
Follow the prompts in the Software for Heat Transfer Vinyl (or the type you are using for your project) and double-check to make sure your design has been selected to cut.
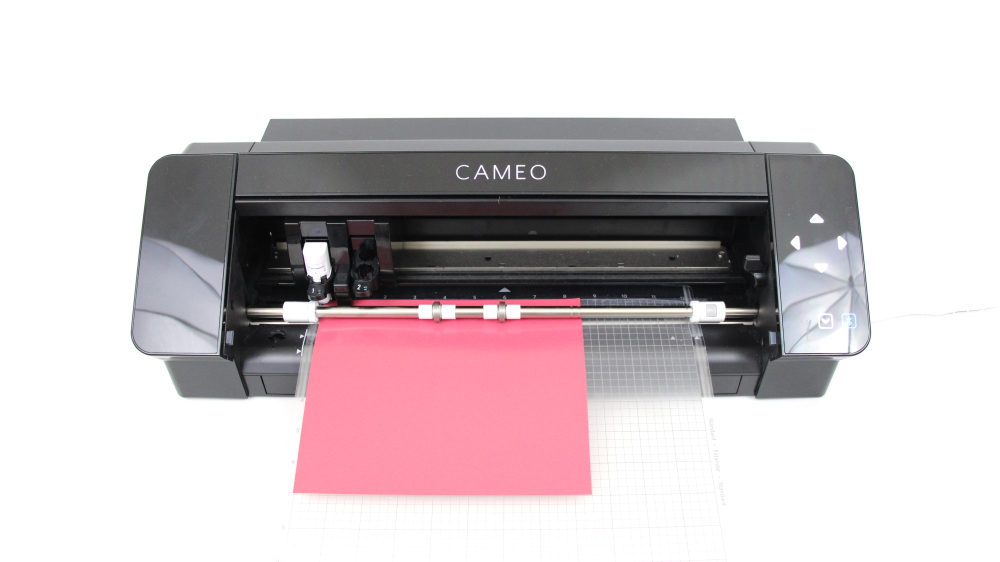
Load your heat transfer vinyl into your Cameo 4 with the color side face down on the mat.
Click “Send”
When your machine has finished cutting, press the down-arrow to remove the cutting mat from the machine.
Step Two: Preparing Your Merry and Bright Pillow:
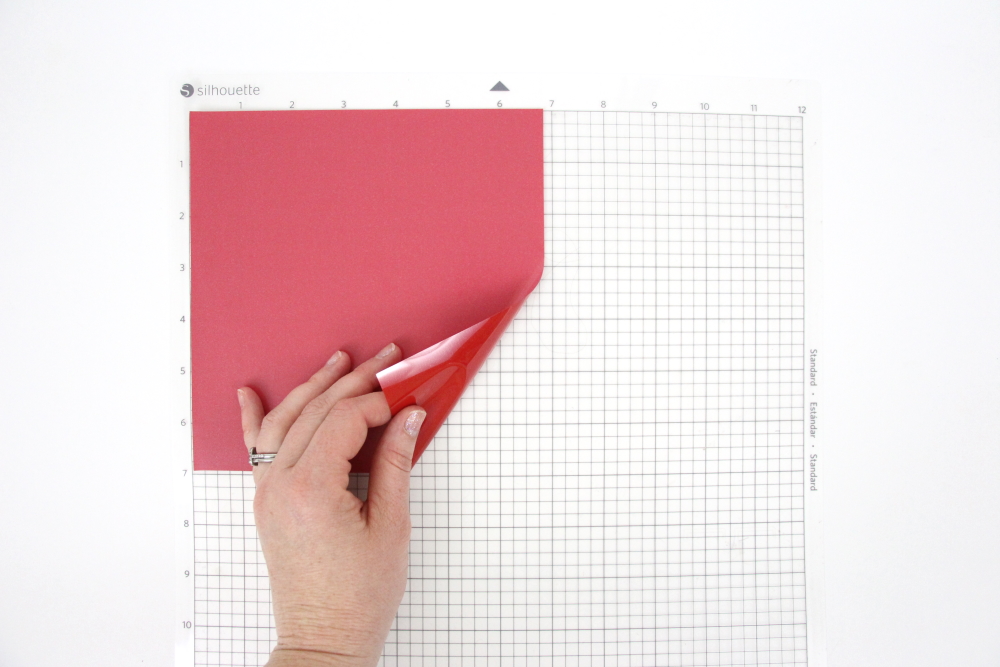
Remove your sheet of Heat Transfer Vinyl from the cutting mat – go slow so it doesn’t curl up or tear.
Use your fingers or a weeding tool to remove the excess vinyl from each color. Be sure to leave your design on the clear carrier sheet.
Step Three: Creating Your Monogrammed Wreath Stocking:
Pre-heat your stocking – use your iron or heat press to warm up the fabric for a better transfer.
Place your design on your fabric right side up (this is the reason you mirror your design for cutting).
Heat the design for the recommended time for the HTV you’re using. Use steady pressure.
Peel back the clear carrier sheet. Some Heat Transfer Vinyl requires a hot or cold peel – always follow the recommended peel for your heat transfer vinyl. Tip: pull from a corner and not the side to make sure each part of the design transfers completely to your fabric.
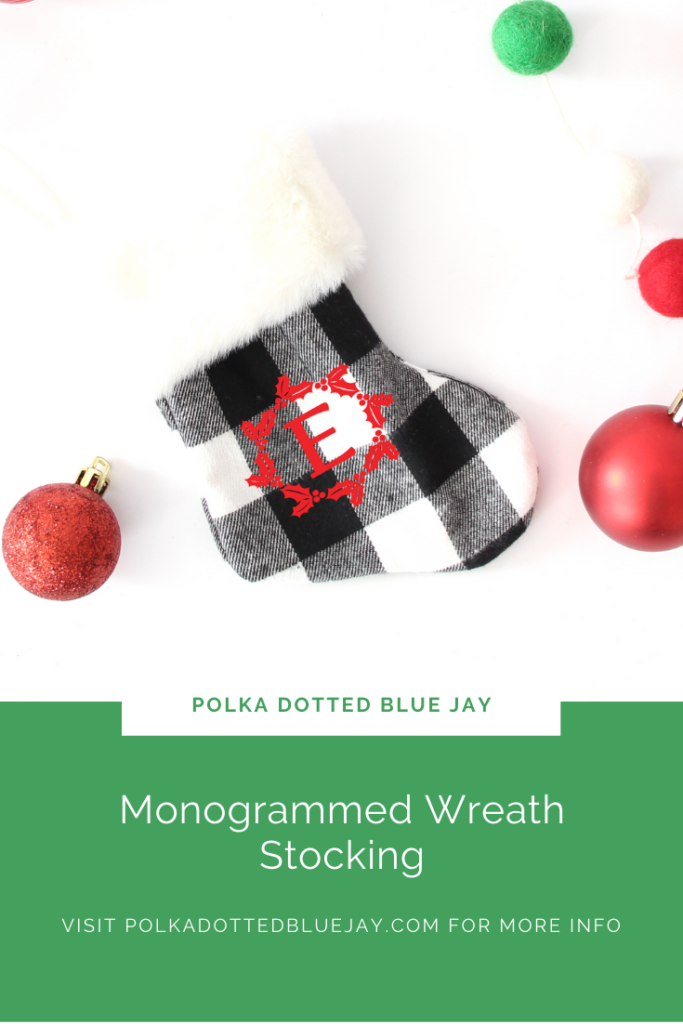
Be sure to check out these 15 other last-minute Christmas crafts that you totally have time to work on before the end of the month.
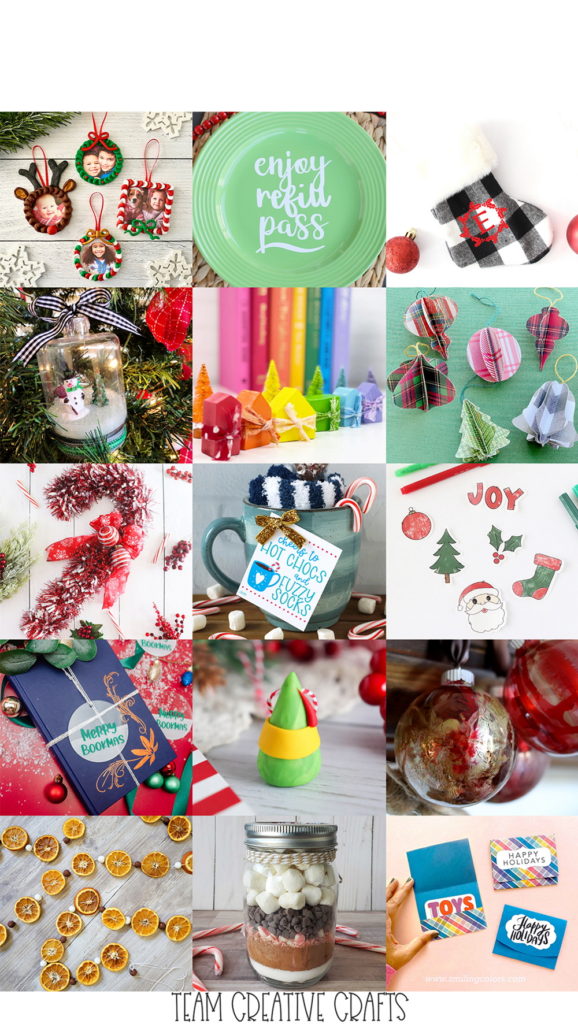
Tiny Wooden Rainbow Houses by Laura of Me and My Inklings
Candy Cane Wreath for the Holidays by Laura of Laura’s Crafty Life
Colorful Holiday Gift Card Holders by Smitha of Smiling Colors
DIY Clay Christmas Ornaments by Kimberly of Crafting Cheerfully
Hot Cocoa Mix in a Jar with Free Printable Tag by Shani of Sunshine & Munchkins
Folded Paper Christmas Ornaments by Erica of 5 Little Monsters
Festive Dried Orange Slice Garland by Justine of Little Dove
Alcohol Ink Christmas Ornaments by Kelsey of Poofy Cheeks
5 Minute Snow Globe Ornaments by Beth of Creatively Beth
Hot Cocoa Mug with Printable Tag by Lindsay of Artsy Fartsy Mama
Free Print and Cut Christmas Stickers by Liz of Liz on Call
Pass Along Holiday Treat Plate Gift Idea by Ginger of Ginger Snap Crafts
Quick and Easy Monogram Stocking by Elise of Polka Dotted Blue Jay
Merry Bookmas Gift Tag by Teresa of Simply Made Fun
Polymer Clay Elf Hat Ornament by Heather of Homemade Heather



One Comment
Pingback: