DIY Sand is Squishy Beach Bucket and FREE SVG
| This post may contain affiliate links, which means I may receive a small commission, at no cost to you, if you make a purchase through a link. |
Jedidiah’s first experience at the beach was so perfect. We built sandcastles, splashed in the ocean, and chased birds. He wasn’t so sure of the sand between his toes when we first walked onto the beach but I reminded him of one of his favorite lines from Finding Dory: I like sand… sand is squishy. My little boy’s eyes lit up and he giggled saying “squishy” over and over.
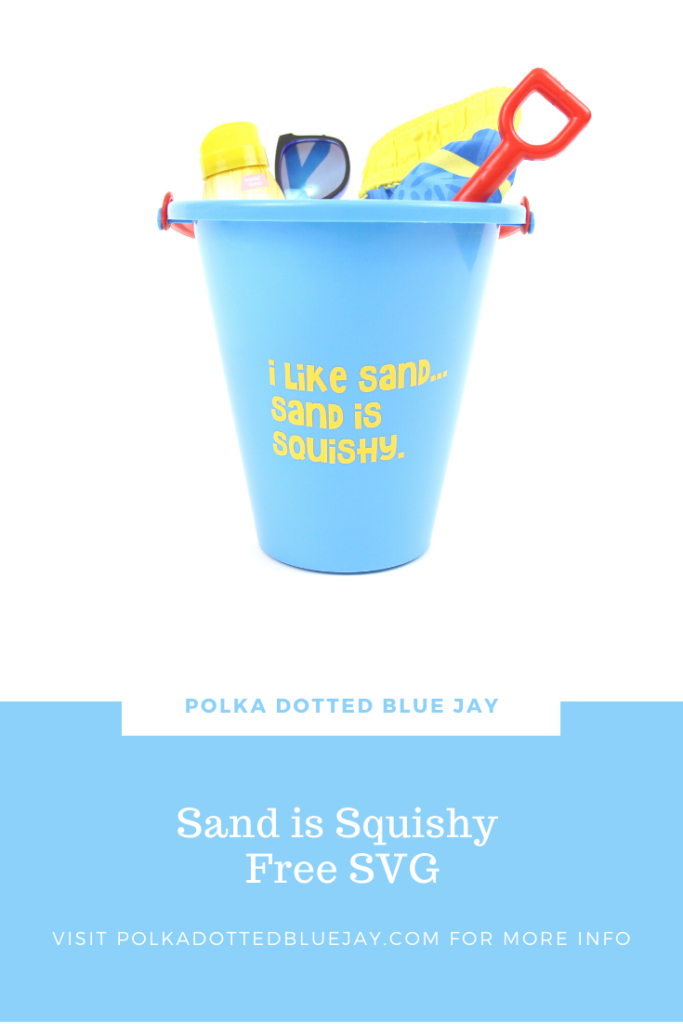
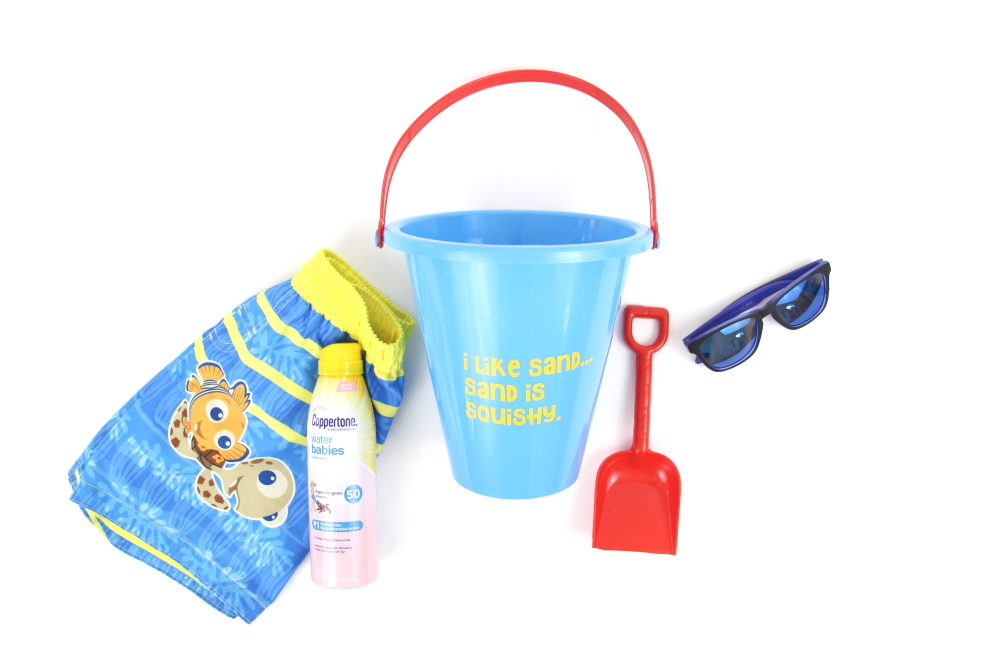
I decided to make a cute Sand is Squishy Beach Bucket and figured I would share the SVG with you too! Sign up to get access to the freebie library and make your own beach bucket.
Estimated Time: 10 Minutes
Skill Level: Beginner
Supplies Needed:
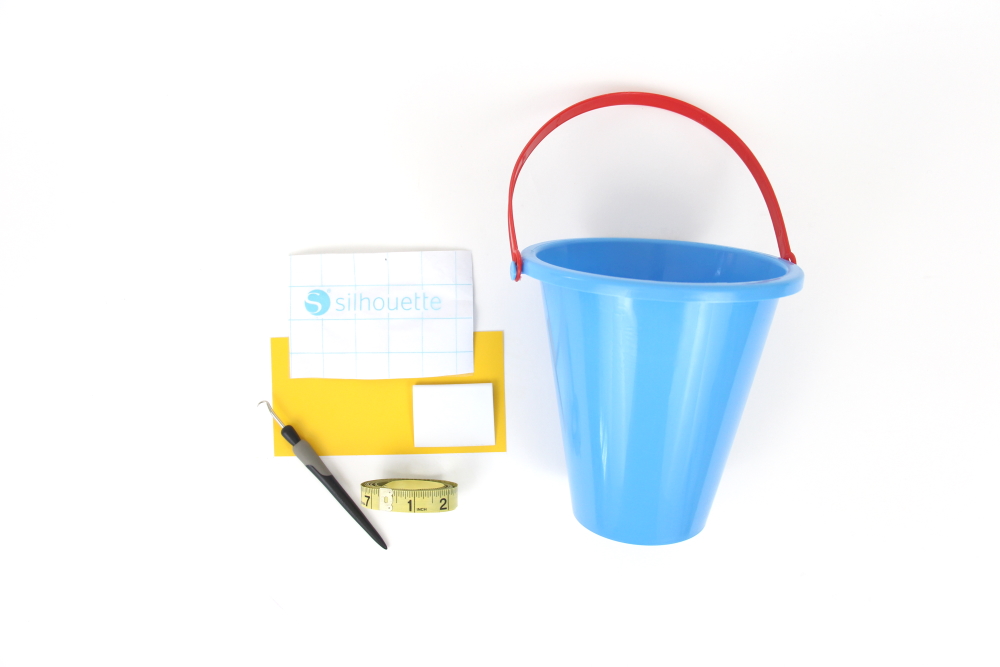
- Silhouette CAMEO® 4
- Silhouette Cutting Mat
- Weeding Hook
- Silhouette Studio I recommend the Business Edition
- Adhesive Vinyl – Yellow
- Transfer Tape
- Beach Bucket
- Sand is squishy FREE SVG
Step One: Create Your Sand is Squishy Beach Bucket Label:
Open Silhouette Studio®.
Select the Page Setup Window and adjust your cutting mat size to 12×12 (or the size mat you are using).
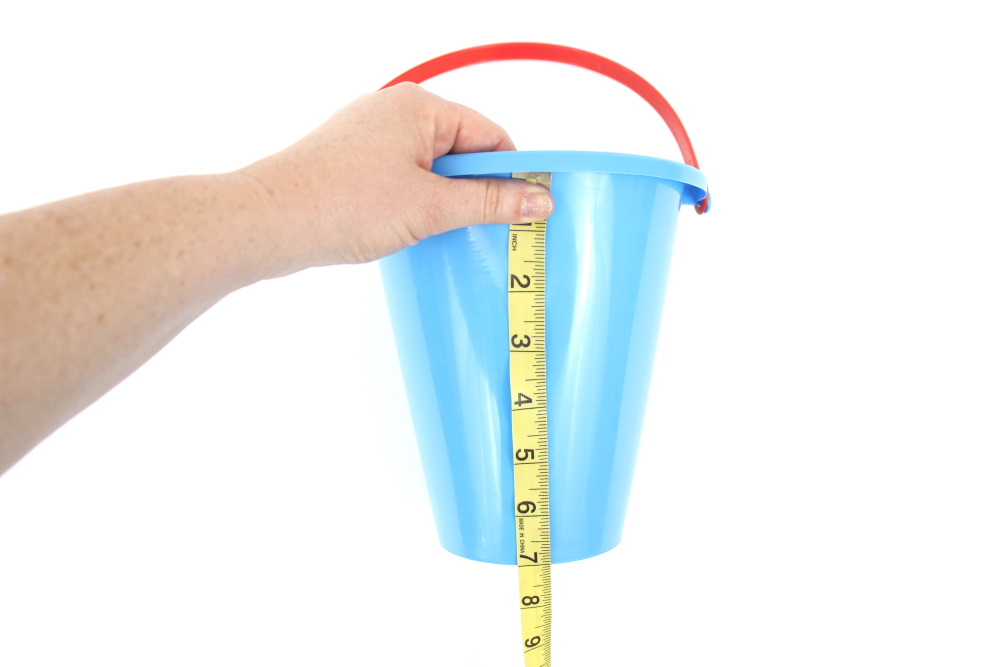
Measure your bucket.
Download the FREE Sand is Squishy SVG from the freebie library and then open it in Silhouette Studio. Click File>Open> Select your downloaded SVG>OK.
Re-size the design to fit your bucket or whatever you will be putting it on.
I highly recommend having the Silhouette Studio Business Edition – your SVG will import ready to cut (amazing) but if you don’t have the Business Edition you can always use the tracing method. My friend Teresa shows you how in her video: How to open a SVG file in the Silhouette software.
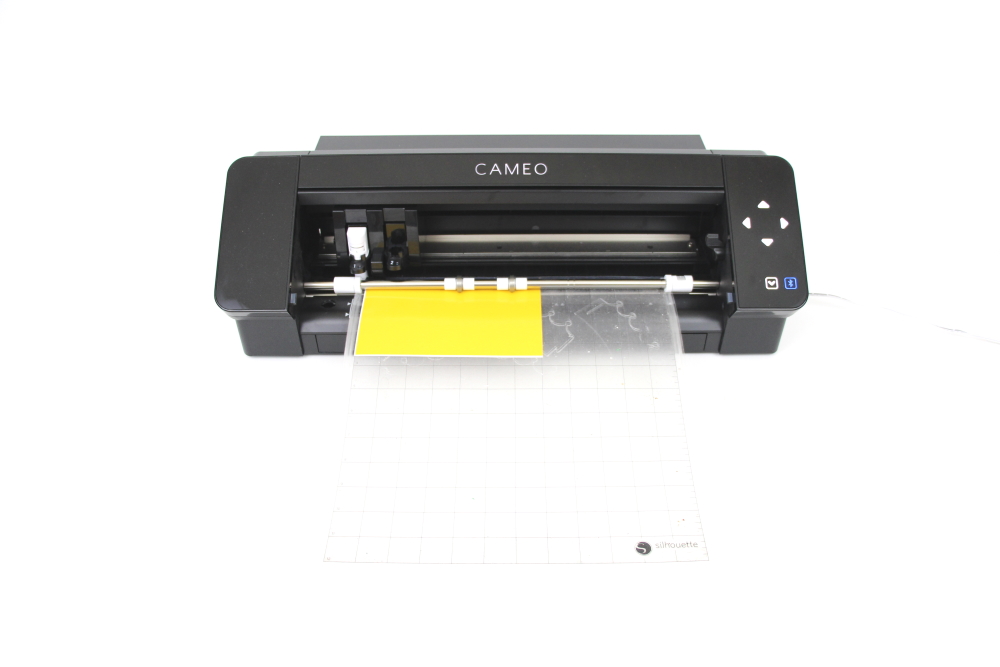
Attach your Adhesive Vinyl to the cutting mat, color side up, and load into your machine by lining up the mat on the guidelines and pressing the “up” arrow on the touch panel.
Follow the prompts in the Design Studio for Adhesive Vinyl and double-check to make sure your design has been selected to cut.
Click “Send” in the design studio to start cutting.
Press the “down” arrow on the Cameo 4 touch panel when your machine has finished cutting your design to remove the cutting mat from the machine.
Step Two: Preparing Your Sand is Squishy Beach Bucket Label:
Remove your Adhesive Vinyl from the cutting mat – go slow so it doesn’t curl.
Use your fingers or a weeding tool to remove the excess vinyl. Be sure to leave your design on the white backing sheet. Take your time with those dots – they can have a mind of their own.
Step Three: Creating Your Sand is Squishy Beach Bucket Label:
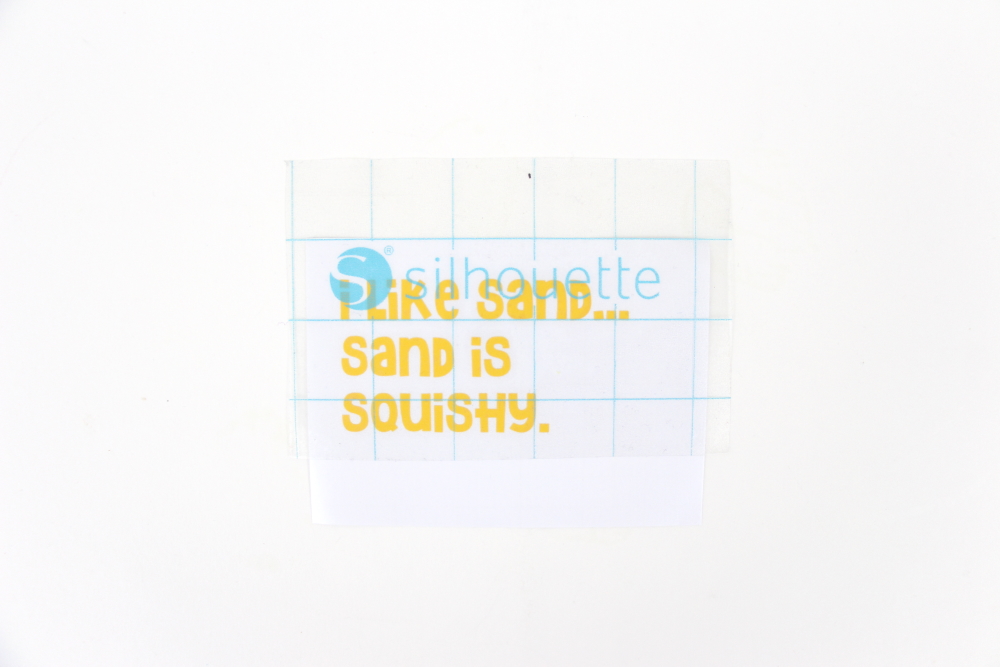
Place a piece of transfer tape over your Sand is Squishy label.
Use the scraping tool and scrape the top of the transfer tape to make sure the design adheres to it.
Gently pull transfer tape up away from the backing sheet and make sure the entire label lifts with it. Watch those dots again!
Center your design on your beach bucket and press it down from left to right. Curved items are tricky since this design isn’t formatted for curves.
Slowly remove the transfer tape. Tip: pull from a corner and not the side to make sure each part of the design transfers completely to your bucket.
I can imagine Jedidiah at the beach in his Nemo swim shorts and digging holes in the sand. Gah! I can hardly wait to get out there with him. For now I will have to settle for our bright blue Kinetic Sand in the backyard.
What item will you put the Free Sand is Squishy SVG on for this summer?
Check out these other fun Disney-inspired craft projects below:
The Nightmare Before Christmas Tote Bag
