Sent With Love
| This post may contain affiliate links, which means I may receive a small commission, at no cost to you, if you make a purchase through a link. |
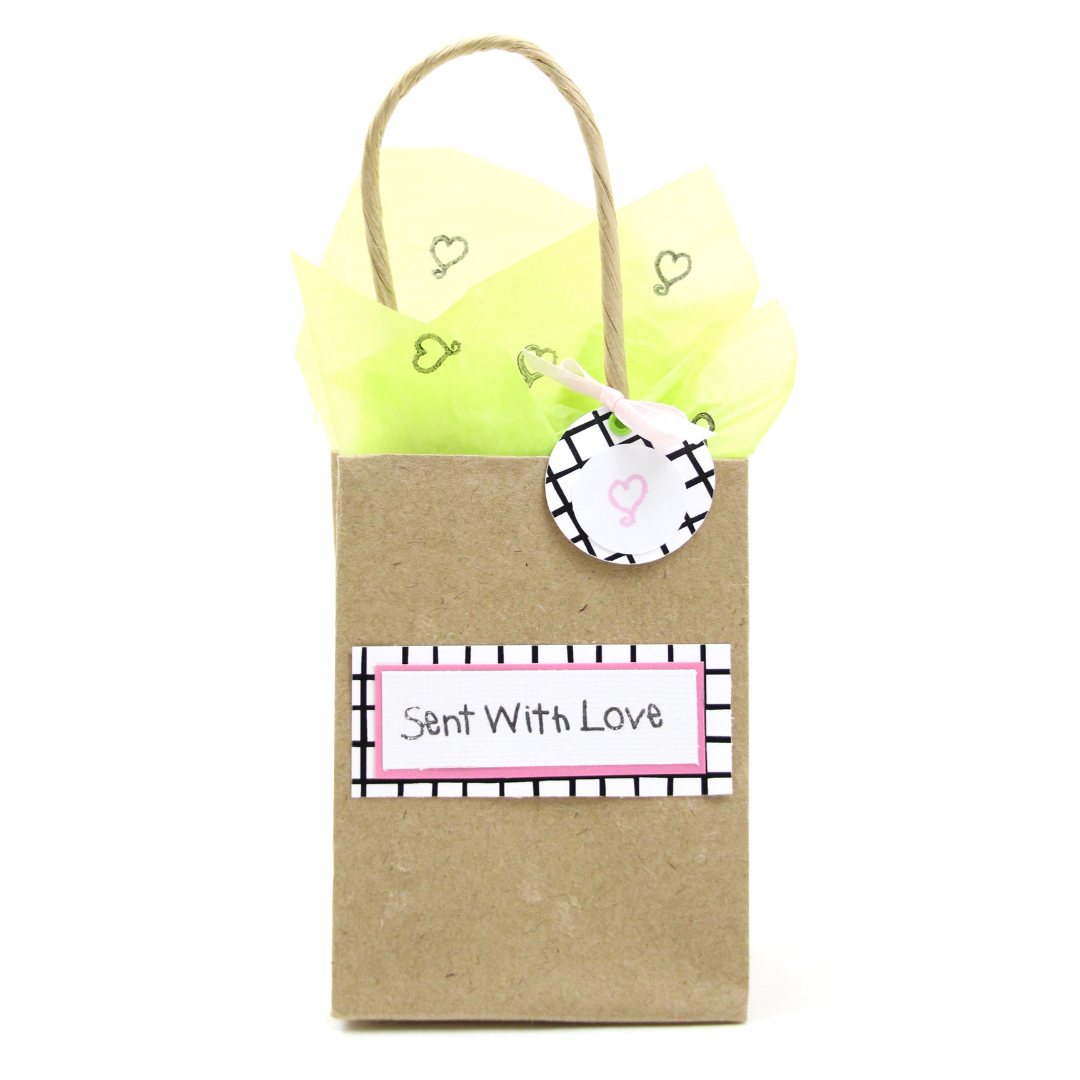
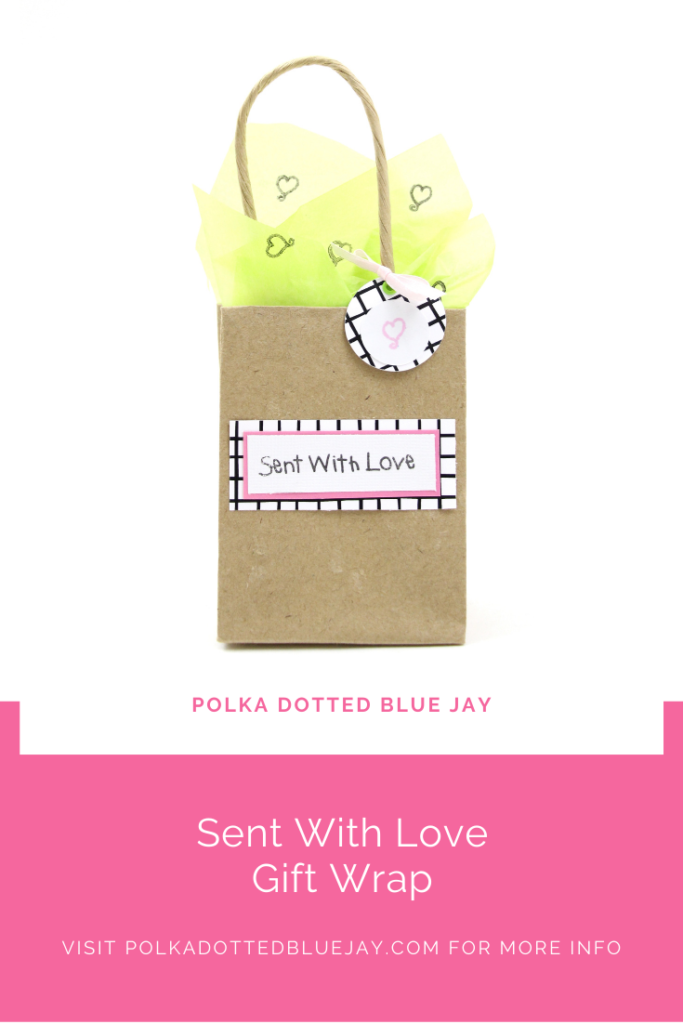
I love dressing up plain gift bags with cute designs and couldn’t wait to make this “sent with love” gift wrap with some stamps from the new product line from Laura Kelly for Therm O Web. I had a great night playing with cardstock and stamps – something I haven’t done in ages.
This mini gift bag and stamped tissue paper for my “sent with love” gift wrap make me smile. The customized tissue paper adds some pizzaz with that sweet little heart. Today I am celebrating with Laura and her product line launch with Therm O Web. There are so many cute products and all of them have a focus on kindness; a message that Laura shares daily.
Estimated Time: 10 Minutes
Skill Level: Beginner
Supplies Needed:
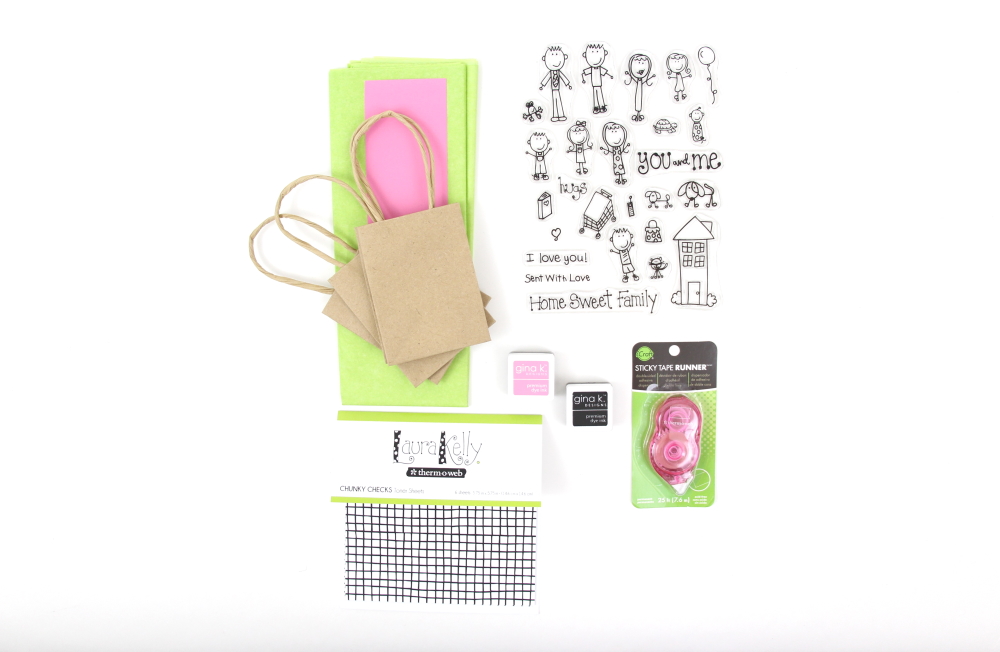
• Laura Kelly for Therm O Web – Laura Kelly Clear Stamp Set, Me & My Peeps
• Laura Kelly for Therm O Web – Laura Kelly Toner Sheets, Chunky Checks
• Acrylic Stamp Blocks
• Ink Pads (pink and black)
• Cardstock (pink and white)
• Tape Runner
• Paper Trimmer
• Tissue Paper (lime green)
• Mini Gift Bag
• Hole Punch
• Eyelet & Setter
• Ribbon
• Circle Punch or Silhouette Cameo
Step One: Create Your Heart Tag:
Use your circle punch or cut out two circles with your Silhouette Cameo. The larger circle out of the Chunky Checks toner sheet and the smaller circle out of white cardstock
Add your heart from the Laura Kelly Clear Stamp Set, Me & My Peeps to an acrylic block.
Dab the heart stamp on your pink ink pad.
Press down firmly on the white cardstock.
Punch a hole in the top of the Chunky Checks circle and add your eyelet.
Adhere your heart circle to the Chunky Checks circle with your tape runner.
Tie your heart and checks tag to your gift bag with ribbon.
Step Two: Create Your “Sent With Love” Label:
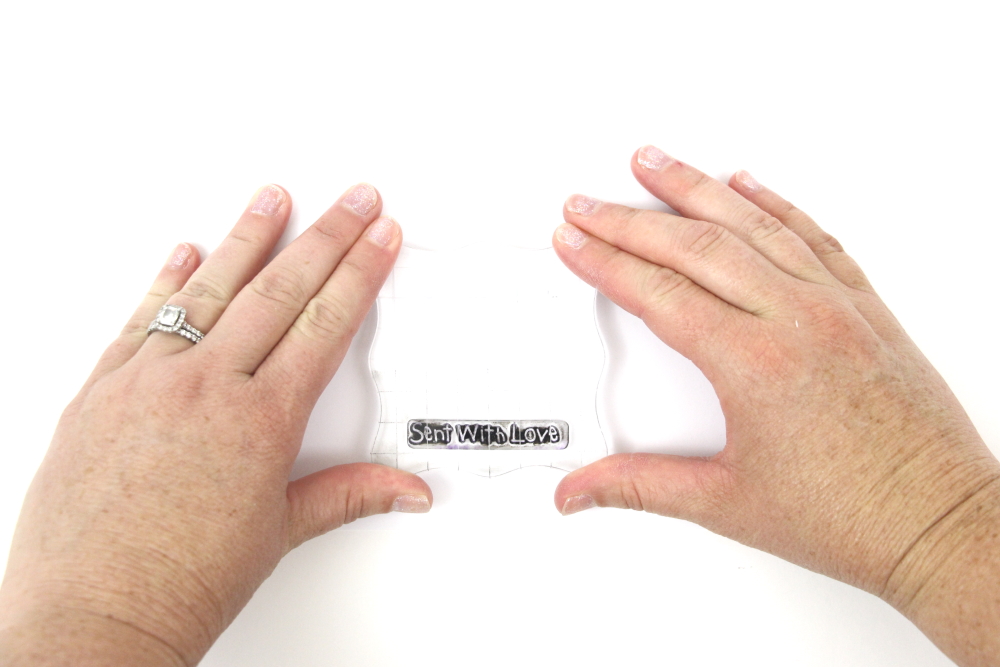
Attach the “sent with love” stamp to a large acrylic stamp block.
Gently and evenly add ink to your stamp.
Stamp “sent with love” on white cardstock.
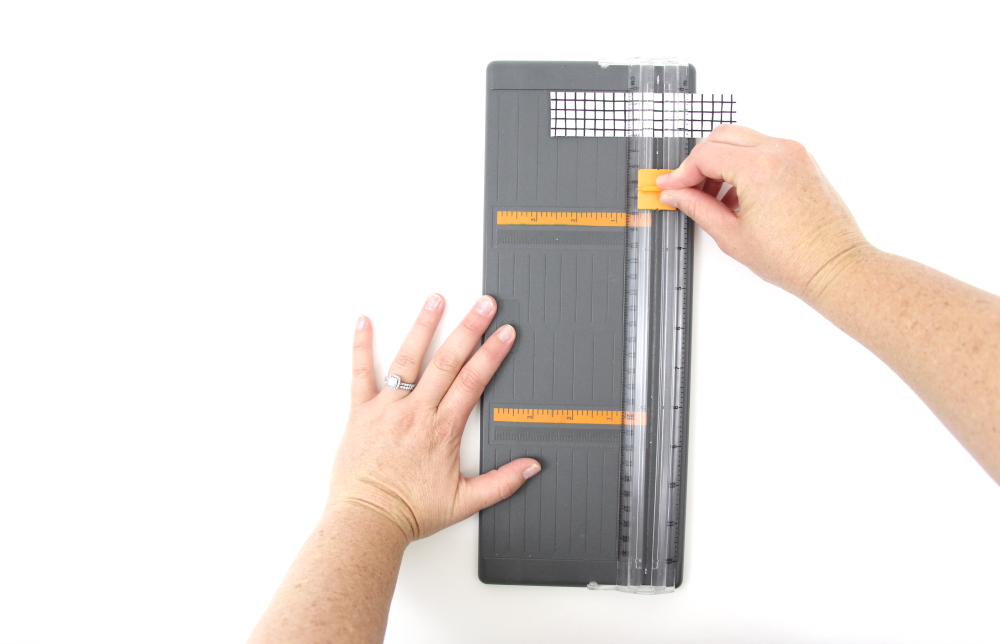
Trim your cardstock.
Mount on pink cardstock and trim the edges with your paper trimmer.
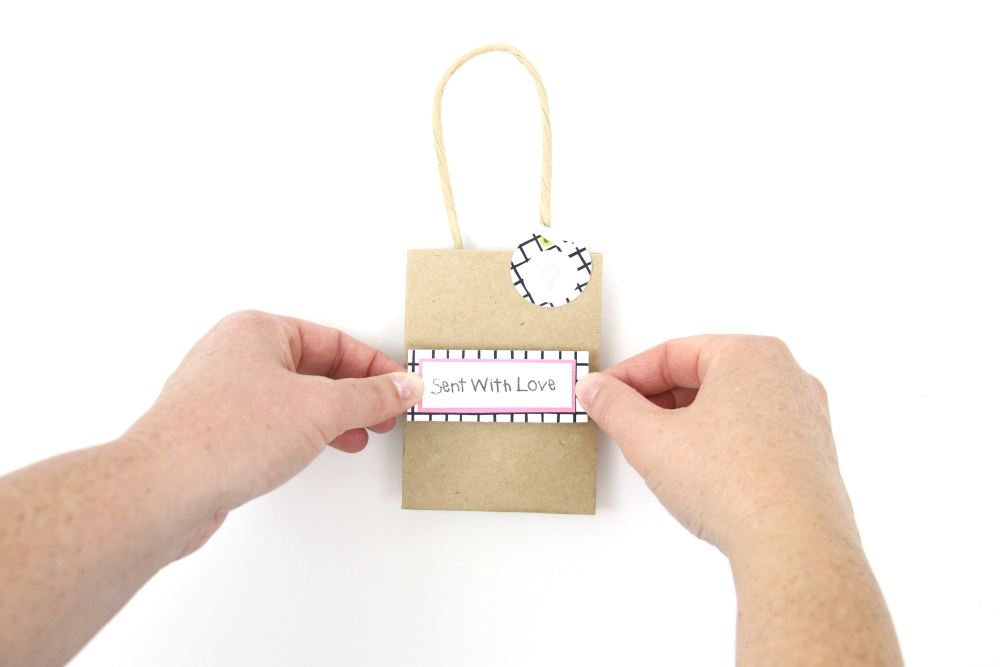
Repeat with the Chunky Checks to complete the three layers.
Connect your label to your gift bag with your tape runner or adhesive of your choice.
Step Three: Create Your Custom Tissue Paper:
Clean off your heart stamp if you will be using another color ink as I did.
Lay out your tissue paper with a piece of cardstock underneath; the ink goes through the tissue easily.
Ink your heart stamp with black ink.
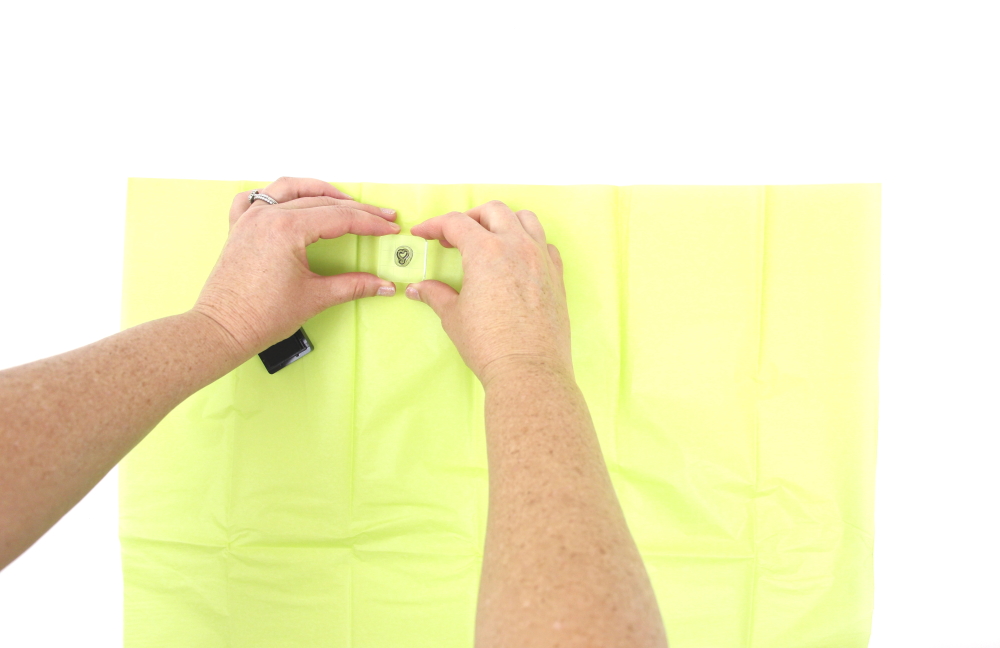
Split the tissue in half and stamp the top half with hearts all facing one way.
Flip the tissue over and repeat. You should have tissue now with hearts all facing towards the middle. This makes your tissue have hearts all facing “up” when you stuff the gift bag.
Allow your ink to dry completely and assemble your “Sent With Love” gift wrap.
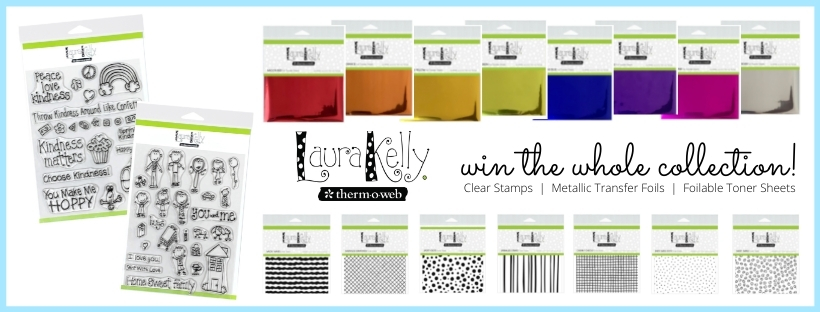
Help Laura celebrate the launch of her product line and enter to win the whole collection below! You know I love the polka dotted toner sheet. Add some of the foil with a laminator to kick it up a notch!
