Love Bug Cupcake Toppers
| This post may contain affiliate links, which means I may receive a small commission, at no cost to you, if you make a purchase through a link. |
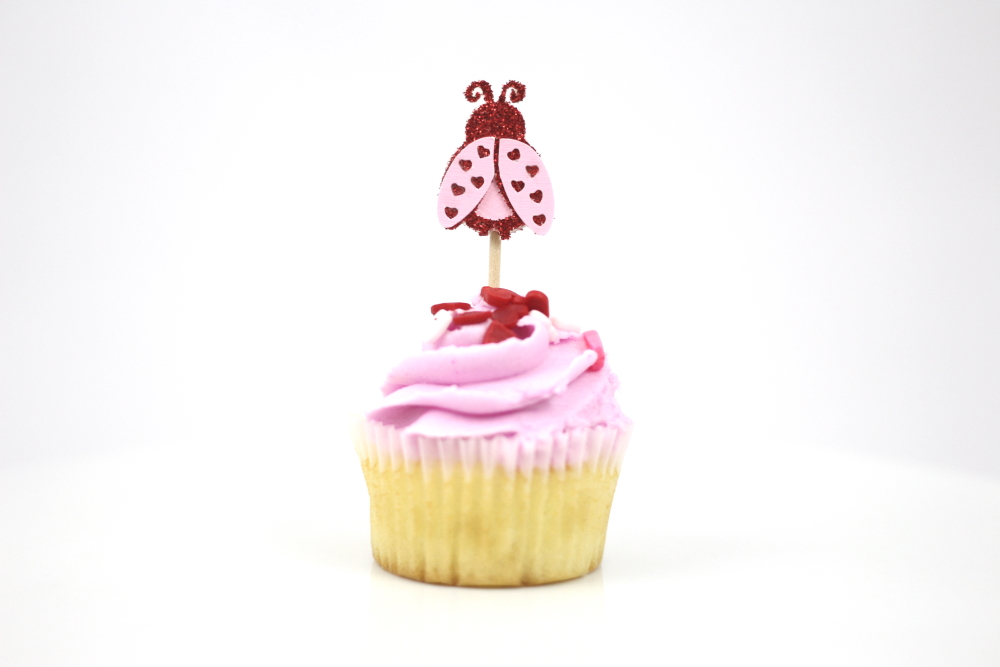
I love making holiday-themed cupcakes and I knew I had to make some love bug cupcake toppers with the design from Spot of Tea Designs. Tara made her love bugs into lollipop holders for Valentine’s Day but I decided to size mine down and use them as love bug cupcake toppers for my store-bought mini cupcakes.
Whether you buy your cupcakes from the store or make your own buttercream, adding a cardstock topper immediately makes your cupcakes fit your party or holiday theme. These love bug cupcake toppers are perfect for mini cupcakes at 1.5″ or you could make them for standardized cupcakes and a little bigger.
Estimated Time: 20 Minutes
Skill Level: Intermediate
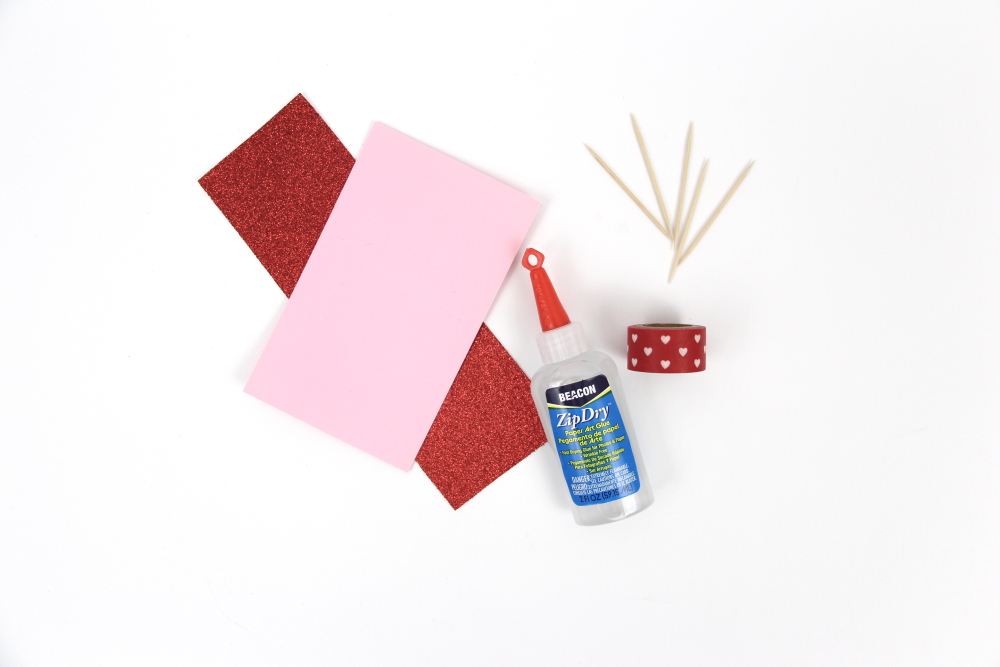
Supplies Needed:
- Silhouette CAMEO® 4
- Silhouette Cutting Mat – I recommend light tack for cardstock crafts
- Weeding Hook
- Silhouette Studio – I recommend Business Edition for working with SVGs
- Cardstock (I used red glitter and pink cardstock)
- Craft Glue
- Love Bug Cut File
- Toothpicks
- Washi Tape
Step One: Create Your Love Bug Cupcake Topper:
Visit Spot of Tea Design to get your Love Bug Cut File and save it to your computer.
Open Silhouette Studio® on your computer.
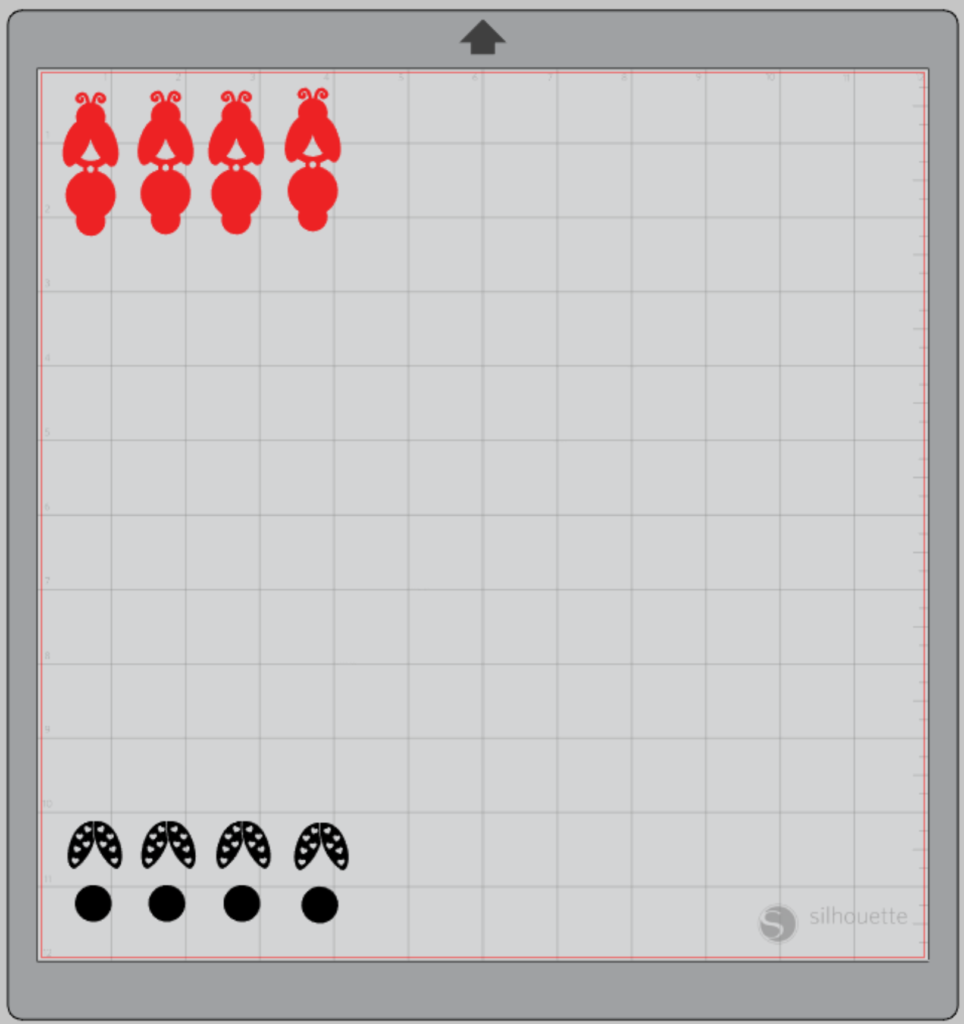
Select the Page Setup Window and adjust your cutting mat size to 12×12 (or the sized mat you are using).
Open your design in your design library (after you have saved it).
Select the whole design and re-size to you the size you would like to your size. Then copy and paste as many as you need.
I like to move the different colored elements but you can leave them layered if you want.
Step Two: Cutting Out Your Toppers:
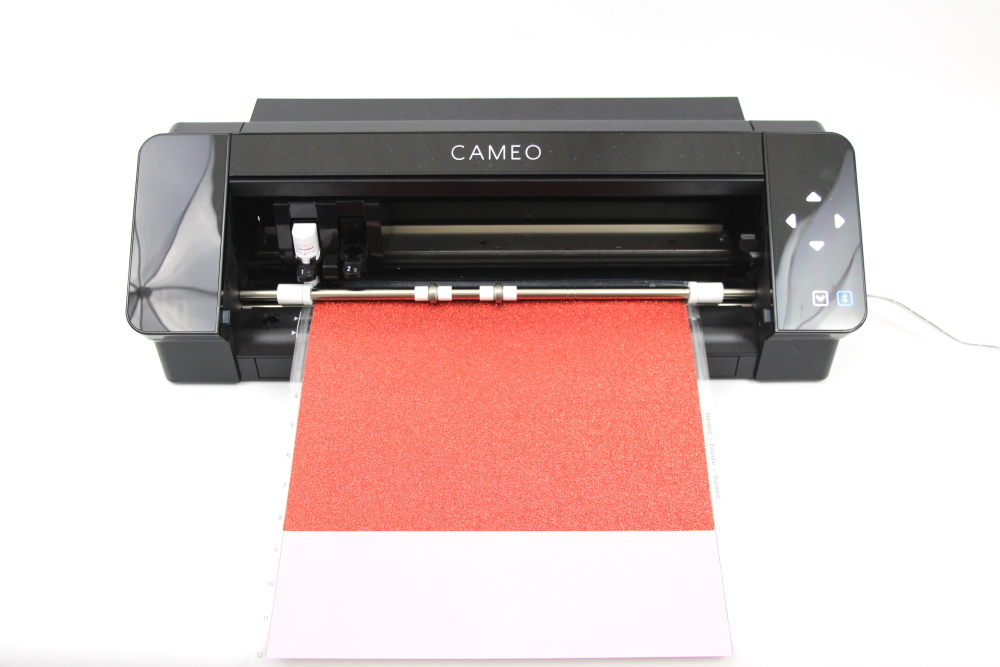
Turn on your Silhouette CAMEO® 4.
Attach your cardstock to the cutting mat and load it into your machine by lining up your mat with the guidelines and pressing the “up” arrow.
Then, click “send” in the Software and then select the type of cardstock you are using from the dropdown menu.
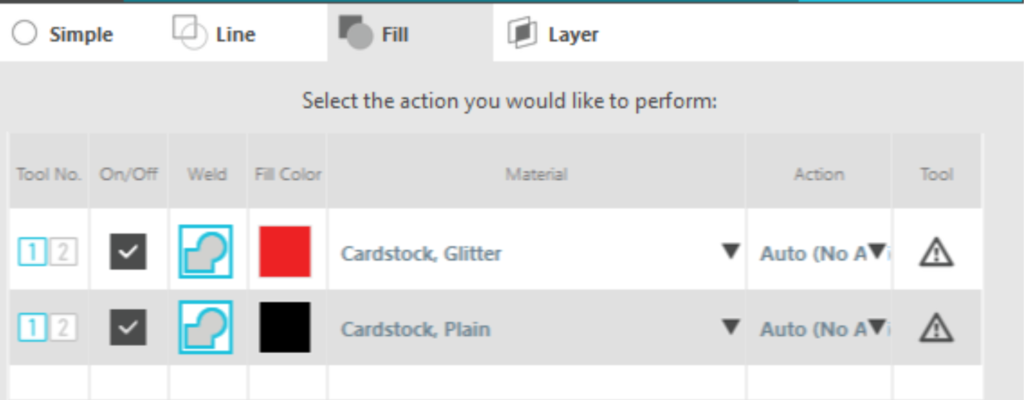
Double-check to make sure your design has been selected to cut and the Silhouette CAMEO®4 autoblade had been selected. The autoblade will adjust to cut based on the type of material you selected. I suggest always doing a test cut to make sure it will work with your cardstock – there is a “test” button at the bottom of your screen.
Select “Send” to start cutting.
Press the “down” arrow when your machine has finished cutting your design to remove the cutting mat from the machine.
You can also cut multiple colors and textures at one time if you space them out on your cutting mat to match your software layout and select the correct material in your software.
Step Three: Assemble Your Love Bug Cupcake Toppers:
Remove your cardstock from the cutting mat – go slow so it doesn’t curl up. Use a spatula if you have small items.
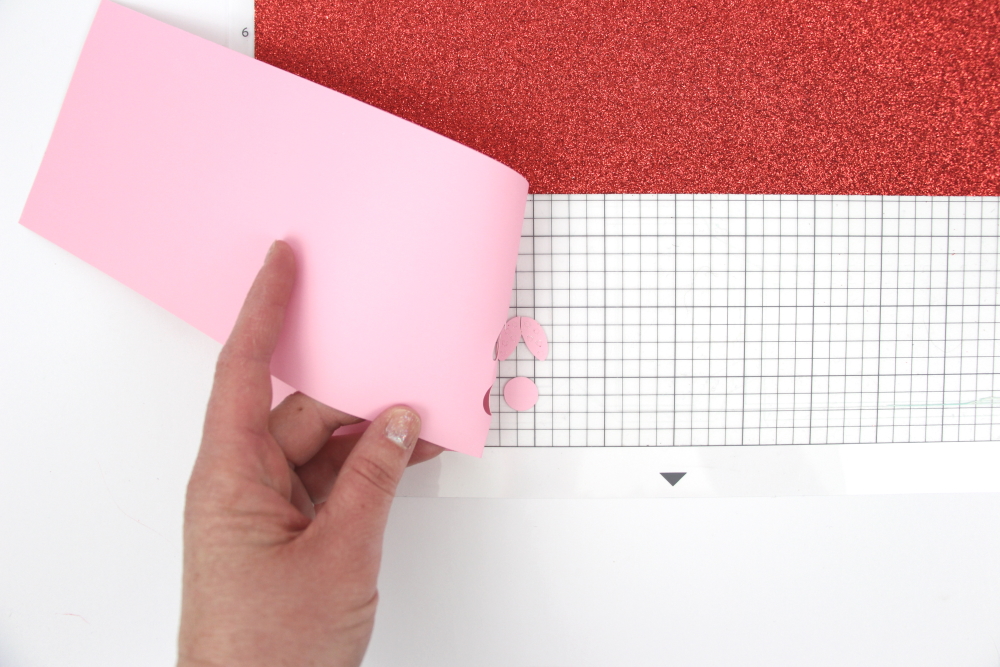
Remove all your paper pieces from the cutting mat and organize them.
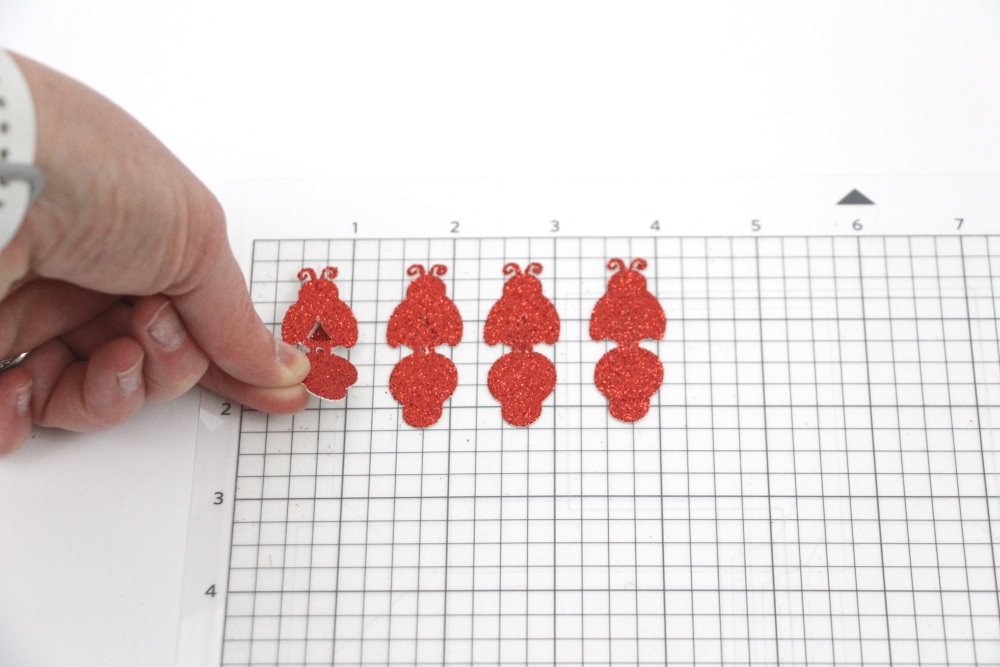
First, add a small amount of glue or adhesive to the small circle and fold over your love bug.
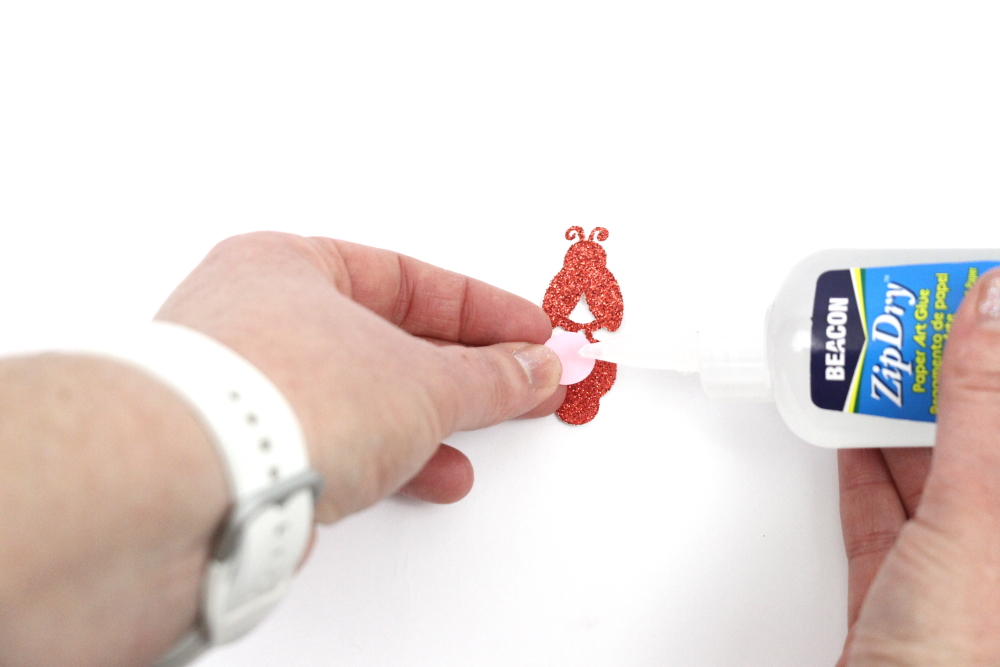
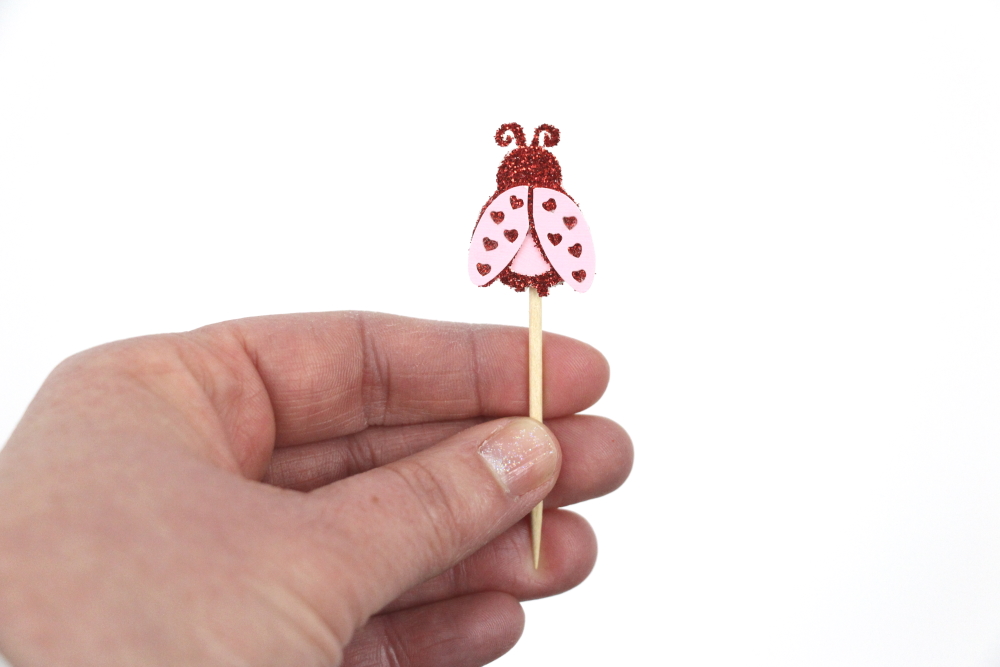
Attach the wings with some adhesive and the toothpick to the back with a piece of washi tape.
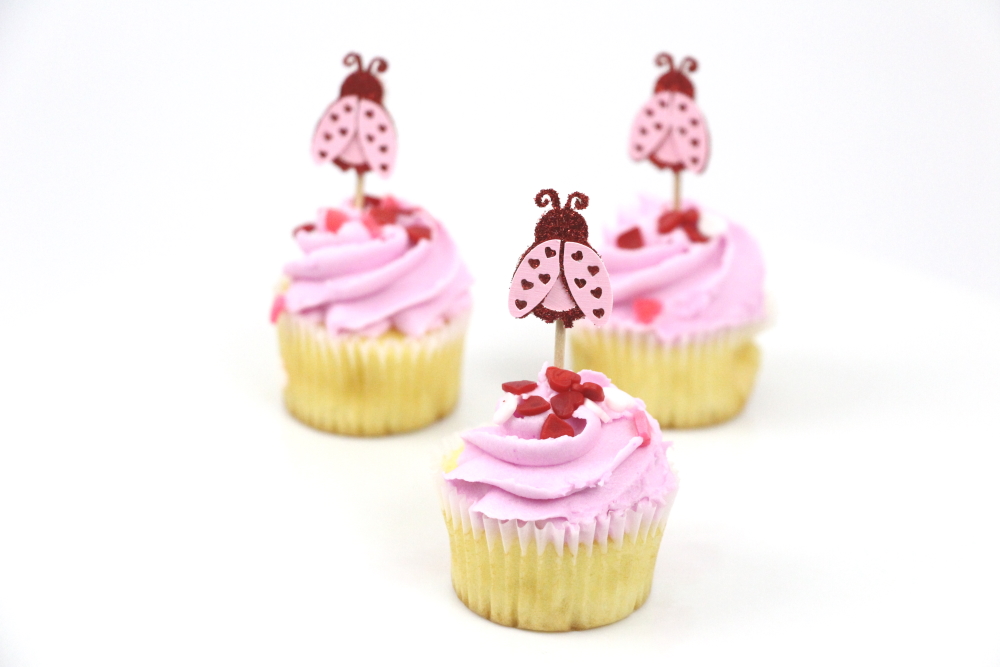
Add to your cupcakes and you’re good to go!
Now for more Valentine’s Day fun! Check out these 16 adorable Valentine’s Day craft projects and be sure to enter the giveaway at the bottom of this post!

Be sure to enter this fun giveaway too!
