Personalized Toy Boat
| This post may contain affiliate links, which means I may receive a small commission, at no cost to you, if you make a purchase through a link. |
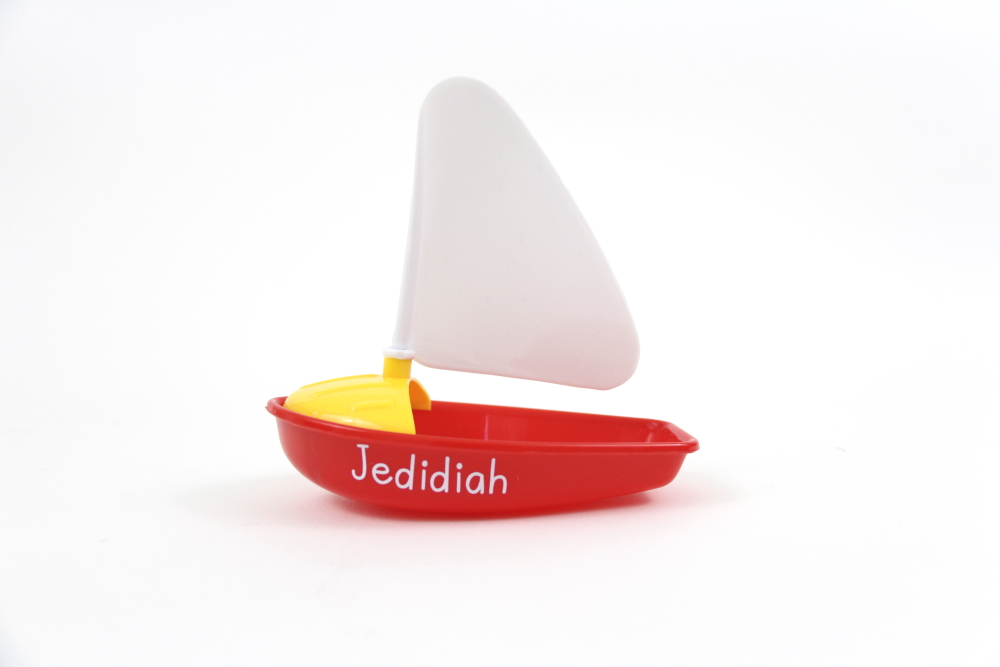
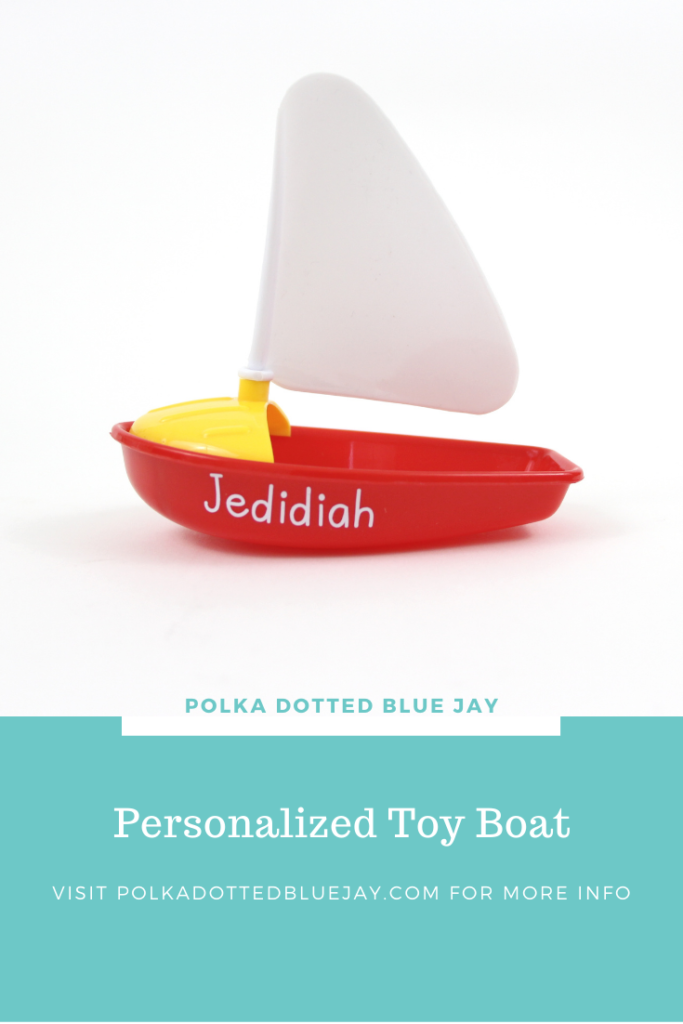
When I came across these cute toy sailboats in the clearance section at my local craft store, I knew I needed to make a personalized toy boat with Jedidiah’s name for our bath-time sailings. He loves to see the big boats in the marina when we go to the beach and I knew he would love sailing his toy boat through the bath filled with Tubby Todd bubbles every night.
Much to my delight, the first night I handed him a boat, he started singing “It’s a Small World” and sailing his boat around the edge of the bathtub. I’ve never been so proud.
Estimated Time: 10 Minutes
Skill Level: Beginner
Supplies Needed:
- Silhouette CAMEO® 4
- Silhouette Cutting Mat
- Weeding Hook
- Silhouette Studio
- Adhesive Vinyl – White
- Transfer Tape
- Toy Boat
- Favorite Teacher Font Design # 267784
Step One: Create Your Personalized Decal:
Open Silhouette Studio®.
Select the Page Setup Window and adjust your cutting mat size to 12×12 (or the size mat you are using).
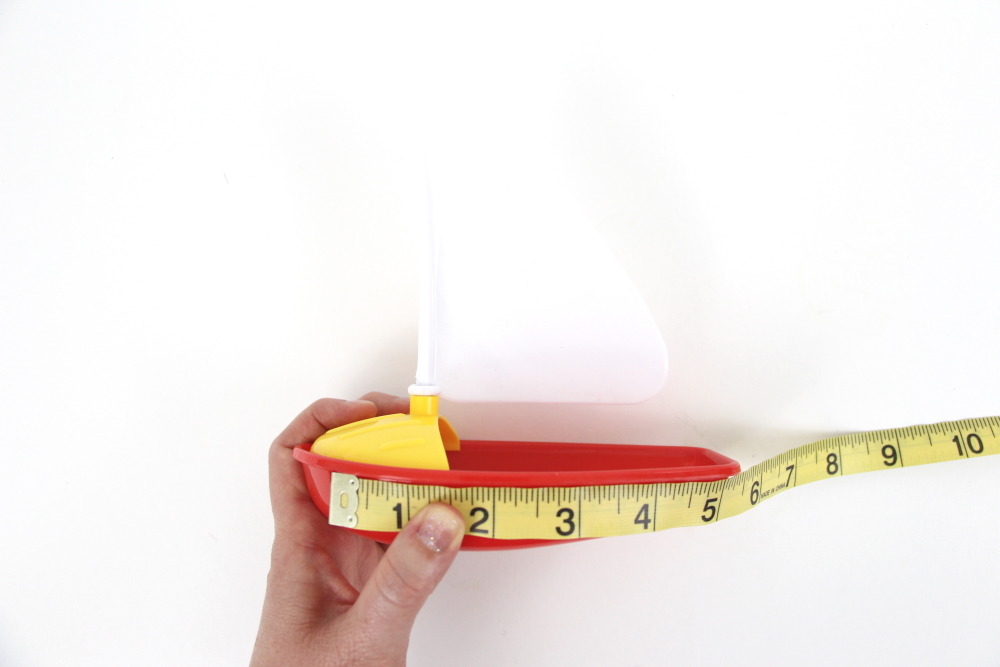
Measure your toy boat.
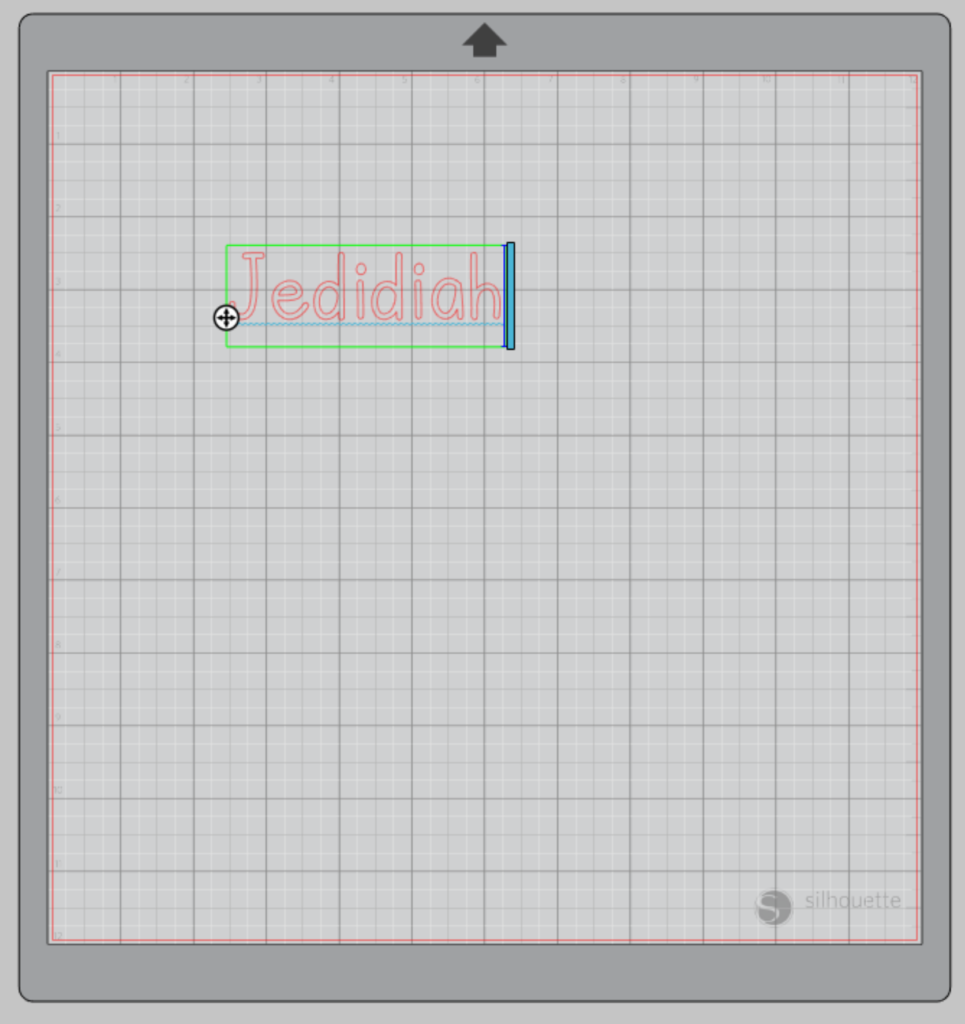
Purchase the font design from the Silhouette Design Store and open it in the Silhouette Software. Click File>Library>Library> Fonts from the menu>Double click your file.
A text cursor will appear in the middle of your mat.
Type the name.
Step Two: Cutting out your Personalized Decal:
Turn on your Silhouette Cameo 4.
Attach your Adhesive Vinyl to the cutting mat, color side up, and load into your machine by lining up the mat on the guidelines and pressing the “up” arrow on the touch panel.
Follow the prompts in the Design Studio for Adhesive Vinyl and double-check to make sure your design has been selected to cut.
Click “Send” in the design studio to start cutting.
Press the “down” arrow on the Cameo 4 touch panel when your machine has finished cutting your design to remove the cutting mat from the machine.
Step Three: Preparing Your Personalized Decal:
Remove your Adhesive Vinyl from the cutting mat – go slow so it doesn’t curl up.
Use a paper trimmer to cut away the vinyl you won’t be using. Don’t waste any valuable vinyl.
Use your fingers or a weeding tool to remove the excess vinyl. Be sure to leave your design on the white backing sheet and get be sure to get the vinyl out of the loops and middles of your letters.
Step Four: Creating Your Personalized Toy Boat:
Place a piece of transfer tape over your decal.
Use the scraping tool and scrape the top of the transfer tape to make sure the design adheres to it.
Gently pull transfer tape up away from the backing sheet and make sure the entire decal lifts with it.
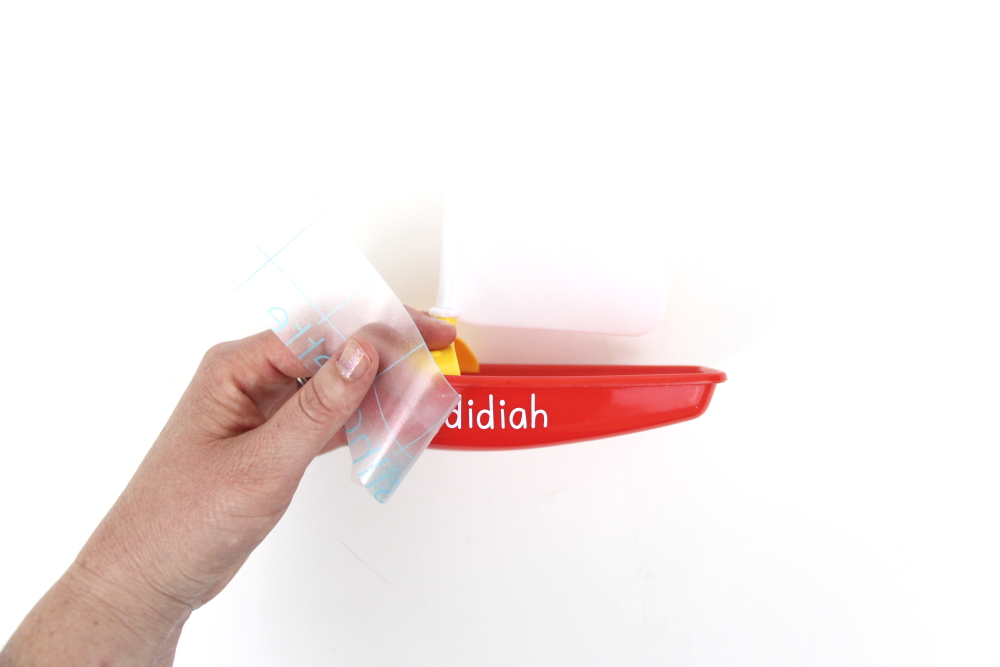
Center your decal on your toy boat and press it down from left to right.
Finally, remove the transfer tape from your toy boat. Tip: pull from a corner and not the side to make sure each part of the design transfers completely to your boat – especially small parts like the dots on “i”.
I love simple personalized projects like this. They are so quick to make and are sure to make someone smile; especially if you grew up not being able to find your name on a keychain, like me.
Check out these other personalized projects below:


